Page 2 of 17 506863-02Issue 90964
LocaƟon
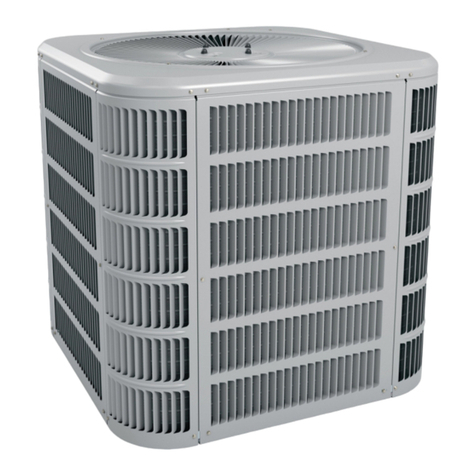
The unit is designed to be located outdoors with sufficient
clearance for free entrance to the air inlet and discharge air
openings. Thelocationmustalsoallow for adequate service
access. Figure 1 shows a typical installation.
The unit must be installed on a solid foundation that will not
settleorshift.Adequatestructural support must beprovided.
Maintain minimum clearances as shown in Figure 1 and
Table 1 and install the unit in level position. Isolate the base
fromthe building structure to avoidpossible transmission of
sound or vibration into the conditioned space.
The heat pump unit foundation should be raised to
a minimum of 3” above finish grade. In areas which
have prolonged periods of temperature below freezing and
snowfall, the heat pump unit should be elevated above the
average snow line. Extra precaution should be taken to
allow free drainage of condensate from defrost cycles to
prevent ice accumulation. The unit should not be located
near walkways to prevent possible icing of surface from
defrost condensate.
Avoid placingtheunit nearquietareassuchas sleeping
quarters or study rooms. Normal operating sound levels
maybeobjectionableiftheunit is placed near certainrooms.
Do not permit overhanging structures or shrubs to
obstruct condenser air discharge inlet or outlet.
For improved start-up performance, the indoor coil
should be washed with suitable detergent to remove
any residue from manufacturing processes.
Roof Curb InstallaƟon
If a roof curb is used, follow the manufacturer’s Installation
Instructions and be sure that all required clearances are
observed (see Clearances on page 3).
These units are shipped with four corner brackets in place
on the underside of the unit (see Figure 2). For heat
pumps the two rear corner brackets must be removed
before unit is installed onto roof curb assembly. For
air conditioner units remove all four corner brackets
before installing on roof curb.
These instructions explain the recommended method of
installation of the heat pump and air conditioner units and
associated electrical wiring.
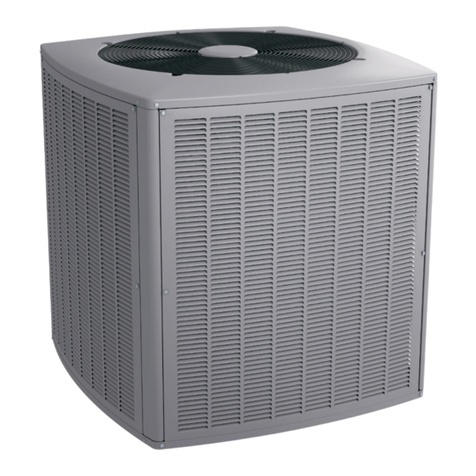
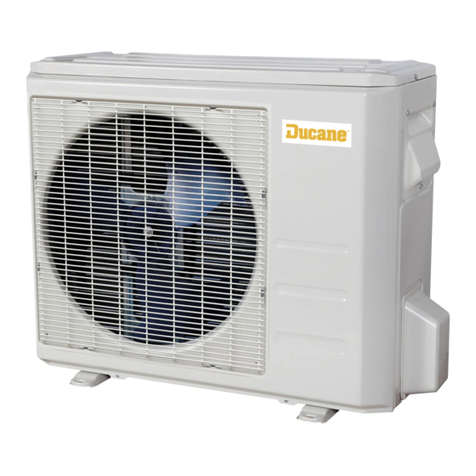
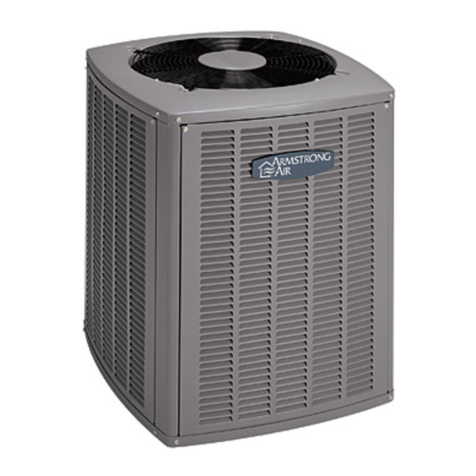
This unit is designed and approved for use as a self-
contained air-to-air outdoor heat pump and air conditioner
system.
Theunitsarefactoryequippedwithatransformerandblower
control for applications without auxiliary heat. Electric heat
accessory kits (AHSA-) can be ordered for field installation
of additional heat where required.
These instructions, and any instructions packaged with
matingcomponents and/or accessories, shouldbe carefully
read prior to beginning installation. Note particularly any
CAUTIONS or WARNINGS in these instructions and all
labels on the units.
These instructions are intended as a general guide only,
for use by qualified personnel and do not supersede any
national or local codes in any way. Compliance with all
local, state, provincial, or national codes pertaining to this
typeofequipment should bedetermined prior to installation.
InspecƟon of Shipment
Upon receipt of equipment, carefully inspect it for possible
shipping damage. If damage is found, it should be noted
on the carrier’s freight bill. Take special care to examine
the unit inside the carton if the carton is damaged. File a
claim with the transportation company.
If any damages are discovered and reported to the carrier
DO NOT INSTALL THE UNIT, as claim may be denied.
Check the unit rating plate to confirm specifications
are as ordered.
LimitaƟons
The unit should be installed in accordance with all national
and local safety codes.
Limitations of the unit and appropriate accessories must
also be observed.
The unit must not be installed with any ductwork in the
outdoor air stream. The outdoor fan is not designed to
operate against any additional static pressure.
Minimum and maximum operation conditions must be
observed to assure maximum system performance
with minimum service required. Refer to Table 1 for the
application limitations of the unit.
INSTALLATION
