manuals.online logo
Brands
  1. Home
  2. •
  3. Brands
  4. •
  5. Alpine
  6. •
  7. Landscape Lighting
  8. •
  9. Alpine QTT490SLR Guide

Alpine QTT490SLR Guide

QTT490SLR
Limited Warranty Information
Thank you for choosing an Alpine product! We aim to please with our wide range of products
including Fountains, Birdbaths, Statuary, Pond Supplies & More. All of our products are constructed
from the highest quality materials. In the event that we have not achieved our usual standard of
excellence, we will repair or replace, at our discretion, within the warranty period. A valid proof of
purchase, with the purchase date clearly indicated, must be provided. Photos of defective
merchandise will also be required to help distinguish the actual cause of the defect. Please read
below for a detailed description of warranty coverage.
Water Damage
Alpine products are not manufactured to withstand extreme temperatures. Improper
storage that allows water to freeze within a product may cause damage and is considered
negligence and will, therefore not be covered under this warranty. The use of “hard
water” and/or caustic cleaners can affect the paint or other finishes. Failure to keep the
unit clean, and use of such additives/cleaners, will also void the warranty. Please note:
for fountains, it is normal for some splashing to occur and protecting the immediate
surfaces is not the responsibility of Alpine Corporation
Paint & Color (Retention and/or Loss)
The use of water will cause natural erosion to the color. This area can be touched up
using standard paint. The paint is designed to protect the entire finish against breakdown
of color. As with any product, all finishes with time will gradually fade and discolor. The
warranty will only cover against severe or complete fading within the first year from date
of purchase with the above exclusion.
Procedure/Service
Should a warranty/claim be needed, you should contact the retailer from whom you
purchased the product. If that is not an option, you can contact Alpine Corporation at
www.alpine4u.com. When contacting Alpine Corporation, you must be prepared to show
proof of purchase, provide photographs and any other information needed to validate your
claim. This may be necessary to distinguish between a partial or complete replacement
of a defective product. The warranty does not cover any items with multiple parts; the
warranty will ONLY cover the individual component of the unit/item that may be
defective. Replacement parts can be made available to a consumer through the original
selling party, or an approved parts retailer. If this is not an option, contact our customer
service department. Item is covered under one year limited warranty from the date of
purchase. When requesting replacement parts due to a warranty claim after 30 days of
purchase, credit card information will be requested for shipping charges.
Not Covered Under Warranty
The limited warranty will NOT cover cases of damages due to
1. Damages caused in Transit
2. Inadequate care and/or neglect
3. Environmental and/or natural elements
4. Immersion in water, unless specified
5. Improper Installation/Storage and/or Maintenance
This warranty is void if the product has been damaged by accident, misuse, negligence, improper
installation and/or modifications have occurred. This includes any and/or all defects arising out of
freezing water damage, hard water damage, failure to keep the unit clean and free of harmful
additives such as bleach, chlorine, etc… which affects the paint and/or parts. This warranty also
does not cover any additional charges or installation, removal, disposal and/or shipping costs or
consequential damage associated with any warranty claim
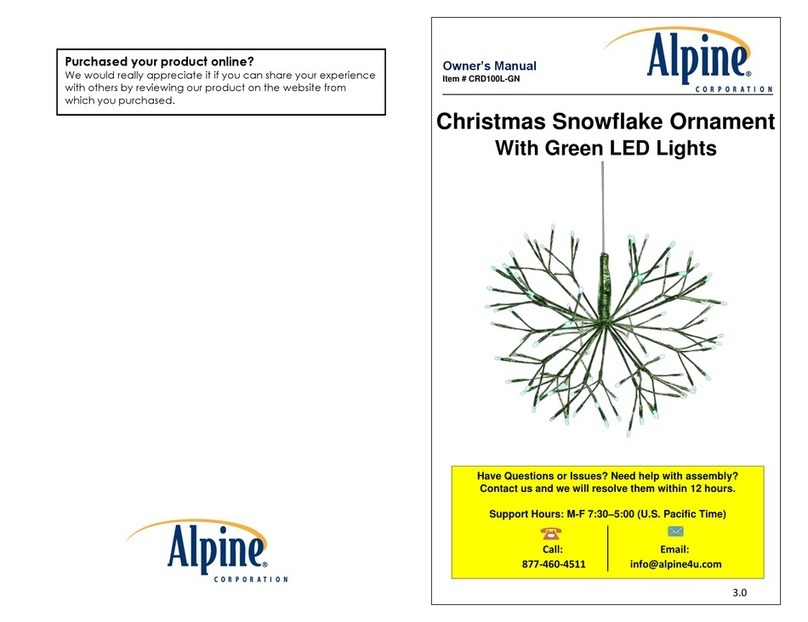
Assembling & Using Your Product
Unpack all components carefully. Please check to ensure all parts have
been removed from the packaging.
How Your Solar Garden Product Works
During the day, the solar panel converts sunlight into electricity and
recharges the batteries inside the solar panel. At night, the light turns on
automatically using the electricity stored during the day. The number of
hours the light stays on at night depends on you location and the
availability and intensity of sunlight during the day. Under normal
conditions, if the solar panel is charged in full, direct sunlight all day, the
light should stay lit for several hours at night.
Picking the Right Spot/Inserting Stake Lights
Select a garden, lawn or similar location in full, direct sunlight where your
solar product can receive at least 6-8 hours of daily sunlight. Shadowed
locations will not allow the batteries to charge fully and will reduce the
hours of nighttime lighting. Do NOT select locations near nighttime light
sources such as streetlights, flood lights or other strong outdoor or home
lighting. This may cause the solar lights to turn off automatically.
IMPORTANT: To avoid damaging garden stakes when inserting into the
ground, select a spot in soft, rock-free, “garden-ready” soil. Insert the
base of the stake first then gently insert the rest of the stake into the
base. Do NOT push directly against the solar cell or the ornament
housing containing the actual LED light.
Using Your Solar Garden Product
ON/OFF switch can be found under the topper’s stake as shown on
diagram above.
Leave the power switch on the “ON” position until the solar panel has
been charged in direct sunlight for 6-8 hours. This allows the
rechargeable batteries) to reach maximum capacity. If the light does
not come on after a full day of charging, check to be sure the power
switch is in the “ON” position and that the solar cell is in a bright, sunny
spot rather than in the shade. The light will automatically turn on at dusk
and off at dawn.
Then insert the bottom stake to the topper and place your solar stake on
the spot you have designated
Tips for Optimal Year Round Operation
Your garden lights are sprinkler and rain resistant. However, you should
periodically wipe away any dust that may gather on the solar panel with a
damp cloth and keep snow and debris clear of the solar panel.
Otherwise the internal batteries may not recharge properly. If the solar
panel is covered by dust, snow or other debris for an extended period of
time, after cleaning, please allow the batteries to recharge in direct, full
sunlight for at least 6-8 hours.
** This product uses a 3.7V Li-ION 18650 1200MAH
rechargeable battery which cannot be replaced.

Other Alpine Landscape Lighting manuals

Alpine CRD100L-GN User manual

Alpine

Alpine CRD100L-GN User manual

Alpine Luminosity SLA302 Series User manual

Alpine

Alpine Luminosity SLA302 Series User manual

Alpine YEN322SLR-S User manual

Alpine

Alpine YEN322SLR-S User manual

Alpine Power Beam PLM310 User manual

Alpine

Alpine Power Beam PLM310 User manual

Alpine Luminosity SLA308 Series User manual

Alpine

Alpine Luminosity SLA308 Series User manual

Alpine PLM110T User manual

Alpine

Alpine PLM110T User manual

Alpine SCC428SLR-BK User manual

Alpine

Alpine SCC428SLR-BK User manual

Alpine Power Beam PLM120T User manual

Alpine

Alpine Power Beam PLM120T User manual

Alpine SLA166SB Series User manual

Alpine

Alpine SLA166SB Series User manual

Popular Landscape Lighting manuals by other brands

LIGMAN MASK 2 installation manual

LIGMAN

LIGMAN MASK 2 installation manual

Intermatic LZ609 instructions

Intermatic

Intermatic LZ609 instructions

AMP APL-3037 Installation & maintenance guide

AMP

AMP APL-3037 Installation & maintenance guide

LIGMAN HAM-30002 installation manual

LIGMAN

LIGMAN HAM-30002 installation manual

Volt VAL-2002 installation instructions

Volt

Volt VAL-2002 installation instructions

AMP Lighting ONE ControlPro AAL-1813IR-40-BBZ Installation & maintenance guide

AMP Lighting

AMP Lighting ONE ControlPro AAL-1813IR-40-BBZ Installation & maintenance guide

One Stop Gardens One Stop Gardens Stainless Steel Solar Lights... Set up and operating instructions

One Stop Gardens

One Stop Gardens One Stop Gardens Stainless Steel Solar Lights... Set up and operating instructions

Orbit Well Lights 5300S installation instructions

Orbit

Orbit Well Lights 5300S installation instructions

WE-EF NTY184 LED Installation and maintenance instructions

WE-EF

WE-EF NTY184 LED Installation and maintenance instructions

SLV 229050 instruction manual

SLV

SLV 229050 instruction manual

SLV 1002956 57 Series instruction manual

SLV

SLV 1002956 57 Series instruction manual

Unique Lightscaping Jupiter 3' lead 12v Assembly/installation instructions

Unique Lightscaping

Unique Lightscaping Jupiter 3' lead 12v Assembly/installation instructions

AMP Lighting APL-3011-4-B-BZ Installation & maintenance guide

AMP Lighting

AMP Lighting APL-3011-4-B-BZ Installation & maintenance guide

AMP Lighting AFL-4011-4-B-BZ Installation & maintenance guide

AMP Lighting

AMP Lighting AFL-4011-4-B-BZ Installation & maintenance guide

Paradise Datacom GL28106 instructions

Paradise Datacom

Paradise Datacom GL28106 instructions

Cooper Lighting ADH080747 Design guide

Cooper Lighting

Cooper Lighting ADH080747 Design guide

Tronix 140-012 instructions

Tronix

Tronix 140-012 instructions

TetraPond 19763-00 instruction manual

TetraPond

TetraPond 19763-00 instruction manual

manuals.online logo
manuals.online logoBrands
  • About & Mission
  • Contact us
  • Privacy Policy
  • Terms and Conditions

Copyright 2025 Manuals.Online. All Rights Reserved.