manuals.online logo
Brands
  1. Home
  2. •
  3. Brands
  4. •
  5. Saxby Lighting
  6. •
  7. Landscape Lighting
  8. •
  9. Saxby Lighting Islay 68784 Manual

Saxby Lighting Islay 68784 Manual

Instruction leaflet
Islay Floor Light
68784, 68785
www.saxbylighting.com
For your safety, always switch off the supply before changing lightbulbs, or cleaning.
Waste electrical products should not be disposed of with household waste. Please recycle where facilities
exist. Check with your Local Authority or retailer for recycling advice.
Recycling advice
Safety information
Saxby Lighting Ltd. BH23 3PE
We recommend cleaning with a soft dry cloth.
Do not use solvents or abrasive cleaners as these could damage the finish.
Iss.1 23022016
• TheLEDsinthisproductarenonreplaceable.
Fitting/replacing bulbs
• Placeproductoverthemountedbaseandsecure
in place by refitting the four allen screws set aside
earlier. Ensure cable is not trapped (Fig. 5).
• Replace fuse or circuit breaker and switch on. Your
light is now ready for use.
Commissioning Fig. 5
Thankyouforpurchasingthislightfitting.Pleasereadtheinstructionscarefullybeforeusetoensuresafeand
satisfactory operation of this product. Please retain these instructions for future reference.
Warning
This light fitting is Class 1 and must be connected to
an Earth circuit
Please read these instructions carefully before
commencing any work.
Thisunitmustbefittedbyacompetentandqualified
electrician.
Install in accordance with IEE Wiring regulations and
current Building Regulations.
Topreventelectrocutionswitchoffatmainssupply
before installing or maintaining this fitting. Ensure
other persons cannot restore the electrical supply
without your knowledge. If you are in any doubt,
pleaseconsultaqualifiedelectrician.
Thislightfittingshouldbeconnectedtoacircuitwitha
30mA RCD fitted.
If replacing an existing fitting, make a careful note of
the connections.
Thissystemcontainsnon-replaceablepartsand
cannot be serviced. If damage occurs the part should
be scrapped.
Waste electrical products should not be disposed of
with household waste. Please recycle where facilities
exist. Check with your local authority or retailer for
recycling advice.
ThisproductisratedatIP65.
Thisproductisnotsuitablefordimming.
Thisproductisnotsuitableforlocationinorneara
marine or sea environment.
Specification
Voltage: 240V 50Hz a.c.
Lamp:68784:2x1WLEDHiPowerNaturalWhite-200lm
 68785:4x1WLEDHiPowerNaturalWhite-400lm
IP rating: 65
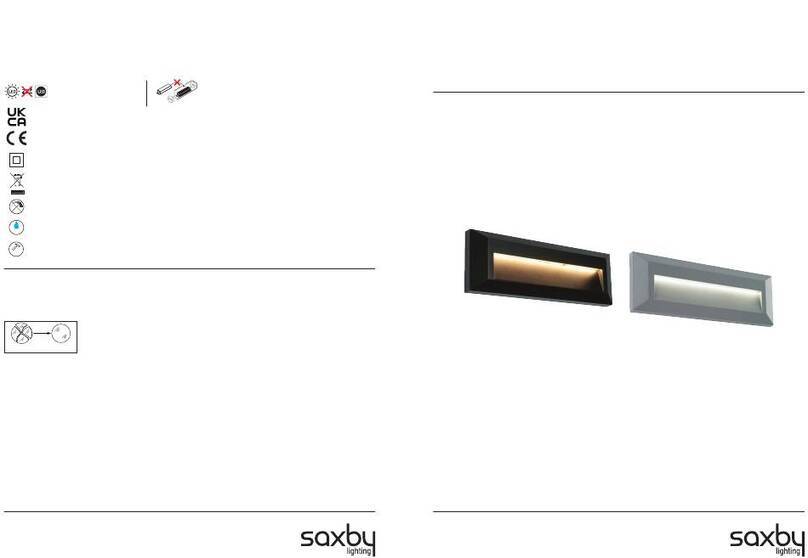
Layout
Installation (if used as spike light)
• Planthedesiredlayoutofthisfittingcarefully,
ensuring the cables will reach the distance between
the connector and the light fitting
• Avoidlocatinganycablesinpositionsthatwould
cause a hazard. Position cables and junction boxes
(not supplied) away from areas where they may be
at risk from being cut, trapped or damaged
• Cablesinwallsmustbeprotectedusingsuitable
conduit or plastic trunking.
• Themainssupplycablemusthaveaminimumcross
sectional area of 1.0mm²
• Thisproducthasspecialprotectionagainstthe
ingress of moisture and is IP65 rated.
• Thisproductcanbeusedasaspikelight.Ifused
in this way, ensure that the ground is suitable
for pushing the spike into, and can support the
luminaire. Do not install in very wet or boggy areas.
Existing fittings must be completely removed before
installation of a new product. Before removing the
existing fitting, carefully note the position of each set
of wires.
• Wireasdetailedbelowandscrewthesuppliedspike
into the base of the product and place it into the
ground. (Fig. 1).
• Replace fuse or circuit breaker and switch on. Your
light is now ready for use.
Fig. 1
Installation (if used in concrete or decking)
Existing fittings must be completely removed before installation
of a new product. Before removing the existing fitting, carefully
note the position of each set of wires.
• Undothe4hexagonalscrewswiththesuppliedhexkey
to detach the back ring plate from the product. Keep the
4 screws safe for refitting later. N.B once this ring plate is
removed, there is no need to disassemble the product further.
(Fig. 2)
• Place the back ring plate so the 4 fixing holes are flush with
theground.Usingthebackringplateasatemplate,markthe
positionofthefixingholes.Drillthefixingholes.Takecare
not to damage any concealed wiring or pipes.
• Fix the back ring plate into the ground using the supplied
expanding bolts. N.B. you may need to use a hammer to
gentlytaptheboltsintoplacetostartwith.Tightenthebolts
with a spanner to secure in place (Fig. 3).
• Wire as detailed below.
Fig. 2
Fig. 3
Wiring
• ItisrecommendedthattheSaxbyIP68inline
connector ref 61515 is used to wire this product.
Refer to layout diagram.
• Unscrewthethreadedbodyatthecentreofthe
connector from both sides (Fig. 4a).
• Push the wires into the terminals, observing the
correct polarity (Fig. 4b). Make sure the gaskets
are in place to ensure ingress protection.
• Tightenthescrewstosecureinplace(Fig.4c).
• Refit the seals and locking nuts.
Fig.
4a
Fig.
4b
Fig.
4c
Layout
This manual suits for next models

1

Other Saxby Lighting Landscape Lighting manuals

Saxby Lighting EL-40104 User manual

Saxby Lighting

Saxby Lighting EL-40104 User manual

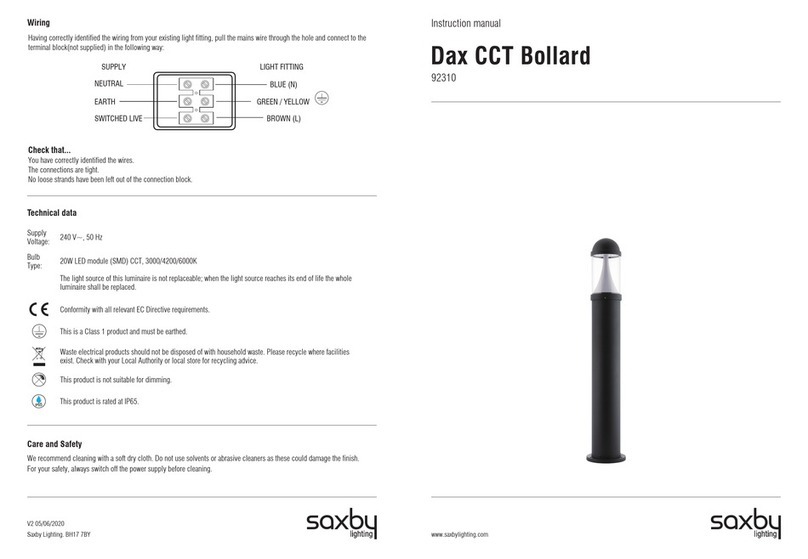
Saxby Lighting Dax CCT Bollard User manual

Saxby Lighting

Saxby Lighting Dax CCT Bollard User manual

Saxby Lighting Bodenn 78646 User manual

Saxby Lighting

Saxby Lighting Bodenn 78646 User manual

Saxby Lighting Canillo 67699 User manual

Saxby Lighting

Saxby Lighting Canillo 67699 User manual

Saxby Lighting Hades 91954 User manual

Saxby Lighting

Saxby Lighting Hades 91954 User manual

Saxby Lighting PYRAMID User manual

Saxby Lighting

Saxby Lighting PYRAMID User manual

Popular Landscape Lighting manuals by other brands

Malibu Boats LZ307 instructions

Malibu Boats

Malibu Boats LZ307 instructions

AMP Lighting 3602 Series Installation & maintenance guide

AMP Lighting

AMP Lighting 3602 Series Installation & maintenance guide

Cooper Lighting Streetworks Classical CLB-1 brochure

Cooper Lighting

Cooper Lighting Streetworks Classical CLB-1 brochure

Volt VHS-6720-X-BBZ installation instructions

Volt

Volt VHS-6720-X-BBZ installation instructions

AMP Lighting AWL-712IR-BBZ Installation & maintenance guide

AMP Lighting

AMP Lighting AWL-712IR-BBZ Installation & maintenance guide

Brinkmann Metal owner's manual

Brinkmann

Brinkmann Metal owner's manual

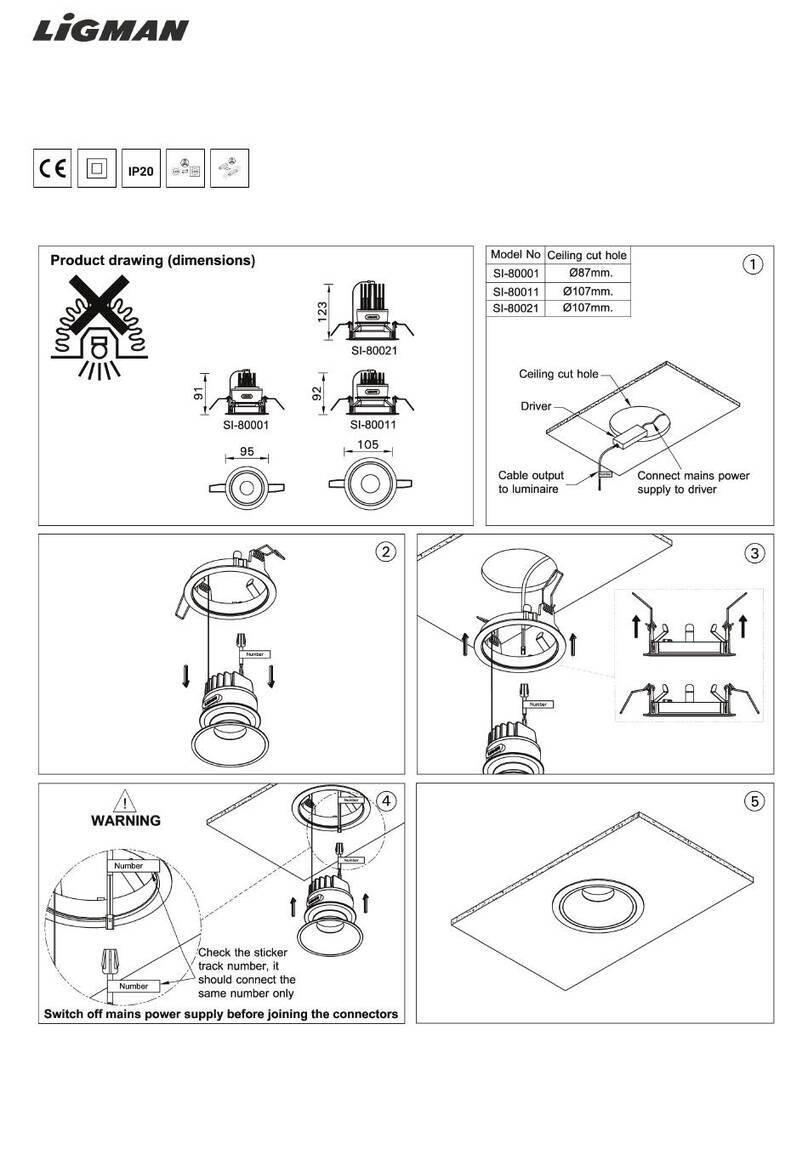
LIGMAN BELIZE 3 installation manual

LIGMAN

LIGMAN BELIZE 3 installation manual

LIGMAN QUARTER 2 installation manual

LIGMAN

LIGMAN QUARTER 2 installation manual

AMP Lighting VariantPro AAL-1028-0-B-BZ Installation & maintenance guide

AMP Lighting

AMP Lighting VariantPro AAL-1028-0-B-BZ Installation & maintenance guide

Cooper Lighting OVY15SWW2D4 datasheet

Cooper Lighting

Cooper Lighting OVY15SWW2D4 datasheet

elho Pure light user manual

elho

elho Pure light user manual

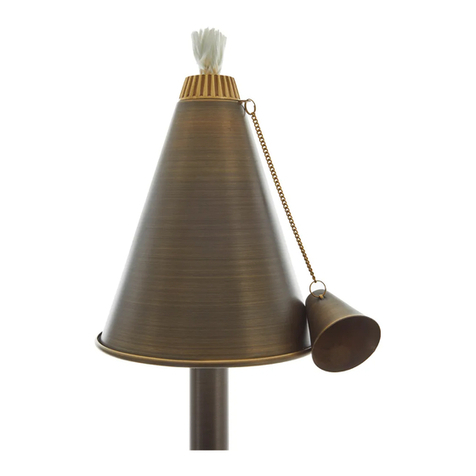
STERNO HOME GL33966 manual

STERNO HOME

STERNO HOME GL33966 manual

Intermatic Malibu LZ413 instructions

Intermatic

Intermatic Malibu LZ413 instructions

Pentair IntelliBrite User and installation guide

Pentair

Pentair IntelliBrite User and installation guide

Techmar Garden Lights ACIS manual

Techmar

Techmar Garden Lights ACIS manual

Jula 422-262 operating instructions

Jula

Jula 422-262 operating instructions

AMP Lighting LocketPro Mini Hanging Light Installation & maintenance guide

AMP Lighting

AMP Lighting LocketPro Mini Hanging Light Installation & maintenance guide

MULTIQUIP GloBug GB3LED Operation and parts manual

MULTIQUIP

MULTIQUIP GloBug GB3LED Operation and parts manual

manuals.online logo
manuals.online logoBrands
  • About & Mission
  • Contact us
  • Privacy Policy
  • Terms and Conditions

Copyright 2025 Manuals.Online. All Rights Reserved.