manuals.online logo
Brands
  1. Home
  2. •
  3. Brands
  4. •
  5. Altair
  6. •
  7. Bathtub
  8. •
  9. Altair 52767-BAT-WH-FB Manual

Altair 52767-BAT-WH-FB Manual

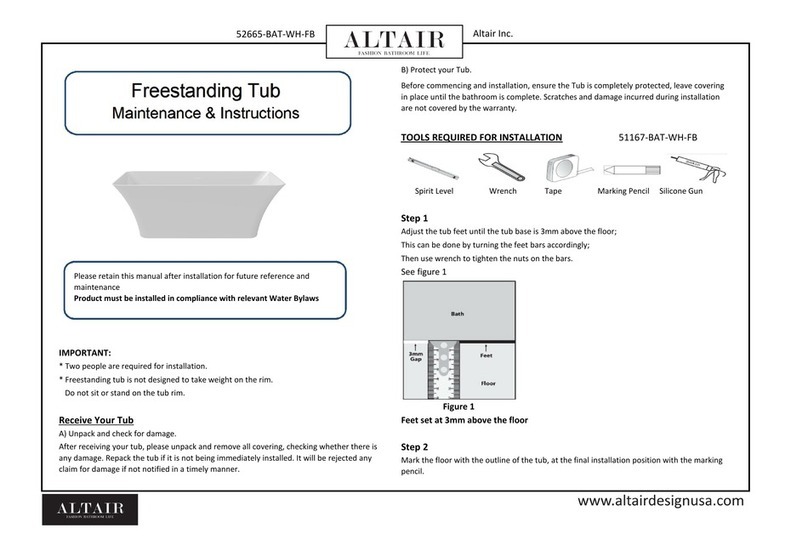
B) Protect your Tub.
Maintenance & Instructions
Before commencing and installation, ensure the Tub is completely protected, leave covering
in place until the bathroom is complete. Scratches and damage incurred during installation
are not covered by the warranty.
TOOLS REQUIRED FOR INSTALLATION
51167-BAT-WH-FB
Spirit Level Wrench Tape Marking Pencil Silicone Gun
Step 1
Adjust the tub feet until the tub base is 3mm above the floor;
This can be done by turning the feet bars accordingly;
Then use wrench to tighten the nuts on the bars.
See figure 1
IMPORTANT:
* Two people are required for installation.
* Freestanding tub is not designed to take weight on the rim.
Do not sit or stand on the tub rim.
Figure 1
Receive Your Tub
Feet set at 3mm above the floor
A) Unpack and check for damage.
After receiving your tub, please unpack and remove all covering, checking whether there is
any damage. Repack the tub if it is not being immediately installed. It will be rejected any
claim for damage if not notified in a timely manner.
Step 2
Mark the floor with the outline of the tub, at the final installation position with the marking
pencil.
Please retain this manual after installation for future reference and
maintenance
Product must be installed in compliance with relevant Water Bylaws
52767-BAT-WH-FB
Altair Inc.
Step 3
Cleaning & Maintenance:
Carefully tilt the tub on its side and use flexible connector to connect the waste outlet to the
trap as illustated on figure2.
A) To preserve the polished surface, after using your tub, clean with soft cloth and warm
soapy water to wash away any body oils or soap residue that forms a ring tide mark.
B) Do not use powders, pastes, crème cleaners, thinners, window cleaning sprays or dry
cleaning liquid, etc.
C) When coloured essentials oils are used, first test that the colour won't stain your tub.
Always add oils into a tub full of water. Never pour them into an empty tub.
Water testing:
A) Water test your tub prior to enclosing to ensure it drains correctly as no claims for non-
draining tubs will be valid after enclosing or tiling has been done;
B) Water test overflow pipe and waste to ensure they are not leaking.
Figure 2
WARNING! (apply to tub prefitted with waste)
Flexible connector installation The pre-fitted waste has NOT yet been fully installed.
Please use a qualified installer to secure it to the tub to avoid any water leaking.
***Flexible connector and waste trap are not supplied
Before use please test the tub to ensure the waste has been properly installed.
Step 4
Position the tub on the floor marking as marked on step 2, make sure that flexible connector
is not kinked upward on installation as this will result in drainage issue.
Step 5
Apply silicone around the base surrounding of the tub, see figure 3.
Figure 3
***Do not use the tub within 24 hours to let the silicone fully cure
52767-BAT-WH-FB
Altair Inc.

Other Altair Bathtub manuals

Altair 52863-BAT-WH-FB Manual

Altair

Altair 52863-BAT-WH-FB Manual
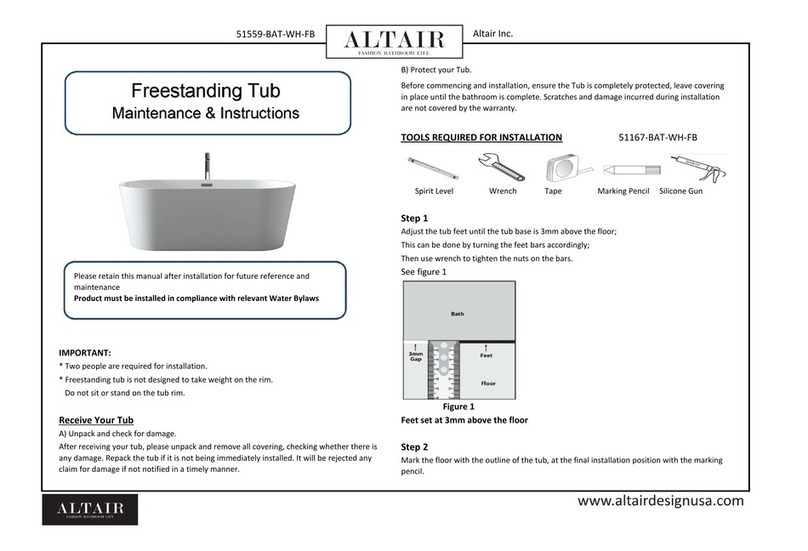
Altair 52269 Manual

Altair

Altair 52269 Manual

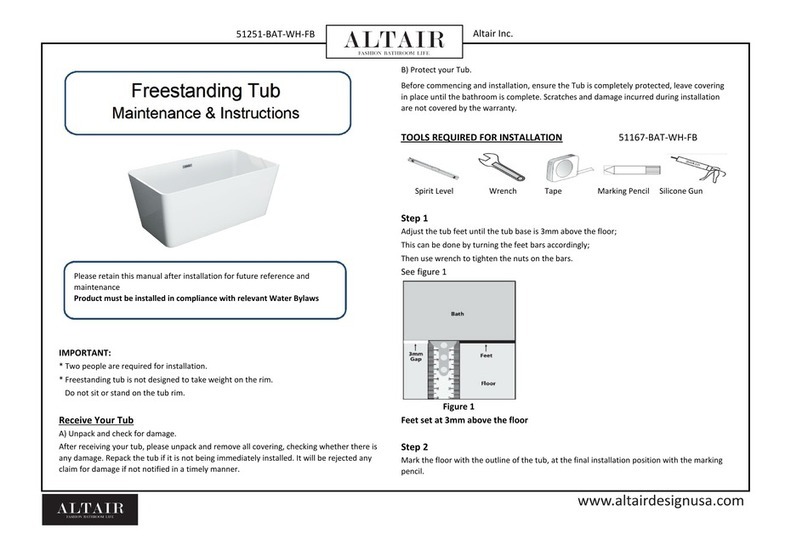
Altair 51251-BAT-WH-FB Manual

Altair

Altair 51251-BAT-WH-FB Manual

Altair 52665-BAT-WH-FB Manual

Altair

Altair 52665-BAT-WH-FB Manual

Altair Kaprun 51559-BAT-WH-FB Manual

Altair

Altair Kaprun 51559-BAT-WH-FB Manual

Altair 52367-BAT-GR-FC Operating and maintenance instructions
Altair

Altair 52367-BAT-GR-FC Operating and maintenance instructions

Altair 52563-BAT-WH-FB Operating and maintenance instructions

Altair

Altair 52563-BAT-WH-FB Operating and maintenance instructions

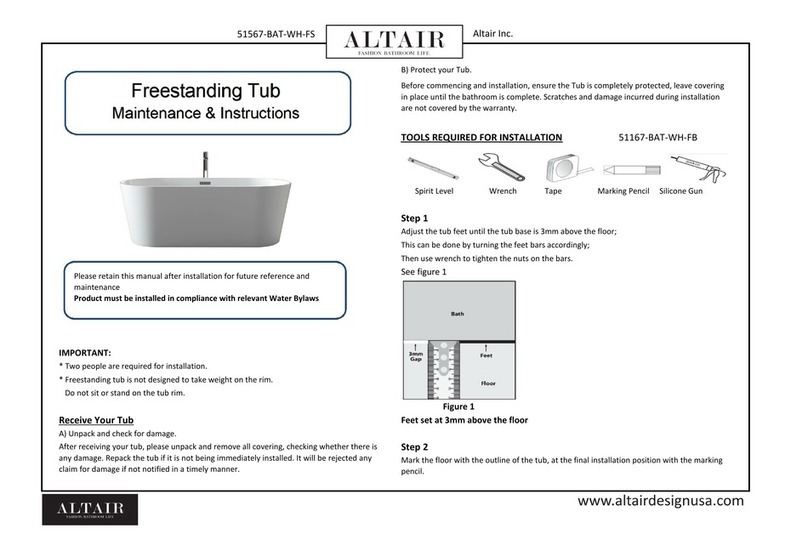
Altair 51567-BAT-WH-FS Manual

Altair

Altair 51567-BAT-WH-FS Manual

Altair 51765-BAT-WH-FS Operating and maintenance instructions

Altair

Altair 51765-BAT-WH-FS Operating and maintenance instructions
Popular Bathtub manuals by other brands

Globo PAESTUM Vasca PA100 quick start guide

Globo

Globo PAESTUM Vasca PA100 quick start guide

Jacob Delafon LOVEE CE9287-00 Assembly instructions

Jacob Delafon

Jacob Delafon LOVEE CE9287-00 Assembly instructions

Crosswater US-N9CS installation instructions

Crosswater

Crosswater US-N9CS installation instructions

Clou CL/05.70020.20 installation instructions

Clou

Clou CL/05.70020.20 installation instructions

Agua BARTOLI-66 quick start guide

Agua

Agua BARTOLI-66 quick start guide

PAA PRELUDE owner's manual

PAA

PAA PRELUDE owner's manual

BETTE SILHOUETTE installation guide

BETTE

BETTE SILHOUETTE installation guide

agape MARSIGLIA AVAS1075 Assembly instructions

agape

agape MARSIGLIA AVAS1075 Assembly instructions

Kohler K-820-GC Roughing-In Guide

Kohler

Kohler K-820-GC Roughing-In Guide

Oliveri Naples installation instructions

Oliveri

Oliveri Naples installation instructions

Lyons Elite ETLxx663219 Series manual

Lyons

Lyons Elite ETLxx663219 Series manual

Woodbridge BJ500 Installation and care guide

Woodbridge

Woodbridge BJ500 Installation and care guide

Whirlpool Ariel ARL-702 installation manual

Whirlpool

Whirlpool Ariel ARL-702 installation manual

Kohler K-1151 Homeowner's guide

Kohler

Kohler K-1151 Homeowner's guide

American Standard 3052OD.X0X Installation instructions and owner's manual

American Standard

American Standard 3052OD.X0X Installation instructions and owner's manual

Kohler K-1111-H2 Roughing-In Guide

Kohler

Kohler K-1111-H2 Roughing-In Guide

Kohler K-1158 Roughing-In Guide

Kohler

Kohler K-1158 Roughing-In Guide
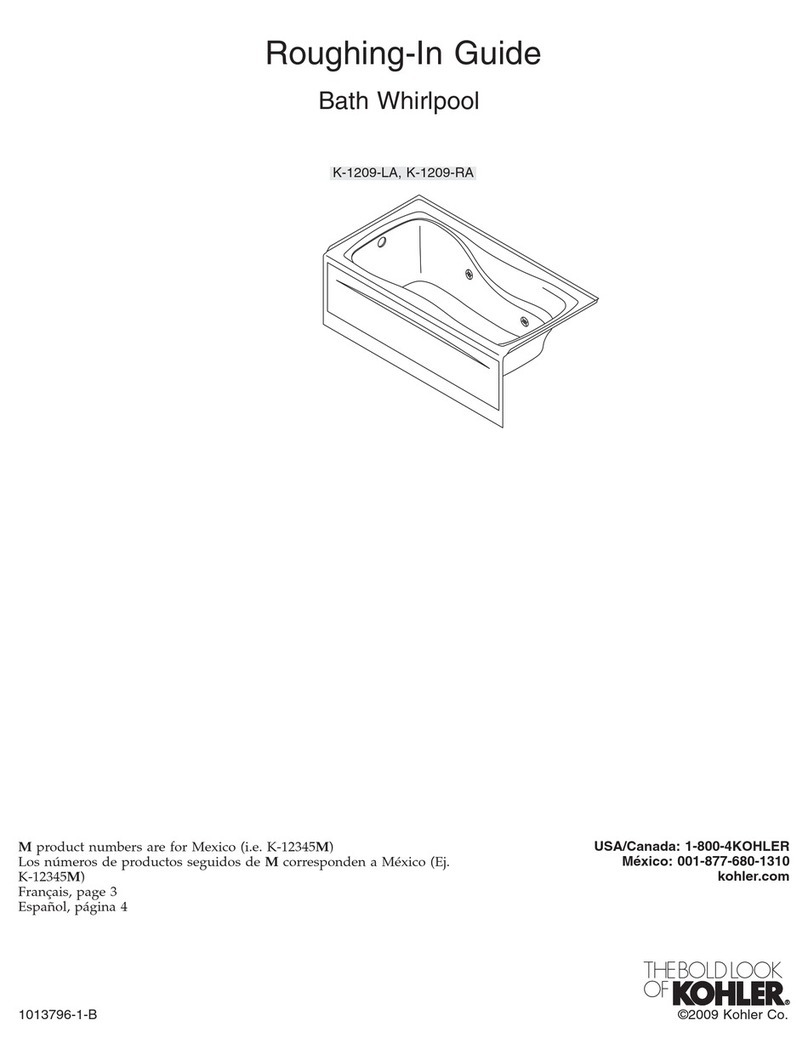
Kohler Hourglass K-1209-LA Roughing-In Guide

Kohler

Kohler Hourglass K-1209-LA Roughing-In Guide

manuals.online logo
manuals.online logoBrands
  • About & Mission
  • Contact us
  • Privacy Policy
  • Terms and Conditions

Copyright 2025 Manuals.Online. All Rights Reserved.