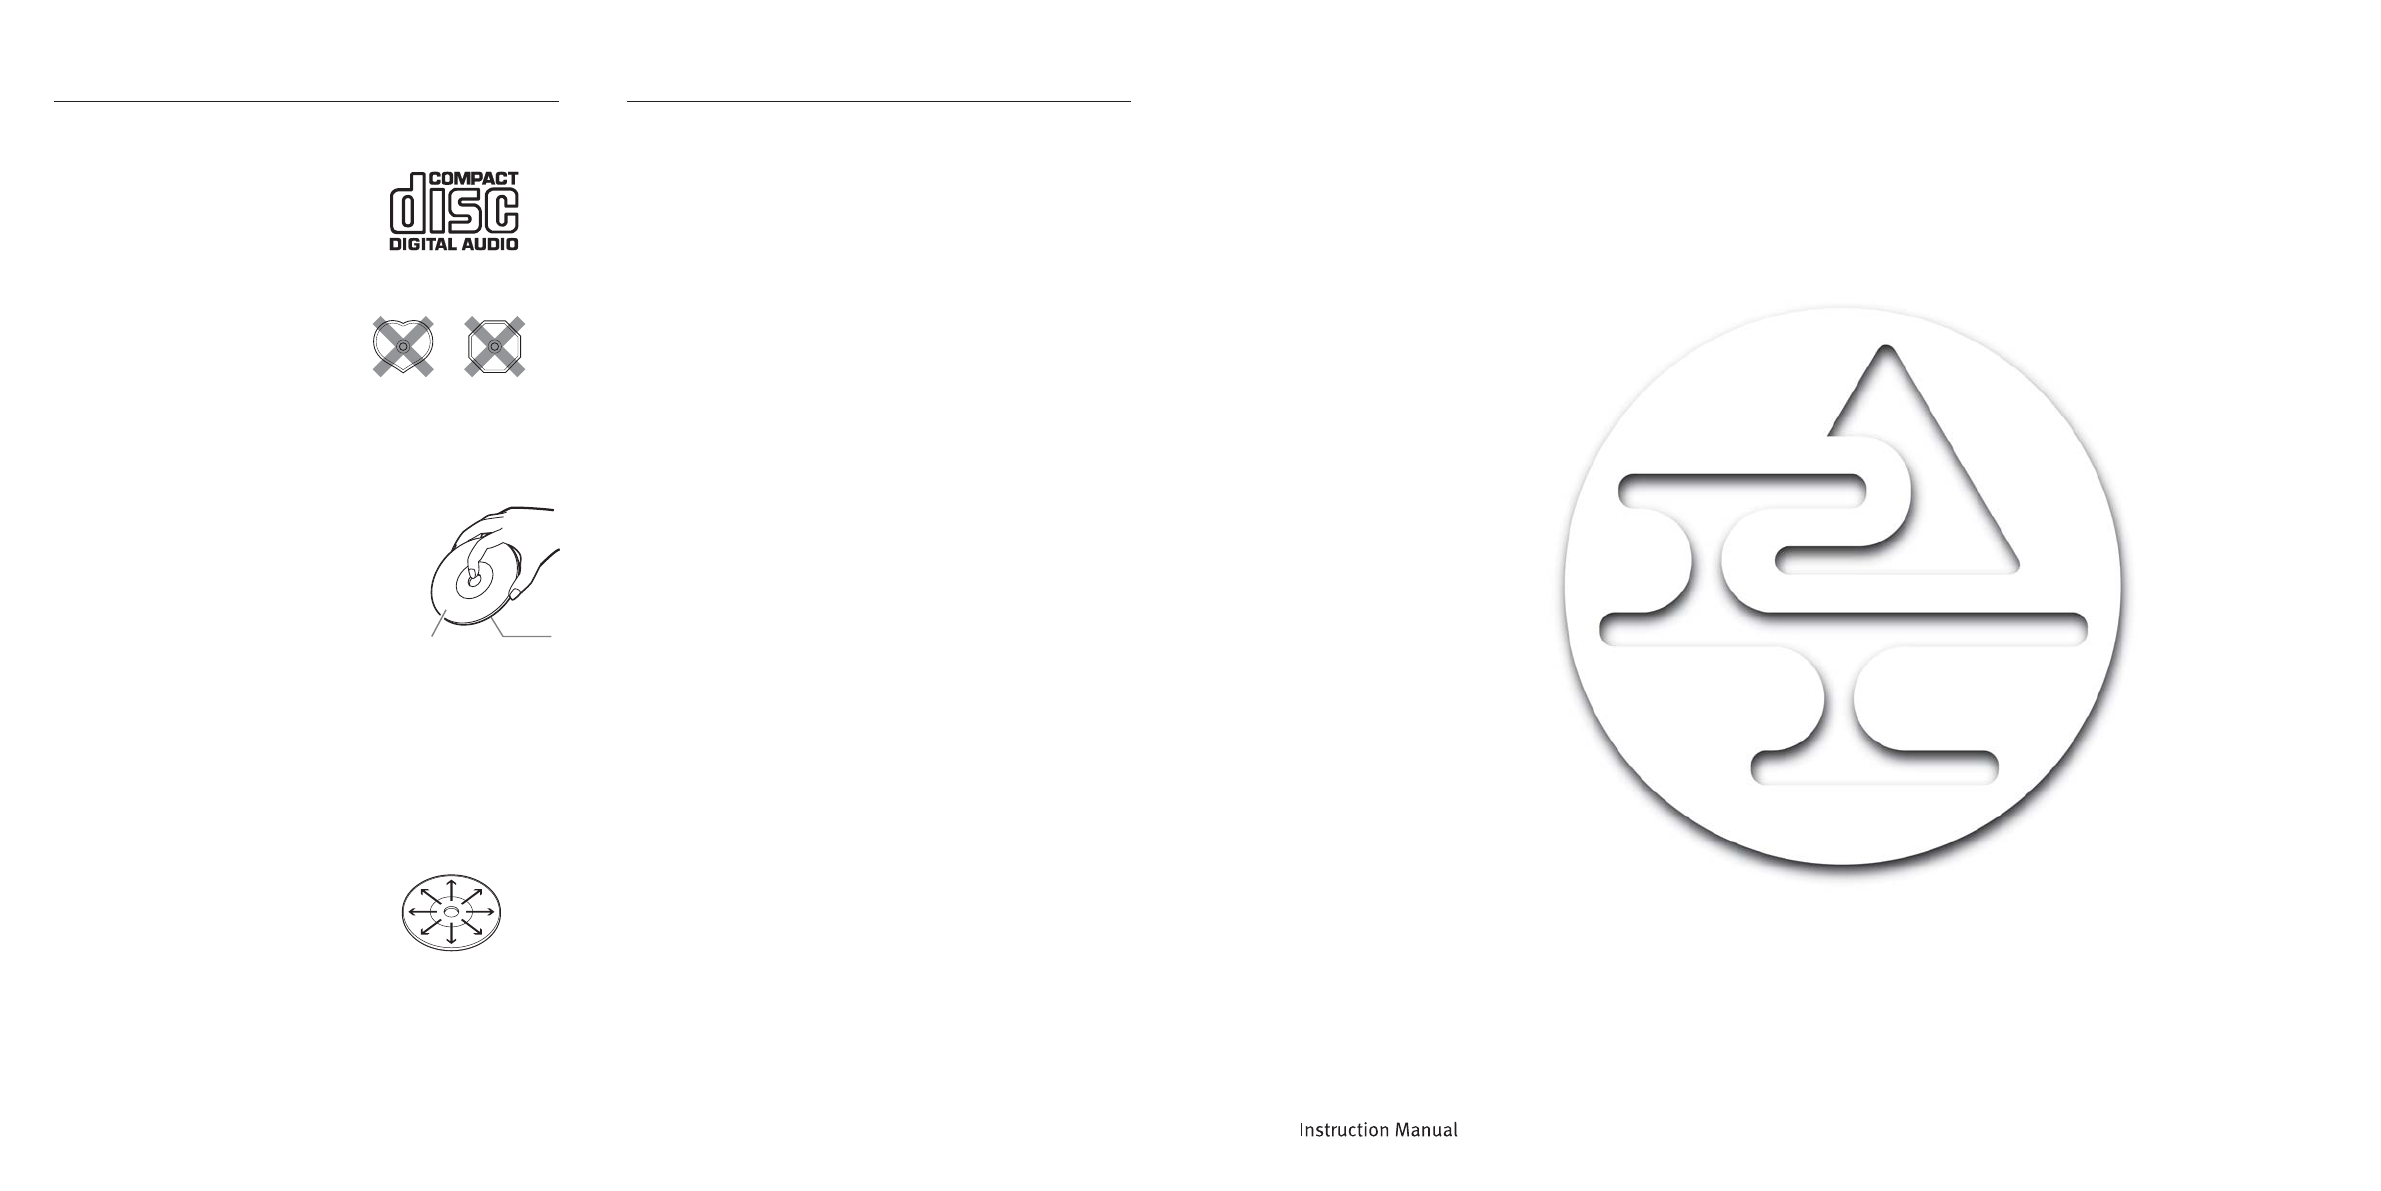
再生面
CDについて 製品の取り扱いについて
再生上のご注意
CD(コンパクトディスク)はディスクレーベル面
に下記のマークの入ったものをご使用ください。
パソコン用の CD-ROM など音楽用でないディ
スクは 使 用しないでけださい 。異音の発生などで
スピーカーや アンプ の 故 障 の 原 因 となります 。
お手入れについて
製品の表面は時々柔らかい布でからぶきしてください。汚れがひどいときは、中性洗
剤をうすめた液に、柔らかい布を浸し、固く絞って汚れをふき取ったあと乾 いた布で仕
上げをしてください。固い布や、シンナー、アルコールなど揮 発 性のものは 、ご使用に
ならないでください 。化学ぞうきんなどをお使いになる場合は、それに添付の注意書き
などをお 読 みください 。
テレビやパソコンとの近接使用について
一般にテレビやパソコンに使用されているブラウン管は、地磁気の影響さえ受けるほ
どデリケートななものですので 、普通のスピーカーを近づけて使用すると、画面に色む
らやひずみが 発 生します。
本機のスピーカー部は防磁設計になっていませんので本機をテレビから離してくださ
い。また、近くに磁石などが磁気を発生するものがあると本機との相互作用により、テ
レビに色むらが発生する場合がありますので設置にご注 意ください。
取り扱い上のご注意
本機のスピーカー部は通常の音楽再生では問題ありませんが、次のような特殊な信
号が加えられますと、過大電流による焼損断線事故のおそれがありますのでご注意く
ださい 。
1発振器や電子楽器等の高い周波数成分の音
2オーディオチェック用 CD などの特殊な信号音
3テープレコーダーを早送りしたときの音
4ピンコードなど、接続端子の抜き差し時のショック音
結露について
本機を冷えた所から暖かい部屋に持ち込んだり、寒い部屋をなどで急に暖めた場
合、本機の内部に水滴がつくことが あります 。これを 結 露とい い ます 。そのままでは正
常に働かないばかりではなく、ディスクや部 品も痛めてしまいます。本機をご使用にな
らないときは 、ディスクを取り出しておくことを お す す め しま す 。
結露しているおそれがある場合は、本機の電源を入れて約時間放置してからご使用
くださ い 。
メモリー 保 持 に つ いて
本機には、メモリー保持用の予備電源装置が内蔵されています。これ は 、お客様が設
定した内容などを停電時などに保護するためのものです。本機の電源コードを抜いた
状態で、メモリーを 保 持 できる の は 約 1 週 間 です 。
設置場所について
本機は直射日光の当たる場所や蛍光灯、殺菌灯などの下使用した場合、紫外線等
の影響を受けて変色することがあります。
※本機は音楽用 CD(CD-DA)に対応しています。
ディスクの 特 性 、傷、汚れ、録音状態によっては再生できないことがあります。
ハート型や八角形など特殊形状のディスクは使
用できません。機器の故障の原因となることがあ
ります 。
複製制限機能(コピーコントロール機能)のついた音楽 CD の
再生について
複製制限機能(コピーコントロール機能)のついた音楽 CD の中には正式な CD 規
格に合致していないものがあります。それらは 特 殊なディスクのため 、本機で再生でき
ない場合があります。
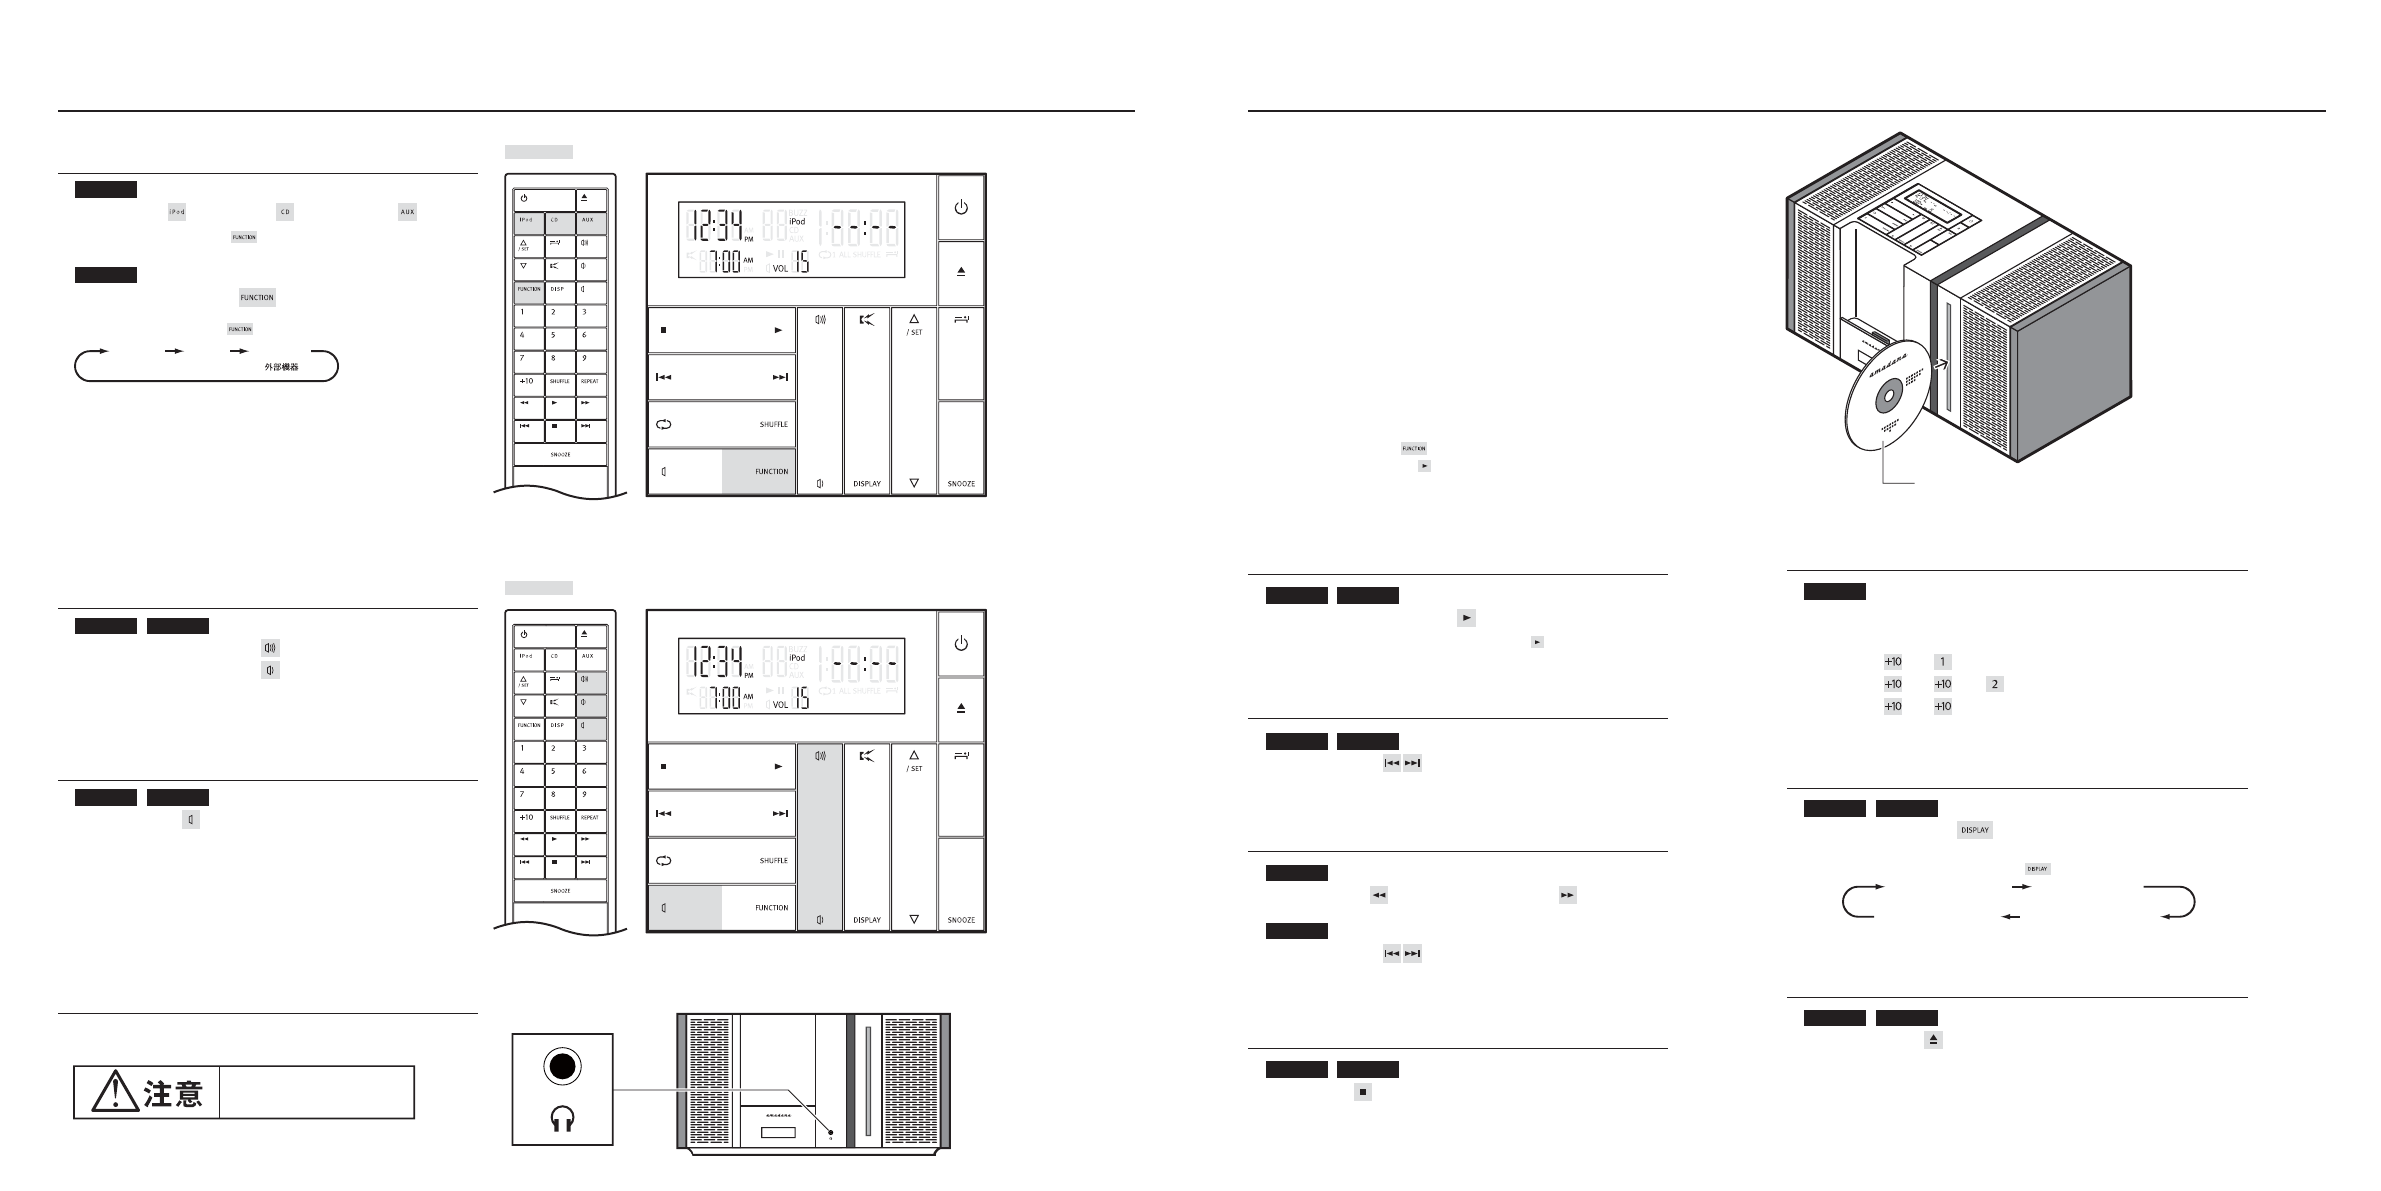
取り扱いについて
再生面(印刷されていない面)に触れないよう
に、両端をはさむように持つか、中央の穴と端を
はさんで持ってください。
再生面はもちろんレーベル面に紙やシールを貼ったり、文字を書いたりしないでくださ
い。また傷などをつけないようにしてください。
レンタル CD の注意について
CD にセロハンテープやレンタル CD のラベルなどののりはみ出したり、剥がしたあ
とがあるもの、また飾り用のシールを貼ったものはお使いにならないでください。C D
が取り出せなくなったり、故 障する原 因となることがあります。
CD のお手入れについて
汚れにより信号読み取りが低減し、音質が低下
する場 合 があります。汚れている場合は、再生面
についた指紋やホコリを柔らかい布でディスク
の内周から外周方向へ軽く拭いてください。
汚れがひどい場合は、柔らかい 布を水で浸してよく絞ってから汚れを拭き取り、そのあ
と柔らかい布で水気を拭き取ってください。アナログレコード用スプレー、帯電防止
剤などは使用できません。また、 ベンジンやシンナーなの 揮 発 性 の 薬 品 は 表 面 が 侵さ
れることがありますので絶 対 に 使 用しないでください。
レーベル面
(印刷面)
Desktop Audio 2
AD-203
18