4
Repair Professionals
All the examination and repair work should be done by qualified service engineers.
We are not liable for any problems caused by unauthorized modifications or user-attempted repair.
5.Environment
The camera should be kept in a cool, dry place away from direct sunlight, flammable materials, explosive
substances, etc.
This product should be transported, stored, and used only in the specified environments as stated above. Do not
aim the camera at a strong light source, as it may cause overexposure of the picture, and may affect the longevity
of the camera’s sensors. Ensure that the camera is in a well-ventilated area to prevent overheating.
6. Operation and Maintenance
Do not touch the camera sensor or lens directly.
To clean dust or dirt off the lens, use an air blower or a microfiber cloth.
7. Accessories
Be sure to use only the accessories recommended by manufacturer. Before installation, please open the package
and check to ensure that all the components are present.
Contact the retailer that you purchased from, or Amcrest directly if anything is broken or missing in the package.
Overview
This camera features the latest JS technology which allows the camera to operate in any web browser without the
use of a plugin. It uses a built-in hotspot to connect to your Wi-Fi network using the Amcrest View Pro app. The
camera has a variety of functions such as motion detection, playback, as well as IVS features such as tripwire and
intrusion for perimeter protection and smart motion detection which allows the camera to only detect when a
human figure is detected.
Features
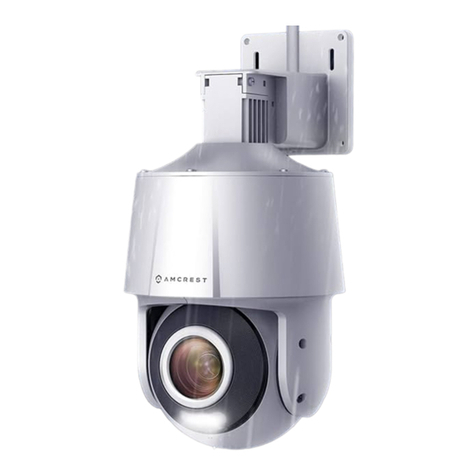
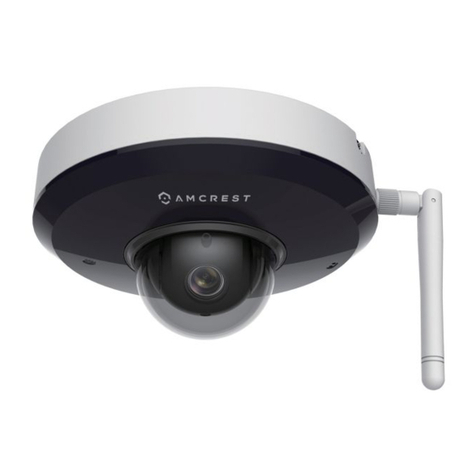
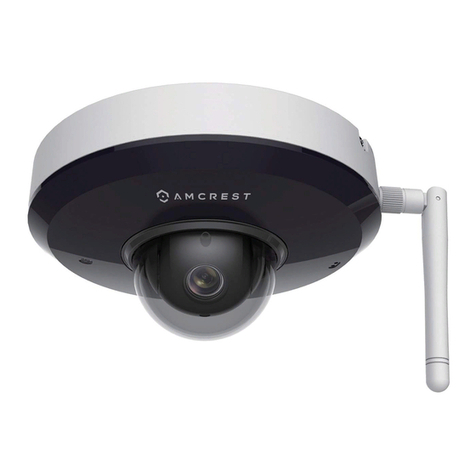
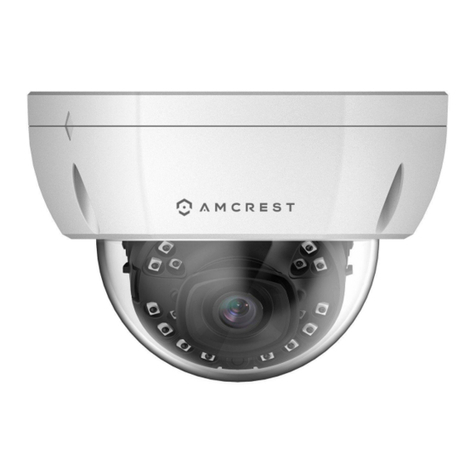
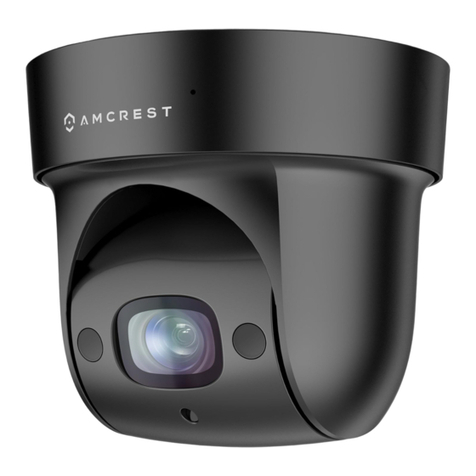
The Amcrest Outdoor Speed Dome PTZ camera has the following features:
Network Access
This device uses SoftAP to connect the camera to your WiFi network. SoftAP is an abbreviated term for "software-
enabled access point" and is used to provide a more efficient way of connecting your device wirelessly. The camera
by default broadcasts a unique SSID that will be used for the SoftAP connection process. This means, if you are
connecting your camera wirelessly, SoftAP must be used using the Amcrest View Pro app to connect the camera to
your Wi-Fi network.
Cloud Storage Functionality
This device can record video and audio streams to the Amcrest Cloud service to enable long-term storage for
recordings. Amcrest Cloud also allows the user to easily find and download recorded video for playback from any
internet connected PC or Mac computer.
AI Features
This device supports the following AI features, Smart Motion Detection, which allows the camera to only detect
when a human has been detected, and IVS (Tripwire and Intrusion) which provides more efficient perimeter
protection. Please note, IVS recordings will be displayed as motion detection event types in the playback interface.
