American Audio LSM240 User manual

©American Audio® - www.AmericanAudio.eu - LSM Quick Start and Reference Guide Page 1
LSM240 LSM480
Featuring:
Digital loudspeaker management system
Quick Start and Reference Guide
8/09

©American Audio® - www.AmericanAudio.eu - LSM Quick Start and Reference Guide Page 2
LOADING THE SOFTWARE
There are two files on the disk that need to be loaded prior to connecting the LSM series.
setup.exe (v1.01)
USB driver (CP210x USB to UART to Controller - USB\CP210x_VCP_Win2K_XP_S2K3.exe)
FOLLOW THE STEPS BELOW
1. Open the USB driver folder and click on CP210x_VCP_Win2K_XP_S2K3.exe. Follow the Silicon CP210x
prompt wizard.

©American Audio® - www.AmericanAudio.eu - LSM Quick Start and Reference Guide Page 3
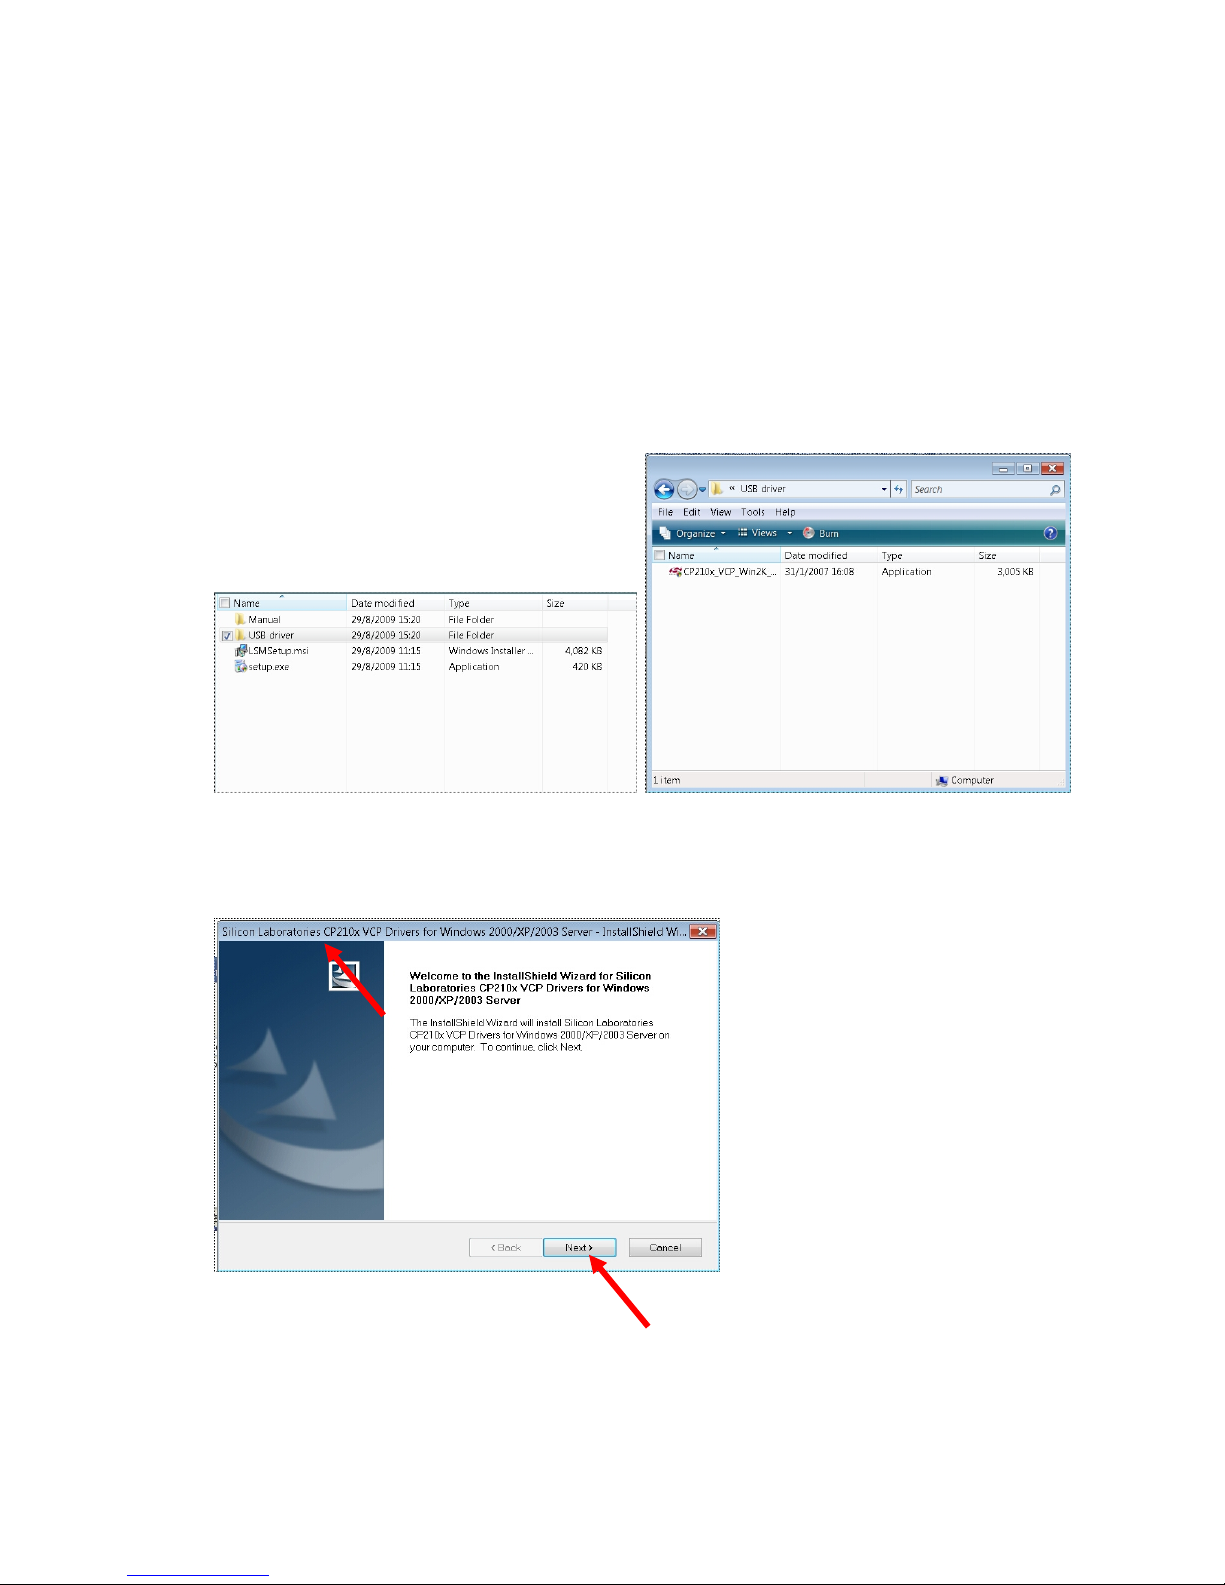
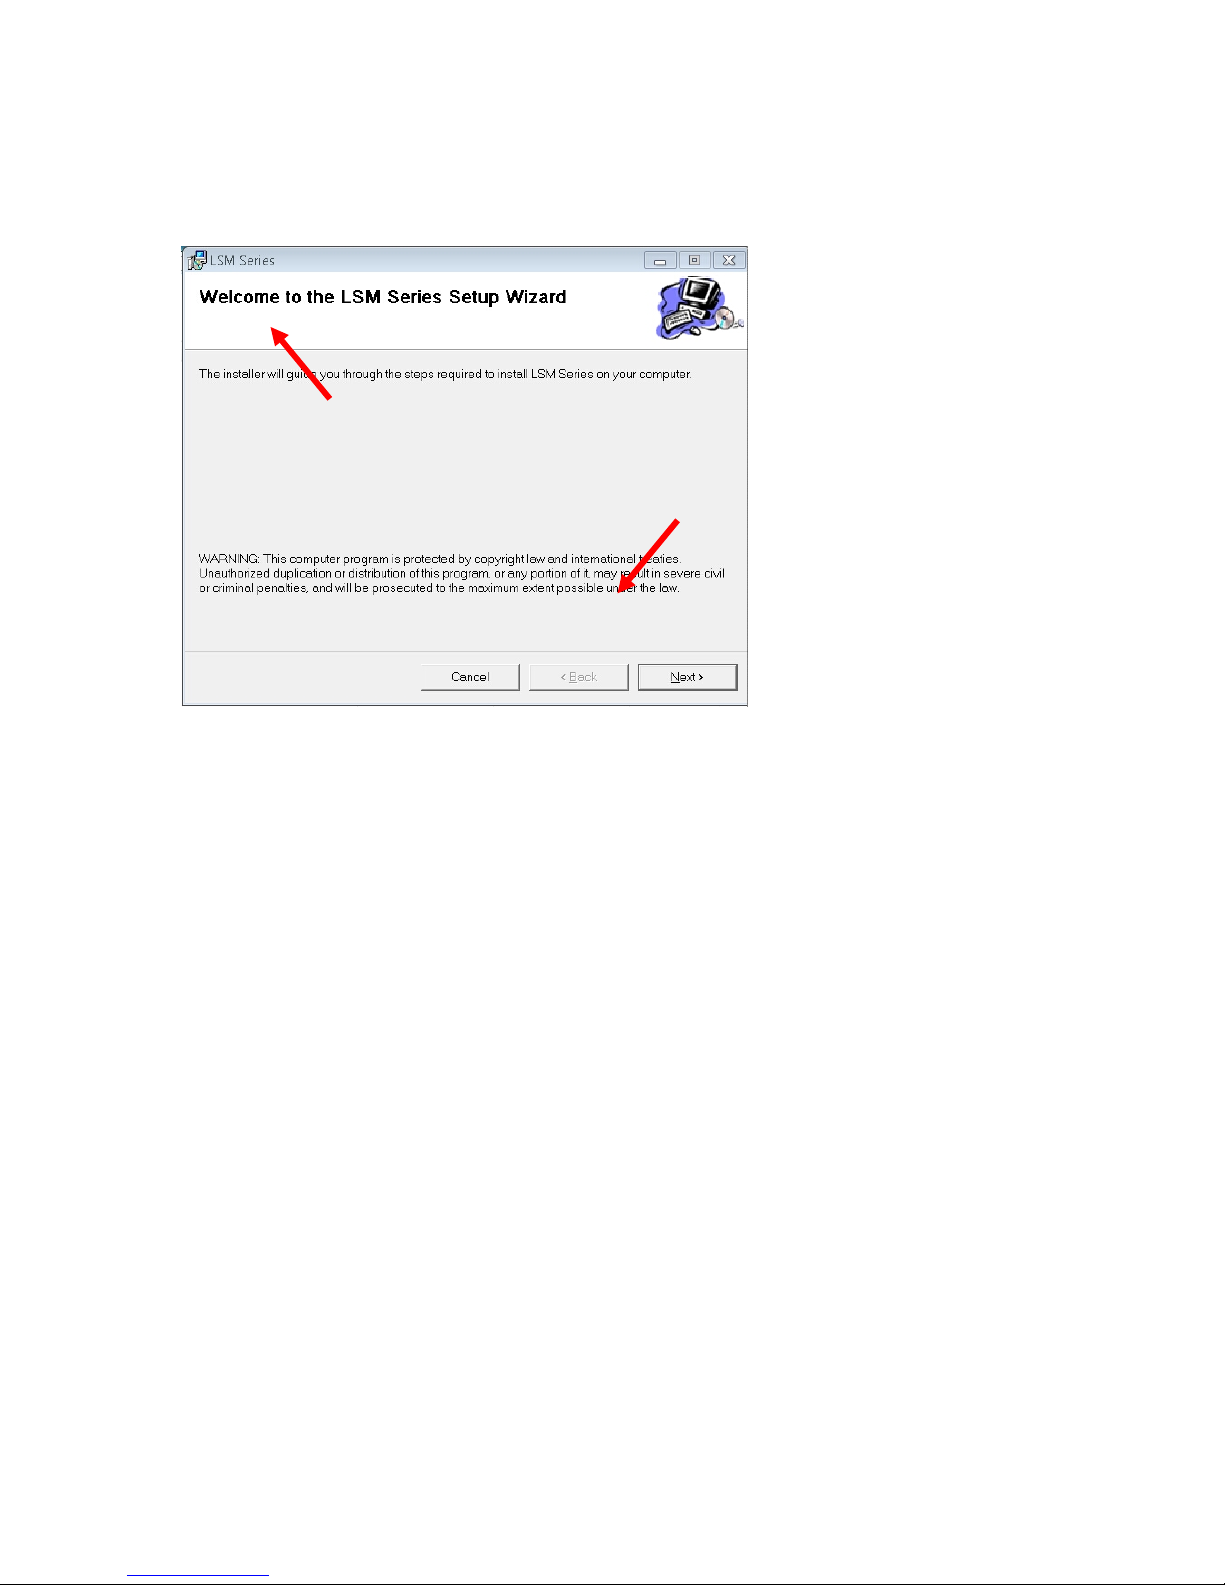
2. From the CD click on setup.exe file. Follow the wizard prompts until finished.
3. After both programs are installed you need to find out which COM Port in your computer is assigned to use
with LSM controller. Connect a USB cable from the controller to your computer, turn on the power, Note: A
prompt on your computer should pop up and say “New USB Device Found”. Click on it and tell it to locate
the USB driver automatically. After the computer matches the computer to the USB driver it must find which
COM Port it was assigned to. Now you may find the red LED next to the USB connector on the device
should be on.
Note: If the controller is not connected to your computer, it will not indicate a COM Port
4. Finding the assigned COM Port. Follow these steps from your Windows desk top screen.
1. Start, 2. Control Panel, 3. System, 4.Hardware, 5. Device Manager, 6. Scroll to “Ports (COM & LPT).
Click on the “+” sign and listed should be “CP210x USB to UART to Controller”, followed by the
assigned COM Port number. In this case it was COM5.

©American Audio® - www.AmericanAudio.eu - LSM Quick Start and Reference Guide Page 4
NOTE: In case the CP210x driver is not installed successfully, please re-install the driver or right click the
CP210x, and select update driver software and browse to driver containing folder by default is under c:\ ( or d:\
depending where you extract to) Silabs\MCU\CP210x\Windows_2KXP_S2K3 and click OK to install the driver
again.

©American Audio® - www.AmericanAudio.eu - LSM Quick Start and Reference Guide Page 5
5. After you have located the COM Port you can open the LSM.exe control software. Go to Start, Programs,
LSM Series, LSM.
6. When the LSM control software is open it should look like the following
7. Click on the LSM240 or LSM480 or click on the menu bar, Device, and choose either LSM240 or LSM480 to
access the main control GUI.
Note: the main difference between LSM240 and LSM480 are just the number of Input and Output channels.

©American Audio® - www.AmericanAudio.eu - LSM Quick Start and Reference Guide Page 6
8. Connect to the device, click on the Connection button at the bottom left and a new menu pop up. Assign the
device COM Port number that’s given in step 4 ( here in this case is COM5) and then click OK to connect.
Leave the Device_id to 1 assuming your controller is assigned to Device_id to 1, otherwise you have to
select match up id.
Once the correct COM Port and Device ID are selected , click OK and Connecting menu will pop up and
communication between software and controller are built successfully.

©American Audio® - www.AmericanAudio.eu - LSM Quick Start and Reference Guide Page 7
GUI of LSM controller software
Using the software
From the bottom of the GUI, there are 9 menu buttons:-
1. Connection – choose the COM Port and the Device ID in order to with connect to the controller
2. Program – user can store up to 30 programs to and from PC and controller
User Program – user can store to PC or recall own program to and from controller (1-20 prog.)
Factory Program – extra user space (21-30 prog.)

©American Audio® - www.AmericanAudio.eu - LSM Quick Start and Reference Guide Page 8
3. Ch_Setup – Custom Name can be assigned to each Channel input and output.
4. Signal Gen – Signal Generator with Normal, Pink Noise and Tones to help best system setup
By default all of the output channels can generate signals
5. Copy – copy channel’s setting from one channel to the others
6. All Program – Download stored programs from PC to controller. Or upload programs from controller and
store in PC.

©American Audio® - www.AmericanAudio.eu - LSM Quick Start and Reference Guide Page 9
Click on Download, and select the pre-stored programs. ATransmitting Data menu popup, when it closes.
Programs are download successfully.
Click on Upload button, data is uploading to PC. Choose a file name and location where you want to save and
click save

©American Audio® - www.AmericanAudio.eu - LSM Quick Start and Reference Guide Page 10
7. Password – Lock up the control software to prevent undesired changes in the setup. After type in the
password, click OK in the popup menu to lock the software. To Unlock, type in the password.
NOTE: the default password is 1 and universal password for the controller or control software is
666666.
You can change your password by click on Modify_PassWord.

©American Audio® - www.AmericanAudio.eu - LSM Quick Start and Reference Guide Page 11
8. Data Display – display or print the complete setup parameters or configurations.
9. Device – display the system information: such as product name, product type, production date, version etc.

©American Audio® - www.AmericanAudio.eu - LSM Quick Start and Reference Guide Page 12
Introduction of main User Interface
INPUT CHANNEL
1. or Normal or Mute input channel
2. Input gain control. You can click on the Group1 buttons to synchronize the level setting
3. Polarity setting + or –
4. Delay

©American Audio® - www.AmericanAudio.eu - LSM Quick Start and Reference Guide Page 13
5. - Input Equalizer
Beside you can manually set up the EQ parameters, you can drag the EQ’s curve to make direct changes to your
desire setting.
Pointing the mouse above the graphical display curve of EQ1, 2, 3, 4, 5, 6 like or , you can
drag your mouse to make changes. The changes will effect instantly to the controller or Input Equalizer menu.

©American Audio® - www.AmericanAudio.eu - LSM Quick Start and Reference Guide Page 14
OUTPUT CHANNEL
1. - Mixer
2. - Output Gain
Setup the linkage for different Output channels for synchronize level adjusting.

©American Audio® - www.AmericanAudio.eu - LSM Quick Start and Reference Guide Page 15
3. - Output Delay
4. -Output Equalizer

©American Audio® - www.AmericanAudio.eu - LSM Quick Start and Reference Guide Page 16
5. - Crossover setup for Output channels. You can adjust the crossover point by dragging the mouse
on the main graphical display
Dragging the mouse on or to adjust the desire crossover point

©American Audio® - www.AmericanAudio.eu - LSM Quick Start and Reference Guide Page 17
6. - Output Limiter, to set up the Threshold, Attack and Release time for output channel
7. or Normal or Mute output channel
LMS480 GUI control software
Control software GUI is basically the same as LSM240, just with more input and output channels

©American Audio® - www.AmericanAudio.eu - LSM Quick Start and Reference Guide Page 18
Connect to Multiple Processors
It’s possible to connect and control multiple controllers by copy the whole installed LSM directory to a new folder
and click on the LSM.exe to start a new control software GUI. First we need to plug in USB cable to a new USB
port of your PC or hub and Windows will automatic search for the CP210x driver and assign a new COM port.
Then we can open multiple GUI to control multiple controllers.
Note:do not forget to assign different Device IDs for each controller.
Specification changes without further notices
This manual suits for next models
1
Table of contents
Other American Audio Recording Equipment manuals