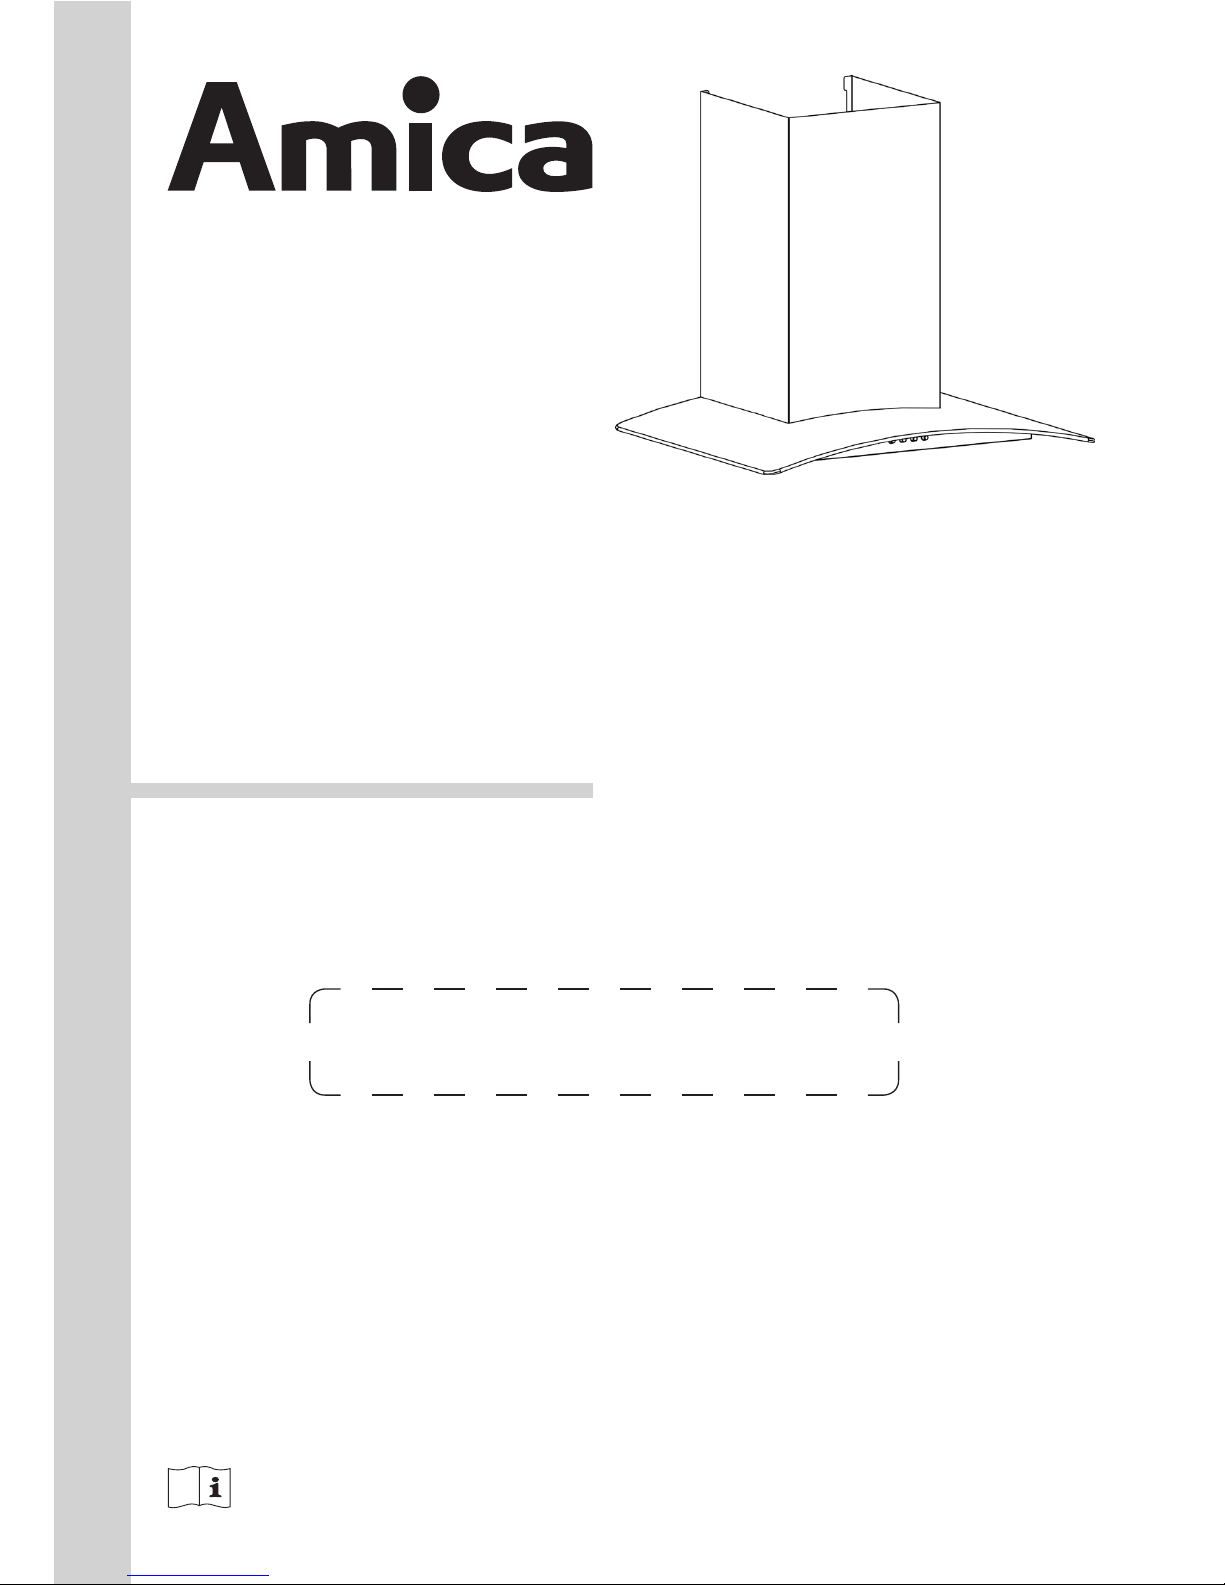
Amica OKP931G User manual

OKP931G
OKP631G
OKP931Z
OKP621Z
OKP931T
OKP631T
INSTRUCTION MANUAL - KITCHEN EXTRACTOR HOOD EN
Before using the appliance, please carefully read this manual!
Sticker with serial number of appliance

2
OKP 631G
OKP 931G
OKP931GOKP631G
OKP 631Z
OKP 931Z
OKP 621Z
OKP621Z

3
OKP 631T
OKP 931T
OKP631T OKP931T

4
min 650mm
Gas cookers
min 650mm
Gas cookers
min 450mm
Electrical
cookers
1a 1b 1c
2

5
2
,

6
ST5*50
1
2
3
4
5
6
7
8
2
,,

7
A
ELECTRICAL 450
GAS 650
(3) ST5*45
Hood Mounting
Bracket
(2) ST4.2*30
Chimney Mounting
Bracket
Duct
(2) ST3.2*8
Hood Mounting
Bracket
3a 3b
3c 3d
3e 3f

8
(2) ST4.2*30
Decorative
Chimney
Bottom
Chimney
Mounting
Bracket
(2) M4*6
Decorative
Chimney
Top
Decorative
Chimney
Bottom
(2) ST4.2*30
Optional
(2) M4*12
3g 3h
3i 3j
3k

9
A
ELECTRICAL 450
GAS 650
(3) ST5*45
Hood Mounting
Bracket
(2) ST4.2*30
Chimney Mounting
Bracket
3a 3b
3c 3d
3e 3f
Duct
(2) ST4.2*8
(2) ST4.2*8
,,
,,
,,

10
3g 3h
3i 3j
Hood
Mounting
Decorative
Chimney
Bottom
(2) ST4.2*30
Decorative
Chimney
Top
Decorative
Chimney
Bottom
Chimney
Mounting
Bracket
(2) M4*6
(2) ST4.2*30
,,
,,

11
A
ELECTRICAL 450
GAS 650
(3) ST5*45
Hood Mounting
Bracket
(2) ST4.2*30
Chimney Mounting
Bracket
3a 3b
3c 3d
3e 3f
,, ,,
,, ,,
,, ,,

12
3g 3h
3i 3j
3k
,, ,,
,, ,,
,,

13
6
Optional
(2) M4*12
5
12V 20W G4
7
4
5
(2/3) Filter
(2) Optional
6
,
,

14
TABLE OF CONTENTS
GUIDELINES CONCERNING THE SAFETY OF USE 15
INSTALLATION 16
OPERATION AND MAINTENANCE 17
ENVIRONMENTAL PROTECTION 18
PRODUCT GUARANTEE AND WARRANTY CONDITIONS 19
You are now a user of a kitchen extractor hood. This hood has been designed and manufactured spe-
cially with a view to satisfying your expectations and it will certainly constitute a tting element of a
modern kitchen. The modern structural solutions and the newest technologies used in production of this
hood guarantee its high effectiveness and good appearance.
Please read these instructions carefully before installing the hood. They will help you avoid mistakes
during installation and operation of the hood.
We wish you a lot of satisfaction from choosing our kitchen extractor hood.
DEAR CUSTOMER!
THANK YOU FOR PURCHASING AN AMICA APPLIANCE
Symbols appearing in these instructions have the following meaning:
This indicates actions than must not be
performed by the user.
Risks resulting from improper operation
of the appliance. Activities that must be
performed by a qualied technician.
Important information concerning proper
operation of the appliance and your perso-
nal safety.
Tips on how to use the appliance.
i
Information on how to protect the environ-
ment.
The appliance is intended for household
use only.
The manufacturer reserves the right to
introduce changes which do not affect the
operation of the appliance.

15
GUIDELINES CONCERNING THE SAFETY OF USE
lThe manufacturer will accept no respon-
sibility for any damage due to installation
or operation not conforming to these in-
structionsi
lCooker hood is designed to remove co-
oking odours. Do not use cooker hood for
other purposes.
lConnect the cooker hood operating in
extraction mode to a suitable ventilation
duct (do NOT connect the cooker to smo-
ke or ue gas ducts, which are in use). It
requires installation of the air extraction
duct to the outside. The duct length (typi-
cally 120 or 150mm in diameter) should
not exceed 4-5 m. The air exhaust duct
is also required for telescopic and under
furniture cooker hoods operating in air re-
circulation mode.
lCooker hood operating in air recircula-
tion mode requires the installation of an
activated charcoal lter. In this case, in-
stalling an extractor duct is not required,
however it is recommended to install an
air guide vane. (chimney cooker hoods
only).
lThe cooker hood features independent
lighting and exhaust fan that can be ope-
rated at one of several speeds.
l Depending on the type, the hood is de-
signed to be permanently attached to a
vertical wall over a gas or electric stove
(chimney and universal hoods); on the
ceiling over a gas or electric stove (island
hoods); on the vertical built in furniture
over a gas or electric stove (telescopic
and built-in hoods). Before installing,
make sure that the wall/ceiling structure
is strong enough to suspend the hood.
Some hoods are very heavy.
lFor details of the installation distance
above an electric hob please refer to
product technical sheet If the installation
instructions of the gas cooker specify a
greater distance, this must be taken into
account (Fig. 1a/b/c).
l Do not leave an open ame under the
hood. When the pots are removed from
the burner, set the minimum ame. Al-
ways make sure that the ame does not
extend outside the pot, because it causes
unwanted loss of energy and a dangero-
us concentration of heat.
lAny food cooked in fat shall be constantly
monitored, since overheated fat can ig-
nite very easily.
lPull the plug of the power cord from a
wall socket before any lter cleaning or
repair operation.
lThe textile grease lter should be re-
placed, and the aluminium lter should
be cleaned at least every one month in
connection with the existing re danger
(saturated fat is very ammable).
lIf any other non-electric devices are used
in the same room as the hood (e.g. liq-
uid fuel ovens, ow-through or volumetric
water heaters), it is necessary to provide
appropriate ventilation (air supply). Safe
operation is possible when during simul-
taneous operation of the hood and com-
bustion devices dependent on air supply
the negative pressure of not more than
0.004 milibar is maintained at the loca-
tion of these devices inside the room (this
point does not apply when the hood is
used as an odour absorber).
lDo not lean on hood
lThe hood should be frequently cleaned
inside and on the outside surfaces (at
least once a month). See “Cleaning sec-
tion” in this manual.
lIf the power wire gets broken, it should
be replaced with a new one in a specialist
repair shop.
lMake sure the appliance can be easily
disconnected from the mains, either by
pulling the plug out of the mains socket,
or by switching the two-pole switch off.
lThis appliance is not intended for use by
persons (including children) with reduced
physical, sensory or mental capabilities,
or lack of experience and knowledge, un-
less they have been given supervision
or instruction concerning use of the ap-
pliance by a person responsible for their
safety.
lChildren should be supervised to ensure
that they do not play with the appliance.
lCheck if the voltage indicated on the rat-
ing plate corresponds to the local power
supply parameters.
l Before installing unwind and straighten
the power cord.
lWarning! The packaging materials (poly-
ethylene bags, small pieces of foamed
polystyrene etc.) should be kept away
from children while unpacking.
l NOTE: Before connecting the hood to the
mains power supply always check that
the power cord is properly installed and is
not trapped by the appliance. It is recom-
mended to make sure the hood operates
correctly before installation.
i
i

16
Setting the air extractor mode of operation of
the hood
In the extractor mode air is discharged to the out-
side by a special conduit. In that setting any carbon
lters shall be removed. The hood should be con-
nected to the opening discharging air to the outside
by means of a rigid or exible conduit of
120 mm diameter, which should be purchased in a
shop selling installation materials.
A qualied installer should be commissioned to
make the connection.
Setting the odour absorber mode of operation
of the hood
In this option ltered air returns to the room
through openings in the front of the hood.
In this setting it is necessary to install the carbon
lter. It is recommended to install the air guide
(availability depending on model).
In some universal hoods you need to switch lever
inside the hood (Fig. 8) to switch between the
extraction and air recirculation modes. The cle-
aned air is returned to the room through the holes
in the top of the unit.
Furniture and telescopic cooker hoods operating
in air recirculation mode require installation of the
exhaust duct. The other end of the duct should be
directed to the room as it will discharge ltered air.
Fan speeds
The lowest and medium speeds should be used
under normal conditions and with low concentration
of fumes. The maximum speed should be used in
case of high concentration of kitchen fumes, e.g.
during frying or grilling.
INSTALLATION
Elements
kitchen hood consists of the following elements
(Fig. 2):
1. Hood mounting bracket
2. Hood body
3. Dischange collar
4. Air outlet adapter
5. Duct (exist according to the model)
6. Chimney mounting bracket
7. Decorative chimney top
8. Decorative chimney bottom
Installation
Step-by-step appliance installation is shown on Fig.
3... (for OKP...G), Fig. 3...’ (for OKP...Z), Fig. 3...’’
(for OKP...T).

17
OPERATION AND MAINTENANCE
Use control panel to control your cooker hood (Fig. 4)
The light switch turns the lamps on and off.
The blower switch turns the blower on to three speed settings:
- LOW SPEED
- MEDIUM SPEED
- HIGH SPEED
- Lighting turn on / turn off
Maintenance
Regular maintenance and cleaning of the device
will ensure faultless operation, and help extend the
life of the unit. Attention should be paid to replacing
grease and carbon lters according to instructions.
Aluminium grease lter
Cleaning
For normal hood operation, aluminium grease lter
should be cleaned every month in the dishwasher
or by hand using a mild detergent or liquid soap.
To replace:
Dismantling of aluminium grease lter is shown on
Figure 5.
Acrylic lter is used in some models. This lter sho-
uld be replaced at least once every two months or
more frequently if the appliance is used intensively.
Charcoal lter (only the recirculation version)
Operation - Carbon lters can be used only when
the hood is not connected to any ventilation duct.
Filters with active carbon can absorb odours until
they are saturated. They cannot be washed or re-
generated and should be replaced at least every 2
months or more frequently in case of very intensive
use.
Replace:
Dismantling of charcoal lter is shown on Figure 6.
Lighting
See Figure 7 for details how to replace lights. Use
incandescent / halogen / LED modules of the same
specication as those factory-installed in the ap-
pliance.
Cleaning
Normal hood cleaning:
l Do not use a soaked cloth, sponge, or water
jet.
l Do not use solvents or alcohol, as they may
tarnish lacquered surfaces.
l Do not use caustic substances, especially for
cleaning stainless steel.
lDo not use a rough or abrasive cloth.
It is recommend to use a damp cloth and a neutral
detergent.
Aluminium lters may be washed in the dishwash-
er. The colour of aluminium lters may change after
several washings. This is normal and it is not nec-
essary to renew the lters.

18
ENVIRONMENTAL PROTECTION
Recycling of the packaging
Our packaging is made of envi-
ronmentally friendly materials,
which can be reused:
l The external packaging is made of cardboard/
foil
l The FCKW free shape of foamed polystyrene
(PS)
l Polyethylene (PE) foils and bags
ELIMINATION / DISPOSAL OF THE EU-
IPMENT
If the appliance is no
longer in use, cut the con-
necting cable off the used
equipment before scrap-
ping. We also recommend
that the appliance is locked
or render it useless so that
the appliance presents no
danger to children while being stored for
disposal. This appliance is marked with a
symbol of the crossed out waste container
in conformance with the European Direc-
tive 2002/96/EC. Such marking informs that
the equipment may not be kept together
with other waste coming from the house-
hold after the period of its use. The user is
obliged to dispose of the appliance at the
waste collection point authorised by the
local authority. The local waste collection
points, shops and communal units form an
appropriate system enabling the disposal of
the equipment.
Handling the used electrical and electronic
equipment and any hazardous substances
contained therein in a correct manner is vi-
tal to avoid damage the local natural envi-
ronment. Therefore care and responsibility
should always be taken in the disposal of
these products
Manufacturer’s Declaration
The manufacturer hereby declares that this product meets the requirements of the following European
directives:
l Low Voltage Directive 2006/95/EC,
l Electromagnetic Compatibility (EMC) Directive 2004/108/EC,
lErP Directive 2009/125/EC
and has thus been marked with the symbol and been issued with a declaration of compliance made
available to market regulators.

19
PRODUCT GUARANTEE AND WARRANTY CONDITIONS
Your Amica product comes with a 2 year parts and labour guarantee for electrical and mechanical failure
which commencing from the date of the original purchase.
Please ensure you register your product and keep your receipt (proof of purchase) and serial number in
a safe place.
You can register your Amica product online at www.amica-international.co.uk or www.amica.ie
Warranty conditions:
What is covered?
- Electrical and mechanical faults deriving from faulty materials, defective components or a manufac-
turing defect.
- Replacement functional parts
- Labour costs of an approved Amica engineer
Your Amica Guarantee covers domestic use at a residential address and is subject to the following
Terms and Conditions.
Guarantee exclusions:
• Transit / delivery damage or cold weather damage.
• Incorrect installation:
Please ensure that your Amica appliance has been correctly and safely connected to mains sup-
plied electricity, gas and water and drainage as appropriate and in accordance with the instruction
manual.
Gas appliances must be properly installed by a qualied Gas Safe (or BORD GAIS) installer. LPG
conversions will be covered only if a copy of the necessary certication is provided at the time of
registration by a qualied Gas Safe (or BORD GAIS) installer.
We recommend that all electric cooking products, washing machines and dishwashers are installed
by a qualied plumber / electrical appliance installer.
• Repair of, or interference with, the product by any person not authorised by the manufacturer to
carry out service
• Improper use or abuse
• Accidental damage
• Reversal of doors or door handles on cooling appliances
• Repair or replacement of any cosmetic or consumable parts such as bulbs, plugs, fuses, cables,
lters and attachments, control knobs, aps, container lids, handles, glass and wire shelves, rubber
hoses, plastic door shelves and any accessories for example Oven baking trays and shelves. These
include any parts which have become worn, discoloured or damaged, including damage by incorrect
use or cleaning.
• Repair of the appliance due to the effects of a lack of cleaning such as dirt, mould, grease, spillages
and odours or due to the effects of limescale
• Any blockages to pump or lter in washing machines and dish washers.
• Punctured evaporators and lack of cleaning (eg blocked gas jets)
• Any parts which are tted to the product which are not original manufacturer’s parts
• Operation at incorrect voltage
• No Fault Found
• Scratches and chips to ceramic hob glass surface resulting in the use of inappropriate cooking
utensils.
• Noise, vibration or steam resulting in the operation of the appliance. This includes steam from
washer, dryer, dishwasher and ovens, running of oven fans, drain pumps.
• Being used in a non-domestic environment, second hand, or those used by several people in com-
munal areas
A service charge could be made if a fault is not a mechanical or electrical manufacturing fault.
Disclaimer
• The manufacturer will not be held responsible for any damages resulting from inappropriate usage
of the appliance.
• The Guarantee is valid in the United Kingdom and the Republic of Ireland only.
• The Guarantee is non transferable and only relates to the original purchaser of this appliance.
• Where deemed necessary by Amica for an appliance to be exchanged within the Guarantee period,
the new appliance will be covered by the original Guarantee period and will not be subject to a new
Guarantee.
• Amica reserve the right to inspect the appliance before exchange/replacement can take place.
• Amica disclaims any liability for consequential loss or damage.
• This Guarantee does not in any way diminish your statutory or legal rights
On discovering a fault and to request a repair under Guarantee, please contact our service centres
immediately

IO 01018/2
(10.2014)
Service Help Line
For the UK: please call 0844 815 8880
0818 46 46 46
For Ireland: please call
This manual suits for next models
5
Table of contents
Other Amica Ventilation Hood manuals

Amica
Amica SKZ 62BB User manual

Amica
Amica KH 17801 E User manual

Amica
Amica OKC951S User manual

Amica
Amica SIO 61 AX User manual

Amica
Amica OTS5234I User manual

Amica
Amica OMC6241 Series User manual

Amica
Amica OTP6233 Series User manual

Amica
Amica OWC4441BK User manual

Amica
Amica OKC4441BO User manual

Amica
Amica AEP60BL User manual

Amica
Amica 60311 User manual

Amica
Amica KH 17119 E User manual

Amica
Amica OKC6551BGS User manual

Amica
Amica UH Series User manual

Amica
Amica OKP6652S User manual

Amica
Amica OKP6552SB User manual

Amica
Amica SP 62 AB User manual

Amica
Amica KHF 685 650 S User manual

Amica
Amica KHF 662 601 S User manual

Amica
Amica OTC6211B User manual