4
Caution: Read
before installing
this product
• To ensure optimal performance,
please read this guide carefully. Keep
it in a safe place for future reference.
• Install this product in a cool, dry
and clean place - away from direct
sunlight, heat sources, vibration, dust
and moisture.
• Do not expose this unit to sudden
temperature changes or locate it in
an environment with high humidity.
This is to prevent condensation
forming inside which may cause
damage to this unit and possibly to
devices connected to it.
• Do not clean this unit with chemical
solvents as this might damage the
finish. Use a clean, dry or damp cloth.
• Do not attempt to modify or repair
this unit.
• Be sure that all connections are made
in accordance with this guide
• Contact your distributor or the
manufacturer if a fault should occur.
• This unit features internal jumpers
that may be adjusted by the installer.
Take care when removing and re-
fitting the lid not to damage the four
machine screws. Ensure the screws
are tight when re-fitting them.
• This product does not require any
power connection. Never attempt to
connect mains or any other power
source to it.
NOTE: THE APU-RS16i IS NOT REQUIRED
IN AN INSTALLATION THAT
INCLUDES THE AMINA A100Q DSP
AMPLIFIER.
Introduction
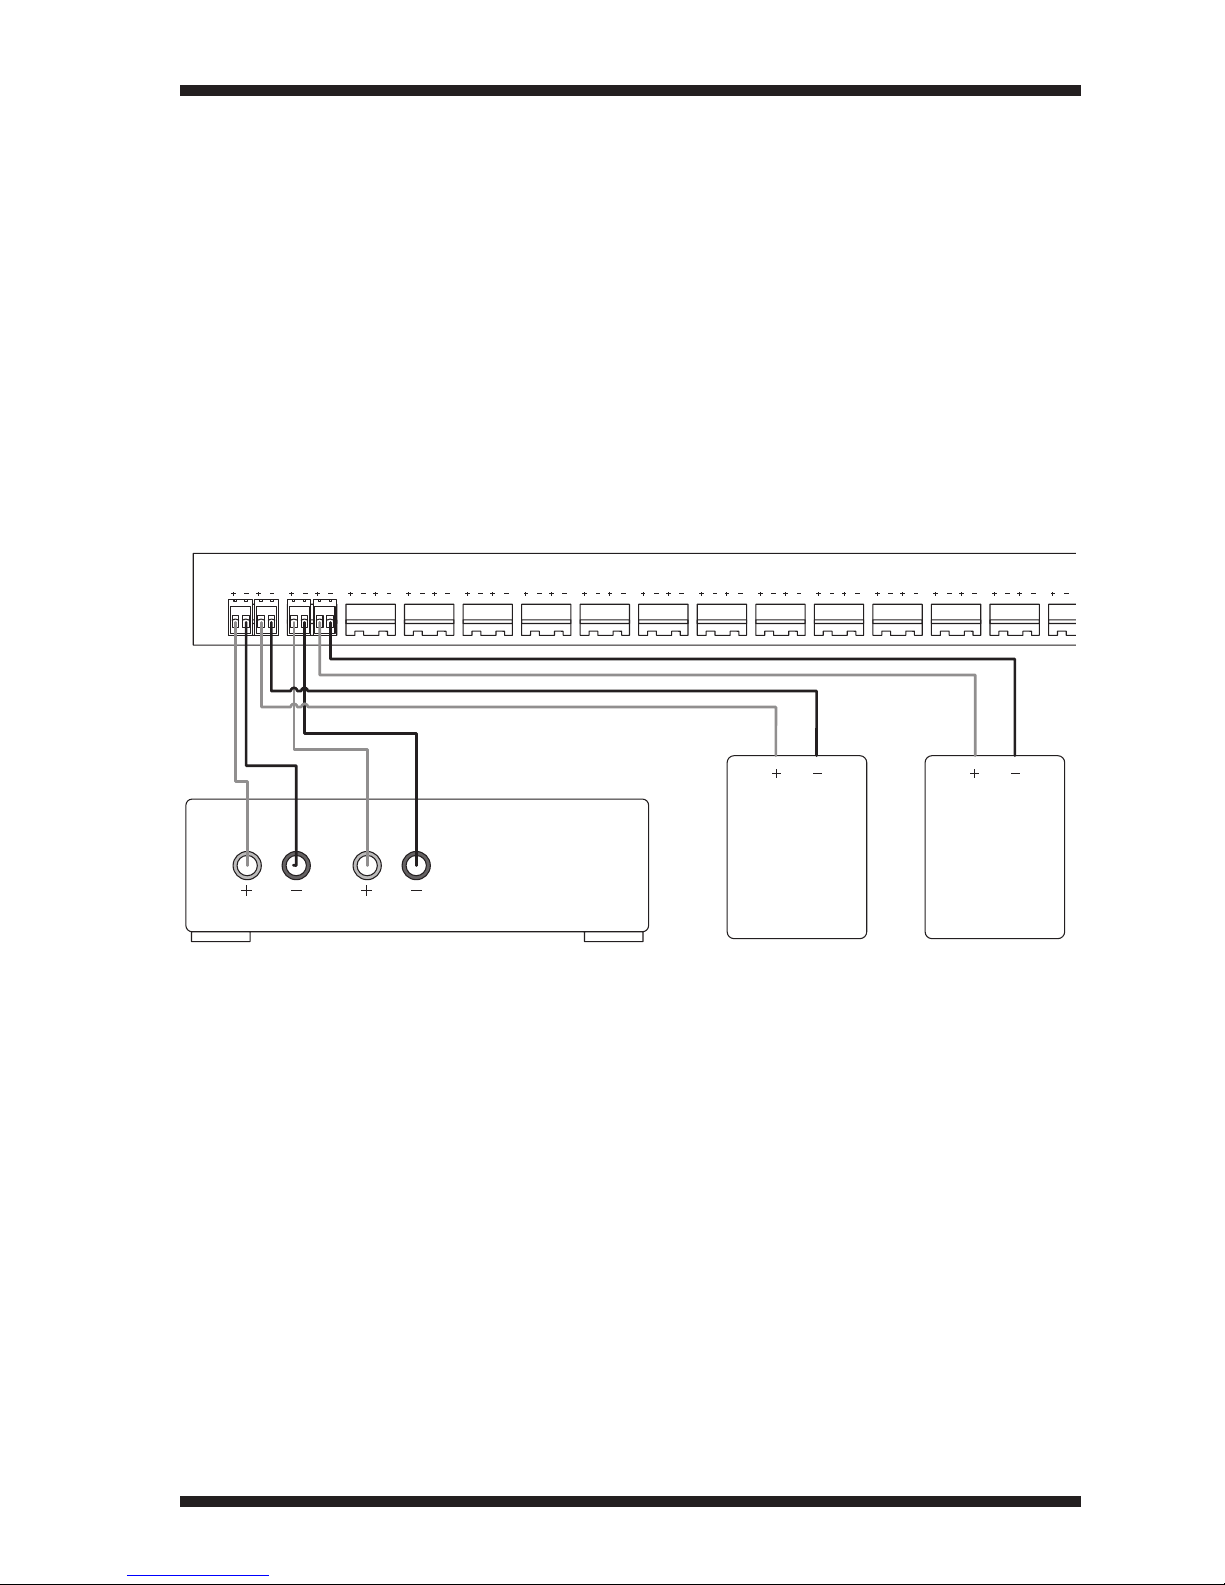
Compatibility
The APU-RS16i has been designed
specifically to enhance the sound and
reliability of up to 16 Evolution Series
loudspeakers. Compatible models are
listed in this table -
Group Compatible models
1 AIW150i, AIW150i-S200,
iQ1, iQ2
3 AIW450i, AIW350i,
AIW350i-S200, iQ3
5 AIW550i
7 AIW750i
The APU-RS16i is supplied from the
factory with all channels configured to
match Group 1 speakers in the table. If
other Amina speaker models are in an
installation, the APU-RS16i can be re-
configured internally to match each
speaker type.
The APU-RS16i features a separate high-
pass filter and a current sensing
re-settable fuse to protect each
loudspeaker from being over-driven and
potentially damaged.
If the APU-RS16i senses excessive drive
current from the system’s amplifier it
will automatically reduce the sound level
from the speaker until the amplifier’s
volume is reduced.
NOTE: THE APU-RS16i IS NOT SUITABLE
FOR 100V/70V LINE SYSTEMS
OR OTHER MANUFACTURERS’
LOUDSPEAKERS.