USER MANUAL SD-175Rev. 2 July 2020
2
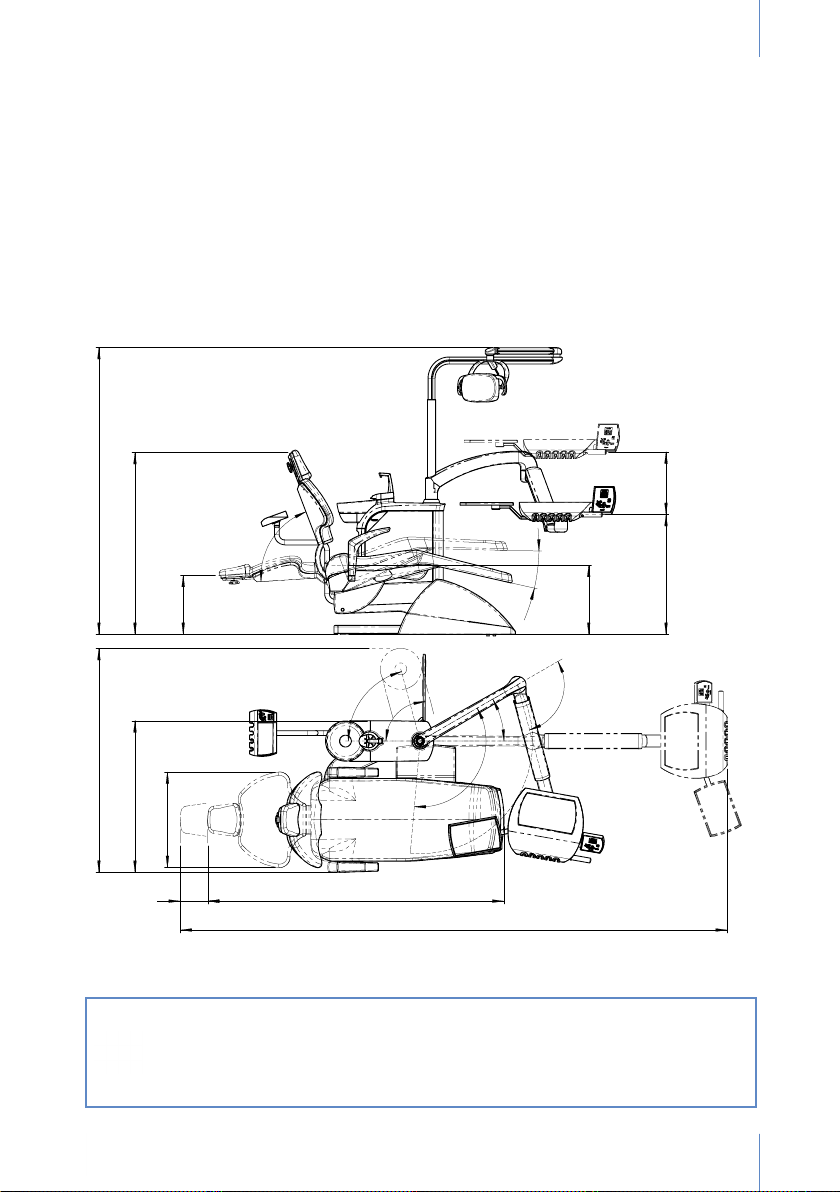
1. OVERVIEW
Thank you for purchasing the SD-175 dental unit.
This instruction manual contains information about the dental device, its set-up and maintenance.
Notes
This symbol means ALERT, CAUTION.
The User Manual must be read and understood before starting up the unit.
This manual should be kept in a safe place for future reference, for as long as
you use the equipment.
Follow all safety standards.
The user is in charge of keeping the unit in perfect operating conditions, clean
and disinfected.
This dental equipment is intended to be used exclusively by a professional user who must be
properly trained and licensed to practice dental medicine.
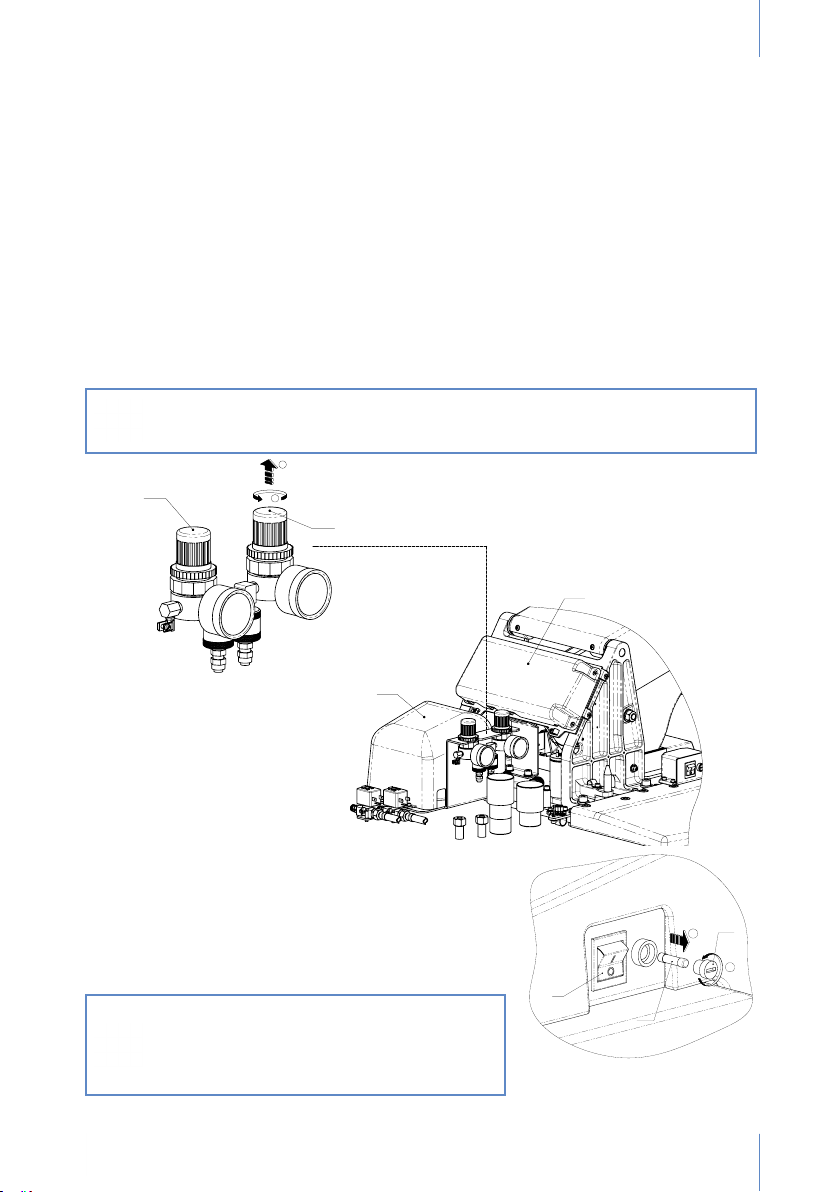
This equipment can only be handled by an authorised technical service.
Keep the unit installed in an environment under controlled conditions, including temperature
range (+10˚C to +40˚C), humidity (30-75%) and atmospheric pressure (700 to 1060 hPa), free
of condensation and dust and not exposed to direct sunlight.
The electrical installation of the premises where the equipment is installed must comply with the
instructions set forth in standard EN 60601-1 referring to electrical protections against electric
shock for Class I equipment.
Antoni Carles, S.A. reserves the right to make improvements or changes to this dental
equipment without prior notice.
The equipment must be used according to the instructions of use.
As per Directive 93/42/EEC, the dental unit and orthordintic chair manufactured by Antoni
Carles, S.A. are Class IIa equipment. It is strictly forbidden to install any Class IIb or Class III
dental instruments, such as surgical lasers, electro scalpels, X-rays, electrical cauterizers. Only
Class I or Class IIa devices can be installed and these must comply with the requirements set
forth in the aforementioned directive and harmonised standards EN60601-1 and EN60601-1-2.
2. WARRANTY
The units manufactured by ANTONI CARLES, S.A. are guaranteed against material and
manufacturing defects for 2 years from the date of installation, which must be registered
correctly in an online form. During this period, ANTONI CARLES, S.A. assumes the repair of
those parts or components of the unit that, once veried, are recognised as defective.
Under no circumstances shall ANTONI CARLES, S.A. be held responsible for defects and
damage caused by:
Natural wear of parts and components such as seals, lters, etc.
Inappropriate use, maintenance or cleaning of the unit and its components.
Accidental impacts or any other accidental cause or effects caused by user negligence.
Causes unrelated to the design or manufacture of the product or resulting from natural
phenomena such as electrical power outages, oods, etc.
Defects, intended damage or modications caused by third parties unrelated to Ancar.
Non-compliance with the maintenance periods specied in the User Manual or resulting from
inadequate repair or maintenance that has not been carried out by an ofcial Ancar technical
service.