manuals.online logo
Brands
  1. Home
  2. •
  3. Brands
  4. •
  5. andrews
  6. •
  7. Air Conditioner
  8. •
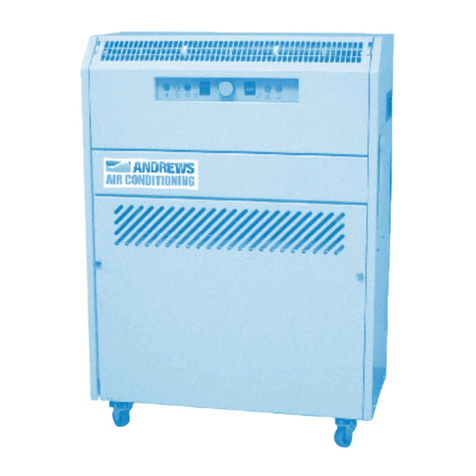
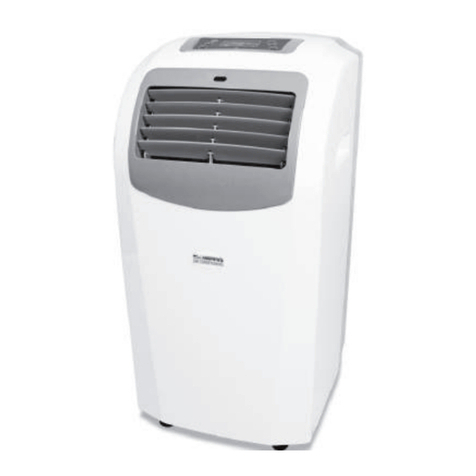
  9. andrews PAC 14 Product information sheet

andrews PAC 14 Product information sheet

Click www.andrews-sykes.com
or Call Us Free 0800 211 611
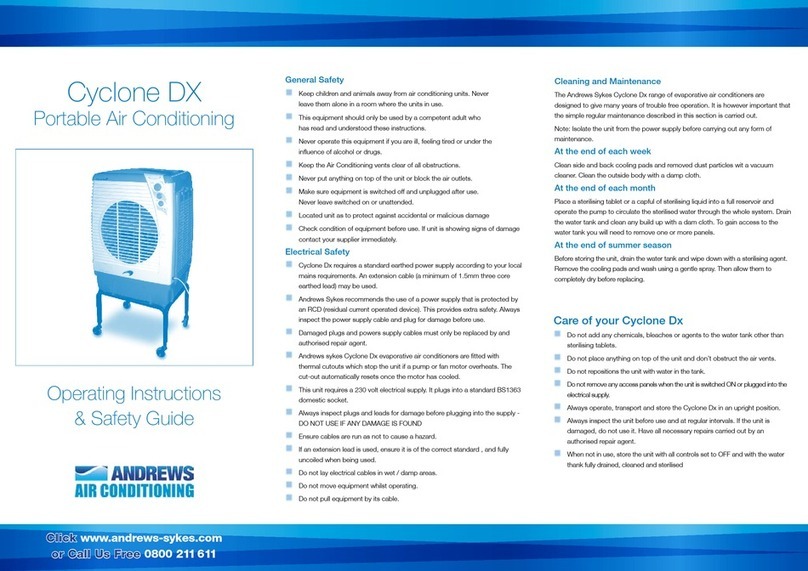
PAC 14
Portable Air Conditioning
Operating Instructions
& Safety Guide
Do not lay electrical cables in wet / damp areas.
Do not move equipment whilst operating.
Do not pull equipment by its cable.
It is recommended that electrical equipment is used via a suitable RCD.
Maintenance
Disconnect from the electrical supply before any cleaning or
maintenance.
Clean eternal surfaces with a clean, damp cloth. Do not use solvents.
Check the air filter everywhere every week.
1. Pull forward the front panel (fig 3).
2. The filter may not be removed (fig 4).
The filter may be cleaned in warm soapy water (40°C). RInse and dry
completely before replacing.
Light dust may be vacuumed.
General Safety
Keep children and animals away from air conditioning units.
Never leave them alone in a room where the units in use.
Never operate this equipment if you are ill, feeling tired or under the
influence of alcohol or drugs.
Never put anything on top of the unit or block the air outlets.
Good and correct air flow is essential. Ensure cold air from the unit
does not re-bound off adjacent furniture back into the unit.
The unit will provide the best effect if all windows and doors
remain closed.
Do not use the unit where sunlight is shining directly onto it.
Moisture removed by the air conditioning process is passed to
the external condenser to be re-evaporated. However, in certain
conditions water may drip from condenser base. Take this into
account when siting.
The condenser unit MUST be sited externally. Make sure it is firmly
supported using suitable brackets/chains and must not be allowed
to hang by its flexible lines as this may cause serious damage.
Ensure the lines are free from kinks and severe bends.
The minimum size of extension cable that may be used is 2.5mm
up to a max length of 10metres. If extension cable is of drum type
please ensure it is COMPLETELY unwound otherwise serious
damage may occur.
Careful use of the thermostat will have to be observed. Excessive
and rapid turning between coolest and hottest settings will possible
blow the fuse or cause IRREPARABLE damage to the compressor.
Check condition of equipment before use. If unit is showing signs of
damage contact your supplier immediately.
Electrical Safety
This unit requires a 230 volt electrical supply. It plugs into a standard
BS1363 domestic socket.
Always inspect plugs and leads for damage before plugging into the
supply - DO NOT USE IF ANY DAMAGE IS FOUND
Ensure cables are run as not to cause a hazard.
If an extension lead is used, ensure it is of the correct standard , and
fully uncoiled when being used.
Laying Up
Clean surfaces
Clean filter
Stow condenser
Cover to keep clean
Fig. 4 Fig. 3
until the compressor stops. At this point the air conditioner
is set for automatic operation under the control of the
electronic thermostat to maintain the room temperature at
the pre-set value.
7. To stop the air conditioner press again the ON/OFF push-
button. (1).
Fan only
For this operation the outdoor unit can be placed either outside
(on the window sill or hanging on the wall) or Inside, attached to
the indoor unit.
The air conditioner is running In cooling mode.
1. Press the cooling push-button (2) to stop the compressor,
lamp (5) is released (deactivated).
2. Select the fan speed pressing the fan speed push-button (3).
Starting the air conditioner in fan only mode.
1. Switch on the air conditioner pressing the ON/OFF push-
button (1 ).
2. Make sure that the lamp (5) is released (deactivated).
3. Select the fan speed by pressing the fan speed push-
button (3).
Operating Instructions - PAC14
Click www.andrews-sykes.com or Call Us Free 0800 211 611
Getting started and operation
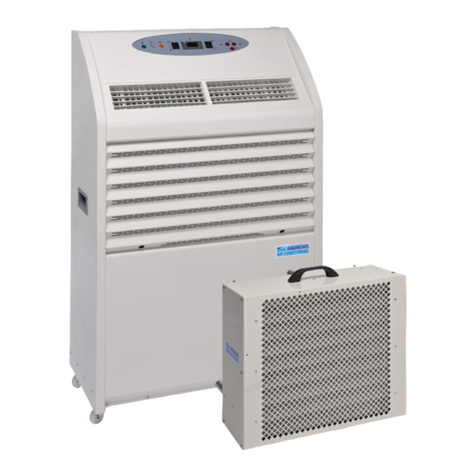
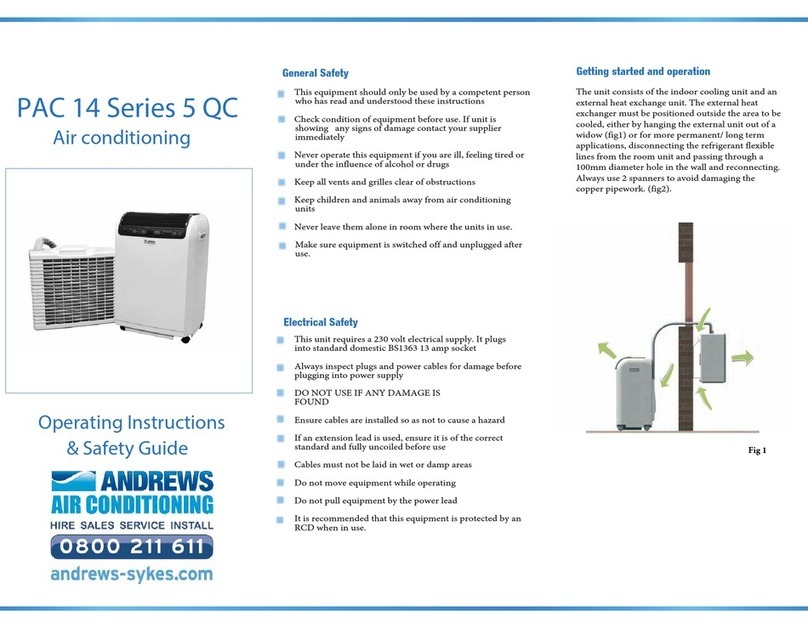
These units are supplied in two parts; a room unit and a
condenser. The room unit placed within area of being cooled
comprises of an evaporator and a compressor.
Before operating the unit, it should be positioned in the area to be
air conditioned so that it is in reach of a 13 A socket outlet and
where the condenser can be set up outside an opening window.
After unit is positioned, carefully remove the condenser from its
stowed position (fig.1). The chains and hooks are for supporting
the condenser. The flexible line connecting the condenser to the
unit will be stiff until operated (fig.2).
The room air enters the unit and once passed across the
evaporator is returned into the room as cooled air. The external
unit which is connected to the room unit by a flexible pipe,
contains the condenser which needs to be cooled by ambient
air, therefore the external unit needs to be positioned outside of
the room to be cooled.
The external condenser should never be positioned more than
1.5m above the level of the top of the room unit.
Cooling
Place the outdoor unit outside and insert the plug in the power
socket.
1. Twist the knob (4) of the thermostat to the right until you
reach the position of maximum cooling.
2. Switch on the air conditioner pressing the ON/OFF push-
button (1) lamps of last operations are displayed.
3. Select the cooling operation pressing the push-button
(2). lamp (5) lights.
4. Press the push-button (3) to select the high fan speed, the
lamp (6) lights.
5. When room temperature has reached the most suitable
value for your comfort, press again the push-button (3) to
select the low fan speed, the lamp (7) lights.
6. Now slowly twist the thermostat knob hack towards the left
Fig. 1
(If fitted) located on the rear of the unit refer to Fig.1
Fig. 2
4
3
2
8
7
Days of the week
Random function
indication
Recall function: To
disable and enable
the programs
Reset button
Time clock
Storage bracket
Flexible refrigerant line
External
condenser
Program storing 6
on programs, 6 off
programs
Current date and
time setting
Programs indication
Operating mode
indication auto
OFF - ON - AUTO
ON - OFF
Day of the week
starting (of group
of days)
Hours setting
Summer and winter
time indication
Minutes setting
1
5
6
Operating Instructions - PAC14
Click www.andrews-sykes.com or Call Us Free 0800 211 611
Operating Instructions For the Timer
1. Reset of the timer:
Press down the RST (reset) button with the tip of a pencil
2. Setting the current day and time:
Keep pressed down the TIME button while you are setting or
correcting i: press down the the DAY button to set the current
day (show by the english abbreviation on the display), press
down the HR button to set the current hour, press down the
MIN button to set the current minutes.
3. Selection of the days or the groups of days to be set:
Press the PRG (programming) button once: you will see ‘PROG
1 ON’ on the display which indicates the switch-on time
command to be entered.
Press the DAY button and the display will show you in
sequence (each time you press it) the following groups of days
or single days.
Mo-Tu-We-Th-Fr-Sa-Su (group of days from Monday to
Sunday)
Mo-Tu-We-Th-Fr-Sa-Su (each day of the week, one by one)
Mo-Tu-We-Th-Fr (group of days from Monday to Friday)
Sa-Su (Saturday and Sunday)
Mo-We-Fr (Monday, Wednesday, Friday)
Tu-Th-Sa (Tuesday, Thursday, Saturday)
3. Selection of the days or the groups of days to be set:
Press the PRG (programming) button once: you will see ‘PROG 1
ON’ on the display which indicates the switch-on time command
to be entered.
Press the DAY button and the display will show you in sequence
(each time you press it) the following groups of days or single days.
4. Programming the switching times:
After having pressed down the PRG button and the DAY button
until you set the day or the group of days to be stored (see
section 3)
Press down the HR button and the the MIN button to set the
switching ON hour.
Press the PRG button again to set the switching OFF hour
(you will see ‘PROG 1 OFF’ on the display which indicates the
switch-off time command to be entered).
Confirm the day or group of days with the DAY button and set
the switching OFF hour with the HR and MIN buttons.
Repeat these operations in sequence up to 6 switching ON
and 6 switching OFF programs maximum, divided among the
days you want set.
At the end of programming press the TIME button to switch
to the current line, otherwise these switching times will not be
executed. (However, the display will be switched to current
time mode automatically if no button is pressed within about 2
minutes).
Note: During the non set days the air conditioner will be OFF
5. Visualise, correct, disable and enable the stored programs
You can visualise the stored programs, during operation, pressing
many time the PRG button.
In this way, you can modify the switching ON and OFF hours
with the HR and MIN buttons and disable or enable one or more
programs, pressing the RCL button (see RECALL function,
section 6)
6. RECALL function:
The RECALL function allows you to disable a switching time of a
program, without losing preset memory:
Press the PRG button until the preset memory you want to
disable is present.
Press the RCL button, using the tip of a pencil (the set time
disappears and the display shows ‘--:--’ for the hours
and minutes, indication that the specified memory
location will not be executed).
Press the TIME button to switch to thew current time
You can enable again by switching time, following the
same procedure and pressing again the RCL button.
7. SUMMER / WINTER changeover:
To change from winter to summer time, keep TIME
button pressed while pressing one of the (insert hand
icon) button (the display will indicate the ‘+1h’ sign and
the current time will be advance one hour).
To change form summer to winter time simply perform
the step before (the ‘+1h’ will disappear from the display
and the current time will retard one hour).
8. RANDOM function:
The programmed memories you have preset will be executed
in a random delay from 2 to 32 minutes, in case of current
interruption, using this function.
Keep the TIME button pressed while pressing PRG button (the
display will indicate RND sign).
Press again the TIME and PRG button to cancel the random
mode (the RND sign will disappear from the display).
9. Manual Operation:
If you press one of the (insert hand icon) buttons, you can set the
timer manually; the display will show in the sequence: AUTO ON to
AUTO OFF
AUTO: the air conditioner is controlled by the timer (it is possible to
change from AUTO ON to AUTO OFF or vice versa, if you
want to switch on or off the air conditioner without losing the
control of the timer that will go on executing the other set
programs).
ON: the air conditioner is permanently ON (use directly the ON/OFF
push button of the air conditioner to switch it OFF).
OFF: the air conditioner is permanently OFF (use directly the ON/
OFF push button of the air conditioner to switch it ON).
Other andrews Air Conditioner manuals

andrews Polar Wind Plus Product information sheet

andrews

andrews Polar Wind Plus Product information sheet

andrews HPAC 30 Product information sheet

andrews

andrews HPAC 30 Product information sheet

andrews Polar Wind Product information sheet

andrews

andrews Polar Wind Product information sheet

andrews Mistral Product information sheet

andrews

andrews Mistral Product information sheet

andrews Double Cool Product information sheet

andrews

andrews Double Cool Product information sheet

andrews Zephyr ET Product information sheet

andrews

andrews Zephyr ET Product information sheet

andrews ET 21 Product information sheet

andrews

andrews ET 21 Product information sheet

andrews PAC15 User manual

andrews

andrews PAC15 User manual

andrews PAC14 Series 5 QC Product information sheet

andrews

andrews PAC14 Series 5 QC Product information sheet

andrews Polar Breeze User manual

andrews

andrews Polar Breeze User manual

andrews Cyclone DX Product information sheet

andrews

andrews Cyclone DX Product information sheet

andrews 2 Series Product information sheet

andrews

andrews 2 Series Product information sheet

andrews ET15 Product information sheet

andrews

andrews ET15 Product information sheet

andrews PAC15 Product information sheet

andrews

andrews PAC15 Product information sheet

andrews ET9 Series 2 Product information sheet

andrews

andrews ET9 Series 2 Product information sheet

Popular Air Conditioner manuals by other brands

Soleus Air GB-PAC-08E4 operating instructions

Soleus Air

Soleus Air GB-PAC-08E4 operating instructions

Panasonic CS-E9CKP operating instructions

Panasonic

Panasonic CS-E9CKP operating instructions

Hitachi RAK-18QXD Service manual

Hitachi

Hitachi RAK-18QXD Service manual

York YNKFZC024-055BAADAFX owner's manual

York

York YNKFZC024-055BAADAFX owner's manual

GE AHE18 Series Owner's manual and installation instructions

GE

GE AHE18 Series Owner's manual and installation instructions

Technibel KPAFP125R5IA Series instruction manual

Technibel

Technibel KPAFP125R5IA Series instruction manual

Beko BEP 09C user manual

Beko

Beko BEP 09C user manual

LG LP0711WNR specification

LG

LG LP0711WNR specification

Dettson COND-UHD-09 Installation instructions and homeowner's manual

Dettson

Dettson COND-UHD-09 Installation instructions and homeowner's manual

Samsung SC07APGD user manual

Samsung

Samsung SC07APGD user manual

Samsung AS U Series User & installation manual

Samsung

Samsung AS U Series User & installation manual

Frigidaire FFRE153WA1 Use & care guide

Frigidaire

Frigidaire FFRE153WA1 Use & care guide

Chigo CCB-12HR1 Technical manual

Chigo

Chigo CCB-12HR1 Technical manual

Movair MOV10-07-SF Installation and owner's manual

Movair

Movair MOV10-07-SF Installation and owner's manual

LG HERCULES 2.0 S05LPBX-P owner's manual

LG

LG HERCULES 2.0 S05LPBX-P owner's manual

Haier HSU-12HX03 Operation manual

Haier

Haier HSU-12HX03 Operation manual

Friedrich Twin Temp EM24L34 Specifications

Friedrich

Friedrich Twin Temp EM24L34 Specifications

Williamson-Thermoflo 12PRA owner's manual

Williamson-Thermoflo

Williamson-Thermoflo 12PRA owner's manual

manuals.online logo
manuals.online logoBrands
  • About & Mission
  • Contact us
  • Privacy Policy
  • Terms and Conditions

Copyright 2025 Manuals.Online. All Rights Reserved.