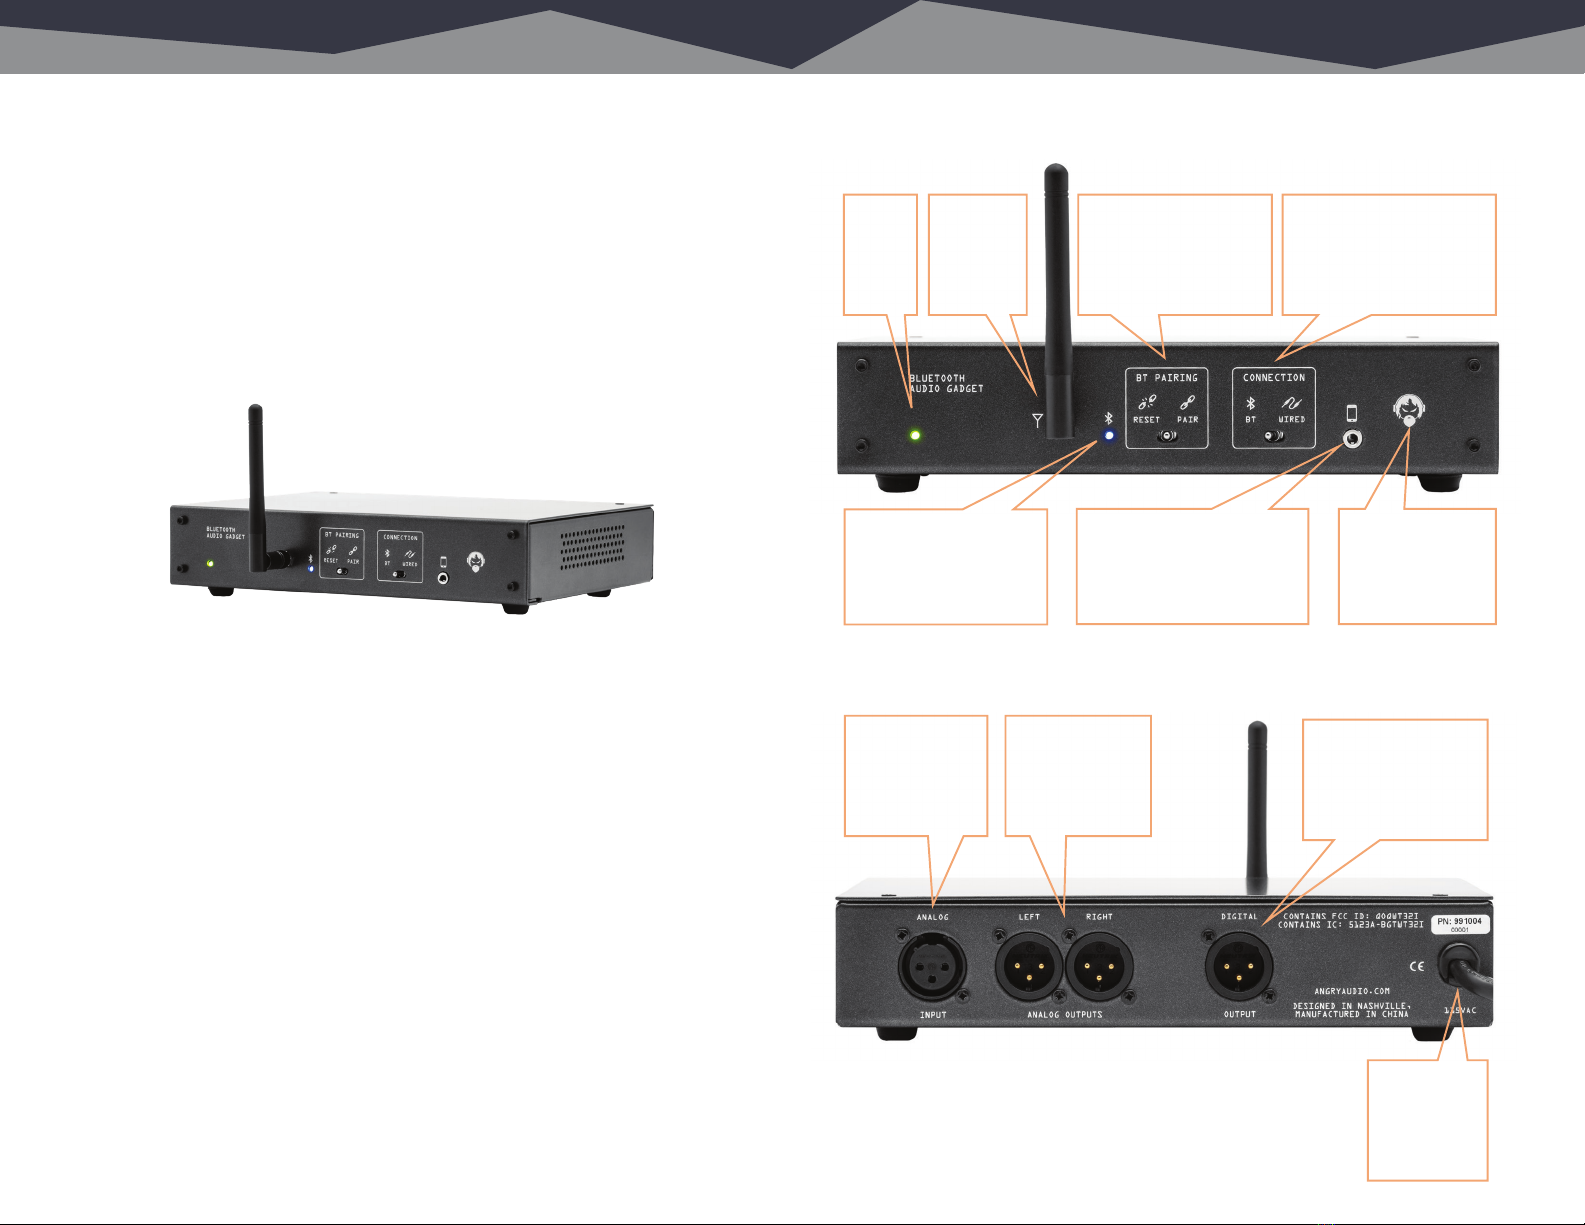
Power and Console Connections.
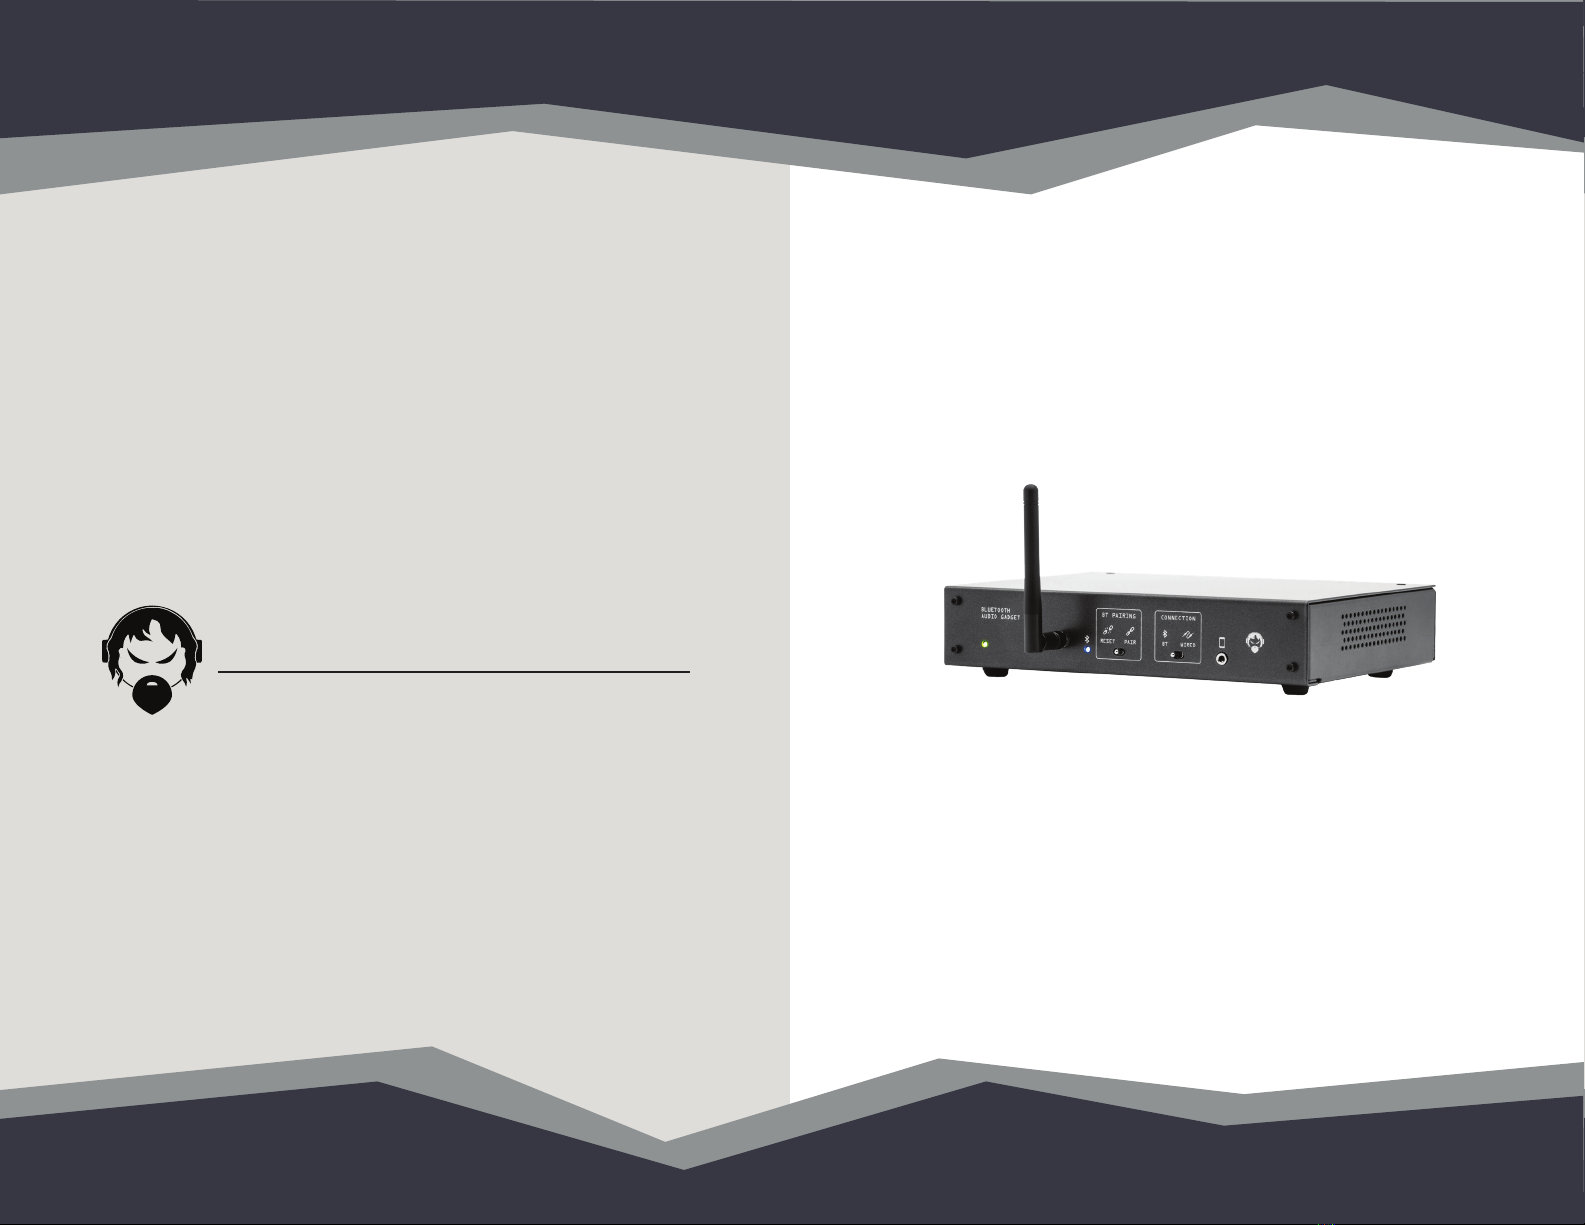
Power up your Bluetooth Gadget by plugging it in. The green Power LED will
illuminate. Connect the Left and Right Analog Outputs to a stereo line input on
your mixing console. Connect your console’s mix-minus output to the Analog
Input on the Bluetooth Gadget.
Connecting using Bluetooth.
Briefly push the “BT Pairing” switch to the right and release. A flashing blue LED
indicates the Bluetooth Gadget is in pairing mode. Navigate to the Bluetooth
settings on your phone, enable Bluetooth, then select “ANGRYBT” on the list of
available devices. If no device is paired within 90 seconds, the Gadget will time
out and stop advertising; click “Pair” to re-enable pairing.
Once a connection is established, the Bluetooth light will stay illuminated.
To test the connection, open your phone’s music app and play a song. Best
performance and fidelity will occur with the phone’s volume set at maximum.
If you don’t hear audio, check your console settings and verify that the
”Connection” switch on the Gadget is in the BT position. You may use your
phone as you normally do when it is paired, playing music, voice recordings,
making/receiving phone calls, or using apps such as Skype. The connection
can be terminated on the phone or by briefly pushing the “Pairing” switch on the
Gadget to the left.
Connecting using the front panel jack.
The front panel 3.5mm (1/8”) TRRS jack is connected directly to the rear analog
output jacks to allow the use of a wired connection from the phone. This jack
uses the OMTP standard (Tip = Audio Left, Ring 1 = Audio Right, Ring 2 = Mic,
Sleeve = Ground) which is compatible with most Android devices including
Samsung phones. Phones that use the CTIA standard (Tip = Audio Left, Ring
1 = Audio Right, Ring 2 = Ground, Sleeve = Mic) including iPhones will require
the use of the included adapter.
Using the rear panel digital output.
Audio from apps that provide high-fidelity audio such as your phone’s native
music player can be routed to the digital output. To enable it, reset the Gadget’s
Bluetooth (blue LED off), press and hold the ”Pair” switch for >3 seconds, then
release the switch when the blue LED illuminates. Bluetooth pairing follows the
same process described above. To turn off the digital output, power cycle the
Gadget by unplugging it from the wall then plugging it back in. Note that audio
from phone apps and wired sources will always remain on the analog outputs
only while hi-fi audio will appear only on the AES-3 output when enabled.
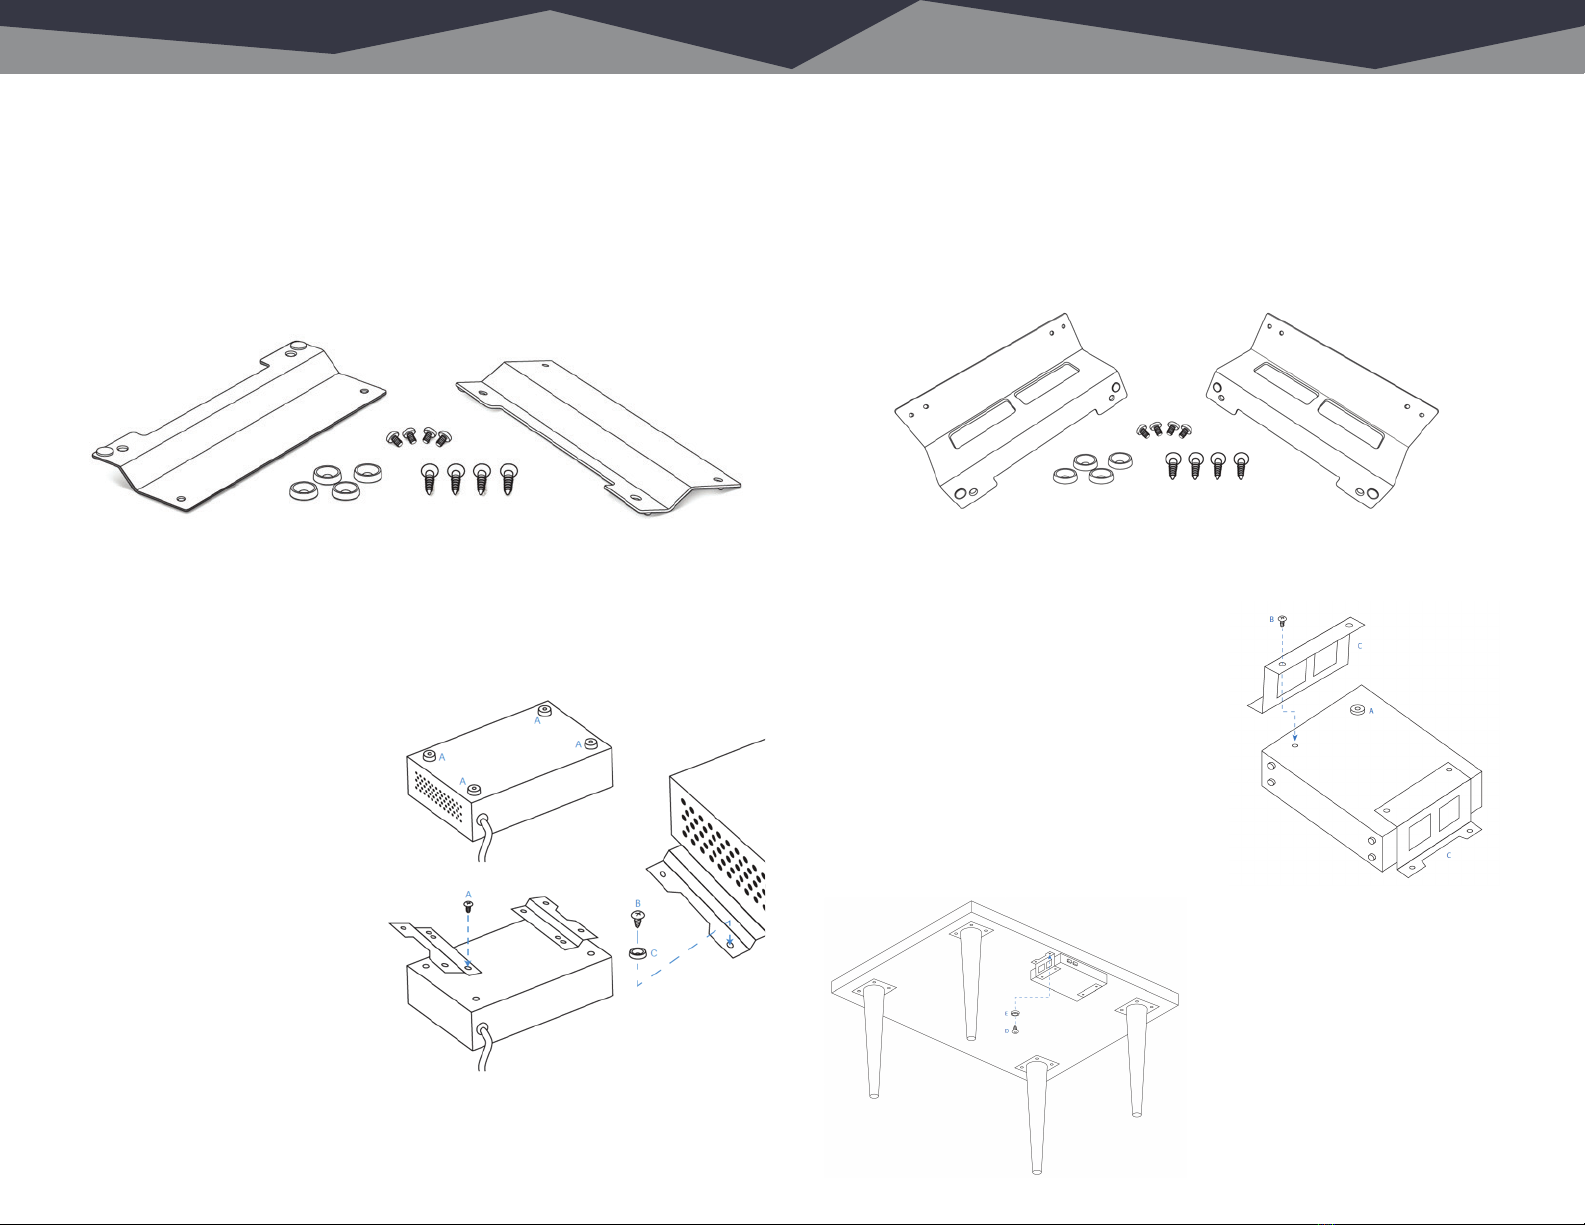
Rack mounting your Bluetooth Gadget.
The Bluetooth Gadget sits on four rubber feet that ensure it won’t scratch or
otherwise disfigure the custom Italian marble surfaces prevalent throughout
your palatial studio.
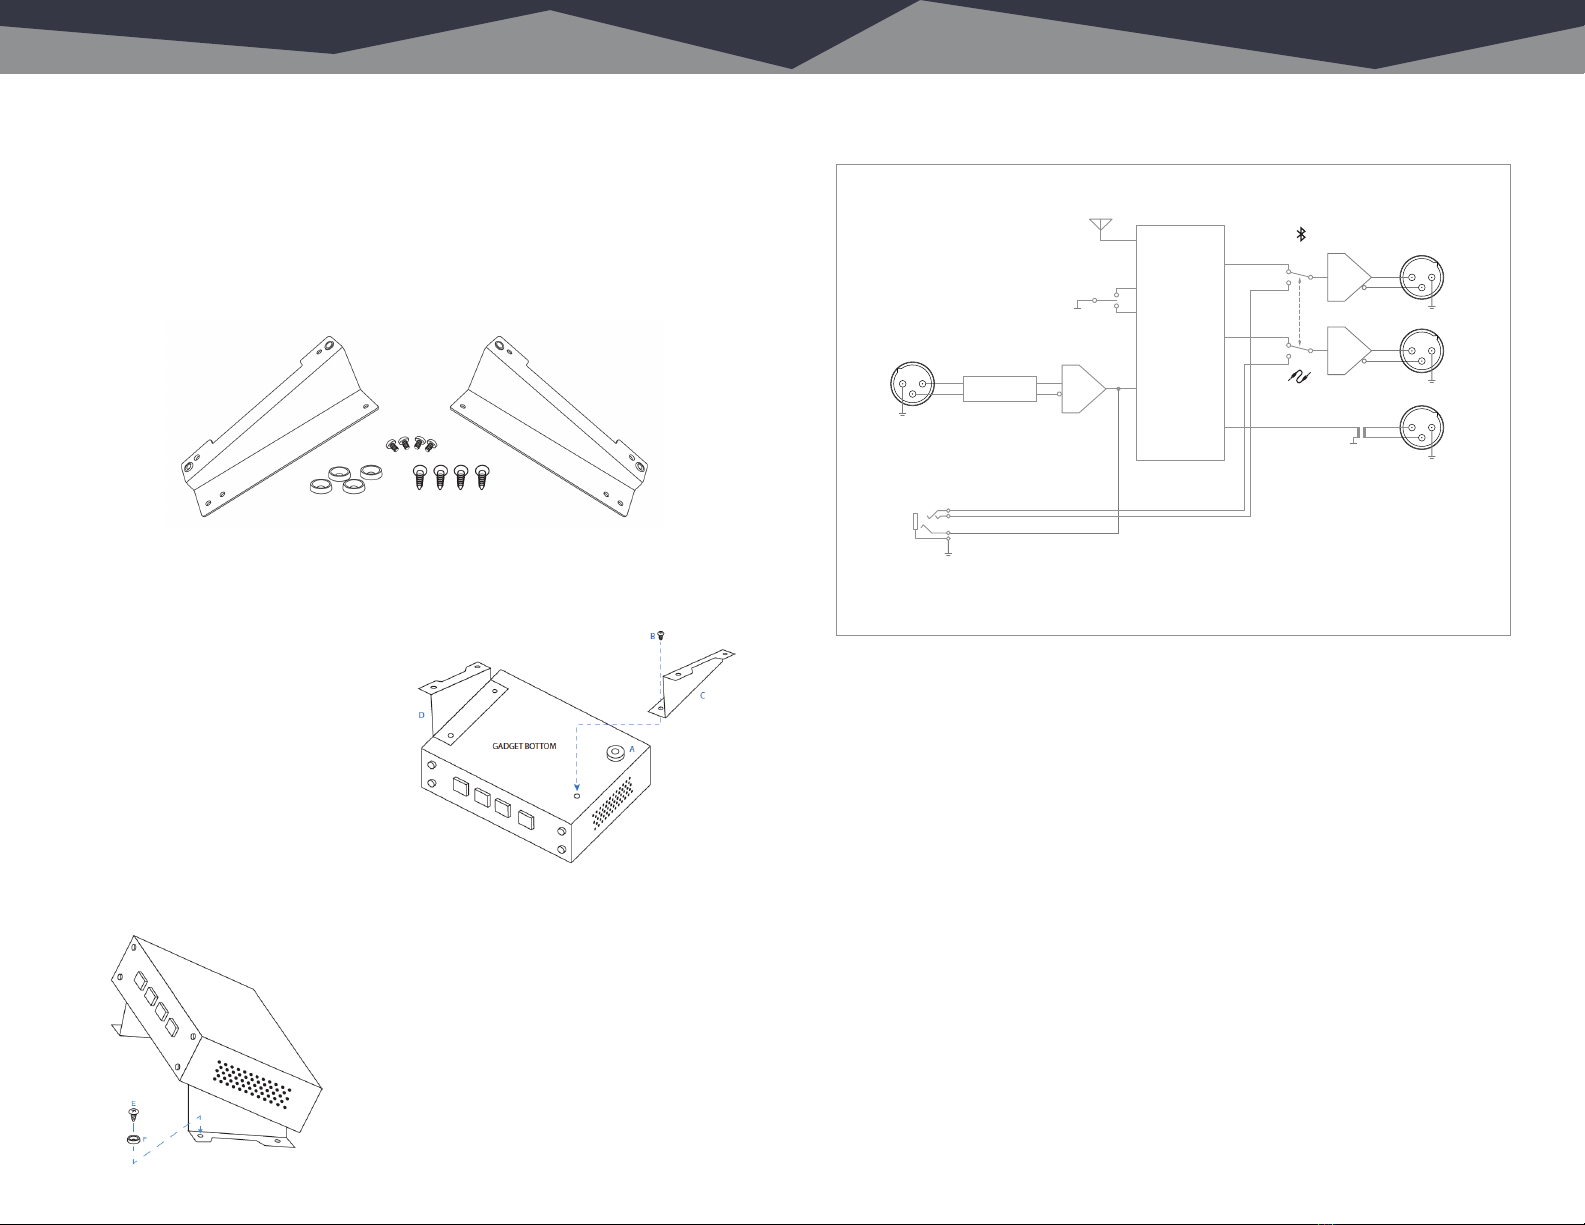
If you prefer to rack mount your Gadget, however, you’ll need the optional Rack
Mount kit which allows one or two Gadgets to be installed side-by-side in a
standard 1RU rack space.
Each Rack Mount kit consists of a custom rack panel with cut outs for all front
panel controls and displays. A blank filler panel is also provided if you are
mounting only one Gadget.
Power, Connecons, and Pairing Rack Mounng 6
When rack mounting, remove the four rubber feet (“A”) from the bottom of the
Gadget with a #1 Phillips screwdriver.
Remove the four front panel 3/32” hex screws (“B”). You can rummage around
your toolbox for your own hex key, or use the one we thoughtfully provide in the
mounting kit
Line up your Gadget so that the holes
exposed after removing the socket
head screws line up with the mounting
holes (“C”) in the rack panel.
Attach the rack panel to the front of
your Gadget with the same screws
you just removed. If you dropped
one and it immediately rolled to an
inaccessible location as they always
do, don’t panic – we’ve included
spares in the kit.
Finally, use the provided rack screws
(all four, please) to mount your
Gadgets.