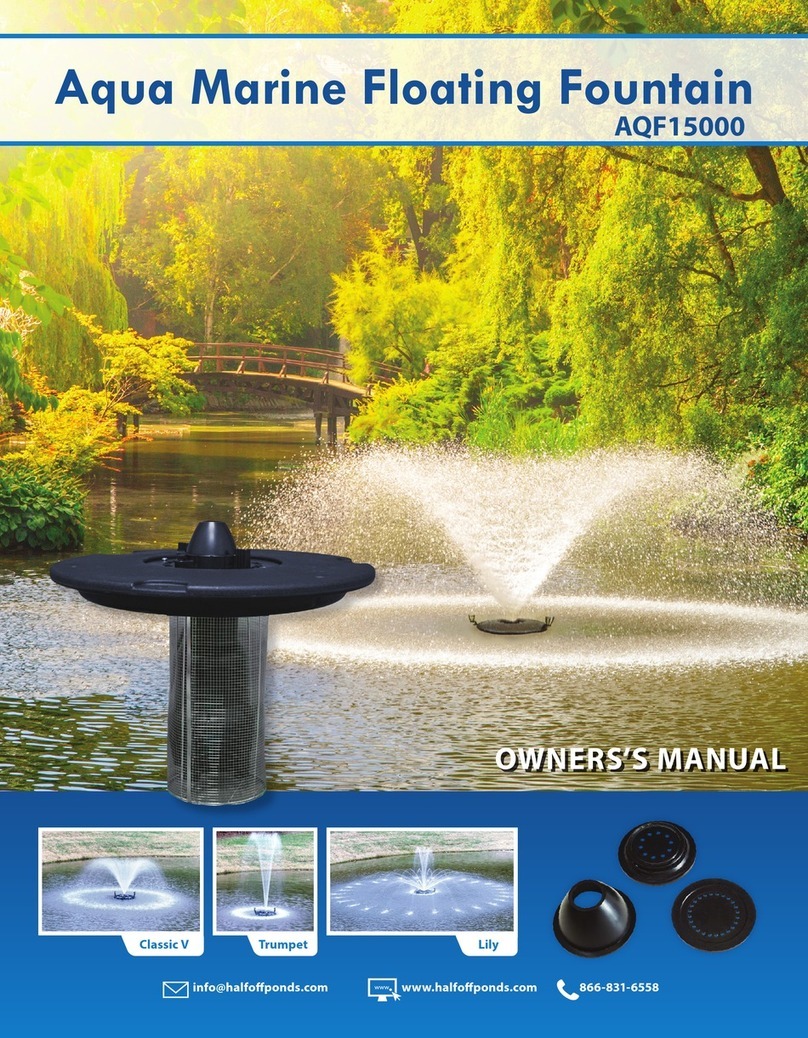
Anjon AFF10100 User manual

OWNER MANUAL |MONSOON FLOATING FOUNTAIN
800-553-5605 • www.anjonmfg.com
MS-FA-10-12

2
Thank You and Congratulations
FOUNTAIN FEATURES
• Easy to assemble, install and maintain
• Includes seven different spray patterns
• Oxygenation inhibits algae growth,
improves pond habitat and promotes
sh health
• Provides aeration for ponds
up to a 1¼ acre (see table)
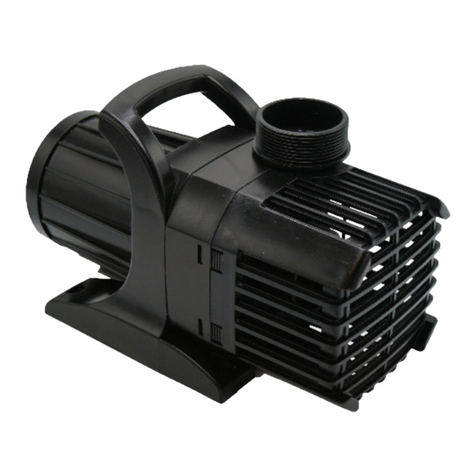
ABOUT THE MONSOON PUMP
• High ow, energy efcient hybrid drive
technology combines the high ow
characteristics of a direct drive pump
with the energy saving efciency
of a mag drive pump.
• Asynchronous drive motor can be
controlled with variable speed controller
(not included) that permits you to increase
or decrease pump ow as needed
• Vortex impeller passes solids to .25".
Engineered for 24-hour continuous use;
overload sensor prevents burnout
• Contains no oil; completely safe for sh,
wildlife and aquatic plants
• 2-year manufacturer’s warranty.
Enjoy years of beauty and performance from Anjon's Monsoon Floating Fountain
Your Anjon Floating Fountain is ready to assemble in three easy steps! This Floating
Fountain adds aesthetic beauty, added necessary oxygen to enhance aquatic life health
and de-straties thermal layers to help get rid of algae.

3
PUMP AND FOUNTAIN SPECIFICATIONS MS-10000 MS-12500
Pond Size (surface acres) Up to 1 Up to 1¼
Range of Fountain Pattern Heights (feet) 7-25 7-28
Range of Fountain Pattern Widths (feet) 4-28 5-35
Minimum Operating Depth 20" 20"
Max Flow (gph) 10,000 12,500
Watts (120v) 1000 960
Amps 8.3 8.0
Volts 120 120
Cord Length (ft.) 100, 200 100, 200
Dimensions l x w x h 12" x 9" x 9" 15" x 8" x 9"
Pump Weight (lbs.) 29 30
Please read all instructions thoroughly and understand them
prior to installation or use. If you have any questions or are
missing pieces, do not contact or return to place of purchase;
please call 1-800-553-5605.
CONTENTS PAGE
Components 4
Nozzle Assembly 4
Optional Light Assembly 5
Optional Accessories 5
Mooring Rope Assembly 6
Warranty Info 7
SAFETY INSTRUCTIONS
• Read and observe all the instructions supplied with the pump and on the pump.
• Make sure that your outlet voltage corresponds to those stated on the rating label of the pump(s).
• Make sure the pump is securely installed before operating it.
• The electrical connection should be in a water-proof area and should be at least 6 feet away from the edge of the pond. (see g. 3)
• Keep the electrical connections dry! Hang the electrical cord below the electrical outlet to form a "Drip Loop". This will prevent water from
running down the cord into the electrical outlet
• Always unplug the pump when not in use, before putting on or taking off parts, before cleaning the pump and before doing any work
for the fountain or pond.
• The pump must not be used when people are working in water. Please disconnect the pump rst.
• Do not operate any appliance with a damaged cord or plug, or in abnormal state. The supply cord of the pump cannot be replaced.
• If the cord is damaged the pump should be discarded. Replacement pumps are readily available.
• Do not cut the plug end off the cord for any reason. Cutting the cord voids the warranty and may create an electrical hazard.
• For safety reasons, routine cleaning, maintenance or repair work should only be done with the power cord disconnected from
the power source.
• Never hang or transport the pump by means of pulling the power cord!
• Close supervision is necessary when the pump is used by or near children.
• To disconnect the pump from the power source, pull the plug by the molded end; never pull the plug by the wire.
• Never use any accessories which are not recommended by the pump manufacturer. This may result in re, electric shock, personal injury
and/or voided warranty.
• The pump is to be supplied through a Ground Fault Circuit Interrupter (GFCI) with a rated residual operating current not
exceeding 30mA.
• To protect against the risk of electrical shock, do not immerse the plug in water or other liquid.
• Do not plug the pump in out of water, doing so damages the pump and voids the warranty
• The pump power cable needs to be ran through conduit from your water feature to the GFCI.
• Do not sh around the fountain, this can damage the power cord.
• If running in winter be careful of thin ice; the fountain will keep the ice thin and dangerous to walk on.
• Use extreme caution when operating fountain in cold weather and cold water. Do not walk on ice. Thin ice will break, creating the
risk of hypothermia or drowning.
800-553-5605 • www.anjonmfg.com
Making a Difference 800-553-5605 • www.anjonmfg.com
Making a Difference

4
800-553-5605 • www.anjonmfg.com
Making a Difference
A. REVIEW COMPONENTS
1. Remove all components from
packaging.
2. Inspect all components of the
fountain kit to ensure there was
no damage to components during
shipping. Notify Anjon about any
damage.
3. Once it is determined all components
are undamaged you are ready to
assembly your Floating Fountain.
LIGHT KIT SOLD SEPARATELY.
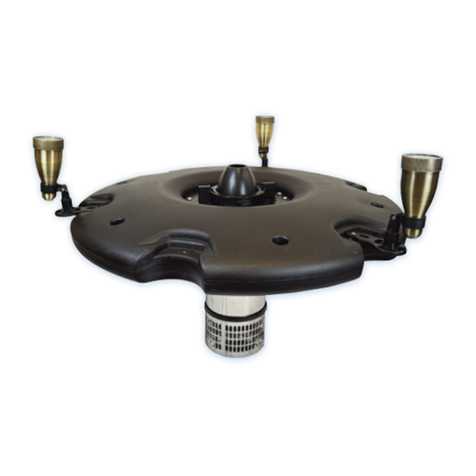
B. NOZZLE ASSEMBLY (FIG 1)
1. Place pre-assembled parts under
the oat through the center.
2. Slip the Nozzle Quick-Release
down over the nozzle and twist it
to lock into place
3. Select and install nozzle.
Do not over tighten.
Fountain Float
& Nozzles
AQF-10-12.5-PD
Pump Discharge
Pump
FIG 1
Mooring Rope
CAUTION: THE NOZZLE ATTACHES THE PUMP ASSEMBLY CONNECTOR TO THE FLOAT. REMOVING THE NOZZLE RELEASES THE PUMP.
Optional
Light Kit
Slide the 2 Flange halves around the hub
Lift Float and attach it to the hub using the
4 M8 1" Screws provided
ASSEMBLE FLOAT
Scan QR
code for
assembly
instructions
and video.

5
FIG 2
C. INSTALLING OPTIONAL IGNITE FOUNTAIN LIGHTING KIT (FIG 2) Light kits are sold separately.
COLOR CHANGING LIGHTS WITH
STANDARD CONTROLLER
Our RGB LED Brass Light kits come in 3 or
9 watts. They are available in standard
white or remote color-changing. They are
also offered with a 100' or 200' power
cord option. Lighting kits include a remote
which allows you to select solid colors or
color patterns, a photo cell which turns
the unit on automatically at night and off
during daylight hours, and the transformer
to power the unit. These LEDs are energy
efcient and extremely bright. Lighting
kit allows you to extend the time you get
to enjoy your water fountain. Choose any
setting you want to keep your feature
fresh and exciting.
ADD A WIFI CONTROLLER
This unit controls your lighting through
an app on your smart phone! The WiFi
controller will take any lighting display
to the next level. Choose from many
different modes that automatically
color change, fade, strobe, etc. You can
take a picture of a color and the lights
will match that color. You can also play
music on your phone and the lights will
change colors and modes along with
the music. Also use the timer function to
automatically turn the lights off when you
will not be home to enjoy your feature.
Your oating fountain will look great
during the day, this controller gives you
an even more dramatic display at night.
FLOATING FOUNTAIN
DEEP INTAKE
This optional extra intake easily attaches
to your pump. It keeps your pump from
being clogged with the larger intake. It
also keeps your pond turning over more.
In a deep water feature the water can be
trapped in thermal stratication levels.
This helps stave that off by mixing the
water deep down. It will take the oxygen
depleted water at the bottom and cycle
it up to the surface. The intake is sh safe
and it will not restrict your pump. We
can use any length of ex tubing, ttings,
intake screens so the intake add on will be
perfect for your feature.
1. Attach the light clips to
the oat with provided
M8 x 12mm screws. Do not
overtighten as this can
crack the oat.
2. Attach the LED lights to the
light clips. Aim the lights
toward the fountain display.
3. Apply a light coat of
waterproof grease and
assemble the lighting
harness.
4. Read and follow the
instructions included with
the fountain light kit.
800-553-5605 • www.anjonmfg.com
Making a Difference
Slide the 2 Flange halves around the hub
Lift Float and attach it to the hub using the
4 M8 1" Screws provided

6
F. MOORING ROPE INSTALLATION (FIG 3)
Attach mooring ropes (not included) and secure to anchors or weights. Place the anchors gently into the pond at opposite edges of the
oat. Set one anchor near the edge of the pond to make it easier to retrieve the fountain for servicing. Be sure to not use sharp rocks,
as they can damage your liner. Make sure the ropes are secure to the oat. Important: Always retrieve the fountain using mooring ropes.
Never retrieve with the power cord.
FIG 3
1. Securely attach mooring ropes
(not included) to the fountain oat.
2. Use mushroom anchors or concrete block
to hold the fountain in position. (not included)
3. Position the oating fountain in the desired location and set the anchors. To keep fountain stationary, place the
anchors 2' – 4' apart for every foot of pond depth.
800-553-5605 • www.anjonmfg.com
Making a Difference

7
WARRANTY
These products, distributed by Anjon Manufacturing (Anjon) are warranted to the original user only to be
free of defects in material and workmanship for a period of 24 months from the date of purchase, but not
more than 30 months from the date of manufacture. Anjon’s liability under this warranty shall be limited to
repairing or replacing, at Anjon’s discretion, without charge, F.O.B. Anjon will not be liable for any cost of
removal, installation, transportation, or other charges which may arise related to a warranty claim.
FOUNTAIN MODELS:
AFF10100 AFF10200 AFF12100 AFF12200
Reference the pump manual and light manual for warranty details for these products.
To obtain service under this warranty, the defective product must be returned to Anjon together with proof of
purchase and installation date, failure date, and supporting installation data. Any defective product to be
returned to ANJON or a service center must be sent freight prepaid: documentation supporting the warranty
claim and/or an Authorized Warranty Return (AWR) must be included if instructed. In the absence of suitable
proof of purchase date, the effective date of this warranty will be based upon the date of manufacture.
Any replacement product may be either new or like-new, provided it has functionality at least equal to that
of the product being replaced. No requests for service under this warranty will be accepted if received more
than 30 days after the term of the warranty. Correction of defects, in the manner and for the duration of the
warranty described in this warranty, shall constitute complete fulllment of all liabilities and responsibilities
of ANJON to the user with respect to the product, and shall constitute full satisfaction of all claims, whether
based on contract, negligence, strict liability or otherwise. Except for the obligations specically set forth
in this warranty, in no event shall ANJON be liable for direct, indirect, special, incidental, or consequential
damages, whether based on contract, tort, or any other legal theory and whether advised of the possibility
of such damages.
ANJON reserves the right to change or improve its products or any portions thereof without being obligated
to provide such a change or improvement for units sold and/or shipped prior to such a change
or improvement.
THERE ARE NO EXPRESS OR IMPLIED WARRANTIES, INCLUDING MERCHANTABILITY OR FITNESS FOR A
PARTICULAR PURPOSE, WHICH EXTEND BEYOND THOSE WARRANTIES DESCRIBED OR REFERRED TO ABOVE
EXCEPT AS EXPRESSLY HERIN PROVIDED THE GOODS ARE SOLD “AS IS”, THE ENTIRE RISK AS TO QUALITY
AND FITNESS FOR A PARTICULAR PURPOSE, AND PERFORMANCE OF THE GOODS IS WITH THE BUYER,
AND SHOULD THE GOODS PROVE DEFECTIVE FOLLOWING THEIR PURCHASE, THE BUYER AND NOT THE
MANUFACTURER, DISTRIBUTOR, OR RETAILER ASSUMES THE ENTIRE RISK OF ALL NECESSARY SERVICING
AND REPAIR.
800-553-5605 • www.anjonmfg.com
Making a Difference
800-553-5605 • www.anjonmfg.com
Making a Difference

8
THERE’S MORE
AT ANJON ONLINE
800-553-5605 • anjonmfg.com
E-mail: sales@anjonponds.com
Making A Difference
√ Register Products Online
√ Review Maintenance & Service Advice
√ Design / Build Tips in the Knowledge Center
√ Check Out the Full Line of Anjon Products
800-553-5605[email protected] www.anjonmfg.com
This manual suits for next models
3
Table of contents
Other Anjon Outdoor Fountain manuals
Popular Outdoor Fountain manuals by other brands

Alpine
Alpine WCT726 manual

Haws
Haws GalvinSafe 190.42.11.12 Product installation guideline

Enchanted Garden
Enchanted Garden 2775231 Nstruction manual

Oase
Oase PondJet Eco operating instructions

Campania
Campania Precipice Fountain FT-126 installation instructions

Sunnydaze Decor
Sunnydaze Decor DW-914 quick start guide