Anritsu Site Master S251A User manual

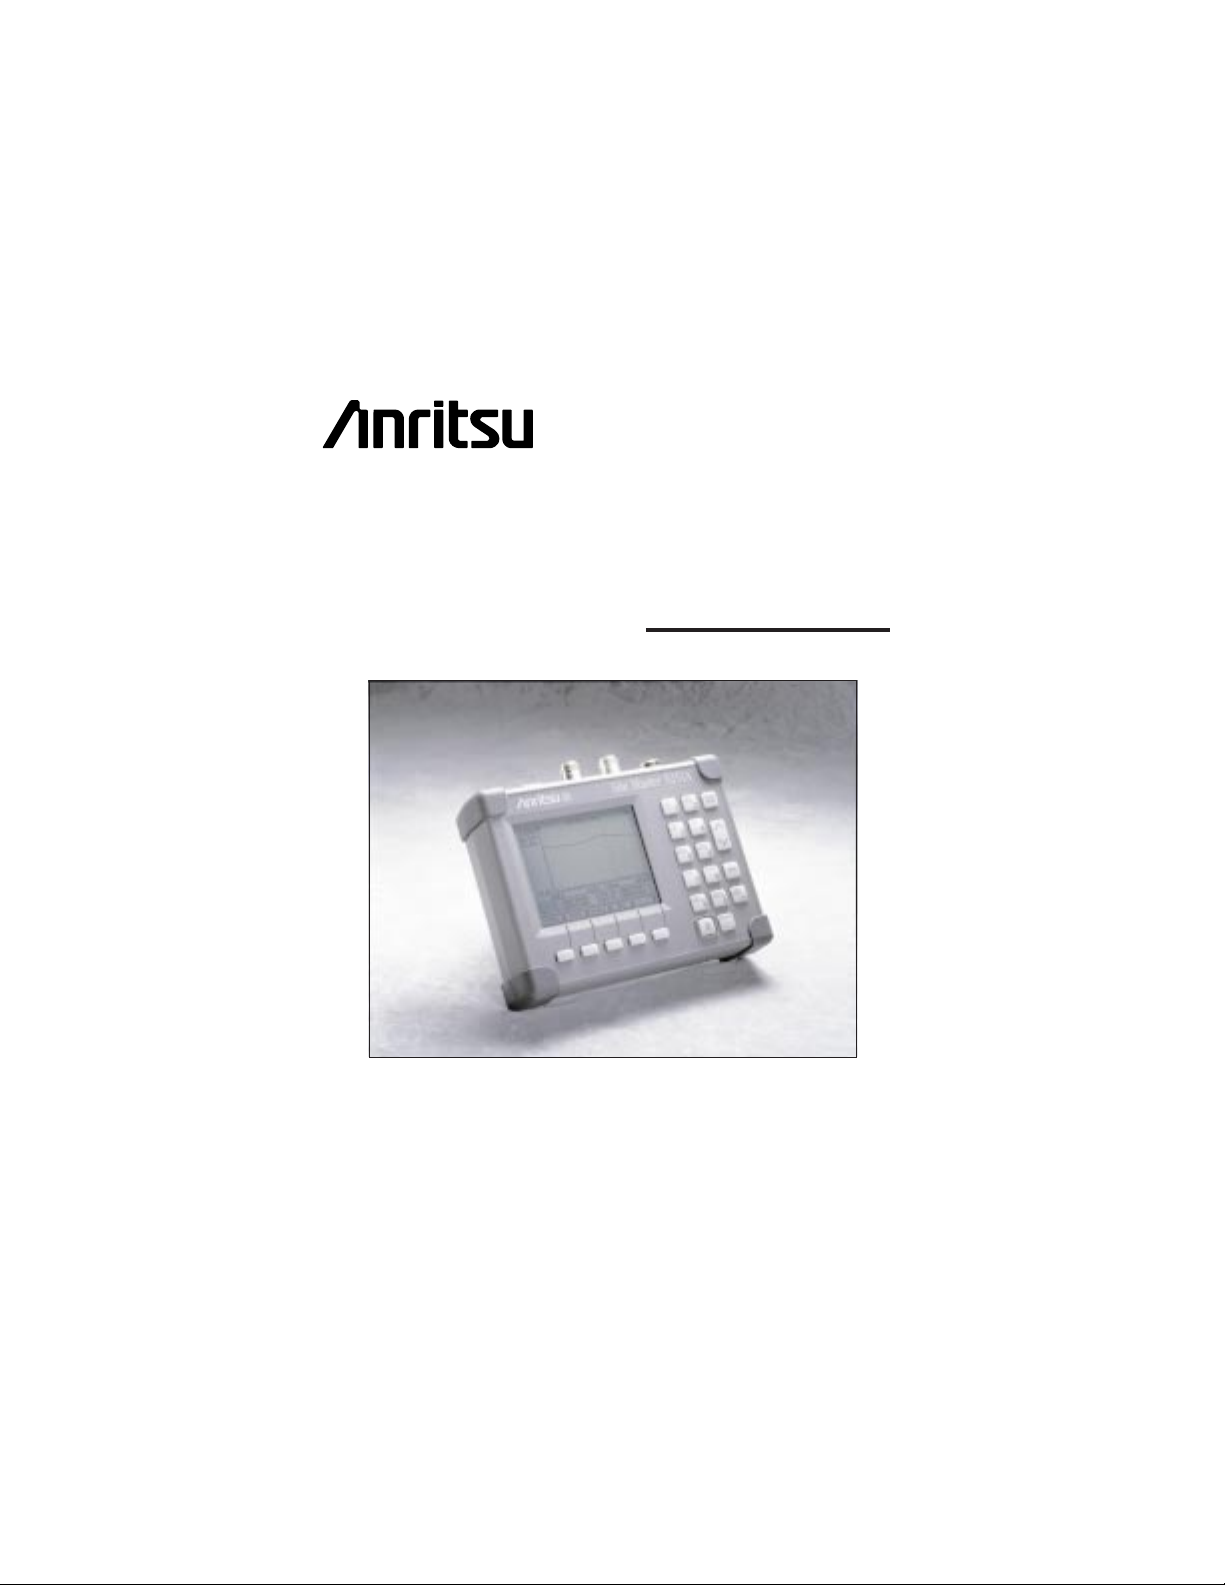
Site Master ™
S251A
Antenna and
Cable Analyzer
User's Guide
Hand-Held Tester For Antennas, Transmission
Lines And Other RF Components
Color Cover P/N: 00986-00022

WARRANTY
The Anritsu product(s) listed on the title page is (are) warranted
against defects in materials and workmanship for one year from the
date of shipment.
Anritsu's obligation covers repairing or replacing products which prove
to be defective during the warranty period. Buyers shall prepay trans-
portation charges for equipment returned to Anritsu for warranty re-
pairs. Obligation is limited to the original purchaser. Anritsu is not
liable for consequential damages.
LIMITATION OF WARRANTY
The foregoing warranty does not apply to Anritsu connectors that have
failed due to normal wear. Also, the warranty does not apply to de-
fects resulting from improper or inadequate maintenance by the
Buyer, unauthorized modification or misuse, or operation outside the
environmental specifications of the product. No other warranty is ex-
pressed or implied, and the remedies provided herein are the Buyer's
sole and exclusive remedies.
TRADEMARK ACKNOWLEDGEMENTS
MS-DOS, Windows, Windows for Workgroups, Windows NT, and Win-
dows 95 are registered trademarks of the Microsoft Corporation.
Site Master and Cable Mate are trademarks of Anritsu Company.
NOTICE
Anritsu Company has prepared this manual for use by Anritsu Com-
pany personnel and customers as a guide for the proper installation,
operation and maintenance of Anritsu Company equipment and com-
puter programs. The drawings, specifications, and information con-
tained herein are the property of Anritsu Company, and any
unauthorized use or disclosure of these drawings, specifications, and
information is prohibited; they shall not be reproduced, copied, or
used in whole or in part as the basis for manufacture or sale of the
equipment or software programs without the prior written consent of
Anritsu Company.
Table of Contents
General Information ..........1-1
Introduction..................1-1
Description ..................1-1
Standard Accessories.............1-2
Options ....................1-3
Optional Accessories .............1-3
Performance Specifications .........1-5
Preventive Maintenance ...........1-8
Calibration ..................1-9
Annual Verification .............1-10
Connectors and Controls .......2-1
Introduction..................2-1
Test Panel Connectors ............2-1
Keypad Controls ...............2-2
Soft Keys and Menus .............2-7
Determining Remaining Battery Life . . . 2-26
Printing....................2-27
Printer Switch Settings ................2-27
Printing a Screen ...................2-28
Symbols ...................2-29
Self Test ...................2-29
Error Codes .................2-29
Self Test Errors ....................2-29
Range Errors .....................2-29
Replacing the Battery ............2-29
Using the Soft Carrying Case........2-35
August 1998 10580-00020
Copyright 1998, Anritsu Co. Revision: A

Operation ................3-1
Introduction..................3-1
Operating Functions .............3-1
Making Common Function Selections ...3-3
Applying Power ....................3-3
Setting Options .....................3-3
Setting Markers ....................3-3
Setting Scale/Limits ..................3-4
Return Loss (SWR) and Cable Loss
(One Port) Measurement ..........3-5
Required Equipment..................3-5
Device-Under-Test Specification ...........3-5
Procedure ........................3-5
Selecting the Measurement Mode...........3-5
Selecting the Frequency Range ............3-7
Performing a Calibration ...............3-7
Cable Return Loss Measurement ...........3-9
Setting the Limit Line .................3-9
Setting the Markers ..................3-9
Saving Display to Memory ..............3-11
Cable Loss Measurement...............3-11
Scaling the Display ..................3-11
Saving Display to Memory ..............3-12
DTF Measurement .............3-13
Required Equipment .................3-13
Device-Under-Test Specification...........3-13
Procedure .......................3-13
DTF Parameters Setup ................3-13
Performing a Calibration...............3-15
DTF Measurement (Determining the Length
of the Cable) .....................3-16
DTF Measurement (Determining the Quality
of the Cable) .....................3-18
Insertion Gain (Amplifier) Measurement . 3-20
Required Equipment .................3-20
ii

Device-Under-Test Specification...........3-20
Procedure .......................3-20
Insertion Gain Mode Selection............3-20
Selecting the Frequency Range ...........3-21
Performing a Calibration...............3-21
Amplifier Gain Measurement ............3-24
Setting the Markers..................3-24
Activating the Bias Tee ................3-27
Scaling the Display ..................3-27
Saving Display to Memory ..............3-28
Making Power Measurements .......3-29
Entering Power Monitor Mode ...........3-29
Zeroing the Power Monitor .............3-29
Measuring High Input Power Levels ........3-29
Displaying Power in dBm and Watts ........3-30
Displaying Relative Power ..............3-30
RF Source Operation ............3-31
Generating a CW Frequency.............3-31
Software Tools Program........4-1
Description ..................4-1
Requirements .................4-1
Communication Port Setting.........4-2
Changing COM Port Settings–Windows 3.1 .....4-2
Changing COM Port Settings–Windows 95 .....4-4
Software Installation .............4-6
Plot Capture..................4-8
Capture multiple to database .............4-8
Capture multiple traces to PC screen.........4-9
Single trace capture..................4-10
Program Operation .............4-11
Fault Location Software ..........4-11
Smith Chart Software............4-12
Saving a Plot as a Windows Metafile....4-12
iii
iii

How to Use this Manual
The operation of the Site Master ™ is straightforward and intuitive.
However, you may find it helpful to review the operation of the keys
and menus prior to first-time use.
Descriptions of the keys and menus are provided in Chapter 2; mea-
surement procedures are found in Chapter 3.
First-time users and maintenance supervisors will benefit from perusing
the material in Chapter 1. This chapter describes the instrument and
provides listings of options, accessories, and performance specifica-
tions.
v
Please Recycle
This product contains a rechargeable nickel-
cadmium battery. Spent nickel-cadium bat-
teries are valuable resources, do not throw
them away. Arrange for proper return for re-
cycling in your locality. If you do not have
access to proper disposal methods, return the
battery to your Anritsu service center.
Anritsu service centers will dispose of the
unit at no charge. Anritsu service centers are
listed in Table 1-2 (page 1-11).

Site Master S251A
1-0
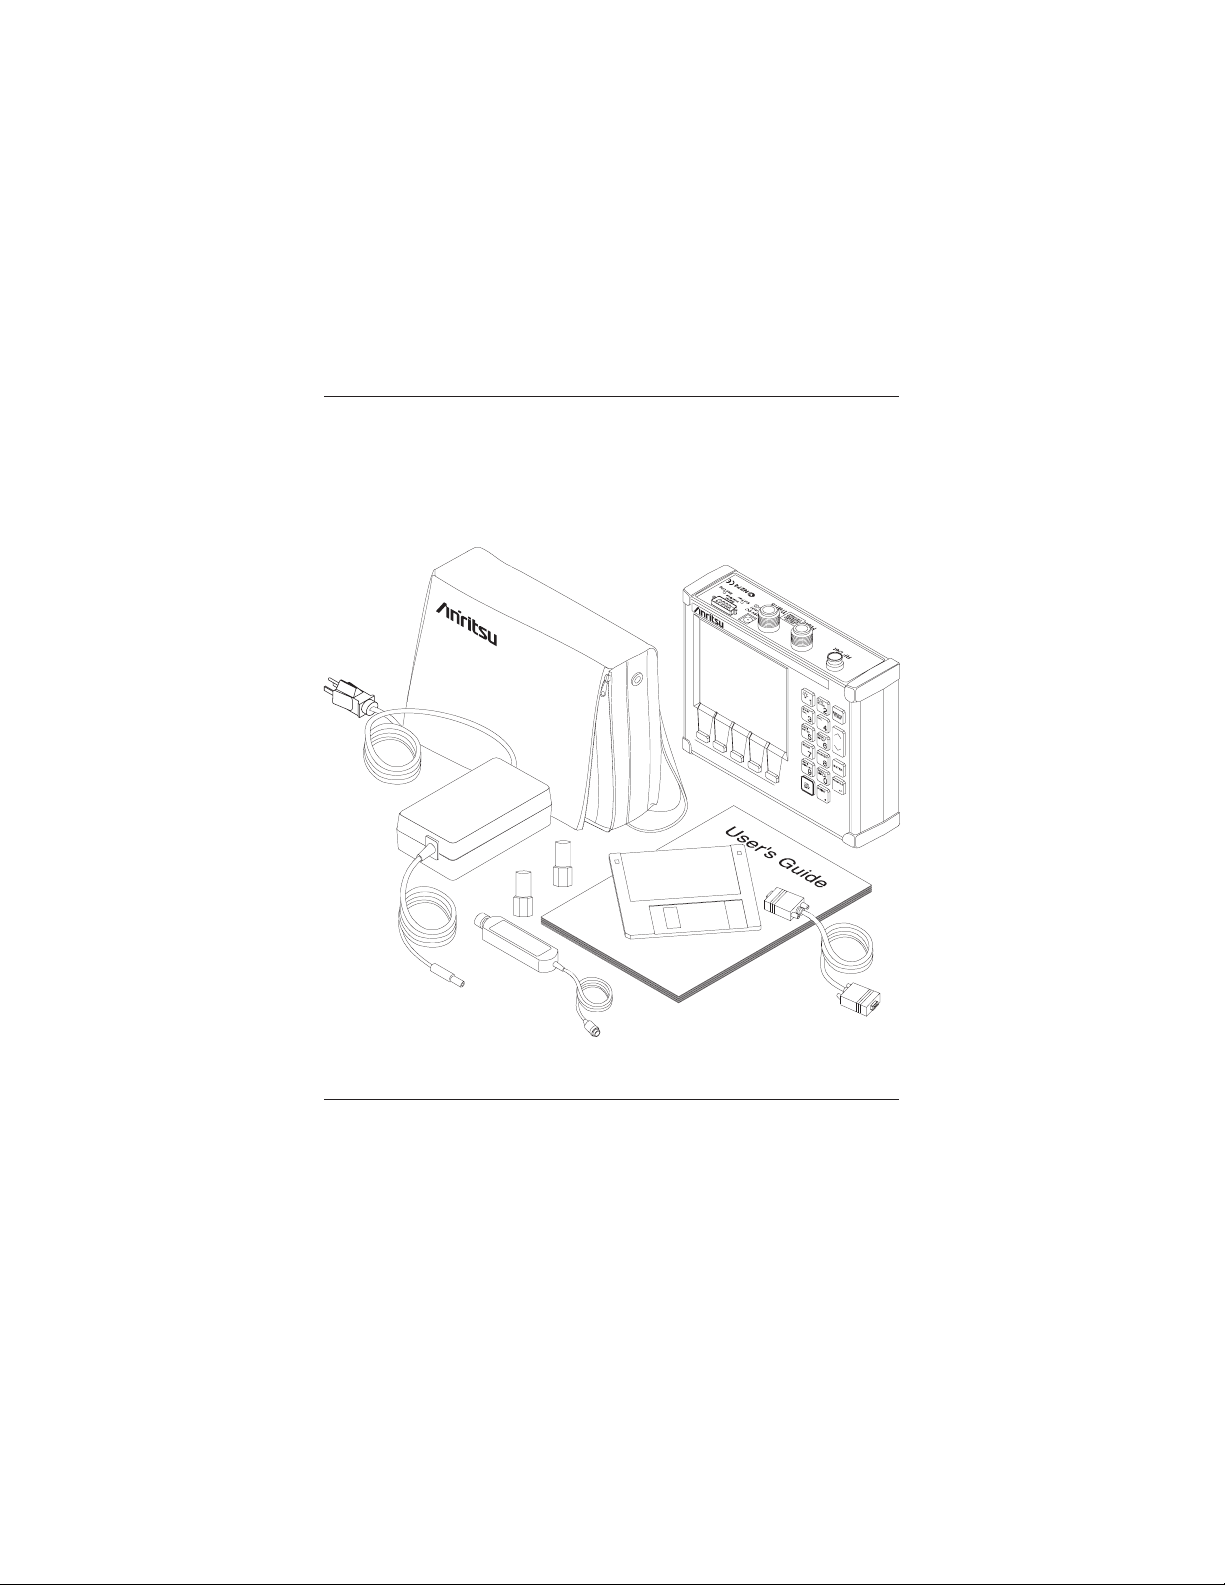
Figure 1-1. Site Master System

Chapter 1
General Information
Introduction
This chapter provides a description, performance specifications, op-
tional accessories, preventive maintenance, and calibration require-
ments for the Site Master model S251A. Throughout this manual, the
term Site Master will refer to the model S251A.
Model Frequency Range
S251A 625 to 2500 MHz
Description
The Site Master (Figure 1-1) is a hand held S21 (transmission gain or
loss), SWR/RL (standing wave ratio/return loss), and Distance-To-
Fault (DTF) measurement instrument that includes a built-in synthe-
sized signal source and an optional power monitor. It uses a keypad to
enter data and a liquid crystal display (LCD) to provide a graphical in-
dication of S21, SWR, or RL over the selected frequency range. The
Site Master has a built-in distance-to-fault (DTF) capability. It is capa-
ble of up to two hours of continuous operation from a fully charged in-
ternal battery and can be operated from a 12.5 dc source (which will
also simultaneously charge the battery). Built-in energy conservation
features can be used to extend battery life over an eight-hour work day.
The Site Master is designed for measuring transmission gain/insertion
loss, SWR, return loss, or cable insertion loss and locating faulty RF
1-1
1

components in antenna systems. Power monitoring and bias tee capa-
bilities are available as options. The displayed trace can be scaled
and/or enhanced with settable frequency markers and/or a limit line. A
menu option provides for an audible “beep” when the limit value is ex-
ceeded. To permit use in low-light environments, the LCD can be back
lit using a front panel key.
Standard Accessories
A PC based software program (called Software Tools) provides an on-
line database record for storing measurement data. Site Master Soft-
ware Tools can also convert the Site Master display to a Microsoft
Windows 95 graphic. Measurements stored in the Site Master internal
memory are down-loaded to the PC using the included serial cable.
This null-modem serial cable connects between the Serial Interface
connector on the Site Master and a Com Port on a DOS/Windows-
based PC. Once stored, the graphic trace can then be displayed, scaled,
and/or enhanced with markers and limit lines. Historical graphs can be
overlaid with current data by using the PC's mouse in “drag-n-drop”
fashion. The underlying data can be extracted and used in spreadsheets
or for other analytical tasks.
The Software Tools program also performs DTF (Distance To Fault) or
Fault Location by clicking on the appropriate icon.
1-2
Chapter 1 General Information

The following items are supplied with the basic hardware.
•Soft Carrying Case
•AC-DC Adapter
•Automotive Cigarette Lighter 12 Volt DC Adapter,
•3 1/2-inch floppy disk containing the Software Tools program.
This program contains Fault Location (DTF) and Smith Chart
functions
•Serial Interface Cable (Null Modem Type)
•One year Warranty (includes battery, firmware, and software)
•User's Guide
Options
•Option 5 — Add RF Wattmeter Power Monitor
•Option 10 — Add Bias Tee
Optional Accessories
•Anritsu Precision N (m) Short/Open, Part No. 22N50
•Anritsu Precision N (f) Short/Open, Part No. 22NF50
•Site Master Precision N (m) Load, 42 dB, Part No. SM/PL
•Site Master Precision N (f) Load, 42 dB, Part No. SM/PLNF
•7/16 (m) Precision Open/Short/Load, Part No. 2000-767
•7/16 (f) Precision Open/Short/Load, Part No. 2000-768
•Adapter, Precision N (m) to N (m), Part No. 34NN50A
1-3
Chapter 1 General Information

•Adapter, Precision N (f) to N (f), Part No. 34NFNF50
•Adapter, 7/16 (f) to N (m), Part No. 510-90
•Adapter, 7/16 (f) to N (f), Part No. 510-91
•Adapter, 7/16 (m) to N (m), Part No. 510-92
•Adapter, 7/16 (m) to N (f), Part No. 510-93
•Adapter, 7/16 DIN (m) to 7/16 DIN (m), Part No. 510-96
•Adapter, 7/16 DIN (f) to 7/16 DIN (f), Part No. 510-97
•Armoured Test Port Extension Cable, 1.5 meter, N (m) to
N (f), Part No. 15NNF50-1.5A
•Armoured Test Port Extension Cable, 3.0 meter, N (m) to
N (f), Part No. 15NNF50-3.0A
•Armoured Test Port Extension Cable, 5.0 meter, N (m) to
N (f), Part No. 15NNF50-5.0A
•Armoured Test Port Extension Cable, 1.5 meter, N (m) to
N (m), Part No. 15NN50-1.5A
•Armoured Test Port Extension Cable, 3.0 meter, N (m) to
N (m), Part No. 15NN50-3.0A
•Armoured Test Port Extension Cable, 5.0 meter, N (m) to
N (m), Part No. 15NN50-5.0A
•Armoured Test Port Extension Cable, 1.5 meter, N (m) to
7/16 DIN (f), Part No. 15NDF50-1.5A
•Armoured Test Port Extension Cable, 1.5 meter, N (m) to
7/16 DIN (m), Part No. 15ND50-1.5A
•RF Detector, 1 to 3000 MHz, N(m) input connector, 50 Ohms,
Part No. 5400-71N50
1-4
Chapter 1 General Information

•Transit Case for Site Master, Part No. 760-215
•HP Deskjet 340 Printer, Part No. 2000-766
•Serial-to-Parallel Converter Cable (use with the HP 340
Printer), Part No. 2000-753
•Seiko DPU-414 Thermal Printer, Part No. 2000-754 (U.S.) or
2000-761 (Europe)
•US Adapter (use with the DPU-414 Printer),
Part No. 2000-1002
•Europe Adapter (use with the DPU-414 Printer)
Part No. 2000-1003
•Battery Pack (use with the DPU-414 Printer)
Part No. 2000-1004
•Serial Interface Cable (use with the DPU-411 Printer),
Part No. 2000-XXX
•Thermal Paper (use with the DPU-411/DPU-414 Printer),
Part No. 2000-755
Performance Specifications
Performance specifications are provided in Table 1-1, on the following
page.
1-5
Chapter 1 General Information

1-6
Chapter 1 General Information
Specifications are valid when the unit is calibrated at ambient tem-
perature after a 5 minute warmup.
Description Value
Frequency Range: 625 to 2500 MHz
Frequency Accuracy (RF Source
Mode) 75 parts per million @ 25°C*
Frequency Resolution 100 kHz
SWR:
Range
Resolution 1.00 to 65.00
0.01
Return Loss:
Range
Resolution 0.0 to 54.00 dB
0.01 dB
Cable Insertion Loss:
Range
Resolution 0.0 to 54.00 dB
0.01 dB
Insertion Loss/Gain:
Range
Resolution –120.0 to 100.0 dB
0.01 dB
**Distance-To-Fault (DTF):
Range
Resolution (in meters)
(Rectangular Windowing)
0 to (Resoution x 129)
( . )( )15 10
8
´
V
Frequency
f
D
Where
V
f
is the cable's relative
propagation velocity.
Bias Tee:
Input Voltage
Output Current 12.5 - 15 Vdc
200 mA max
Table 1-1. Performance Specifications (1 of 2)

1-7
Chapter 1 General Information
Wattmeter Power Monitor:
Range
Offset Range
Resolution
–50.0 to +20 dBm
or
10.0 nW to 100.0 mW
0 to +60.0 dB
0.1 dB
or
0.1 xW
Test Port, Type N 50 Ohms
***Immunity to Interfering signals
up to the level of +10 dBm, Reflection
+30 dBc, Transmission
Maximum Input (Damage Level):
Test Port, Type N
RF Detector +22 dBm
+20 dBm
Measurement Accuracy:
Measurement accuracy depends on calibration components.
Precision calibration components have a directivity of 42 dB.
Temperature:
Storage
Operation –20°Cto75°C
0°Cto50°C
Weight: 3.0 pounds (1.36 kg)
Size: 8x7x21
4inches
(203.2 x 177.8 x 57.2 mm)
±2 ppm/D°C from 25°C
** Fault location is accomplished by inverse Fourier Transformation of data taken with
the Site Master. Resolution and maximum range depend on the number of frequency
data points, frequency sweep range and relative propagation velocity of the cable being
tested.
*** Immunity measurement is made in CW mode with incoming intefering signal ex-
actly at the same frequency (worst case situation). Typical immunity is better when
swept frequency is used.
Table 1-1. Performance Specifications (2 of 2)

Preventive Maintenance
Site Master preventive maintenance consists of cleaning the unit and
inspecting and cleaning the RF connectors on the instrument and all ac-
cessories.
Clean the Site Master with a soft, lint-free cloth dampened with water
or water and a mild cleaning solution.
CAUTION: To avoid damaging the display or case,
do not use solvents or abrasive cleaners.
Clean the RF connectors and center pins with a cotton swab dampened
with denatured alcohol. Visually inspect the connectors. The fingers of
the N (f) connectors and the pins of the N(m) connectors should be un-
broken and uniform in appearance. If you are unsure whether the con-
nectors are good, gauge the connectors to confirm that their dimensions
are correct.
Visually inspect the test port cable(s). The test port cable should be uni-
form in appearance, not stretched, kinked, dented, or broken.
1-8
Chapter 1 General Information

Calibration
The Site Master is a field portable unit operating in the rigors of the
test environment. An Open-Short-Load (OSL) calibration should be
performed prior to making a measurement in the field. A built-in tem-
perature sensor in the Site Master advises the user, via an icon located
on the left side of the LCD screen, that the internal temperature has ex-
ceeded a safety window, and the user is advised to perform another
OSL calibration in order to maintain the integrity of the measurement.
NOTES:
For best calibration results—compensation for all
measurement uncertainties—ensure that the Open/
Short/Load is at the end of the test port or optional ex-
tension cable; that is, at the same point that you will
connect the antenna or device to be tested.
For best results, use a phase stable Test Port Exten-
sion Cable (see Optional Accessories). If you use a
typical laboratory cable to extend the
Site Master
test
port to the device under test, cable bending subse-
quent to the OSL calibration will cause uncompen-
sated phase reflections inside the cable. Thus, cables
which are NOT phase stable may cause measure-
ment errors that are more pronounced as the test fre-
quency increases.
For optimum calibration, Anritsu recommends using
precision calibration components.
1-9
Chapter 1 General Information

Annual Verification
Anritsu recommends an annual calibration and performance verifica-
tion of the Site Master and the OSL calibration components by local
Anritsu service centers. Anritsu service centers are listed in Table 1-2
beginning on the following page.
The Site Master itself is “self calibrating”, meaning that there are no
field-adjustable components. However, the OSL calibration compo-
nents are crucial to the integrity of the calibration and therefore, must
be verified periodically to ensure performance conformity. This is espe-
cially important is the OSL calibration components have been acciden-
tally dropped or over-torqued.
1-10
Chapter 1 General Information

1-11
Chapter 1 General Information
UNITED STATES
ANRITSU COMPANY
685 Jarvis Drive
Morgan Hill, CA 95037-2809
Telephone: (408) 776-8300
FAX: 408-776-1744
ANRITSU COMPANY
10 Kingsbridge Road
Fairfield, NJ 07004
Telephone: (201) 227-8999
FAX: 201-575-0092
AUSTRALIA
ANRITSU PTY. LTD.
Unit 3, 170 Foster Road
Mt. Waverley, VIC 3149
Australia
Telephone: 03-9558-8177
Fax: 03-9558-8255
BRAZIL
ANRITSU ELECTRONICA LTDA.
Praia de Botafogo 440, Sala 2401
CEP 22250-040,Rio de Janeiro,RJ, Brasil
Telephone: 021-28-69-141
Fax: 021-53-71-456
CANADA
ANRITSU INSTRUMENTS LTD.
215 Stafford Road, Unit 102
Nepean, Ontario K2H 9C1
Telephone: (613) 828-4090
FAX: (613) 828-5400
CHINA
ANRITSU BEIJING SERVICE CENTER
Beijing Fortune Building
416W, 5 Dong San Huan Bei Lu
Chaoyang qu
Beijing 100004, China
Telephone: 011861065909237
FAX: 011861065909236
FRANCE
ANRITSU S.A
9 Avenue du Quebec
Zone de Courtaboeuf
91951 Les Ulis Cedex
Telephone: 016-44-66-546
FAX: 016-44-61-065
GERMANY
ANRITSU GmbH
Grafenberger Allee 54-56
D-40237 Dusseldorf
Germany
Telephone: 0211-96 85 50
FAX: 0211-96 85 555
INDIA
MEERA AGENCIES (P) LTD
A-23 Hauz Khas
New Delhi 110 016
Telephone: 011-685-3959
FAX: 011-686-6720
Table 1-2. Anritsu Service Centers (1 of 2)
Table of contents