Antenna International XP Iris 2 User manual

www.antennainternational.com
Amsterdam. Bangkok. Barcelona. Berlin. Chicago. Connecticut. Edinburgh. London.
Madrid. New York. Paris. Rome. San Francisco. Singapore. Taipei. Warsaw.
XP Iris 2
User Manual

XP Iris 2 – User Manual Page 2 of 29
Copyright © 2014 Antenna International Ltd.
All rights reserved
No part of this publication may be reproduced, stored in a retrieval system, or
transmitted in any form or by any means, electronic, mechanical, photocopying,
recording or otherwise without the prior written permission of Antenna International
Ltd.
Antenna International Ltd. endeavors to ensure that the information in this document
is correct and does not accept any liability for error or omission.
XP Iris 2 is a registered trade mark of Antenna International Ltd.
Antenna International Ltd.
85 Great Eastern Street
London EC2A 3HY
United Kingdom
T: +44 (0)20 3365 8600
F: +44 (0)20 3365 8601
Email: uk@antennainternational.com

XP Iris 2 – User Manual Page 3 of 29
Contents
XP Iris 2Overview ......................................................................................................................................... 5
Features ........................................................................................................................................................ 6
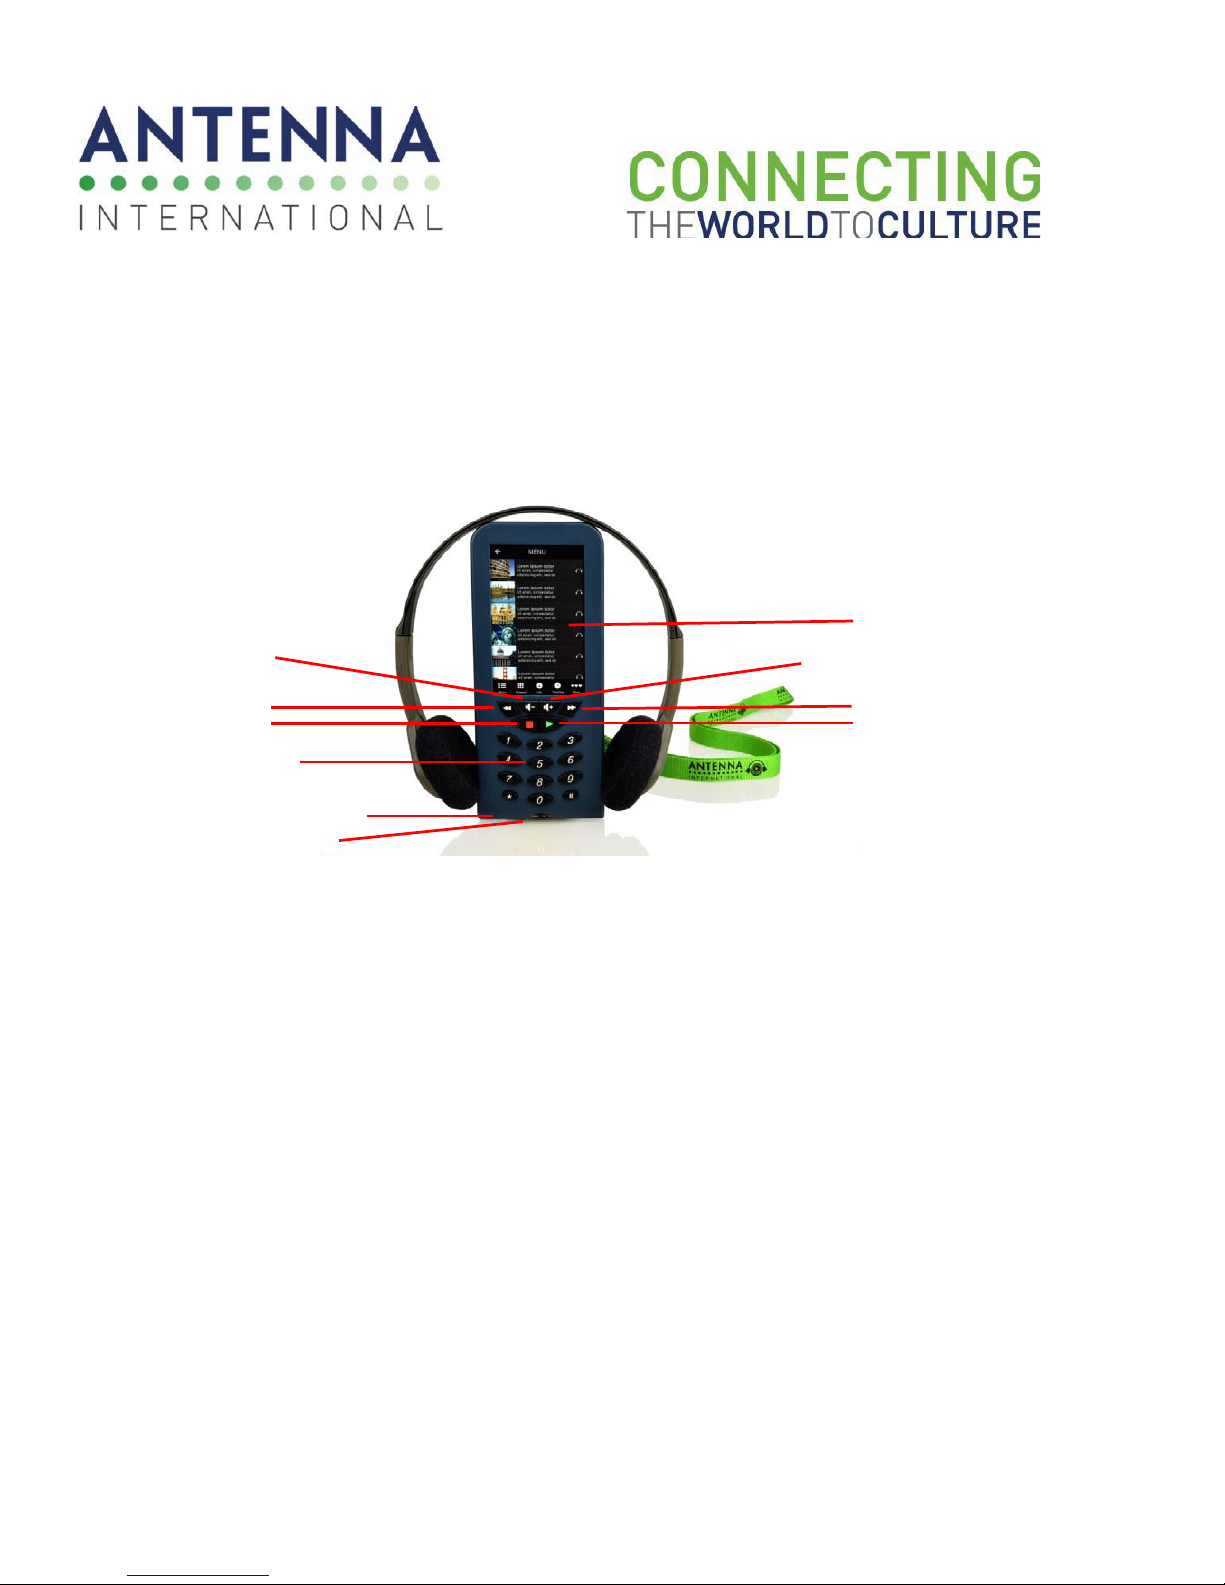
XP Iris 2Controls:.......................................................................................................................................... 8
Chargers ......................................................................................................................................................10
ConnectingandTestingtheChargingUnit .................................................................................................10
ChargingtheXP Iris 2:................................................................................................................................. 10
PreparationforUse..................................................................................................................................... 11
UsingthePlayer ..........................................................................................................................................11
IrisConnect2TM:..........................................................................................................................................12
SettingupIrisConnect2TM: ........................................................................................................................12
InstallingNewApplications:........................................................................................................................ 14
RemovingContentfromDevices: ...............................................................................................................15
LockingXP Ir is2TMDevice: .......................................................................................................................... 16
UnlockingXP Iris 2Device:.......................................................................................................................... 16
BatteryOperationOptimization .................................................................................................................17
Lithium‐PolymerBatteryCaution ...............................................................................................................17
CleaningandHygiene .................................................................................................................................18
Precaution...................................................................................................................................................19
Troubleshooting..........................................................................................................................................20
ServiceandRepairProcedure.....................................................................................................................21
Warranty .....................................................................................................................................................22
Certification.................................................................................................................................................23
FCCCOMPLIANCESTATEMENT...................................................................................................................23
ICSTATEMENT............................................................................................................................................. 24
EnvironmentalConsiderations.................................................................................................................... 25
WorldwideContacts ...................................................................................................................................26
Specifications ..............................................................................................................................................27
XP Iris 2Player ............................................................................................................................................27
CH150‐2TMChargingRack ........................................................................................................................... 28

XP Iris 2 – User Manual Page 4 of 29
Headphones ............................................................................................................................................29
Speaker ...................................................................................................................................................29

XP Iris 2 – User Manual Page 5 of 29
XP Iris 2 Overview
The XP Iris 2 is a portable, handheld, multimedia player which provides rich audio and
video content, enhancing visitor experiences at cultural sites around the world. Its
touchscreen enables visitors to easily make selections and interact with the player and
its physical keypad allows the user to provide numeric selections where prompted.
The XP Iris 2 has the capacity to store multiple different tour commentaries, in a
number of different languages. The XP Iris 2 can store and display varied types of
information including slide-shows, videos, images, audio commentary, on-screen text,
interactive games and more.
Visitors control their tour experience by
interacting with the player through the
touchscreen and physical keys.
Physical controls provide the means to
enter commentary numbers, adjust the
volume and pause, play, fast forward and
rewind tour content.
On-screen controls provide the means to
navigate through the content and select
different options of the application.

XP Iris 2 – User Manual Page 6 of 29
Features
Dedicated handheld device incorporating both a fully operational touch screen
and an award-winning keypad;
Robust, durable design, based on over 30 years’ experience in mass distribution
at some of the world’s most iconic cultural sites;
High quality digital sound supported both through headphones and a dedicated
built-in speaker;
Designed to support on site or remote management uploads;
Maximum flexibility to meet the needs of changing platforms;
Wi-Fi enabled to support online applications, including social media and
ecommerce activity;
Compatible with Antenna Publisher, our new content creation, management and
multi-platform distribution software.
Memory Capacity 1GB DDR, 8GB chip on board flash with additional micro SD
slot for up to 64GB. Supports over hours of video, hours of
audio and digital images.
Audio Built-in speaker and universal stereo headset jack.
Screen High resolution 3.5 inch touch screen, supporting subtitles.
Video Full video playback.
Keypad Intuitive, ergonomic keypad with accessibility support.
Network Connectivity Wi-Fi & Bluetooth.
Battery Lithium Polymer.Over hours, to support all day use on site.
Updates Content and firmware updates via charging rack, USB and
Wi-Fi.

XP Iris 2 – User Manual Page 7 of 29
Alarm System Bluetooth Low Energy security system
Certifications
CE, RoHS / WEEE, Wi-Fi, Bluetooth, FCC

XP Iris 2 – User Manual Page 8 of 29
XP Iris 2 Controls:
The XP Iris 2 is comprised of the XP Iris 2 player, headphones and lanyard.
1. Volume Control button: Decreases the volume.
2. Volume Control button: Increases the volume.
3. Numerical key pad: Each commentary stored in the XP Iris 2 can be coded with
a number, which can correspond to a number displayed for each exhibit. The
numerical key pad enables the user to key in the appropriate exhibit number.
4. Rewind button: Moves currently playing content back by three (3) seconds.
5. Stop button: Pauses / Stops the selected content.
6. Play / Resume Play button: Plays / Resumes selected content.
7. Fast Forward button: Moves currently playing content forward by three (3)
seconds.
8. LCD display with resistive touchscreen: While XP Iris 2 is in use, the screen
displays applications and content. Navigation within applications is performed
via the touchscreen.
9. Headphones socket: Enables use of stereo headphones with the XP Iris 2.
10. Lanyard clip: The Lanyard is provided with the XP Iris 2.
10
2
3
4
56
1
7
8
9

XP Iris 2 – User Manual Page 9 of 29
11.XP Iris 2 label.
11

XP Iris 2 – User Manual Page 10 of 29
Chargers
The CH150-2TM Charging Unit is designed to work with the XP Iris 2 multimedia players.
The CH150-2TM provides 50 slots for player charging and a USB host port for
programming and diagnostics. The CH150-2TM is designed to be mounted into a
standard 19-inch EIA-310/CEA-310 equipment rack with a minimum 10U height. See
the CH150-2TM User Manual for detailed charger information.
Connecting and Testing the Charging Unit
Plug the CH150-2TM into AC power, then flip the front panel power switch to the ON
position.
The green status light should be lit on each slot. The unit is now ready for use.
Charging the XP Iris 2:
Each XP Iris 2 is supplied with re-chargeable batteries, which can last on average 6 to
10 hours of use from a full charge. It is recommended that all players are charged
overnight to ensure a full charge for the following day’s use.
1. If headphones have been used, unplug them from the player.
2. Place each of the XP Iris 2 players into a vacant charging slot and apply light
pressure to ensure a tight connection.

XP Iris 2 – User Manual Page 11 of 29
Preparation for Use
The XP Iris 2 requires very little preparation to ensure its readiness for your visitors.
1. Remove the player from charging station.
2. Attach a lanyard to the clip on the bottom of the player.
3. Press any key on the physical key pad.
4. You should now be on a language screen.
5. Player is now ready.
Using the Player
1. Select an XP Iris 2 player from those that are available.
2. Once on the landing page screen, press any key on the key pad (for example
number 5 or any other physical key).

XP Iris 2 – User Manual Page 12 of 29
Iris Connect 2TM:
The Iris Connect 2TM is a multiple platform, java application that automates installation
of Android applications (.apk files) directly onto XP Iris 2 devices. Iris Connect 2 is
add-on software to existing uploading stations that have USB hubs installed.
NOTE: This device may not be connected to a PC for any content downloads or
firmware updates without the operation of professional staff.
Setting up Iris Connect 2TM:
Requirements
1. Laptop running Mac OS 10.5+, Windows XP, Vista or 7, Linux.
2. Java
3. Android SDK
4. Android SDK Tools
5. Google USB Driver package
6. Android Composite ADB interface
(ftp://support.archos.com/ARCHOS%20it/ADB/adb_winusb_driver.zip)
7. Iris Connect 2TM application
Setup
1. Install Android SDK http://developer.android.com/sdk/index.html ;
2. Run Android SDK Manager;
3. Check off SDK Tools, Google USB Driver package;
4. Install and accept all agreements;
5. Exit SDK Manager;
6. Add android-sdk PATH (on windows 7):
a. Start the System Control Panel applet (Start - Settings - Control Panel - System);
b. Select the Advanced System Settings link;
c. Click the Environment Variables button.

XP Iris 2 – User Manual Page 13 of 29
d. Under System Variables, select Path, and then click Edit:
1. To find the path open windows explorer and go to the directory where
android tools are installed. Example on my system:
C:\Program Files (x86)\Android\android-sdk\platform-tools;
e. You'll see a list of folders, as this example for my system shows (folders listed
separately for clarity) :
%CommonProgramFiles%\Microsoft Shared\Windows Live;
%SystemRoot%\system32;
%SystemRoot%;
%SystemRoot%\System32\Wbem;
%SYSTEMROOT%\System32\WindowsPowerShell\v1.0\;
c:\Program Files\Hewlett-Packard\Drive Encryption\;
C:\Program Files\WIDCOMM\Bluetooth Software\;
C:\Program Files\WIDCOMM\Bluetooth Software\syswow64;
C:\Program Files (x86)\Panda Security\WaAgent\Common;
C:\Program Files (x86)\QuickTime\QTSystem\;
f. You can add additional folders that you want to include in searches. I add a
"C:\Program Files (x86)\Android\android-sdk\platform-tools" entry for Android
SDK Platform-Tools. Click OK;
g. Restart computer to ensure all changes take effect;
7. Check if java is installed on the computer
a. Go to Start -> Search -> java.exe;
b. If the java.exe is not found, download it and install it http://www.java.com/en/
8. Create a new folder in C:\Program Files\ directory called “Iris Connect 2”;
9. Copy Iris Connect 2 app archive to directory created in step #8;
10. Extract all the files;
11. Go to C:\Program Files\Iris Connect 2\IrisConnect.app\Contents\Resources\Java\;
12. Double click on IrisConnect.jar.

XP Iris 2 – User Manual Page 14 of 29
Installing New Applications:
Installing app(s) on one or more XP Iris 2 devices is very straight forward.
Please Note: you must plug the devices one by one when using more than one
device.
1. Connect the computer with Iris Connect 2TM software pre-installed to the uploading
rack. If you require installation instructions for Iris Connect 2TM please refer to Iris
Connect 2TM installation instructions (see “Setting up Iris Connect 2TM” on page 12);
2. Launch the Iris Connect 2TM software;
3. Connect the device(s) to uploading rack;
4. Within Iris Connect 2TM you will see devices show up as you connect them to USB in
the bottom section of the software;
5. Once all desired devices are connected within Iris Connect 2TM select all devices that
you are trying to update;

XP Iris 2 – User Manual Page 15 of 29
6. Press “Add” button to add .APK application you need to install to the list within Iris
Connect 2TM. Navigate to the folder where application is stored and double click on
the .APK file;
7. At the top part of the screen you will see the name of the application you are about
to install;
8. Turn the uploading rack ON;
9. Insert device into charging slot on the uploading rack (every time you insert the
device it will show up in the device list section of Iris Connect 2TM.
10. Repeat Step 9 for every device you need to update;
11. Select all the devices in Iris Connect 2TM in section where devices are listed (Note:
software will only update the devices you have selected)
12. Press “Update” button located at the bottom right corner of the Iris Connect 2TM
software;
13. All the devices will be updated automatically. Once done, you would only see Iris
Connect 2TM and no other pop-up windows.
14. Remove device(s) and make sure the application has been installed.
15. Lock the device (see “Locking XP Iris 2TM Device” procedure on page 16)
16. Device is now ready for CS use.
NOTE: You can install multiple apps at the same time. Keep in mind that all
aftermarket apps on XP Iris 2TM devices are going to be deleted from the device
first.
Removing Content from Devices:
Deleting content from XP Iris 2 device(s) using Iris Connect 2 is very simple.
1. Launch Iris Connect 2
2. Select device(s);
3. Without adding any applications, press update button and confirm that you want
to delete all the apps on XP Iris 2;
4. All applications on selected devices are going to be uninstalled.

XP Iris 2 – User Manual Page 16 of 29
Locking XP Iris 2TM Device:
1. Make sure the application is installed;
2. Open application;
3. Press Android home key on the screen. A pop up dialogue window will appear
with two options: one for “Launcher” and the second for your application. Below
you will notice a check mark box;
4. Select the check box (check mark will highlight green once selected);
5. Select your application. This step will set a default application that launches on
startup. You need to be careful which application you select;
6. XP Iris 2 is now locked. Even if the device is fully powered off your app will
always launch first.
Unlocking XP Iris 2 Device:
XP Iris 2TM device can be unlocked from the Customer Services landing page
screen (Battery Screen)
1. To get back to the battery screen:
a. Press search key;
b. Enter “999” followed by play button.
2. Press the Battery icon on the screen;
3. Press Continue in pop up window - this will bring you out to settings screen;
4. Go to Applications>Manage Applications>Select your app;
5. Press “Clear Defaults” button;
6. Device is now unlocked and you may get back to Android home screen where
you can manage your applications and settings.

XP Iris 2 – User Manual Page 17 of 29
Battery Operation Optimization
Excessive charging runs the risk of overcharging the battery and decreasing its
total life expectancy.
If the device is not used for an extended period of time, device will discharge and
become unusable. To maximize battery performance, power off the device using
power button (refer to technical support manual for instructions)
Use only Antenna International specified peripherals in the device. Using other
peripherals may cause battery to discharge faster.
Use sleep mode button located on the side of the device whenever the device is not
being used.
When the battery is indicating ¾ discharge, plug the device into the charger. Leave
the device plugged in to charger for few hours for effective battery charge.
Lithium-Polymer Battery Caution
This product is equipped with a Lithium-Ion battery.
Do not pierce, open or disassemble it, or use it in a humid and/or corrosive
environment. Do not store or leave device in or near sources of heat such as direct
sunlight, high temperature location, a pressurized location or container, microwave
oven.
Do not expose it to temperatures over 60 C (140 F).
If the battery leaks and you come into contact with the leaked fluids, rinse
thoroughly with water and seek medical attention immediately.
Failure to follow above mentioned instructions could cause the battery to leak acid,
become hot, explode or ignite and cause injury and/or damage. Never throw battery or
the device with battery in it into a fire.
Note: Always dispose of old batteries in an environmentally-safe way, in accordance
with local regulations. Where possible re-cycle them. Contact your local authority
for details of battery re-cycling schemes in your area.

XP Iris 2 – User Manual Page 18 of 29
Cleaning and Hygiene
All parts of the XP Iris 2 units and charging equipment should be cleaned on a regular
basis with disinfectant wipes
Earpad Hygiene
Headphone ear pads should be replaced, cleaned or washed regularly.
Wash ear pads in cold water and detergent.
Discard if torn or remain dirty even after washing.
Charger Units
When cleaning the charging unit:
Ensure the power supply is switched off;
Remove the power cord from AC outlet;
Remove Players;
Only use dry cloth for cleaning of internal parts. Never use liquids or moistened
equipment for cleaning of internal parts;
Avoid touching the metal contacts inside each cradle.

XP Iris 2 – User Manual Page 19 of 29
Precaution
Consideration Precaution(s)
Equipment protection o Always protect the XP Iris 2 equipment
from moisture, heat, excessive dust or
sand and mechanical shocks.
o Avoid wrapping headset/headphone
cables tightly around the items when not
in use as this can cause damage.
Noise level o Avoid continuous periods of high
volume listening. If you experience a
ringing in your ears, reduce the volume or
discontinue use.
o Keep the volume at a moderate level.
This will allow you to hear outside sounds
and to be considerate to the people
around you.
Service, repairs and
modifications
o Service and repairs should be carried
out by Antenna International Ltd. only. Do
not attempt to make repairs, or
modifications to your XP Iris 2 equipment.
This will be in breach of the terms of your
contract and will invalidate your warranty.

XP Iris 2 – User Manual Page 20 of 29
Troubleshooting
The following table details the procedures that should be followed in the event of a
problem. If the problem you have is not listed, or the suggested action does not cure
the problem, the faulty item should be returned to Antenna International Ltd.,
according to the terms and conditions of the limited warranty provided under your
contract. Please refer to your contract for full details.
Symptom Action(s)
Touchscreen isn’t working
properly
If the touch-screen is not responding
properly, try to go to the Touch screen
calibration settings screen (Menu icon >
Settings > Repair and Formatting). Then
use the Touch screen calibration button,
and follow the instructions on the screen.
If this does not work or if you cannot
access the touch-screen settings, you can
force the touch-screen calibration with the
System Recovery.
No sound from XP-Iris 2TM o Check and/or replace the headphones.
o Turn up the receiver volume.
XP-Iris 2TM is not charging o Check the XP Iris 2 is properly inserted
in the charging slot.
o Use a different charging slot.
o Clean and/or check the battery contacts.
o Return it to Antenna International Ltd. to
replace the battery.
Table of contents
Popular Antenna manuals by other brands

Sennheiser
Sennheiser AC 3 instruction manual

ETS-Lindgren
ETS-Lindgren 3181 user manual

Pacific Antenna
Pacific Antenna Dummy Load V2 manual

Sirius Satellite Radio
Sirius Satellite Radio PowerConnect XMP3I user guide

Iridium
Iridium GO! exec GEINSTKT2201 installation guide

Directive Systems & Engineering
Directive Systems & Engineering DSE9112LY manual

Buffalo
Buffalo WLE-AT-NDBHB Technical specifications

TerraWave Solutions
TerraWave Solutions T24125P10006120 instructions

Directive Systems & Engineering
Directive Systems & Engineering DSE1445LY quick start guide

Chameleon Antenna
Chameleon Antenna EMCOMM III Operator's manual

Shure
Shure UA844 user guide

M-Life
M-Life ML0649 user manual