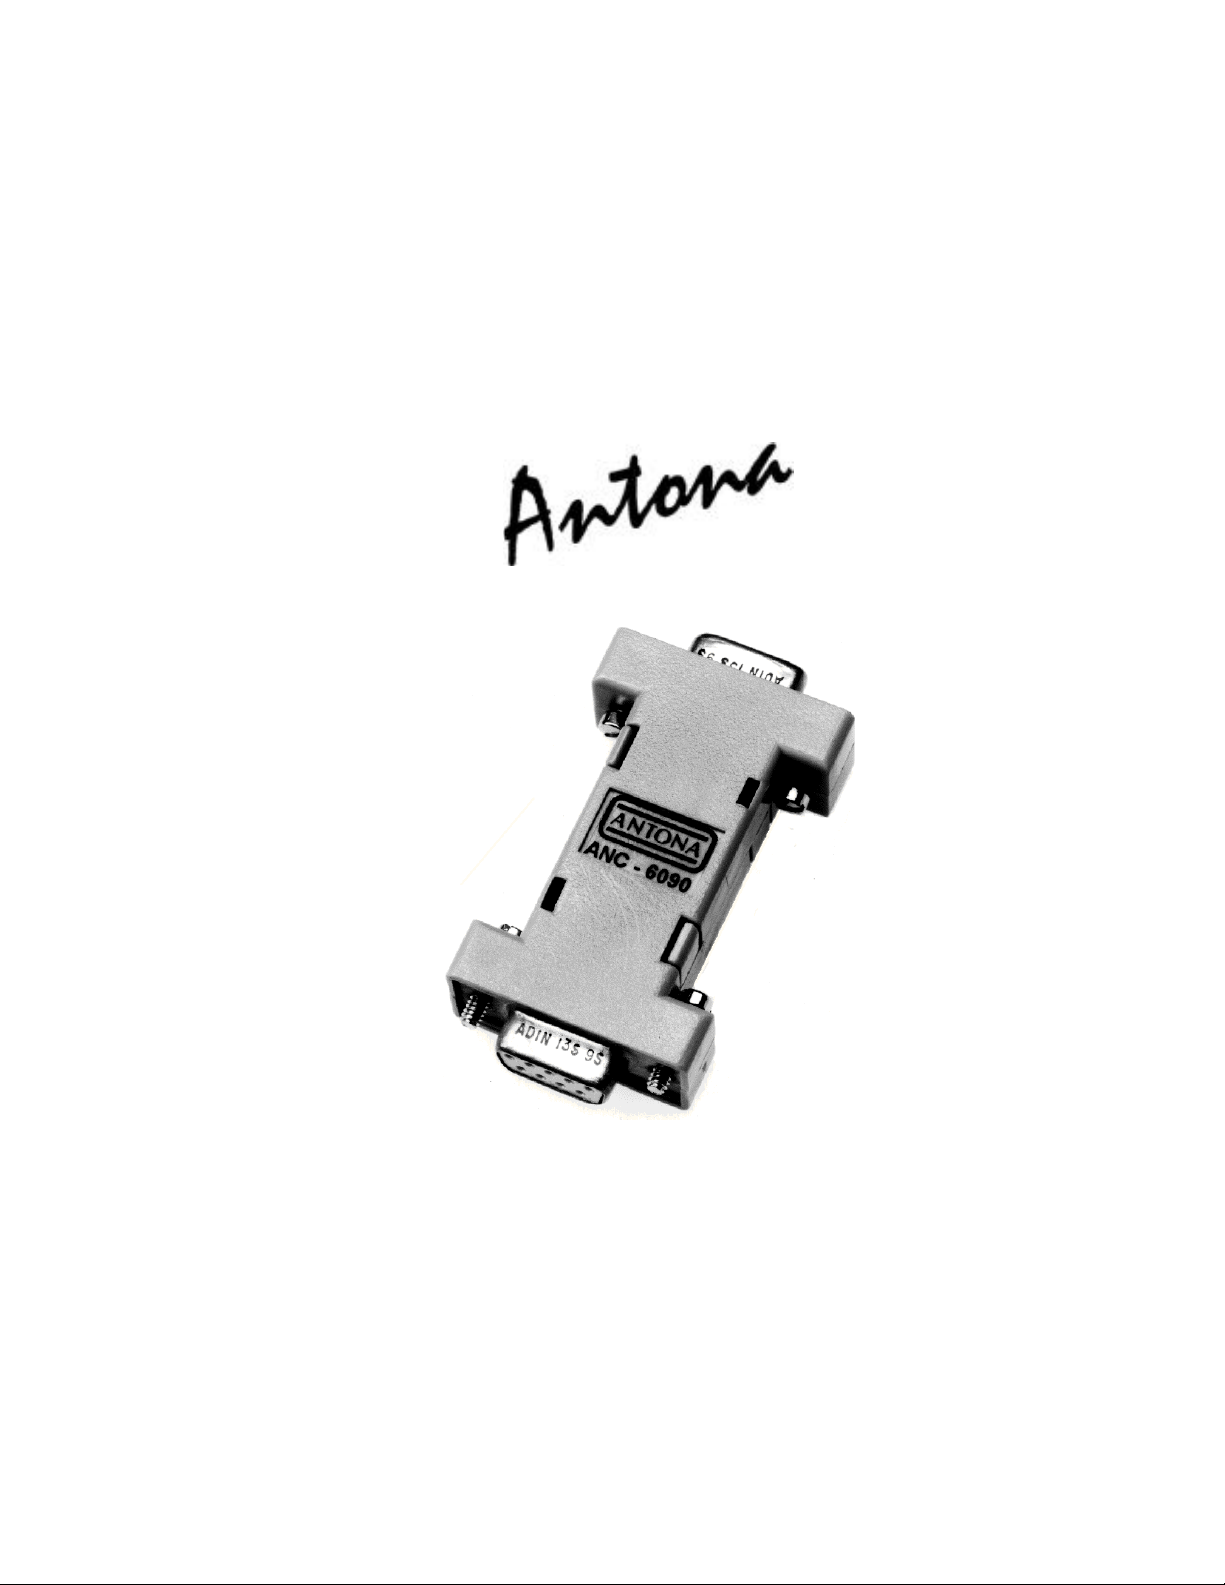
Antona Corporation (818)783-4299
TABLE OF CONTENTS
Features_________________________________________________________________________ 3
Overview ________________________________________________________________________ 3
Mechanical Specifications ________________________________________________________________ 3
Electrical Specifications__________________________________________________________________ 3
Adapter Installation_____________________________________________________________________ 4
Serial Port Powering ____________________________________________________________________ 4
External Powering______________________________________________________________________ 4
Adapter Jumper Options____________________________________________________________ 5
Figure 1 - jumper locations_____________________________________________________________________5
Transmit Control Enable - JP1 ___________________________________________________________ 5
Auto Transmit Source - JP2______________________________________________________________ 6
Photo 1 – RTS Transmit Operation ______________________________________________________________6
Receive Enable - JP3____________________________________________________________________ 6
Cable Termination - JP4_________________________________________________________________ 6
Transmit/Receive Pin Reverse Jumpers – JP5/JP6____________________________________________ 7
figure 2 – Tx/Rc Pin Reverse Jumpers____________________________________________________________7
DCD Drive – JP7_______________________________________________________________________ 7
ANC-6090 External connections _____________________________________________________ 8
DB9 to DB25 pin to pin chart - for use of adapter on a DB25 type com port_______________________ 8
RS-422/485 connections to the ANC-6090 _____________________________________________ 8
DB9 RS-422/485 Signals for Master (Multimedia Controller)___________________________________ 9
DB9 RS-422/485 Signals for Server (Receive from Master) ____________________________________ 9
RS-485 Two and Four Wire Interfacing _______________________________________________ 9
2-wire ________________________________________________________________________________ 9
figure 3 – typical 2-wire RS-485 interface________________________________________________________10
Photo 2 – 2-wire interface example _____________________________________________________________10
4-Wire_______________________________________________________________________________ 10
Appendix A – Troubleshooting Guide ________________________________________________ 11
Loopback Test________________________________________________________________________________11
CABLING (most common problem)_______________________________________________________________11
Pin Signal Definition (4-wire interfaces)___________________________________________________________11
Multidrop Cabling (2-wire interfaces)_____________________________________________________________11
Data Direction Jumpers ________________________________________________________________________12
Signal Control Jumpers_________________________________________________________________________12
Cable Termination ____________________________________________________________________________12
Powering____________________________________________________________________________________12
Program Operation____________________________________________________________________________13
RS422/485 Equipment _________________________________________________________________________13
Plugged in Backwards__________________________________________________________________________13
Now What? __________________________________________________________________________________13
Appendix B -Circuit Board Schematic________________________________________________ 14