manuals.online logo
Brands
  1. Home
  2. •
  3. Brands
  4. •
  5. AOK
  6. •
  7. Outdoor Light
  8. •
  9. AOK iT Series User manual

AOK iT Series User manual

AOK Industrial Company Limited
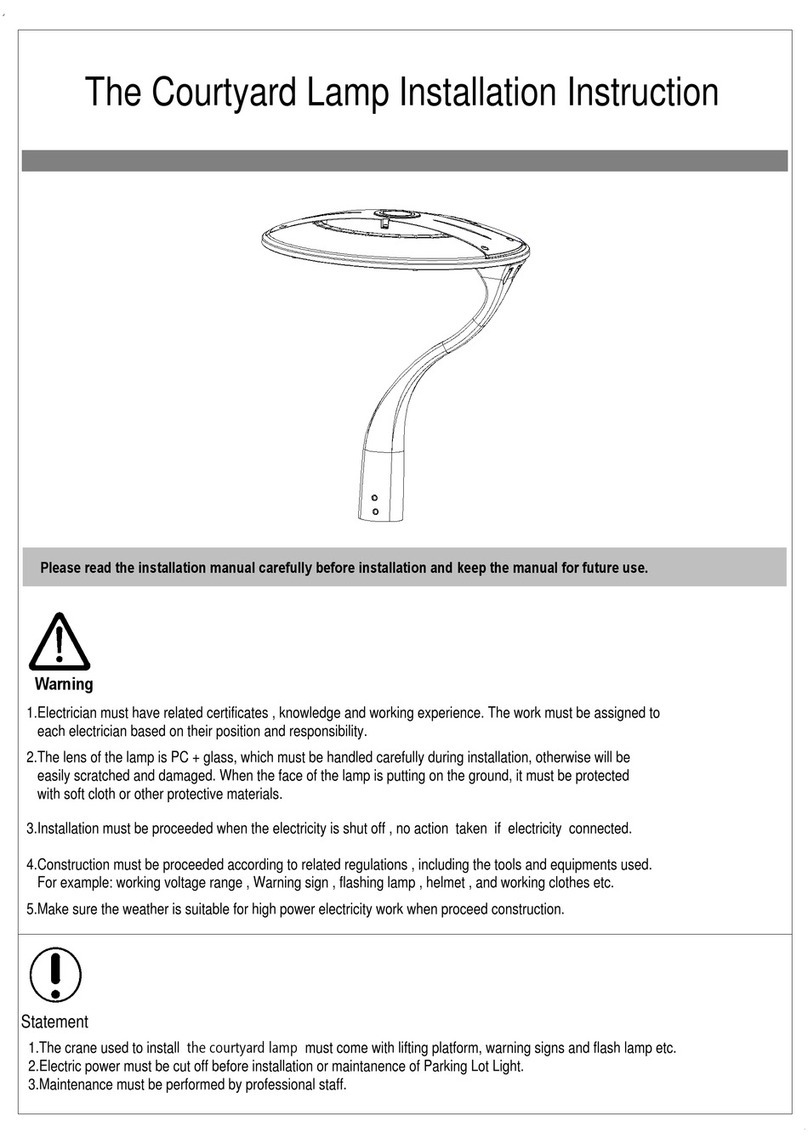
Installation Instruction for AOK iT LED Parking Lot Light
Please read the installation manual carefully before installation and keep the manual for future
use.
Warning
1.Electrician must have related certifictes, knowledge and working experience. The work must be assigned
to each electrician based on their position and responsibility.
2.The lens of parking lot light modules are PC material, they may be scratched by any careless handling.
The parking lot light must be carefully protected in installtion, especially when the face of luminaire is put
downward, it needs to be protected with soft cloth or other protecting materials.
3.Installation must be proceeded when the electricity is shut off, no action be taken when there is electricity
connected.
4.Construction must be proceeded according to related regulations, including the tools and equipments
used. For example: working voltage range, Warning sign, flashing lamp, helmet, and working clothes etc.
5.Make sure the weather is suitable for high power electricity work when proceed construction.
Statement
1.Installation of parking lot light must be proceeded with cranes with lifting platform, warning sign and flash
lamp etc.
2.Installation and maintanence of Parking Lot Light must be proceeded when the electricity is off.
3.Maintenance must be procceded with professional staff.
Preparation for installation of LED parking lot light
Step 1: Open the package, remove the packing materials and take out the LED Lamp 
Step 2: Take away the screws and stamping gasket from the Square mounting bracket as below picture shown.
Step 3
Drill holes on the square pole according to the hole position on the mounting bracket, make the driver cable on
the lamp go through the holes to the pole, fix the taken out screws from inside of the pole to the bracket, using
inner hexagonal screw driver to fasten the screws. As below picture shown.
Step 4
Wiring, connect the L,N,GND wires on the lamp to the L,N,GND cables on the poles accordingly
(Remark: US stanadrd Black: L, White: N, Green: GND; Eur Standard: Brown:L, Blue:N, Yellow Green: GND)
Step 5 The installed Parking Lot Light will be as shown in the picture
AOK Industrial Company Limited
Installation Instruction for AOK iT LED Parking Lot Light
Please read the installation manual carefully before installation and keep the manual for future
use.
Warning
1.Electrician must have related certifictes, knowledge and working experience. The work must be assigned
to each electrician based on their position and responsibility.
2.The lens of parking lot light modules are PC material, they may be scratched by any careless handling.
The parking lot light must be carefully protected in installtion, especially when the face of luminaire is put
downward, it needs to be protected with soft cloth or other protecting materials.
3.Installation must be proceeded when the electricity is shut off, no action be taken when there is electricity
connected.
4.Construction must be proceeded according to related regulations, including the tools and equipments
used. For example: working voltage range, Warning sign, flashing lamp, helmet, and working clothes etc.
5.Make sure the weather is suitable for high power electricity work when proceed construction.
Statement
1.Installation of parking lot light must be proceeded with cranes with lifting platform, warning sign and flash
lamp etc.
2.Installation and maintanence of Parking Lot Light must be proceeded when the electricity is off.
3.Maintenance must be procceded with professional staff.
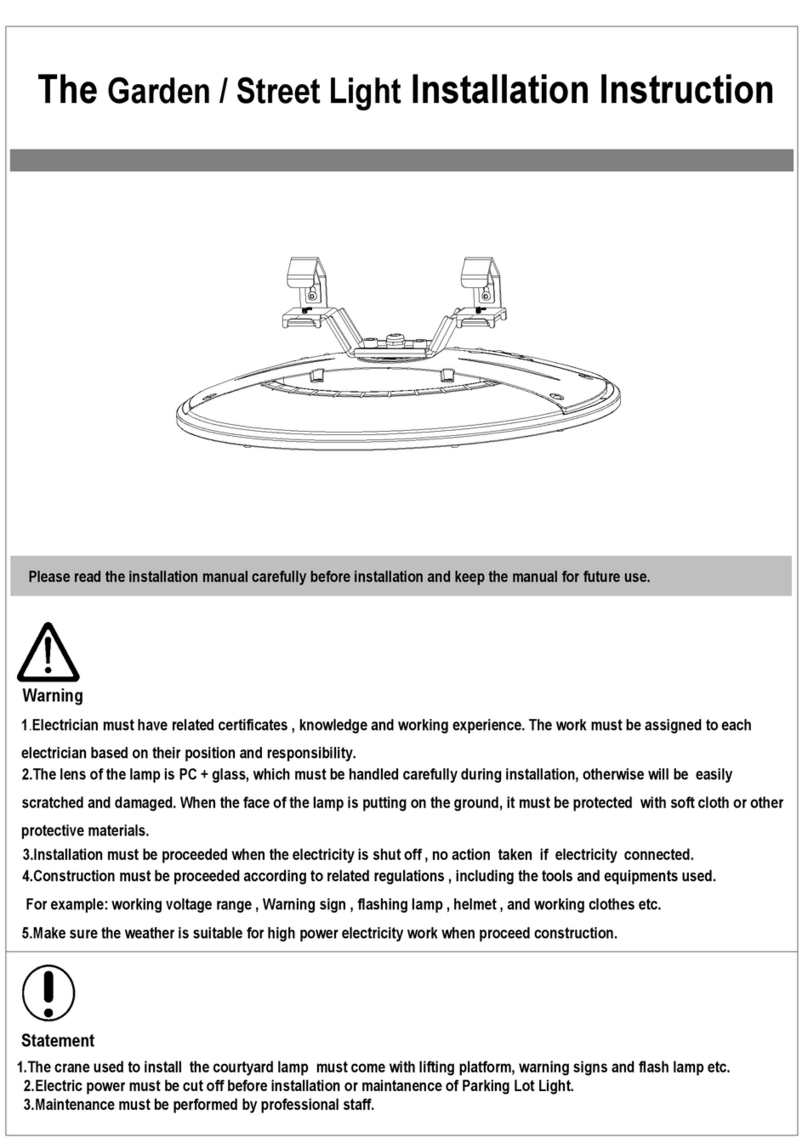
Installation degree adjustment for Parking Lot Light with Wall mounting bracket
Loose and take out the M5 screws on the wall mounting bracket, adjust the bracket to desired degree, put the
screws back, fasten them as below picture shown.
Preparation for installation of Parking Lot Light
Step 1: Open the package, remove the packing materials and take out the LED Lamp 
Step 2: Fix two setscrews on the wall according to the hole positon on the bracket, make the holes
on the bracket go through the setscrews, put nuts on the setscrews and fasten them. As below picture
shown.
Step 3
Wiring, connect the L,N,GND wires on the lamp to the L,N,GND cables on the poles accordingly
(Remark: US stanadrd Black: L, White: N, Green: GND; Eur Standard: Brown:L, Blue:N, Yellow Green: GND)
Step 4 The installed Parking Lot Light will be as shown in the picture
AOK Industrial Company Limited
Installation Instruction for AOK iT LED Parking Lot Light
Please read the installation manual carefully before installation and keep the manual for future
use.
Warning
1.Electrician must have related certifictes, knowledge and working experience. The work must be assigned
to each electrician based on their position and responsibility.
2.The lens of parking lot light modules are PC material, they may be scratched by any careless handling.
The parking lot light must be carefully protected in installtion, especially when the face of luminaire is put
downward, it needs to be protected with soft cloth or other protecting materials.
3.Installation must be proceeded when the electricity is shut off, no action be taken when there is electricity
connected.
4.Construction must be proceeded according to related regulations, including the tools and equipments
used. For example: working voltage range, Warning sign, flashing lamp, helmet, and working clothes etc.
5.Make sure the weather is suitable for high power electricity work when proceed construction.
Statement
1.Installation of parking lot light must be proceeded with cranes with lifting platform, warning sign and flash
lamp etc.
2.Installation and maintanence of Parking Lot Light must be proceeded when the electricity is off.
3.Maintenance must be procceded with professional staff.
Installation degree adjustment for Parking Lot Light with U shape
bracket
Loose and take out the M5 screws on the U shape bracket, adjust the bracket to desired degree, fasten and
fix the screws again as below picture shown.
Preparation for installation of Parking Lot Light
Step 1: Open the package, remove the packing materials and take out the LED Lamp 
Step 2: Fix two setscrews on the wall according to the hole positon on the bracket, make the holes
on U shape bracket go through the setscrews, put nuts on the setscrews and fasten them. As below
picture shown.
Step 3
Wiring, connect the L,N,GND wires on the lamp to the L,N,GND cables on the poles accordingly
(Remark: US stanadrd Black: L, White: N, Green: GND; Eur Standard: Brown:L, Blue:N, Yellow Green: GND)
Step 4 The installed Parking Lot Light will be as shown in the picture

This manual suits for next models

1

Other AOK Outdoor Light manuals

AOK iM LED Mini Series User manual

AOK

AOK iM LED Mini Series User manual

AOK AOK-75WiP User manual

AOK

AOK AOK-75WiP User manual

AOK AOK-120WiP User manual

AOK

AOK AOK-120WiP User manual

AOK AOK-75WiP User manual

AOK

AOK AOK-75WiP User manual

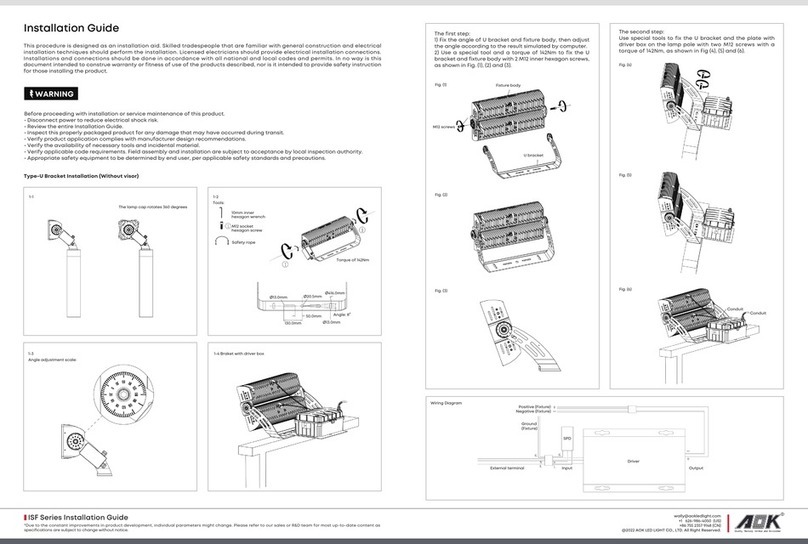
AOK ISF Series User manual

AOK

AOK ISF Series User manual

Popular Outdoor Light manuals by other brands

Hoftronic 4409210 user manual

Hoftronic

Hoftronic 4409210 user manual

Light Efficient Design RemPhos RP-SSL-1W-40K-BK-GI user manual

Light Efficient Design

Light Efficient Design RemPhos RP-SSL-1W-40K-BK-GI user manual

Riester ri-magic HPLED instructions

Riester

Riester ri-magic HPLED instructions

Westinghouse W-721 owner's manual

Westinghouse

Westinghouse W-721 owner's manual

Kenroy Home 93838GAL Use and care guide

Kenroy Home

Kenroy Home 93838GAL Use and care guide

Quoizel NY1794K Assembly instruction sheet

Quoizel

Quoizel NY1794K Assembly instruction sheet

Schrack Technik VIDA Series Assembly instructions

Schrack Technik

Schrack Technik VIDA Series Assembly instructions

INDA SaVeri Assembly instructions

INDA

INDA SaVeri Assembly instructions

Gima SATURNO WALL Operative manual

Gima

Gima SATURNO WALL Operative manual

Promate SolarWay-2 user guide

Promate

Promate SolarWay-2 user guide

Weelko Magni+ instruction manual

Weelko

Weelko Magni+ instruction manual

Anslut 014215 operating instructions

Anslut

Anslut 014215 operating instructions

Lighting Technologies AQUA R 18 manual

Lighting Technologies

Lighting Technologies AQUA R 18 manual

Luminar Outdoor 56521 Owner's manual & safety instructions

Luminar Outdoor

Luminar Outdoor 56521 Owner's manual & safety instructions

LIGMAN MARVEL 3 installation manual

LIGMAN

LIGMAN MARVEL 3 installation manual

Lifetime 0112 owner's manual

Lifetime

Lifetime 0112 owner's manual

WAC Lighting Responsible Lighting Axis Installation instruction

WAC Lighting

WAC Lighting Responsible Lighting Axis Installation instruction

PUK Flamingo Micro Assembly and operating instruction

PUK

PUK Flamingo Micro Assembly and operating instruction

manuals.online logo
manuals.online logoBrands
  • About & Mission
  • Contact us
  • Privacy Policy
  • Terms and Conditions

Copyright 2025 Manuals.Online. All Rights Reserved.