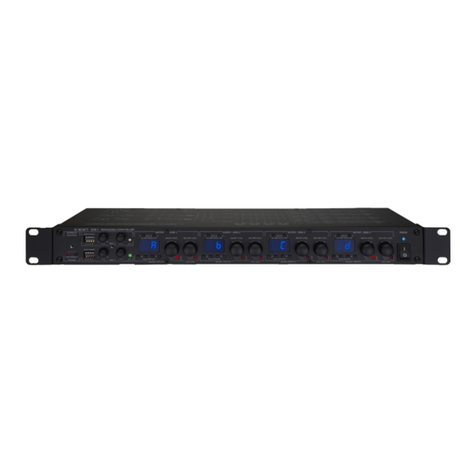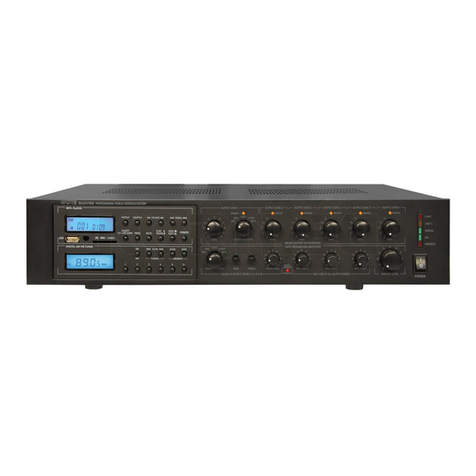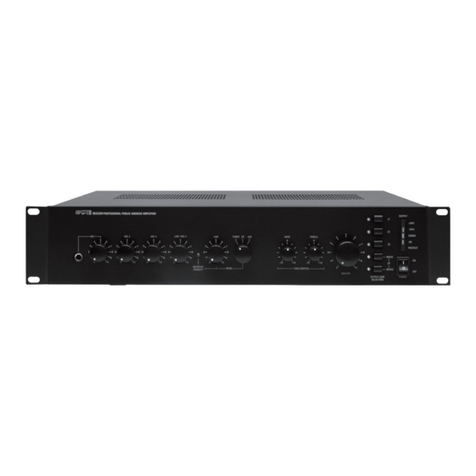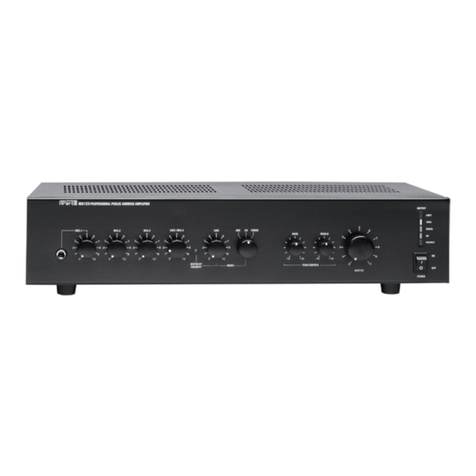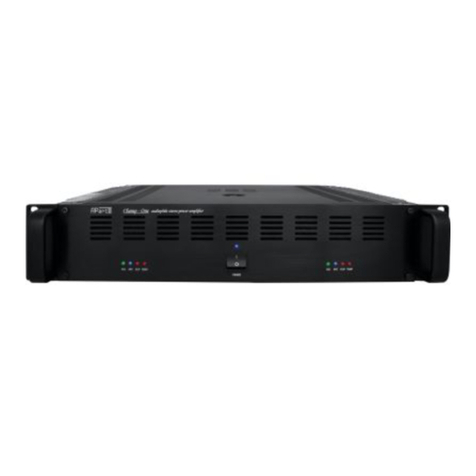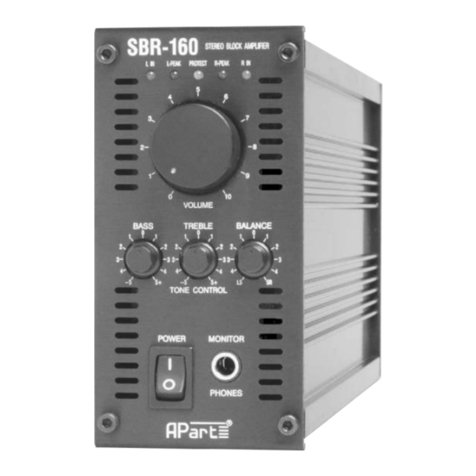
REMOTE CONTROLLED PRE-AMPLIFIER
SLIMLINESLIMLINESLIMLINESLIMLINE
FRONT PANEL
1. Power switch
To turn the unit ON or OFF, press the upper or lower part of this button. The LED above the switch will light to indicate
that the unit is ON.
2. Front microphone inputs
Stereo jack input for two balanced microphone inputs: MIC1 and MIC2 (possible to apply phantom power to MIC1 &
MIC2 by setting jumper 1 & 2)
Separate volume control (4) for each microphone input.
Tri-band tone control (5) for the microhone inputs.
6. mic-only and mute indicator
mic-only led illuminates when the mic-only button on the remote control is pressed or when the mic-only function
is selected on the RJ-45 connector (25) on the back panel.
If you press the mute button on the remote control the mute led illuminates.
7. IR receiver : Eye for the local IR receiver.
8. Tri-band tone control
Bass,Mid,Treble tone control for the source inputs.
9. Source volume control
This volume control adjust the level of the Source inputs (1 - 6). The control has no in influence on the volume
settings of the microphone inputs.
10. Source selector
Digital source selector, turning this selector up or down selects the appropriate input source.
11. Volume zone 1
Motorized volume control for zone 1 output.
The volume control on the remote control adjust the level of the zone 1 output.
12. Volume zone 2 : volume control of the zone 2 output
BACK PANEL
13 / 14 Line1 input
Balanced line input ( left & richt channel) for source 1
15. Line inputs
Line 2 - 6 rca cinch inputs for the source 2 - 6
16. MIC1- VOX
When the MUTE function is activated (by shorting connector 17) the source inputs (1-6) are muted.
The level of mute is determinated by the MUTE level potentiometer.
17. EXT. MUTE
Short this terminal to activated the MUTE function.
18 / 19 Output
Left & right balanced outputs. The output level of this zone is controlled with : the volume control zone 1 (11)
on the front panel , with the IR remote control or the wired remote control (25)
13
7 8
REMOTE CONTROLLED PRE-AMPLIFIER
4 5 9 10 11 12122
14 15 16 17 18 19 20 22
23
24 25 26
3 6
21
HUMM & BUZZ
• If ‘Hum’ or Buzz’ occurs when connecting different inputs, then this is often caused by
‘GROUND or EARTH LOOPS’.
If this is the case, press the audio ground lift (15) button.
CHASSIS AUDIO GND
JP3
Euro Block Balanced 0 dB, 20 kOhm
RCA Cinch, 500 mV, 10 kOhm
Front: Jack -50 dB / 600 Ohm
Rear: Euro Block Bal. -50 dB / 600 Ohm
Euro Block Balanced 0 dB/ 100 Ohm
RCA Cinch 0 dB / 600 Ohm
20 Hz to 25 kHz
< 0.01%
44 x 483 x 275 mm / 2.8 Kg
PIR7600
Technical specifications
Input Line 1
Line 2-6
MIC 1 - 2
OUTPUT Zone 1
Zone 2
Frequency Response
Distortion
Dimensions (H x W x D) / Weight
IR - EYE
RECEIVER
IR-LED
CD-PLAYER
TUNER
DVD
.....
OTHER
IR-REMOTE
CONTROL
PIR-7600
IR-REMOTE
CONTROL
ROOM 1 ROOM 2
72

