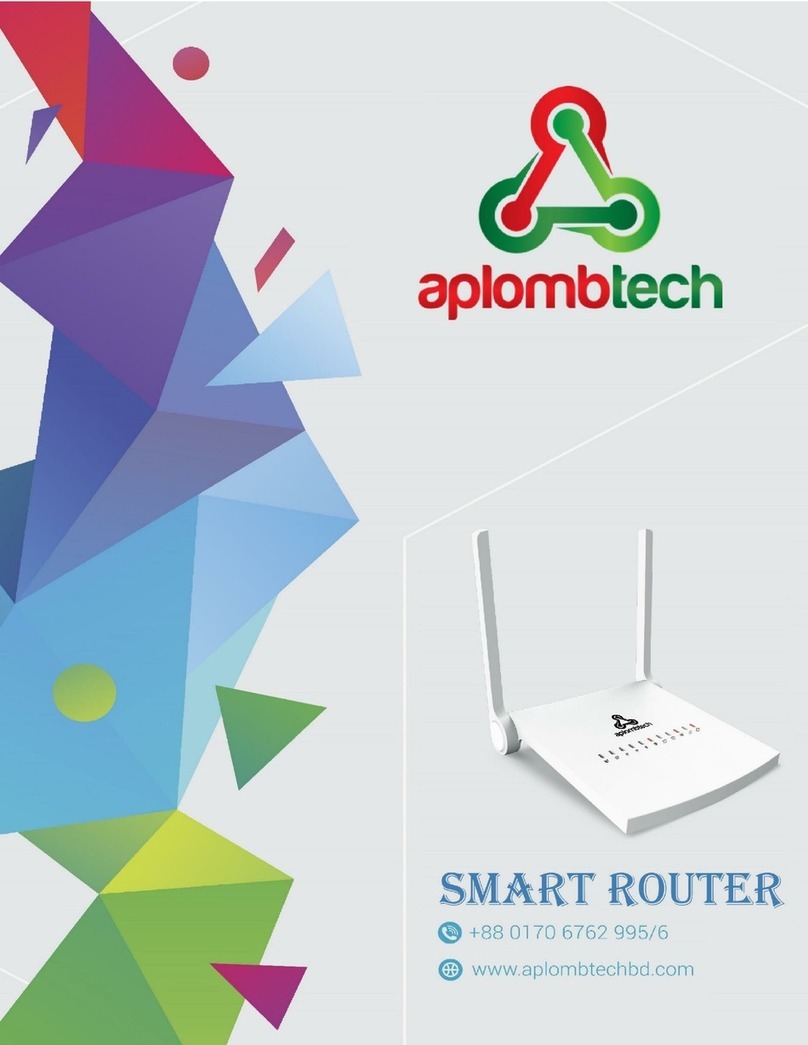
aplombtech SMART SWITCH User manual


1 |
P a g e
AplombTech Smart Router
Manual
(Version: 1.0)

2 |
P a g e
Version & Purpose
Version
Manual version
Explanation
V 1.0
Corresponds to the initial version of device
Purpose
This manual describes the function features of Smart Router, in order to help users,
understand the technique and the use of technique to provide users with technical support.
Master the knowledge as follows prior to using this manual:

3 |
P a g e
Table of Contents
Internet Settings...............................................................................................................................................4
1. DHCP............................................................................................................................................................4
2. Static IP.......................................................................................................................................................5
3. PPPoE ..........................................................................................................................................................6
4. L2TP.............................................................................................................................................................7
5. PPTP.............................................................................................................................................................7
6. Mac Cloning...............................................................................................................................................7
Wireless Settings..............................................................................................................................................8
1. Basic Settings............................................................................................................................................8
2. Advanced Settings ............................................................................................................................... 10
3. Security Settings................................................................................................................................... 12
4. WPS ........................................................................................................................................................... 14
Firewall Settings............................................................................................................................................ 16
1. Content Filtering .................................................................................................................................. 16
2. Website Filtering.................................................................................................................................. 18
3. Port Filtering ......................................................................................................................................... 20
4. Port Forwarding................................................................................................................................... 21
5. Port Trigger............................................................................................................................................ 23
6. System Security .................................................................................................................................... 25
7. DMZ ........................................................................................................................................................... 26
File Sharing Settings..................................................................................................................................... 27
1. FTP Server .............................................................................................................................................. 27
2. Samba Server......................................................................................................................................... 28
3. Disk Management ................................................................................................................................ 28
Administration Settings.............................................................................................................................. 29
1. Task Schedules...................................................................................................................................... 29
2. System Management........................................................................................................................... 31
3. Settings Backup/Restore .................................................................................................................. 33
4. Statistics .................................................................................................................................................. 34
5. Firmware Upgrade .............................................................................................................................. 35
6. Reboot ...................................................................................................................................................... 36

4 |
P a g e
Internet Settings
To establish Internet connection, we have provided 5 (five) options to select from.
1. DHCP
If your Internet Service Provider (ISP) allows you to connect to their network without any
credential, fixed IP or passphrase, then this could be the best option. Just plug-in the router
and the router will obtain an IP, Gateway, DNS Servers etc. from the ISP automatically.

5 |
P a g e
2. Static IP
Some ISP uses static IP for their clients. In this case, the following information is necessary
to establish a static connection.
1. IP Addres
2. Subnet Mask
3. Gateway
4. Primary and Secondary DNS (Optional)
Contact your ISP for this information. Once obtained, set the WAN Mode to Static Mode and
fill out the form accordingly.
If the connection parameters are correct, you can find the connection status in Internet
Settings > Status.

6 |
P a g e
3. PPPoE
This is another popular authentication system for broadband Internet. The ISP will provide
you a pair of username and password. Change the WAN Mode to PPPoE and then fill-up the
username and password correctly.
There are 3 (three) operation modes for PPPoE.
1. Keep Alive: Connection will stay always ON
2. On-Demand: The connection will keep alive unless an inactive state is detected
3. Manual: You will need to connect manually everytime you need to use the internet.
N.B. We suggest you to use the Keep Alive mode.

7 |
P a g e
4. L2TP
L2TP (Layer 2 Tunneling Protocol) is a tunneling protocol used to support virtual private
networks (VPNs) or as part of the delivery of services by ISPs. This connection option is
similar to PPPoE, which means you will need a pair of username and password along with
the IP address of the L2TP server.
5. PPTP
PPTP has the same connection parameters as L2TP.
6. Mac Cloning
Some ISPs require a fixed MAC address for establishing the Internet connection. You can
use the Mac Clone option in such cases. Enable it from the WAN menu. Press Fill My Mac
to automatically detect the mac address of your computer.

8 |
P a g e
Wireless Settings
1. Basic Settings
This menu provides the simplest WiFi settings like SSID, Channel, Broadcast Mode etc.
•WiFi On/Off: Use this button to turn on/off the radio
•Network Mode: The product supports 3 WiFi modes
–b/g/n mixed: All three channels (b, g, n) of 802.11 standard will be used.
–b only: Only b channel of 802.11 WiFi mode will be used
–g only: Only g channel of 802.11 WiFi mode will be used
•Network Name: This is also known as SSID of an wireless network. You will find this
name in your phone's wireless menu. Check the option Hidden if you do not want the
SSID name to appear in any device's WiFi search result.
•AP Isolation: If enabled, peers cannot communicate within themselves over the
network.
•Frequency (Channel): This product supports 11 (eleven) channels ranged from 1 to
11. This option can be set to Automatic when the router will choose the optimized
channel automatically.

9 |
P a g e

10 |
P a g e
2. Advanced Settings
This menu provides with some advances wireless configuration options like Beacon
Interval, DTIM, RTS Threshold etc.
•Beacon Interval: The beacons are the packets sent by this device to synchronize a
wireless network. Beacon Interval value determines the time interval of the beacons.
You can specify a value between 20-999 milliseconds. The default value is 100.
•DTIM Interval: This value determines the interval of the Delivery Traffic Indication
Message (DTIM). You can specify the value between 1-255 Beacon Intervals. The
default value is 1, which indicates the DTIM Interval is the same as Beacon Interval.
•Fragmentation Threshold: This value is the maximum size determining whether
packets will be fragmented. Setting the Fragmentation Threshold too low may result in
poor network performance since excessive packets. 2346 is the default setting and is
recommended. (This value for the mode of 11N series can not be changed)
•RTS Threshold: Here you can specify the RTS (Request to Send) Threshold. If the
packet is larger than the specified RTS Threshold size, this device will send RTS frames
to a particular receiving station and negotiate the sending of a data frame. The default
value is 2346.
•Short Preamble: This option might improve the router performance as it uses smaller
CRC (Cyclic Redundancy Check) block for communication between the Access Point
and roaming wireless adapters.
•Enable WMM - WMM function can guarantee the packets with high- priority messages
being transmitted preferentially. It is strongly recommended enabled.
•Enable APSD: APSD setting is basically a power saving mechanism implemented in
the WiFi standards.
N.B. If you are not familiar with the setting items in this page, it's strongly
recommended to keep the provided default values, otherwise may result in
lower wireless network performance.

11 |
P a g e

12 |
P a g e
3. Security Settings
This menu provides wireless security options including the encryption mode, passkey,
access control policy etc.
•Security Mode: This prosuct supports both WPA and WPA2 wireless security modes
whreas WPA2 is the latest version to date.
•WPA Algorithm: There are two modes of wireless security algorithm.
–TKIP: TKIP is actually an older encryption protocol introduced with WPA to
replace the very-insecure WEP encryption at the time. TKIP is actually quite
similar to WEP encryption. TKIP is no longer considered secure, and is now
deprecated.
–AES: AES is a more secure encryption protocol introduced with WPA2. AES isn’t
some creaky standard developed specifically for Wi-Fi networks, either. It’s a
serious worldwide encryption standard that’s even been adopted by the US
government.
–TKIP/AES: You can use both AES and TKIP in this mode so that legacy devices
can be connected to the wireless router and function properly.
•Passphrase: The password or key for the SSID of the router. This string should not be
larger than 32 characters and no special Unicode characters are allowed.
•Key Renewal Interval: Specify the key update interval in seconds. The value can be
either 0 or at least 30. Enter 0 to disable the update.
•Access Policy: Mac addresses can be added to this option to enable/disable access to
the wireless station. Use this option with caution.

13 |
P a g e

14 |
P a g e
4. WPS
WPS stands for Wireless Protected Setup. Using this feature, your phone can be connected
to the router without specifying any passphrase or SSID, rather using a 8-digit number.
To use the WPS feature, go to Wireless Settings > WPS, then Enable the WPS Config
menu. A form like the following will appear.
Now go to your phone's WiFi > Advanced Settings and select WPS Pin Entry. Then your
phone will show a 8-digit PIN. Enter the PIN in WPS Progress > PIN text-box and click
Apply.

15 |
P a g e
The phone will connect to the wireless router in a few seconds.
N.B. Turn off the WPS Settings right after you are done connecting your
devices. Otherwise the PIN can be generated through brute force and
unauthorized access could be made to your home network.

16 |
P a g e
Firewall Settings
1. Content Filtering
In the Webs URL Filter Settings menu you can set filtering based on URL or Keyword.
For example, to block a specific website, you can put the address of any website to block
them.

17 |
P a g e
To block websites based on keywords, use the option in Webs Host Filter Settings
option. For example, adding news will block all websites like bdnews24, banglanews24 etc.
Also adding book will block facebook.com, gitbook.com and wikibook.org.

18 |
P a g e
2. Website Filtering
In this menu, a group of websites can be blocked. We have provided some groups already.
The following websites can be blocked via Filtering menu.
•Adult
•Audio
•Bitcoin
•Chat
•Dating
•Download
•FileHosting
•Forums
•Games
•Malware
•Press
•Radio
•Shopping
•SocialNetworks
•Sports
•Video
•Webmail
This option will block all traffics to the targeted website, from both browser and phone
apps.

19 |
P a g e
Other manuals for SMART SWITCH
2
Table of contents
Other aplombtech Network Router manuals
Popular Network Router manuals by other brands

TP-Link
TP-Link Deco BE63 user guide

Draytek
Draytek Vigor 2800VG Declaration of conformity

Cyclades
Cyclades Access Router Cyclades-PR1000 installation manual

Juniper
Juniper LN1000 - RELEASE NOTES 8-27-2010 user manual

AMG
AMG AMG510-8GBT-16GAT4XS-P460 installation manual

SyncMOS Technologies International
SyncMOS Technologies International SM39R08A5 user guide