manuals.online logo
Brands
  1. Home
  2. •
  3. Brands
  4. •
  5. APRESYS
  6. •
  7. Measuring Instrument
  8. •
  9. APRESYS Powerline660 User manual

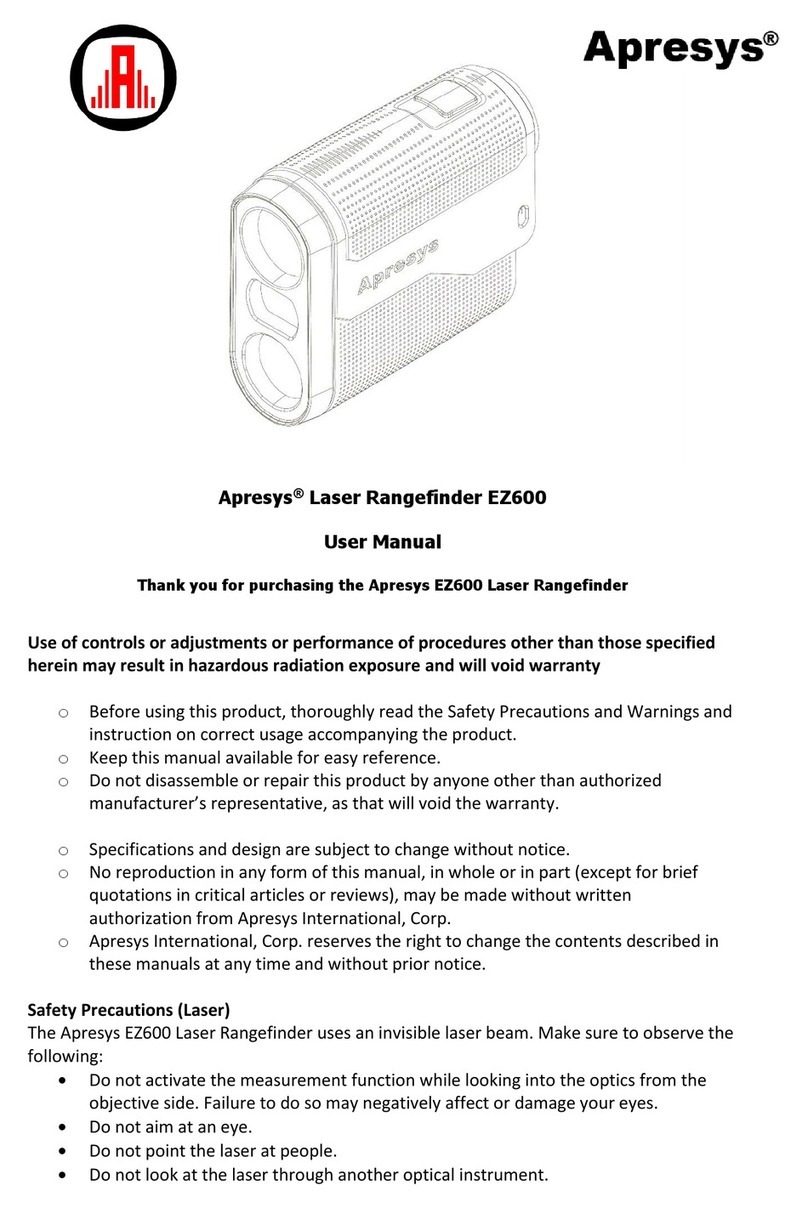
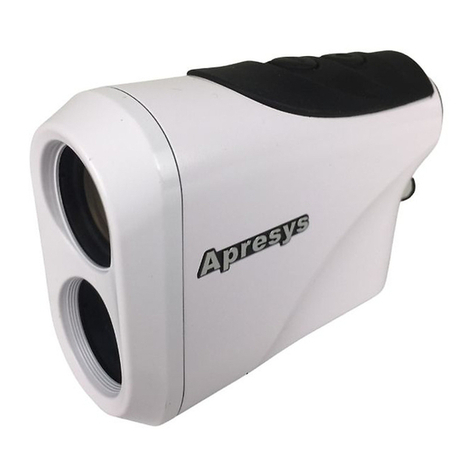
APRESYS Powerline660 User manual

Model: Powerline660 & Powerline800
LASER RANGEFINDERS
1.
1.
1.
1. Introduction
Introduction
Introduction
Introduction
The Laser range finder monocular is a portable optoelectronic device combined a laser
range finder and a monocular in one. Its function includes:
1) . Measure the distance of a stationary and slowly moving object within a certain range
and can, at the same time, observe the object with great clearness It possesses many
advantages, such as a high accuracy,short measuring time, low power consumption and
automatic shutoff for power saving etc.
2). The transmission power of this device is very small and no harm to users' eyes, any
target can be measured at random. It is compact, accurate in measure,light in weight,
small in volume, very easy to operateand carry about. One piece of CR2/3v battery is
used which can be bought and changed easily.
The laser range finder monocular can be widely used for travel, sightseeing, golf sports,
hunting, camping as well as for any measurement of outdoor projects. It is a very good
assistant to improve our outdoor life quality.
2.
2.
2.
2. Appearance
Appearance
Appearance
Appearance of
of
of
of the
the
the
the Device
Device
Device
Device
1) Laser Telescope Lens
2) Laser Receiving Lens
3) Mode Button
4) Start Button
5) Eyepiece
6) Battery Housing
3.
3.
3.
3. Specifications
Specifications
Specifications
Specifications of
of
of
of the
the
the
the Laser
Laser
Laser
Laser Range
Range
Range
Range f
f
f
f inder
inder
inder
inder
Specifications
Specifications
Specifications
Specifications
Model PowerLine660 PowerLine800
Magnification 6x 6x
Measurement range 5~660 m 5~800 m
Objective lens Dia. 24mm 24mm
Accuracy ± 1Yard
Angle Range -60 ° ~60 °
Angle Accuracy ± 1 °
Exit pupil diameter 3.8mm
Storage Last 20 readings
Diopter adjustment ± 3 Diopter
Weight 190g
Battery CR2-3V Li
LCD LCD Transmission
Battery Saving automatic power-off
4.
4.
4.
4. Description
Description
Description
Description for
for
for
for the
the
the
the Built
Built
Built
Built -in
-in
-in
-in Liquid
Liquid
Liquid
Liquid
Crystal
Crystal
Crystal
Crystal Display
Display
Display
Display (LCD)
(LCD)
(LCD)
(LCD)
“ SCAN ” ----- Scan Mode Marking ;
“ ” ----- Low battery indicator ;
“ ” ----- Slope data
;
“ ” ----- Aiming indication,It is used for aiming
the center of a target.
;
“ ” ----- Laser transmission indication ;
“ ” ----- Distance display will be in 4 figures. If measurement is failed , then four
dashes "- - - - " will appear .
;
“M/Y
M/Y
M/Y
M/Y ” ----- Distance unit indications ;
“ ” -----Height indicator
;
“ ” -----Level distance indicator ;
“M/Y
M/Y
M/Y
M/Y HIGT
HIGT
HIGT
HIGT ” -----Height Unit ;
“M/Y
M/Y
M/Y
M/Y LEVEL
LEVEL
LEVEL
LEVEL ” -----Level Unit
5.
5.
5.
5. Laser
Laser
Laser
Laser Range
Range
Range
Range f
f
f
f inder
inder
inder
inder Operation
Operation
Operation
Operation Instructions
Instructions
Instructions
Instructions
5.1 Adjust Telescope
Turn the eyepiece of the monocular until the target becomes clear.
5.2 Start
The Laser Range Finder Monocular has two buttons, they are" Start" button ( ) and
"Mode" button.
Press" "button for about 1 second and the Laser Range Finder Monocular will start.
The LCD will display as follows Figure3. :
5.3 How to operate the Laser Range
Finder
The Laser Range Finder Monocular has
two "Mode", they Are" Range Mode"
(default) and "Slope Mode". Shortly press
the "Mode" button and they can be shifted
one another. When" Range Mode" is
chosen, "Range" character will appear on
the top of the LCD, Shortly press
the" "button and the distance data will
be displayed on the bottom of the LCD immediately.
If holding press the" "button, Scan measurement of distance start, The new measured
data will be displayed on the bottom of the LCD cease-less. After release the" "button,
Scan will stop and the LCD will return initiative state.
The laser indicator will blink when laser is transmitting.
In measuring the distance , If the reflection of target is too weak ,The LCD will display "-
- - -".
5.4 How to shift the meaning length unit "M","Y" - Meaning length unit, "M" means
meter, "Y" means yard. During the distance measurement period, you can change the
measurement unit just by long pressing the "Mode" button and it can be shifted "M" and
"Y".
5.5 Automatic shutoff for power
If the device idles over 20 seconds, it will automatically shut off.
5.6 Low battery indication
When" " appears, meaning the battery is insufficient and needs to be changed.
6.
6.
6.
6. Functions
Functions
Functions
Functions Figures
Figures
Figures
Figures
Fig.
Fig.
Fig.
Fig. elevation
elevation
elevation
elevation angle
angle
angle
angle
Fig.
Fig.
Fig.
Fig. depression
depression
depression
depression angle
angle
angle
angle
7.
7.
7.
7. Caution
Caution
Caution
Caution
7 .1 The measuring distance of this laser range finder monocular has something to do with
the target's character, transmitting beams with the angle of the target's surface and the
weather visibility. In general, if the surface of the target is smooth, bright and large, the
beams are upright to the surface of the target and the weather is clear, the longer distance
can be measured, whereas the shorter distance will be made by the device.
7 .2 When " " (low battery indication) appears, battery should be changed in time,
otherwise the measuring errors will be increased. If the device is not used for a long time,
it's better to take out the battery from the housing.
7 .3 Never touch the surface of the lens so as to prevent the coating from damages during
the course of operation.
7 .4 This device has been accurately aligned and adjusted with high precise equipments.
Never disassemble it at random.
7 .5 If the external lens is stained, please clean it with the lens cloth attached to the device.
Don't use other things so as to prevent the coating from damages.
7 .6 Collision or high pressure should be avoided when carrying about or operating, keep
it away from the fire and prevent corrosion as well.
7 .7 Keep the device at a dry, cool and airy place and avoid dust, direct sunshine and
extreme change of temperature.
7 .8 If the device meets with a problem, send it to a professional department, never
disassemble it by yourselves.

This manual suits for next models

1

Other APRESYS Measuring Instrument manuals

APRESYS EZ600 Instruction manual

APRESYS

APRESYS EZ600 Instruction manual

APRESYS Pro550 User manual

APRESYS

APRESYS Pro550 User manual

APRESYS EZ600 User manual

APRESYS

APRESYS EZ600 User manual

Popular Measuring Instrument manuals by other brands

Campbell TCAV product manual

Campbell

Campbell TCAV product manual

OKM BODY SCREENER user manual

OKM

OKM BODY SCREENER user manual

PCB Piezotronics CS625B11 Installation and operating manual

PCB Piezotronics

PCB Piezotronics CS625B11 Installation and operating manual

Hanna Instruments HI 83141 instruction manual

Hanna Instruments

Hanna Instruments HI 83141 instruction manual

Lovibond Scuba II instruction manual

Lovibond

Lovibond Scuba II instruction manual

Veeder-Root EMR3 XStream-PKG Spring Installation Instructions

Veeder-Root

Veeder-Root EMR3 XStream-PKG Spring Installation Instructions

Tascam DR-05 Reference manual

Tascam

Tascam DR-05 Reference manual

Graco 24J318 instructions

Graco

Graco 24J318 instructions

DV Power RMO60TD manual

DV Power

DV Power RMO60TD manual

Elster A3 ALPHA user manual

Elster

Elster A3 ALPHA user manual

Netech DigiMano 1000 instruction manual

Netech

Netech DigiMano 1000 instruction manual

Nikon Forestry Pro II user manual

Nikon

Nikon Forestry Pro II user manual

Traceable 5660 quick start guide

Traceable

Traceable 5660 quick start guide

KABI 40385 operating manual

KABI

KABI 40385 operating manual

Eaton Power Xpert Meter 2000 quick start guide

Eaton

Eaton Power Xpert Meter 2000 quick start guide

Swema SwemaMan 60 instructions

Swema

Swema SwemaMan 60 instructions

SICK VMS4100 operating instructions

SICK

SICK VMS4100 operating instructions

ALTHEN NM1-ISU-IP-3L-24 Series manual

ALTHEN

ALTHEN NM1-ISU-IP-3L-24 Series manual

manuals.online logo
manuals.online logoBrands
  • About & Mission
  • Contact us
  • Privacy Policy
  • Terms and Conditions

Copyright 2025 Manuals.Online. All Rights Reserved.