CONNECTION
Page7
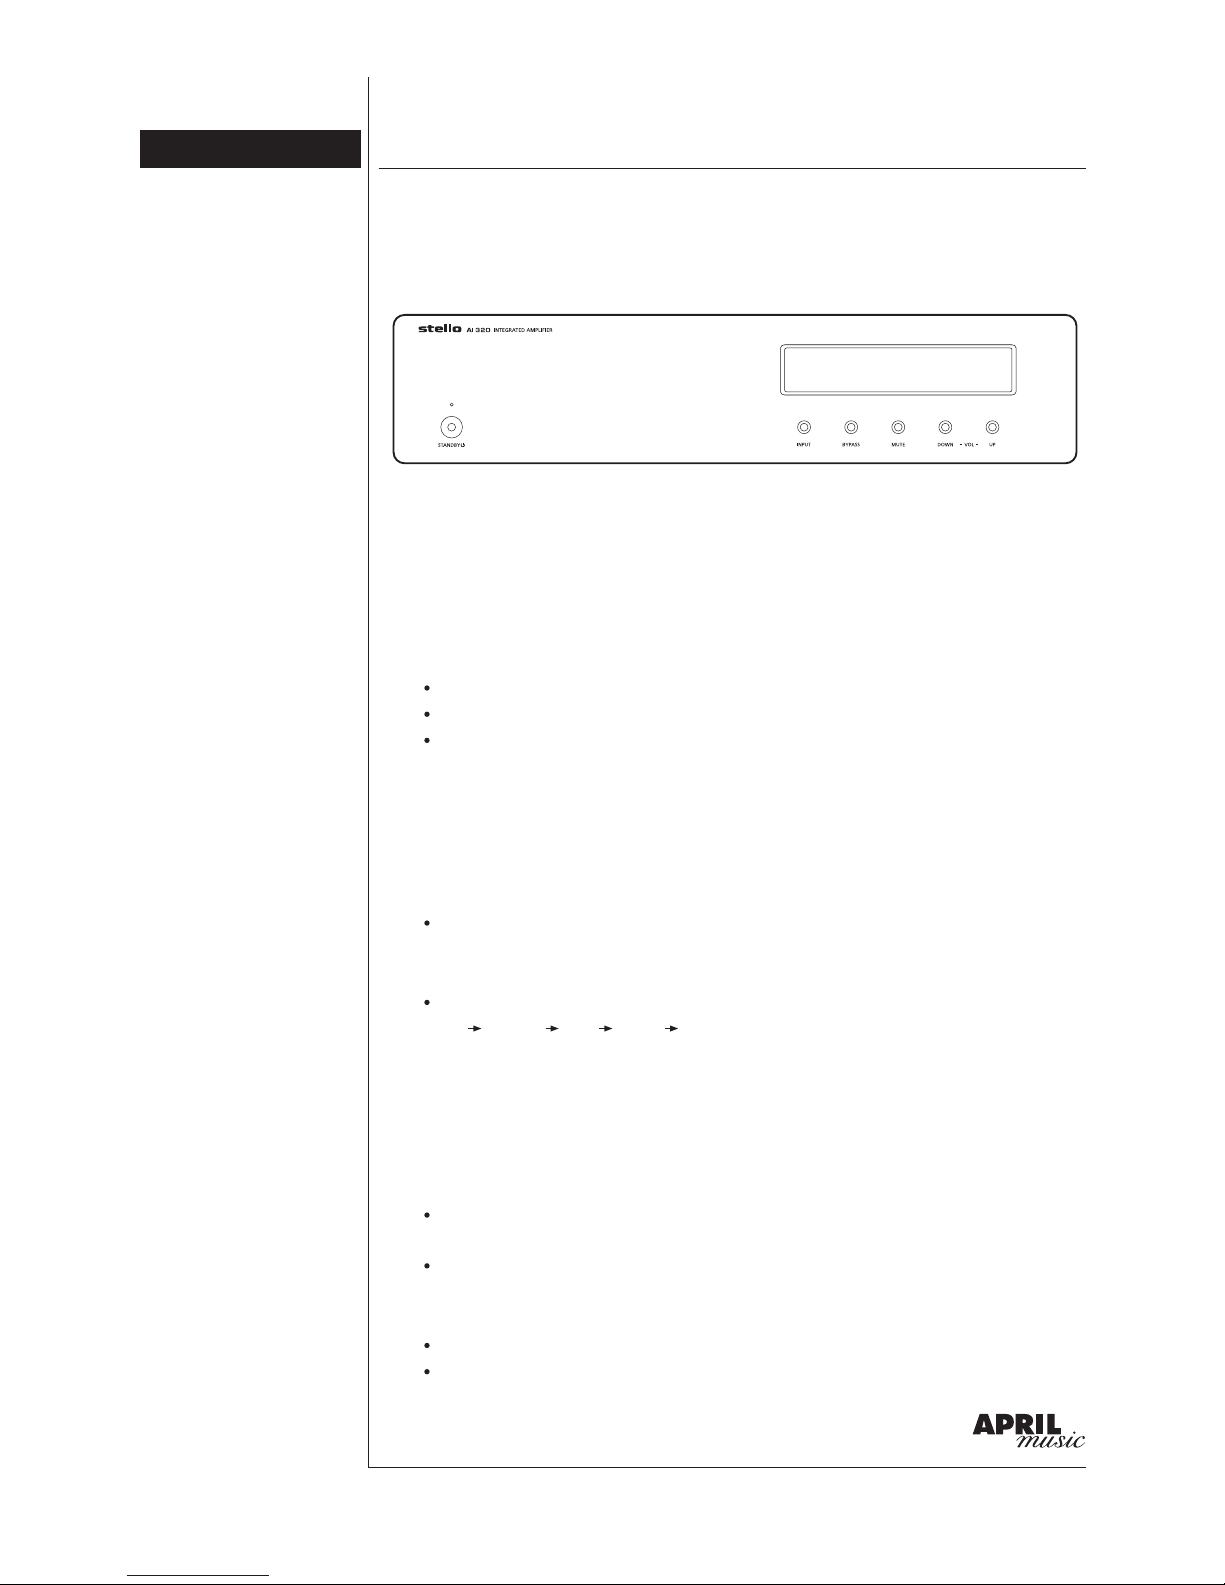
AI 320 INTEGRATED AMPLIFIER
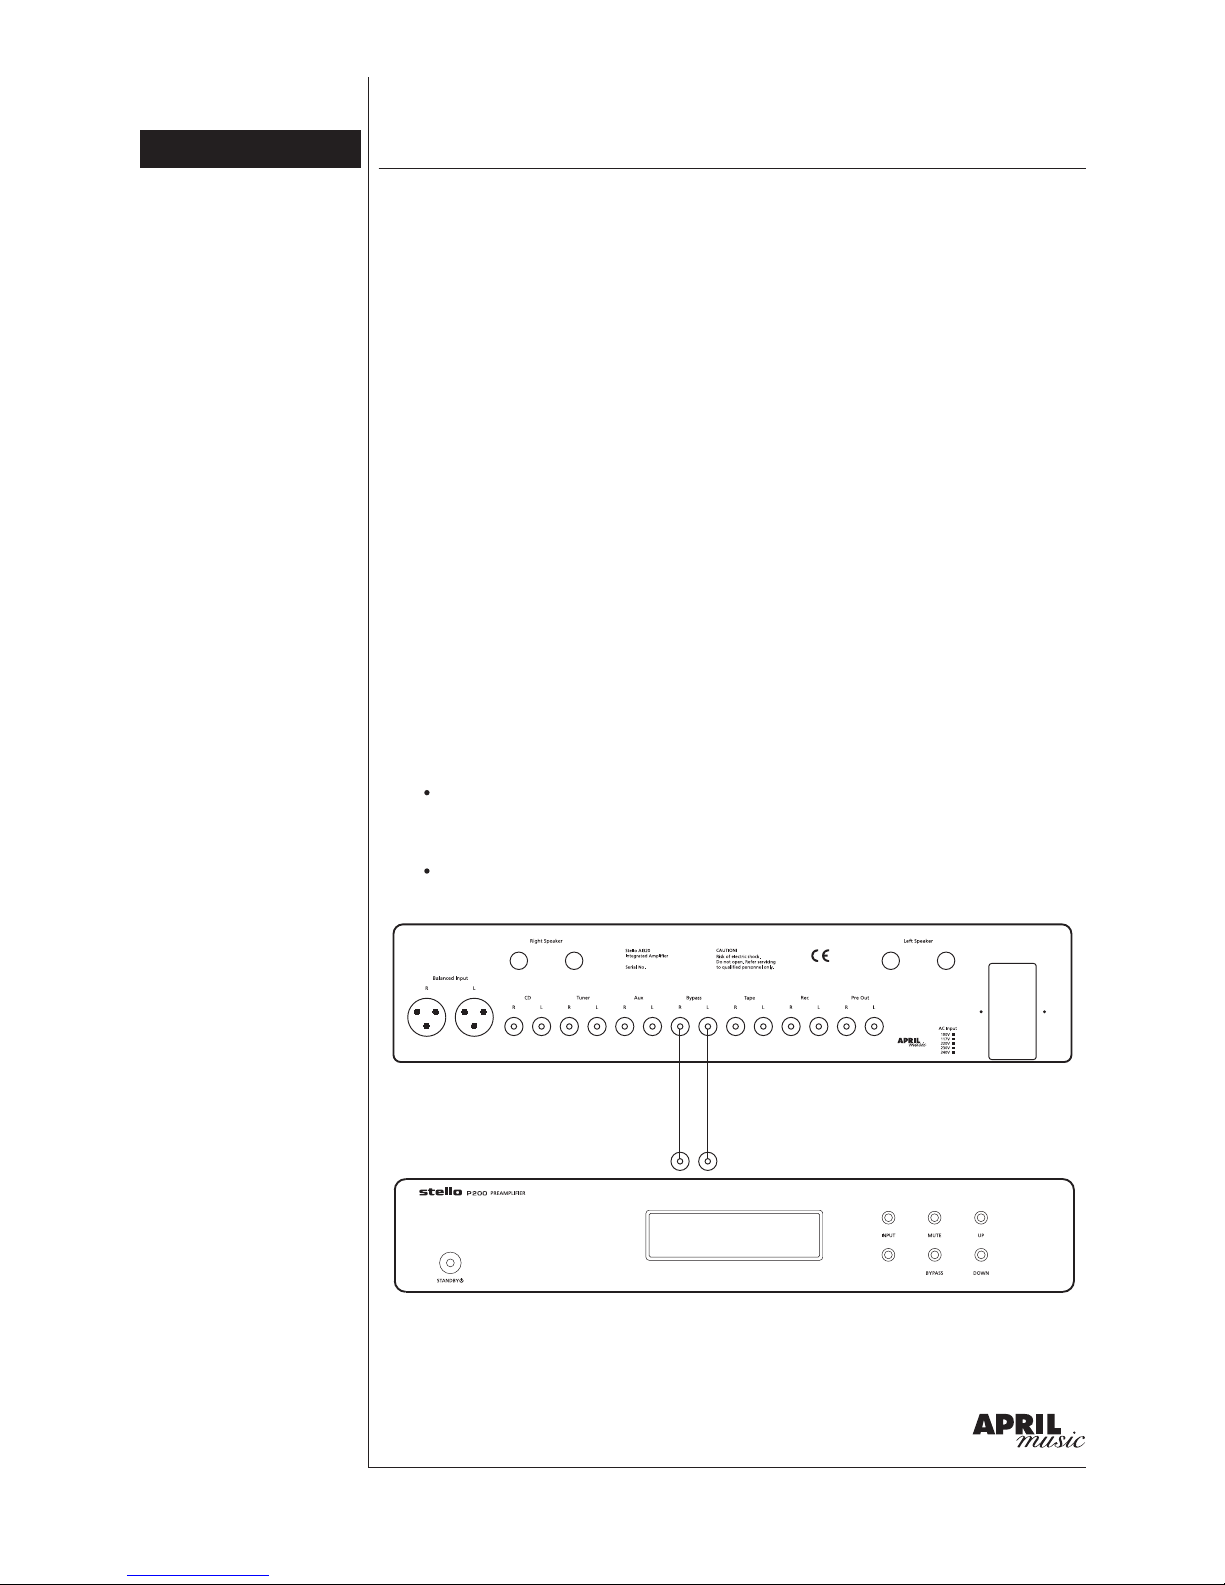
2. Using the AI 320 as a Preamplifier
Connection to an external power amplifier
Disconnect the loudspeaker cables from the AI:320 or press 'SPK OFF' button
on the remote control handset.
Connect the PRE OUT of the AI 320 to the MAIN IN of the external power amplifier.
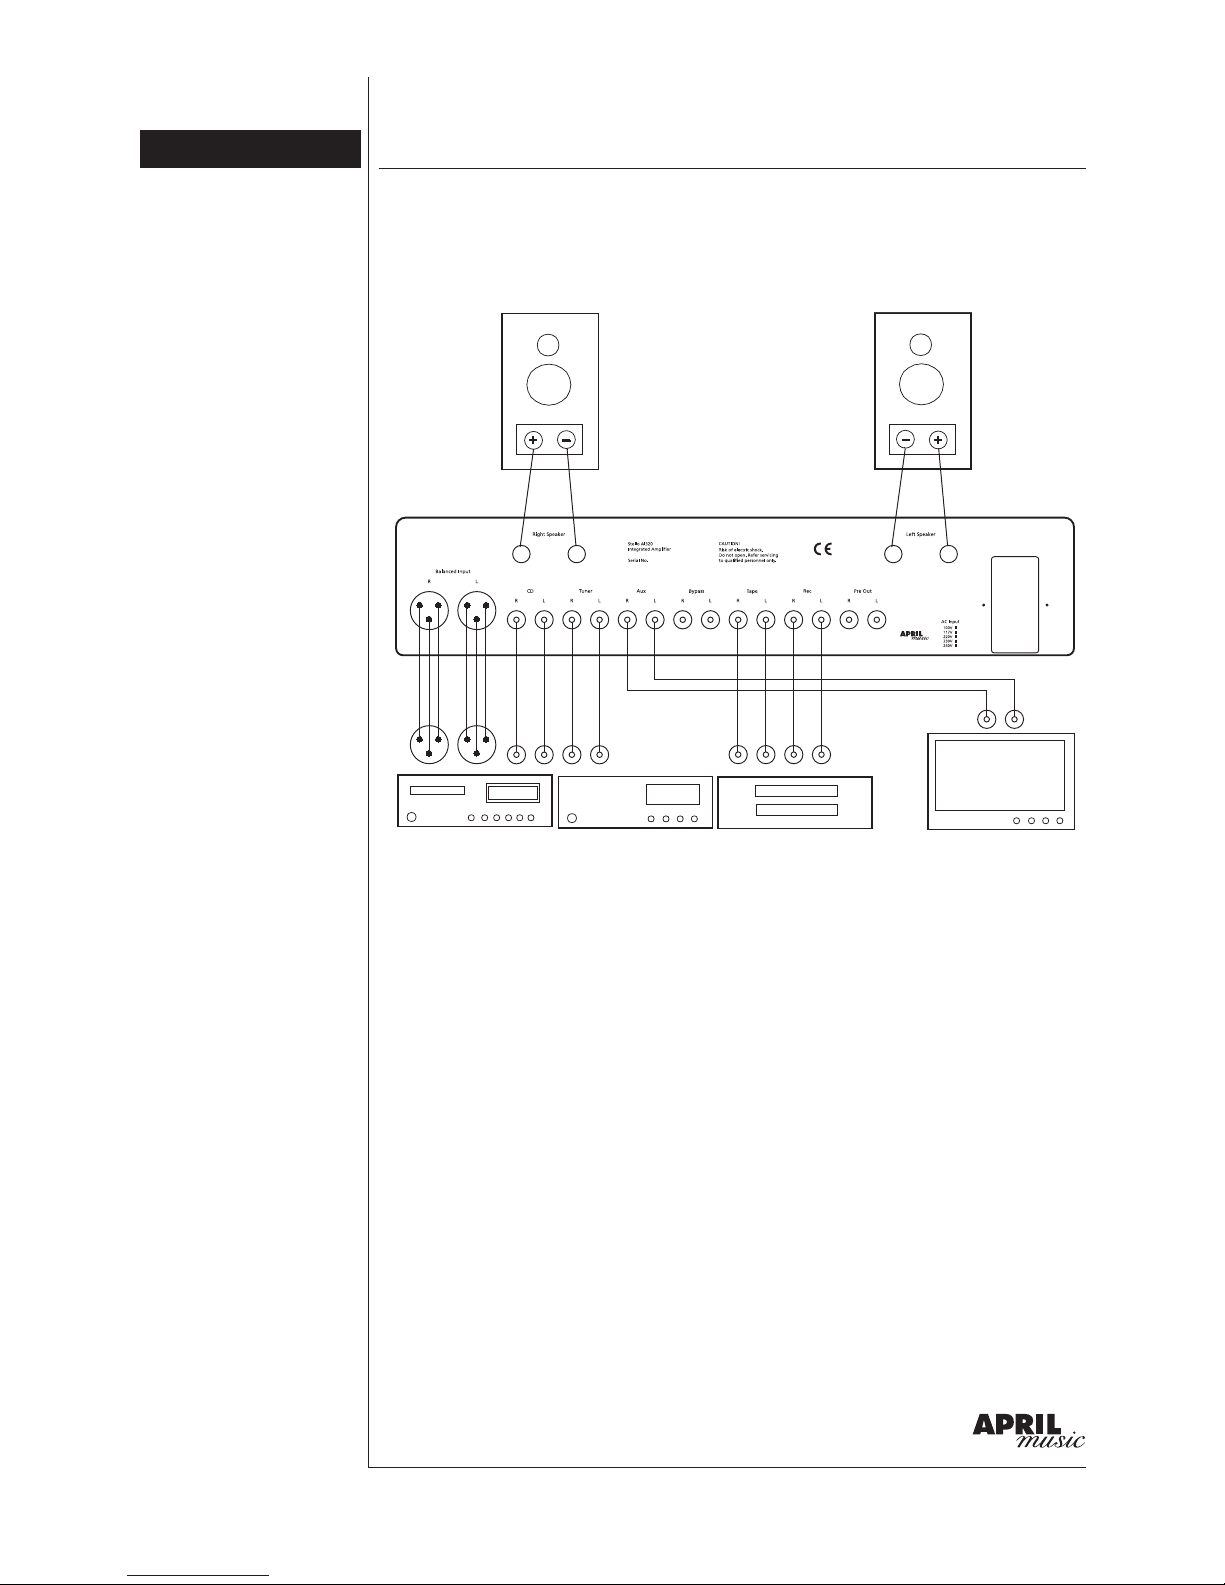
Using a self power Subwoofer system
This option will be useful when using a small or medium size loudspeaker system as
the main loudspeakers and using the PRE OUT to connect to a self
powered subwoofer for an improved bass extension.
Install an interconnect cable between the PRE OUT of the AI:320 and the MAIN IN of
the subwoofer controller/amplifier.
The following functions, volume, cut-off frequency, phase, etc. should be
calibrated directly on the subwoofer controller/amplifier panel. Please refer to
subwoofer manual for operation.
+ -
+ -
MAIN IN
+ -
+ -
MAIN IN
SUBWOOFER CONTROLLER
POWERED SUBWOOFER
MAIN
LEFT
SPEAKER
MAIN
RIGHT
SPEAKER
CONNECTION
Page7
AI 320 INTEGRATED AMPLIFIER
2. Using the AI 320 as a Preamplifier
Connection to an external power amplifier
Disconnect the loudspeaker cables from the AI:320 or press 'SPK OFF' button
on the remote control handset.
Connect the PRE OUT of the AI 320 to the MAIN IN of the external power amplifier.
Using a self power Subwoofer system
This option will be useful when using a small or medium size loudspeaker system as
the main loudspeakers and using the PRE OUT to connect to a self
powered subwoofer for an improved bass extension.
Install an interconnect cable between the PRE OUT of the AI:320 and the MAIN IN of
the subwoofer controller/amplifier.
The following functions, volume, cut-off frequency, phase, etc. should be
calibrated directly on the subwoofer controller/amplifier panel. Please refer to
subwoofer manual for operation.
+ -
+ -
MAIN IN
+ -
+ -
MAIN IN
SUBWOOFER CONTROLLER
POWERED SUBWOOFER
MAIN
LEFT
SPEAKER
MAIN
RIGHT
SPEAKER
POWER AMPLIFIER