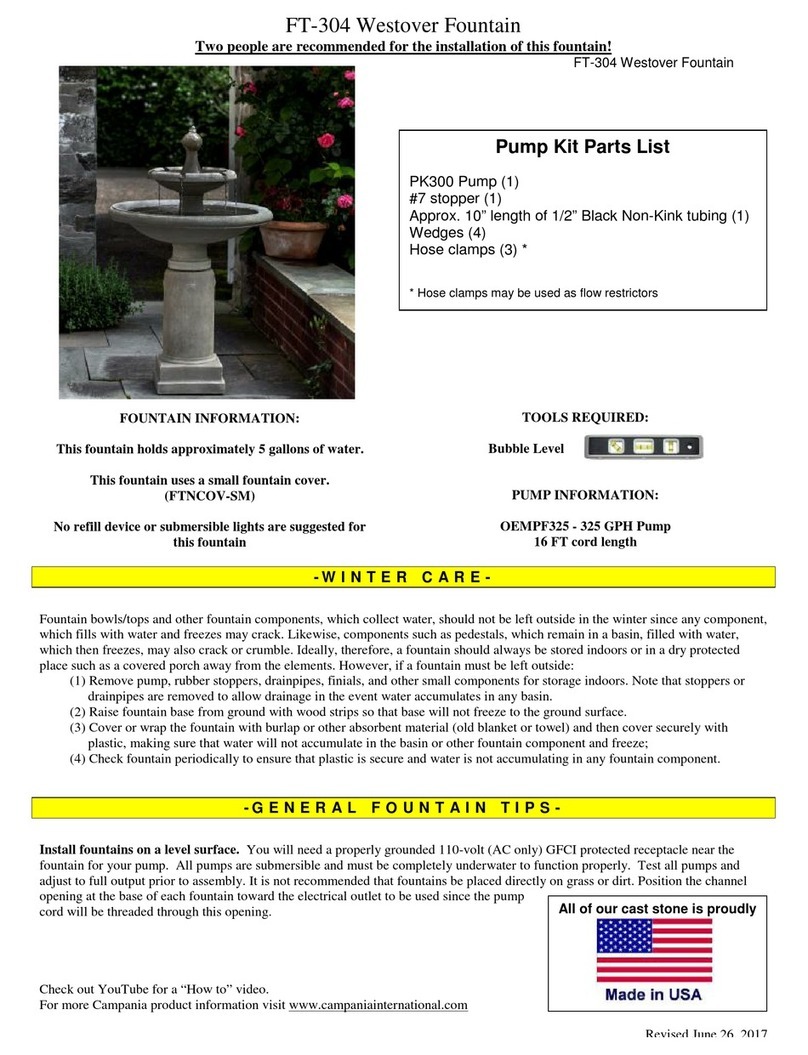
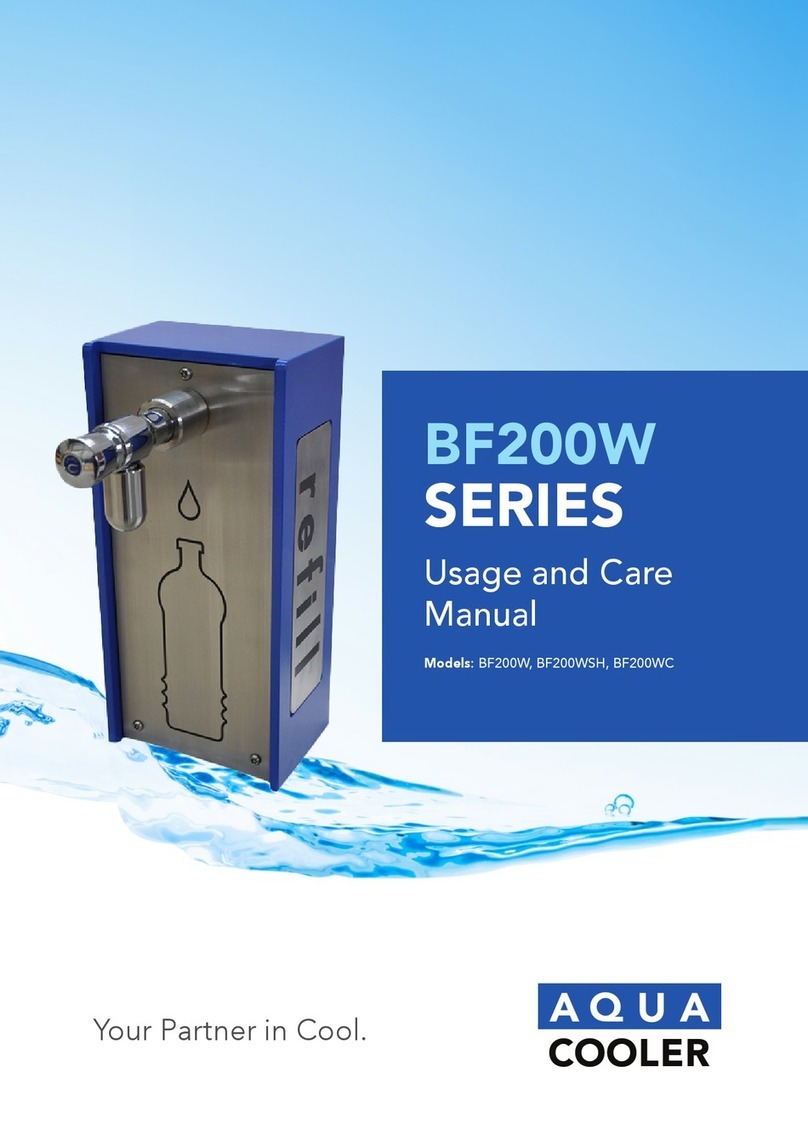
Aqua Cooler M Series User manual

Your Partner in Cool.
Usage and Care
Manual
Models: M2, M2F, M3, M3F, M4, M4F, M4SS, M4FSS, M5,
M5F, M5SS, M5FSS, M10, M10F, M10SS, M10FSS, M11,
M11F, M11SS, and M11FSS.
M
SERIES

2Your Partner in Cool.
TECHNICAL SPECIFICATIONS
PRODUCT DIAGRAM
Water Reservoir 5 L
Refrigeration Uses R134A refrigerant
Water Connections Water Inlet 1/2” Male B.S.P
Drain Outlet 40 mm Female P.V.C Socket
Thermostat Control The thermostat is factory set.
Capacity
M2/M3 10 L/h
M4/M5 19 L/h
M10/M11 26 L/h
Power Consumption
M2/M3 138 W
M4/M5 230 W
M10/M11 430 W
Electrical 220-240 V, 50/60 Hz
Warranty Twelve month comprehensive coverage, additional twenty-four month
compressor replacement.
COOLING
TANK DRAIN
GLASS FILLER
BUBBLER
FILTER
IF APPLICABLE DRAIN OUTLET
MAINS WATER INLET
AIR FLOW

3
IMPORTANT SAFETY INSTRUCTIONS
When using electrical appliances, basic safety precautions should be followed to reduce the risk of re, electric
shock and injury to persons or property. Read all instructions before using any appliance.
1. Keep combustible material such as furniture,
bedding, pillows, clothes and/or papers away
from the back of the unit.
2. Do not operate this, or any other appliance, with
a damaged power cord.
3. No other appliance should be plugged into
the same outlet. Be sure that the plug is fully
inserted into the outlet.
4. Do not run the power cord over carpeting or
other heat insulators.
5. Do not cover the power cord.
6. Keep the power cord away from high trafc
areas.
7. Do not submerge the power cord in water.
8. We do not recommend the use of extension
cords as they may overheat and increase the
risk of re.
9. Exercise caution and use reasonable supervision
when the appliance is used by or near children.
10. Make sure that there is at least 75 mm of space
between the back of unit and wall. Keep a
minimum of 75 mm on each side of unit free.
11. Do not use this product to dispense anything
other than water.
12. This appliance must be placed on an even and
at surface.
13. If the supply cord is damaged, the manufacturer,
one of its service agents or a similarly qualied
person must replace it in order to avoid hazard.
14. This water fountain must be positioned so the
plug is accessible.
15. Disconnect the plug from the outlet when not
in use.
16. Remove power plug or disconnect from main
power source before servicing the appliance.
17. Warranty will be voided if installation is not
carried out as detailed in this instruction manual.
18. The compressor motor is equipped with an
automatic reset protector which will disconnect
the motor from the line in case of an overload.
IMPORTANT INFORMATION ABOUT GROUNDING
• To provide additional protection from the risk of shock, this unit MUST be connected to a
residual-current device (RCD) outlet at all times. Use of an extension cord will void any warranties.
• This appliance must be grounded. Improper use of the grounding plug can result in a risk of
electric shock, causing serious injury and possibly death.
• This appliance is equipped with a power cord having a grounding wire with a grounding plug and
must be connected into a properly-grounded, polarised outlet.
• Consult a qualied electrician if the grounding instructions are not completely understood, or if
doubt exists as to whether the appliance is properly grounded. If the wall outlet is a standard,
2-prong outlet, it is your personal responsibility and obligation to have it replaced with a properly-
grounded, 3-prong wall outlet.
• Do not under any circumstances cut or remove the third (ground) prong from the power cord plug.
Do not use an adapter plug with this appliance.

4Your Partner in Cool.
UNPACKING THE WATER FOUNTAIN
1. After unpacking the water fountain, wipe with a soft cloth. Check the unit for evidence of rough handling.
2. Place the machine on a hard, at surface. Make certain the unit is level. The unit should not be close to
sources of heat, otherwise performance may be affected.
3. It is best to place the water fountain in an area with good air circulation. Make sure there is at least 75 mm
of space between the back of the fountain and the wall.
INSTALLATION
The installation must be in accordance with AS/NZS 3500.1 and AS/NZS 3500.2. Pipe jointing is a trade skill and
Aqua Cooler recommends this process is performed by qualied personnel only.
1. Ensure proper ventilation by allowing 75 mm clearance on each side of the fountain.
2. Minimum water pressure is 100 kPa and maximum is 700 kPa.
3. The recommended maximum water inlet temperature is 38°C.
4. Install a 40 mm waste trap onto the waste outlet on the rear of the fountain - not supplied.
5. Water in connection is secured via a 1/2” kinko nut and olive into the stainless-steel connection on the
rear of the unit. It is recommended that a 1/2” shut off valve is installed at this point for ease of future
maintenance.
6. Turn on water supply and hold down bubbler to purge the system of air until a steady stream of water
comes from the tap.
7. For models equipped with a glass ller, please assemble the glass ller by placing the neck onto the white
tubing pre-installed on the top of the lid, as shown below.
8. The bubbler needs to be adjusted for the correct water ow in relation to the local water pressure. On the
side of the bubbler is an inner and an outer screw. Once you have established water ow, adjust the inner
screw until the stream is in the center of the stainless-steel top.
9. Check all connections for water leaks.
10. Flush fresh mains water through the unit for ve minutes to ensure any residual water from testing is
cleared.
11. Plug the fountain into the building electrical supply. The unit will start automatically.
Glass ller installation Flow adjustment

5
DRAIN INSTALLATION
NOTE: Pipe jointing is a trade skill and should be executed only by qualied persons. Aqua Cooler recommends
installing a union as part of the PVC drain assembly to enable ease of disconnection if the fountain requires
service.
1. Make sure all connections are cleaned and dry.*
2. Mark waste pipe at a distance equivalent to full depth once inserted into the drain tting on the unit.
3. Apply Watermark certicated Type N solvent cement on the end of the Watermarked AS/NZS 1260 40mm
PVC pipe and insert into the Aqua Cooler drain outlet tting. Firstly to the inside of the M Series drain
tting and then to the external surface of the pipe end (marked area). (See Figure.1) #
4. Please ensure the solvent cement is applied in full even coats to all applicable surfaces.
5. Follow the direction line in gure.1 to connect the PVC pipe to the full depth of the socket and hold the
bond joint in position for at least 30 seconds.
6. Do not disturb for 5 minutes and allow 24 hours curing before testing. (See Figure.2)
* Aqua Cooler suggests using PVC priming uid to prime PVC pipe prior to application of PCB pipe cement for
all installations.
#2: Using both pipe cement type N and type P are both acceptable. Pipe cement type P is recommended
in high pressure application for bonding, while type N is for the non-pressure application. Aqua Cooler
recommends using pipe cement type N complying with AS/NZS3879 for this application.
Please be aware that the connection should be done by an Australian certied plumber.
The socket is adaptable to Watermarked AS/NZS 1260 40mm PVC pipe tting as per the WMTS105
documentation.
g. 1 g. 2

6Your Partner in Cool.
REMOVING FROM SERVICE
1. Disconnect the power supply cord.
2. Disconnect the water supply.
3. Remove drain assembly from rear of the fountain.
4. Remove bubbler valve and if present, glass ller.
5. Always drain all water when freezing temperatures are anticipated and before shipping the fountain.
MAINTENANCE
• The only maintenance operation required is the removal of dirt and lint from the condenser. Inspection
should be made at 3 month intervals.
1. Disconnect the power supply.
2. Clean the condenser with a small stiff non-wire brush.
• The unit is equipped with a hermetically sealed compressor and requires no additional lubrication.
• The fan motor on this unit seldom needs oiling. If required, a few drops of SAE 10 oil should be used.
• Aqua Cooler recommends the water fountain is cleaned every month, ensuring there is no blockage in the
condenser or in the back of the unit. Please remove all potentially harmful factors to prevent any scratch or
damage to the unit.
• If customers require the unit’s spare parts information, please contact the Aqua Cooler Service Department
for further assistance. The direct line is located on the back of this manual.
TROUBLESHOOTING
Problem Possible Cause Remedy
No water owing out of the
glass ller or bubbler
Water source has been suspended Restore water supply.
The ltration system is clogged Replace the lter.
Water is not cold
The cooling controller is turned off Check the position of the mechanical thermostat
and set to desired temperature.
Power failure Check the power cord is properly plugged in or if
there is a power outage.
Cooling system failure Turn off the fountain and contact Aqua Cooler
service.

7
MARKS
Spec No. WMTS 105:2016
SAI GLOBAL
WMK26317 (Lic. No.)
The appliance is comply with applicable ACMA regulatory arrangements (Regulatory Compliance
Mark) and WaterMark WMTS 105:2016.

8Your Partner in Cool.
EXPLODED DIAGRAM
1
2
3
4
2
1
3
5
4
6
7
10
9
8
15
13
12
11
14
16 17
18
19
20

9
ELECTRICAL DIAGRAM
SPARE PART LIST
# Description Code
1Glass ller (optional) SPM1
2 Bubbler valve SPM2
3 Stainless-steel lid SPM3
4 Waste drain gasket SPM4
5 Bubbler connection SPM5
6 Waste drain elbow SPM6
7 Frame assembly SPM7
8 Cold tank assembly SPM8
9 Evaporator SPM9
10 Cold thermostat SPM10
# Description Code
11 Condenser SPM11
12 Power cord SPM12
13 Rubber feet SPM13
14 Compressor SPM14
15 Condenser bracket SPM15
16 Fan blade SPM16
17 Fan cover SPM17
18 Fan motor SPM18
19 Rear panel SPM19
20 Front panel SPM20

Your Partner in Cool.
10 Your Partner in Cool. Aqua Cooler Pty Ltd •ABN: 88 151 215 351
For All Aqua Cooler Water Cooler and Fountain Products
Effective July 2017
Aqua Cooler Pty Ltd warrants this appliance to the rst purchaser as follows and subject to the stated conditions.
12 Month Comprehensive Warranty - Any defect in the appliance occurring within the rst twelve months from the date of purchase will be
rectied free of charge by Aqua Cooler Pty Ltd or by any authorised independent Service Agent.
24 Month Extended Warranty - Aqua Cooler Pty Ltd agrees to replace any part of the hermetically sealed refrigeration system which becomes
inoperative in the two years following the rst years comprehensive warranty. This extended warranty covers the compressor, condenser, and
interconnecting refrigeration pipework. It excludes compressor relays, overloads and all other components of this appliance. This extended
warranty does not include service, repair or labour costs or any pickup and/or freight charges. Aqua Cooler at its sole discretion may replace the
cooler with a new or refurbished cooler of a similar age.
Warranty Exclusions
1. Any costs associated with the removal and reinstallation of repaired or replaced units.
2. Travel expenses to locations further than 100km from any Australian capital city CBD or further than 100km of a registered Service Agent.
3. Damage to units where mains connected pressure is higher than 700 kPa and a pressure limiting valve is not installed.
4. Where the unit is not installed as per installation instructions found within the supplied user manual.
5. The warranty does not cover defects occasioned by misuse, alterations, accident or where the water cooler has been stored on its side.
FOR ANY CLAIM UNDER THIS WARRANTY PLEASE CONTACT AQUA COOLER PTY LTD
PHONE: +61 (02) 9721 9300 OR EMAIL: support@aquacooler.com.au
Thank you for your custom and we hope our product provides many years of fault free operation. To enable us to register your warranty and
provide best possible service should a problem occur, we recommend you ll out the section below and return it to us immediately.
This warranty is provided in addition to other rights and remedies you have under law: Our goods come with guarantees which cannot be
excluded under the Australian Consumer Law. You are entitled to replacement or refund for a major failure and to compensation for other
reasonably foreseeable loss or damage. You are also entitled to have the goods repaired or replaced if the goods fail to be of acceptable quality
and the failure does not amount to a major failure.
Warranty and Service Registration Form
Please ll in this form and mail to us or send via email to support@aquacooler.com.au. If this form
is not completed and returned the warranty period will be deemed to have commenced from
date of manufacture.
COMPANY NAME (if applicable):
CONTACT NAME: PHONE NUMBER:
ADDRESS:
SUBURB: POSTCODE:
MODEL NUMBER: SERIAL NUMBER:
PURCHASED FROM:
DATE OF PURCHASE:
WARRANTY AND SERVICE REGISTRATION

Your Partner in Cool.
Aqua Cooler Pty Ltd •ABN: 88 151 215 351

Your Partner in Cool.
Phone Numbers
Sales: 1300 278 226
Service: 1800 278 226
Address
U14, 2-12 Knobel Court
Shailer Park QLD 4128
Internet
www.aquacooler.com.au
info@aquacooler.com.au
This document is available digitally on our website at www.aquacooler.com.au/doc/m0007m0007
This manual suits for next models
20
Table of contents
Other Aqua Cooler Outdoor Fountain manuals
Popular Outdoor Fountain manuals by other brands

Astonica
Astonica 40201119 instruction manual

HoMedics
HoMedics EnviraScape Slate Streams WFL-SLST Instruction manual and warranty information

Garden Treasures
Garden Treasures 07-183 manual

Solus
Solus SCUPPER Installation & operation manual

Profi-pumpe
Profi-pumpe FELS-SCHALEN operating instructions

Ambiente
Ambiente WF3622 Installation instruction

Elkay
Elkay Soft Sides EDFP217FP B Series installation manual

Campania International
Campania International FT-313 quick start guide

Homerunpet
Homerunpet WF20 user guide

Jeco
Jeco FCT109 quick start guide

Beckett
Beckett Fairy FPK301 Product features

AquaScape
AquaScape AQUABASIN 30 Instructions & maintenance