10
☎US (866) 877-6637 |☎CAN (866) 766-3426 |aquascapeinc.com
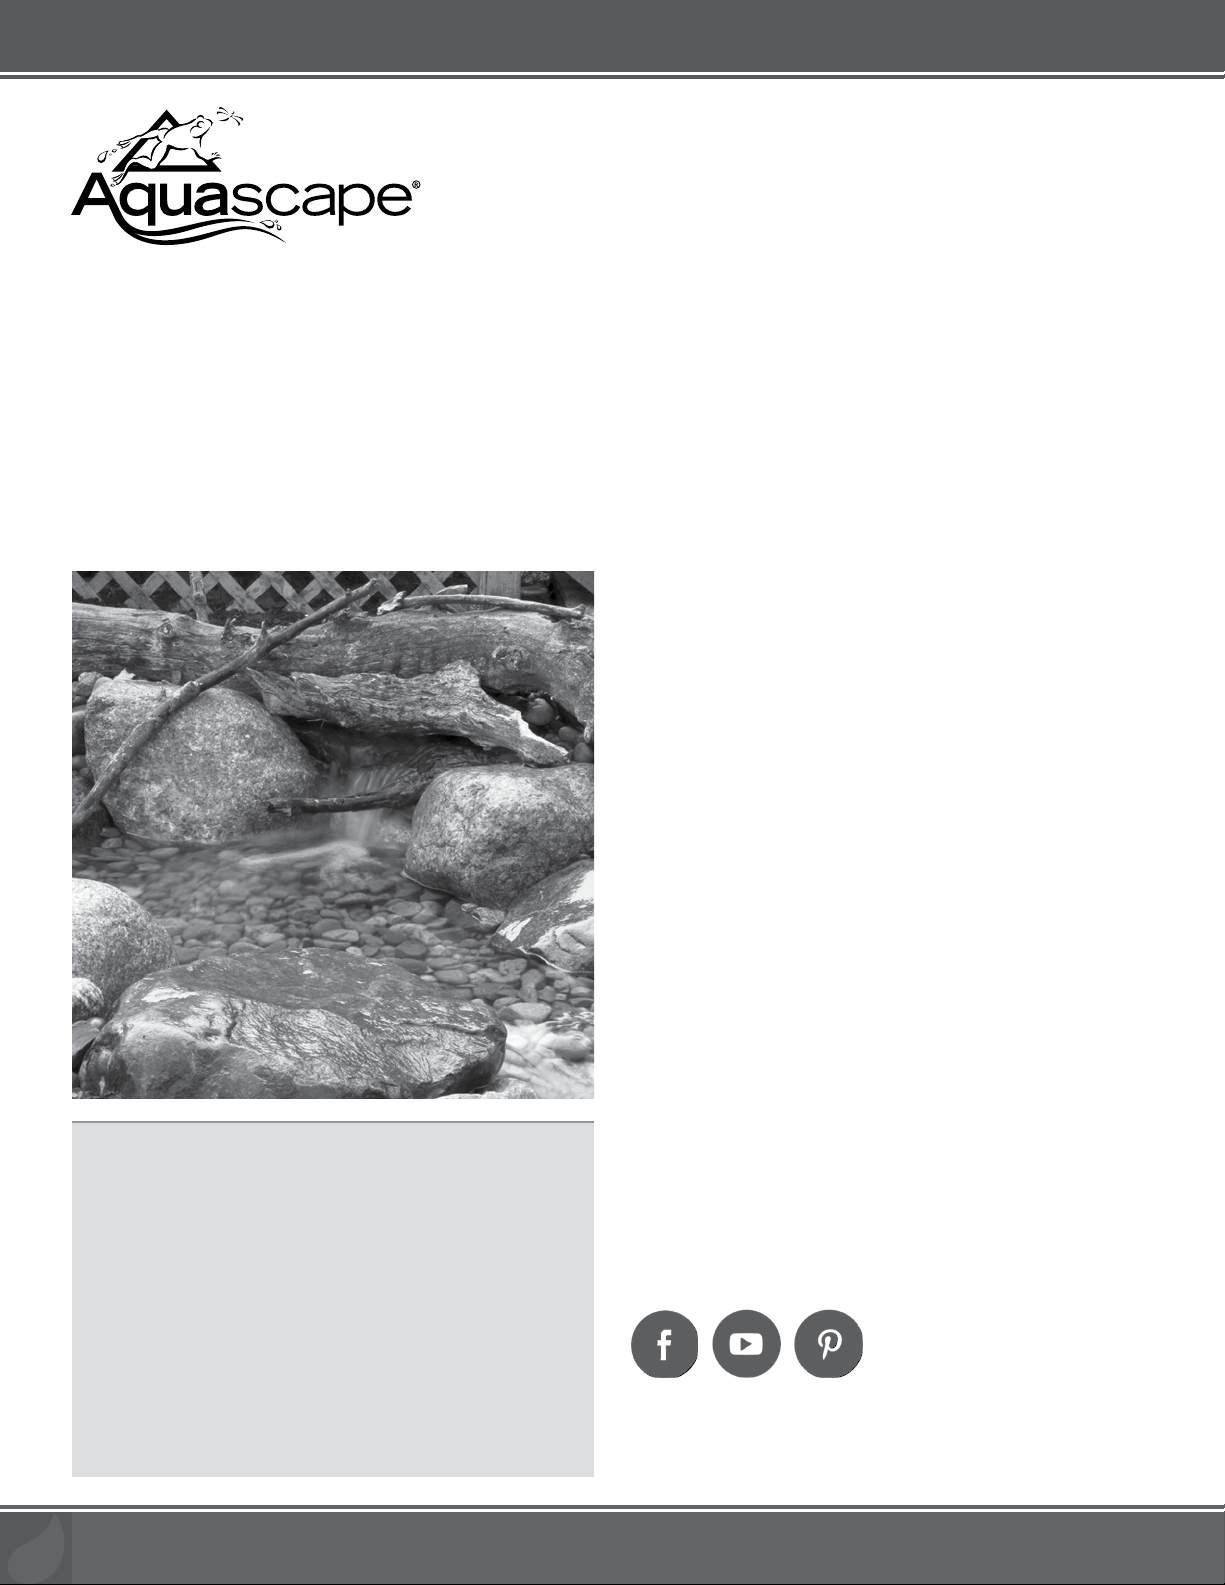
ÉTAPE 5
REMPLISSEZ LES JOINTS AVEC DE LA MOUSSE
CASCADE NOIRE
• Les joints autour de la
face du déversoir de la
cascade et des pierres de
la cascade environnantes
peuvent maintenant être
remplis de scellant en
mousse Aquascape Pond
et Waterfall (Ex. 13).
REMARQUE : La cascade peut être actionnée une fois la
mousse sèche.
Ex. 13
ÉTAPE 6
DÉGUISER LE DÉVERSEMENT DE LA CASCADE
• Déguisez le déversoir de la
cascade à l’aide de rochers,
de billes, de gravier, de
terre ou d’autres matériaux
paysagers créatifs (Ex. 14).
Ex. 14
ÉTAPE 7
RÉDUIRE EXCÈS DOUBLURE
• Avec la cascade en marche, coupez tout revêtement en
excès en laissant plusieurs pouces au-dessus du niveau
d’eau / éclaboussures d’eau par mesure de précaution.
Les bords de revêtement restants peuvent être recouverts
de gravier ou d’un autre matériau d’aménagement
paysager approprié.
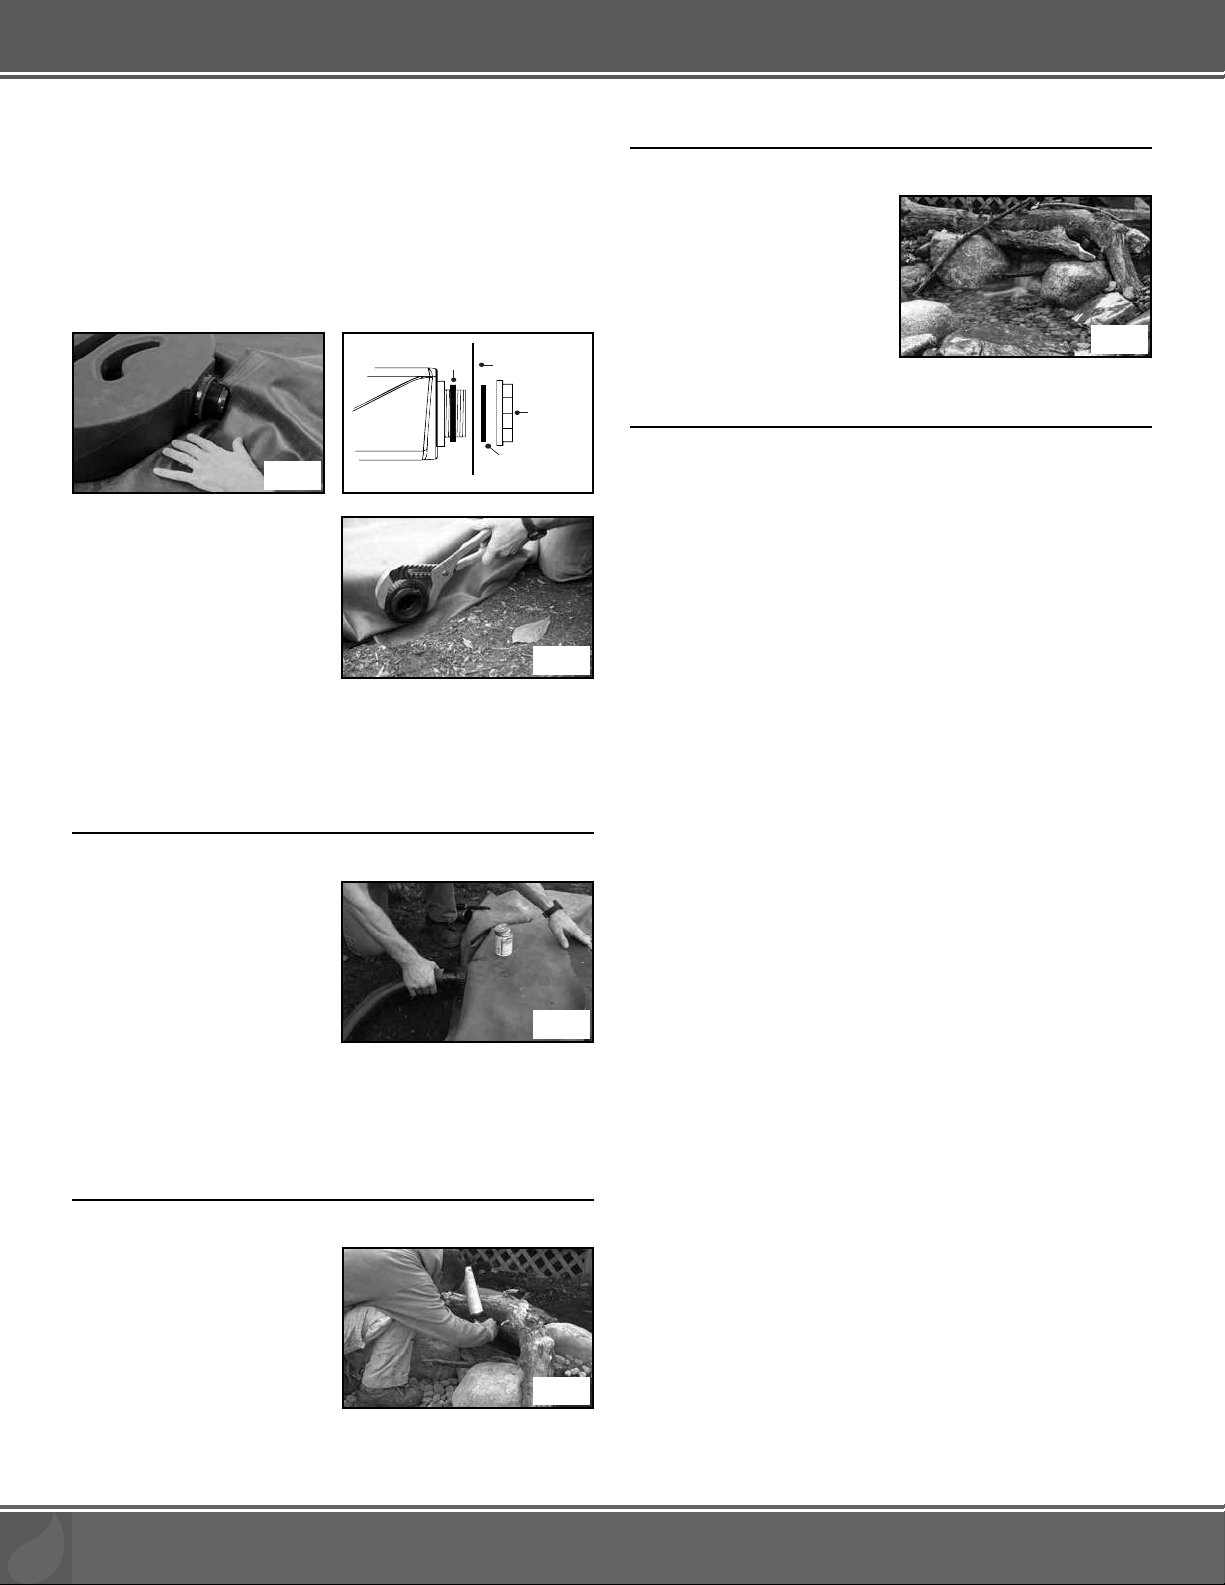
• Retirez le joint extérieur en caoutchouc du raccord du
déversoir en cascade. Insérez le trou dans la doublure sur
le raccord du déversoir en cascade. La doublure doit être
bien ajustée autour de la base du raccord du déversoir en
cascade (Ex. 9).
• Placer le deuxième joint en caoutchouc sur le raccord
(Ex. 10).
REMARQUE : La doublure doit être située entre les deux
joints en caoutchouc.
• Placer l’écrou de retenue
sur le déversoir de la
cascade et serrer à la
main. Le raccord est fileté
à l’envers, veuillez vous
référer à la flèche située sur
l’écrou de retenue pour la
bonne direction. Utilisez une
paire de verrous de canal pour serrer davantage l’écrou de
retenue et 1/4 à 1/2 tour supplémentaire après la main en
faisant attention de ne pas trop serrer l’écrou de retenue,
ce qui pourrait éventuellement fissurer le raccord en
plastique (Ex. 11).
ÉTAPE 4
CONNECTER LE TUYAU
• Installez le raccord de
tuyau inclus à l’arrière du
déversoir de la cascade.
Utilisez du ruban téflon ou
du mastic silicone (non
inclus) sur les filetages du
raccord, afin de fournir une
étanchéité à l’eau. Veillez
à ne pas trop serrer le raccord de tuyau, ce qui pourrait
éventuellement fissurer les raccords en plastique. Le filtre
est maintenant prêt pour l’installation du tuyau
(Ex. 12).
Ex. 12
Ex. 11
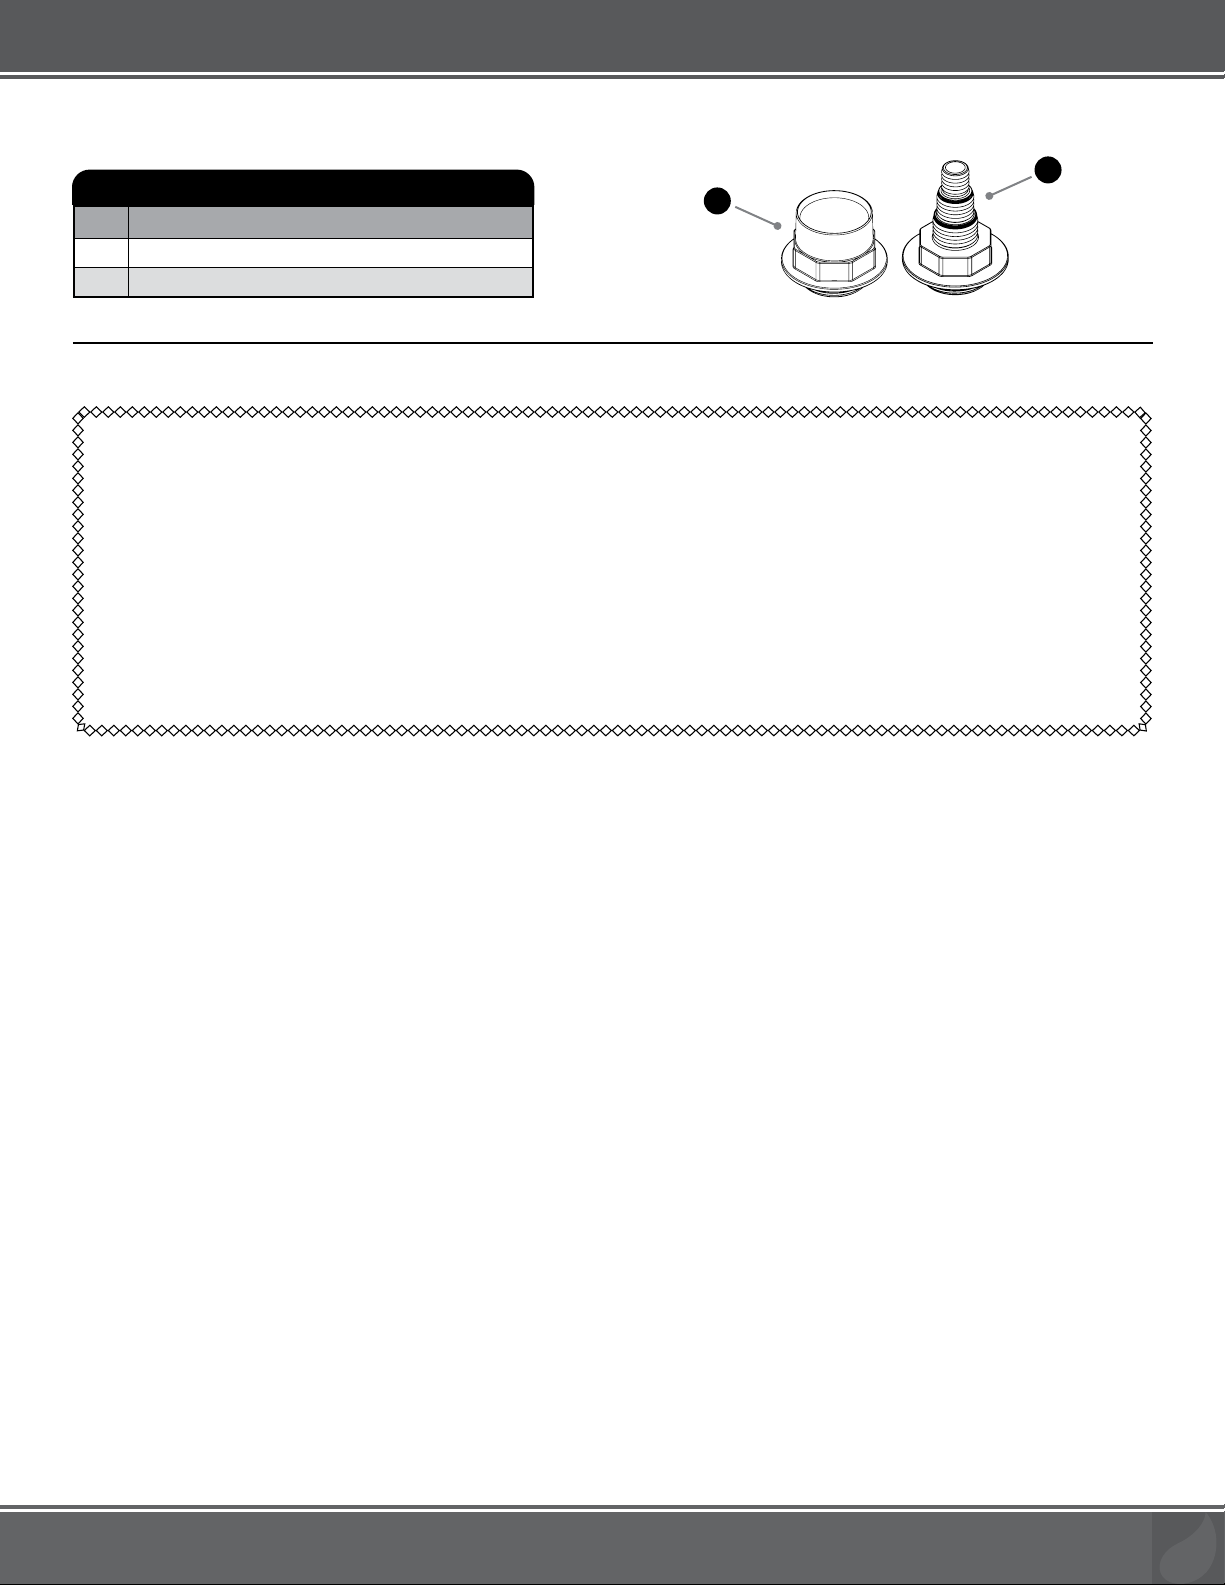
Ex. 9
Doublure
Retenir écrou
Extérieur caoutchouc joint
Interne caoutchouc
joint
Ex. 10