WARRANTY TERMS AND CONDITIONS
(This warranty is subject to the provisions of the Trade Practices Act and Goods and
Consumer Protection Legislation of various States and Countries)
1. Aquatel NZ Ltd warrants this product will operate as designed for a period of 12 months
from date of purchase from an authorized Aquatel re-seller. Subject to the conditions
that follow, Aquatel NZ Ltd will repair or replace any defective products free of charge
upon return of the faulty product to the authorized Aquatel re-seller.
2. This warranty excludes transportation costs to return the faulty product to the authorized
Aquatel re-seller. It excludes problems resulting from failure to comply with installation
instructions, from neglect or misuse, from installation outside the specified operating
temperature ranges, or operation for any purposes other than those specified. Batteries
are provided solely as a convenience and without warranty and may have a reduced
operating lifetime due to the storage time or temperature prior to purchase.
3. This warranty applies only to the original owner and cannot be transferred to subsequent
owners.
4. This warranty is subject to any consumer protection legislation in the government
jurisdiction where the unit is installed.
5. Proof of purchase will be required for any warranty claims. Please record the date of
purchase, dealer name, model, and serial number below and attach the sales receipt.
Keep this document in a safe place.
6. Aquatel shall not be liable for any incidental or consequential damages resulting from
the malfunctioning of its products or from any delays in repairing or replacing defective
products.
Date of Purchase: _______________________
Where you purchased: ___________________
Model: __________________________________
Attach proof of purchase.
0509
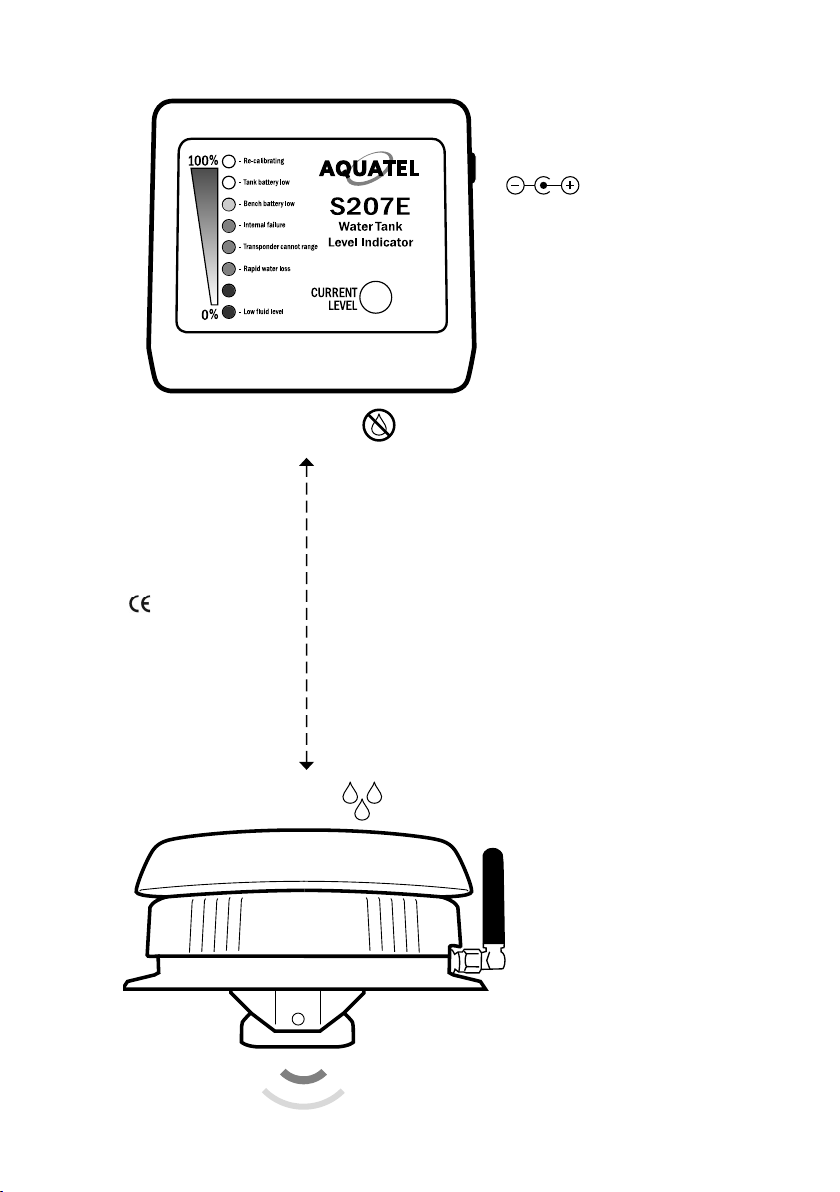
WARNING
Only use AA Alkaline or Lithium batteries and ensure the batteries are inserted
correctly (do not reverse polarity)
Do not use rechargeable batteries (the voltage is too low).
Do not mix old and new batteries, or different types of battery.
Do not expose the batteries to excessive heat or fire.
Remove batteries if they are exhausted or if the unit will not be used for a long time.