manuals.online logo
Brands
  1. Home
  2. •
  3. Brands
  4. •
  5. Arena Luci
  6. •
  7. Landscape Lighting
  8. •
  9. Arena Luci ING0008­WW User manual

Arena Luci ING0008­WW User manual

User'smanual
RecessedcarriageableLEDinground1out
This unit should only be used for purpose for
which it has been intended and should be
installed using the instructions which are
provided. Arena Luci cannot be held liable for
damages to person, animals or objects as a
result of improper, unreasonable and wrong
usage.
This instruction manual contains important
information about the installation and use of the
projector. Please read and follow these
instructionscarefully.
The security of this device is guaranteed only
with the proper use of the following instructions,
thereforetheymustbekeptcarefully.
Never install the device in locations easily
accessiblebypeoplewhoignoretheexistenceof
thisuser'smanualandsafetyinstructions.
For the wiring please refer to enclosed wiring
diagrams. If in the diagrams indicated there
shouldnotbethatofyourapplication,contactthe
technicaloffice.
Disconnecttheunitfromanypowersupplybefore
attemptinganyoperationincontactorinsidethe
unit,andwhennotinuse.
Itis essential that electricalinstallationconforms
toallrelevantstandards.
Prior to connect the unit to the power supply,
check the output voltage fits the technical
requirementsonthelabel.
Neverlet the powercordcome into contact with
othercables.
Nevertouchtheelectricalcontacts,eitherdirectly
withyourfingers,orindirectlybymeansofsharp
ormetalobjects.
Makesurethatcablescannotcausetriphazard.
Donotattempttodismantleandmodifytheunit.
Due to the high technological level of this unit,
anyservicemaintenanceshouldbeperformedby
specialisedoperators.PleasecontactyourArena
Lucidealerforanyoperation.
When assembling make sure that the cable
glandsaretightenedforawatertightseal.
Avoidinstallingtheunitclosetoheatsources.
Neverleanthepowercordonhotunitsurfaces.
Allowed to be mounted directly on inflammable
surfaces.
LEDmoduleisnotreplaceable.
Do not use any solvent based cleaning agents.
Useonlyasoft,dryantistaticcloth.
TheinstallationofLEDmodules(includingpower
supplies) should be done according to current
technical rules and regulations. The installation
shouldbeperformedonlybyaqualifiedoperator.
ThisluminaireisanoutdoorIP67device,butnot
IP68 (underwater). Therefore the proper and
extendedfunctioningwillberelatedtotheproper
installation.
To avoid infiltrations inside the inground box do
not open or install this luminaire during rainy
daysorinhighhumidityconditions.
Avoid contact with either corrosive agents or
humidity and moisture on delicate elements:
damages from corrosion are not refunded as
componentdefects.
WARNINGS
Please note that as part of Arena Luci's ongoing commitment to continuous product development,
specificationsaresubject to change in the course of product improvement without notice.Arena Luci is not
responsiblefordamagesresultingfromimproperordifferentusethanexpected.
ING0008WW
ING0008W
2/4
ING0008
TRANSPORTANDSHIPPING
Opentheshippingcartonandverifythatallequip
mentnecessarytooperatethesystemhasarrived
intact. Refer to the following packing list for
information on what items are included with your
model. If any equipment is missing or damaged,
contactyourArenaLucidealerimmediately.
No.1LEDingroundING0008
No.1Recessedbox
No.1Torxscrewdriver
Before beginning initial setup of your LED
inground, make sure that there is no evident da
mage caused by transportation. In the event that
the unit’s housing is damaged, do not plug it in
and do not attempt to use it until after contacting
yourArenaLucidealerforassistance.
INSTALLINGTHEDEVICE
Before carrying outany operation, disconnectthe
mainsvoltagefromthesystem.
Remove the two Torx screws and slide the LED
headoutoftherecessedbox.
Theinstallationcanbeperformedviatheincluded
dedicated inground/recessed box. It must be
positioned so that when the installation is
complete, the unit is at the same level of ground
surfaceorfloor:thatis,theuppersideofrecessed
boxshouldmatchthefinishedsurface.
Atheingroundboxmustbeplacedonalayerof
draining pebbles with a minimum thickness of
30cm in order to make easier the flow of rain
waterandavoidtheliftofmoistureinsidethebox.
Keepinmindthatattheendoftheinstallationthe
linejoiningthetwofixingscrewswillbeparallelto
the output window. Orient the inground box to
direct the light beam where desired, otherwise
whenyouwillturnontheLEDsthelightbeamwill
pointinthewrongdirection.
Bthebottomlayeroftheinstallationshouldbema

dewithamaterialwithproperdrainingcapability.
C  the shunt from the 24 V DC line should be
performedusinganIP68ratedcastresinjoint.
Dtheconnectionbetweenthe24VDClineand
the supply cable of the luminaire should be
performed through the recessed box, using an
IP68ratedpowerconnection.Keepenoughcable
lengthformaintenancepurposes.
CompletetheinstallationbyclosingtheLEDheadon
topoftherecessedboxbytighteningthetwoscrews.
The fixture can be used either for indoor or
3/4
USER'SMANUAL
outdoor installations, thanks to the die cast alumi
nium body and the stainless steelAISI 316 head.
Theluminairecanbeinstalledeitherupsidedown
onceilings,oronsidewalls.
Ifyouwishtoinstallthefixtureonfalseceilingsor
on drywalls, you can install directly the unit
withouttheneedofrecessedbox.Itisyourjobto
ensure a stable fixing, depending on the type of
structureonwhichyouaregoingtoinstalltheunit.
POWERSUPPLY
Disconnectthemainsvoltagefromthesystem.
Connect the red line labeled with "+24V DC" to
the positive output of the power supply; connect
the black line to negative output of the power
supply.Payattentionnottoreversethe terminals:
a wrong polarity may seriously damage the devi
ce.Inthecaseofmultipleparallelconnectionsof
ingroundluminaires,itisrecommendedtouseca
bles with at least 2.5mm2 cross section or larger,
accordingtothevoltagedropcalculations.
Also, the light can be dimmed using an external
optionalPWMdimmer(notincluded).Pleaserefer
to the instruction manual of the dimmer for
connection details. However, due to the internal
electronics,theregulationisnotsmoothandtakes
placeatdiscretelevels.
Whenchoosingtheproperpowersupplyunityou
have to consider the total power consumption of
all the devices connected in the same supplied
group;oncethisvalueisknown,itwillbepossible
tochoose among thevastrangeof power supply
unitsofferedbyArenaLuci.
It is recommended to leave a margin of at least
the 25% less than the driving capability of the
supplyunit.
Connect the power supply to the mains outlet,
payingattentiontorightpolarityLNElabelledon
thewiringterminals(colours:brown=L,blue=N,
green/yellow = E). Check the output voltage is
compatiblewiththespecificationsoftheinground
andtheoptionaldimmer.
Wiringdiagramtopowersupply
4/4
ING0008
ArenaLucisrl
viaSvizzera12/1446042CastelGoffredo(MN),Italy
Tel.+390376782411Fax+390376780973
www.arenaluci.com
[email protected]
WARRANTYCONDITIONS
The unit is guaranteed for 24 months from the
date of purchase against defects in workmanship
ormaterialsthatcomposeit.
This warranty does faults due to incorrect or
improperuseofthedevice.
The warranty is immediately void if the unit has
been tampered with or opened by unauthorized
personnel.
The warranty provides, at the discretion ofArena
Luci,repairorreplacementoffaultyequipment.
The serial number and model of the device are
required to obtain information or assistance from
the dealer. We invite you to transcribe them in
time: for any request of information or services,
thiswillresultinaquickandeffectiveoperation.
CERULES
The device meets the essential requirements of
the Directives
LVD
 2014/35/UE,
EMC

2014/30/UE,
RAEE
 2012/19/UE,
RoHS

2011/65/UE,
Ecodesign
 2009/125/CE  reg. (UE)
1194/2012,
Energy label
 2010/30/UE  reg. (UE)
874/2012  reg. (UE) 518/2014,
GPSD

2001/95/CE.
Warnings
DisposalofOldElectrical&ElectronicEquipment
(applicable in the European Union and other
European countries with separate collection
systems).
The product shall not be treated as
householdwastebutmustbehandedoverto
the applicable collection point for the
recycling of electrical and electronic
equipment. By ensuring this product is correctly
disposed, you will help prevent potential negative
consequences for the environment and human
health, which could otherwise be caused by
inappropriate waste handling. The recycling of
materialswillhelptoconservenaturalresources.For
more detailed information about recycling of this
product, please contact your city office, your
householdwastedisposalserviceoryoursupplier.
Powersupply
Powerconsumption
Lightsource
ColourTemperature
Carriageable
Beamangle
Socket
Material
Fixturecolour
Weight
Size
Insulationclass
Protection
Ambienttemperature
Suitabletobefittedonnormallyinflammablesurfaces
Appliedstandards
24VDC
3W
LED
3200K(WW)5500K(W)
2000kg
120°1outwindow
Cable2x1mm2,40cmlength
AISI316/Aluminium
Grey
750gLEDhead110gbox
Ø116x113mm(boxexcluded)
II
IP67
20°C...+40°C
TECHNICALSPECIFICATIONS
ING0008ENR0|07/2020

This manual suits for next models

1

Popular Landscape Lighting manuals by other brands

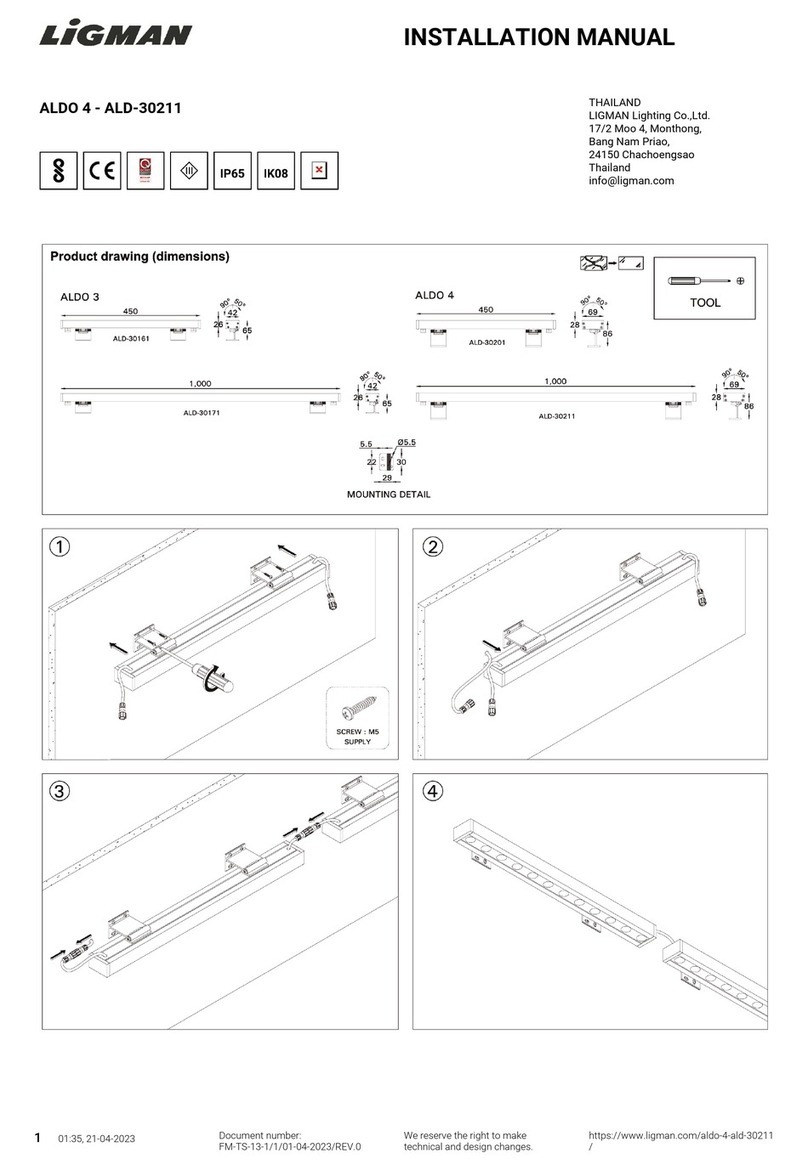
LIGMAN ALDO 4 installation manual

LIGMAN

LIGMAN ALDO 4 installation manual

Intex SL1006 owner's manual

Intex

Intex SL1006 owner's manual

LED Group ROBUS R2IN13W quick start guide

LED Group

LED Group ROBUS R2IN13W quick start guide

Patriot Lighting 343-1484 installation manual

Patriot Lighting

Patriot Lighting 343-1484 installation manual

LIGMAN JET 44 installation manual

LIGMAN

LIGMAN JET 44 installation manual

Hess SERA G: SERA S Installation and operating instructions

Hess

Hess SERA G: SERA S Installation and operating instructions

LIGMAN MALTA 1 installation manual

LIGMAN

LIGMAN MALTA 1 installation manual

Saxby Lighting Islay 68784 Instruction leaflet

Saxby Lighting

Saxby Lighting Islay 68784 Instruction leaflet

LIGMAN EU-10016-3 installation manual

LIGMAN

LIGMAN EU-10016-3 installation manual

LIGMAN KI-60475 installation manual

LIGMAN

LIGMAN KI-60475 installation manual

Cooper Lighting McGraw-Edison ZD Credenza specification

Cooper Lighting

Cooper Lighting McGraw-Edison ZD Credenza specification

Cooper Lighting Generation CLB25MWW5C373 Specification sheet

Cooper Lighting

Cooper Lighting Generation CLB25MWW5C373 Specification sheet

Malibu Boats CM110P instructions

Malibu Boats

Malibu Boats CM110P instructions

AMP Lighting OrchardPro APL-3018-B-BZ Installation & maintenance guide

AMP Lighting

AMP Lighting OrchardPro APL-3018-B-BZ Installation & maintenance guide

Cooper Lighting Invue 42 - 175W Specification sheet

Cooper Lighting

Cooper Lighting Invue 42 - 175W Specification sheet

ABBA SPB12 installation guide

ABBA

ABBA SPB12 installation guide

Techmar Garden Lights GILVUS + manual

Techmar

Techmar Garden Lights GILVUS + manual

LIGMAN RADO 1 installation manual

LIGMAN

LIGMAN RADO 1 installation manual

manuals.online logo
manuals.online logoBrands
  • About & Mission
  • Contact us
  • Privacy Policy
  • Terms and Conditions

Copyright 2025 Manuals.Online. All Rights Reserved.