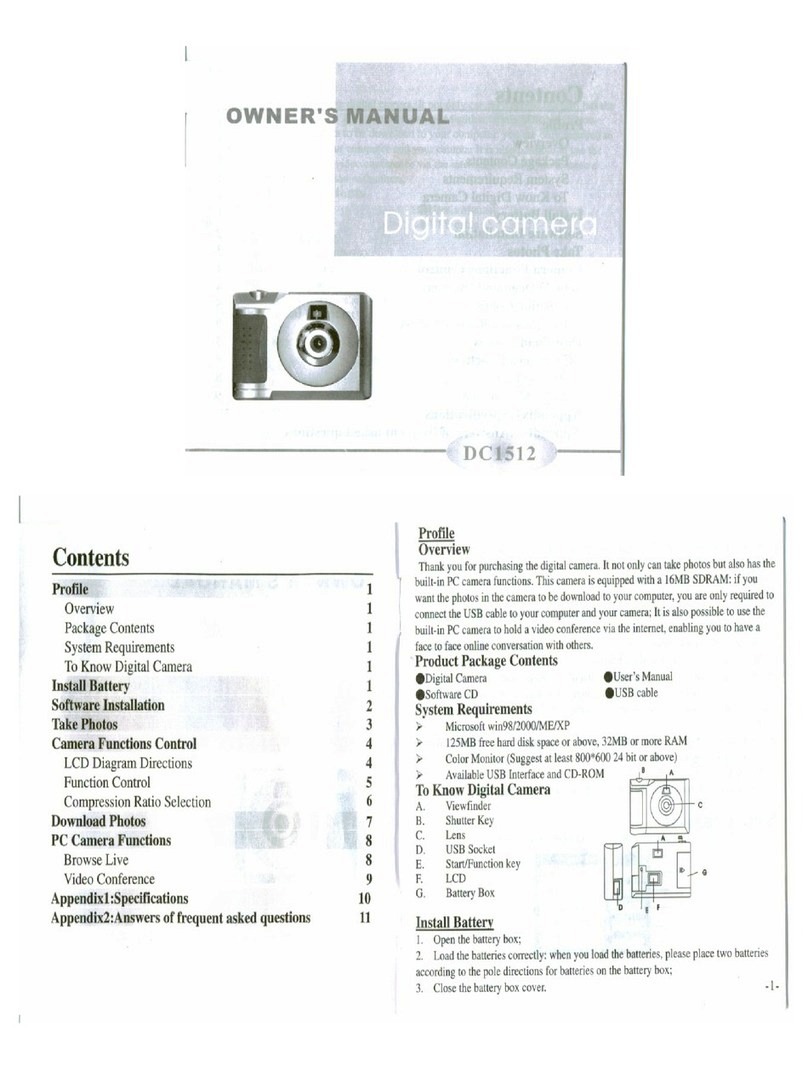
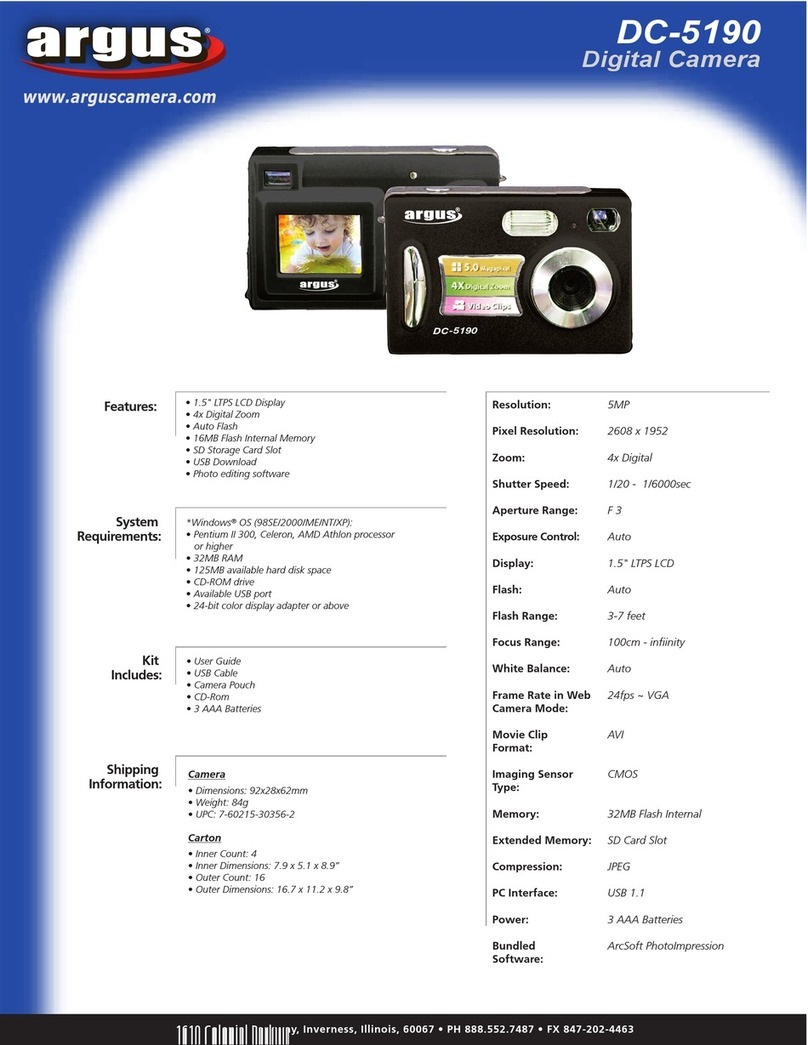
Argus BeanSpraut VGA Carabiner Camera User manual

UserManual
PackageContents:
BeanSproutCarabinerCamera
LiIonRechargeableBattery
USBCable
UserGuide
VideoCable
ArcSoftPhotoImpression
andDriverInstallationCD

1
1.Cameradescription

2
2.Usingyourcamera
2.1Chargingbattery
Your camera uses a Lithium battery. The USB port serves as a charger for the
battery.Tochargethebattery,simplyconnectthedeviceviatheUSBcabletoyour
PC.Ifthebatterypowerislow,theLCDdisplaywillflickerandthedevicewillpower
off.Shouldthisoccur,downloadyourphotostoyourPCassoonaspossible,and
thenchargethedevice.Chargingtimeisaroundsix hours.
WARNING:
· Before takingphotos,pleasetestthedevice’sfunctioninginordertoavoid
disappointingresults.Shouldthedevicefailtowork,pleasecontactus
immediately.
· StaticElectricitymayeffectyourdevicebypoweringitoff.Torestart,
simplypoweronagain.
2.2Sleepmode(automaticpowersavingmode)
If your camera is not connected to the computer and you are not using the
camera longer than 30 seconds, the camera will automatically turn off to
extendbatterylife. A BlankLCDscreenindicatesthecameraisinsleepmode.

3
u You can turn the camera to sleep mode manually by pressing the MODE
button,thentheLCDscreenshows“of.”PresstheTriggerButton;youwillheara
beepasthecamerawillgointosleepmode.
u PresstheMODEbuttontoactivatethecamera.ThedigitsontheLCDscreen
andthebeepsoundwillconfirmthatcamerahasbeenactivated.
2.3Takingphotos
PresstheMODEbuttontopowerupthecamera.
SlidetheViewfinderButtonuptoretractViewfinder.Lookthroughthelensandaim
atthedesiredscene.
Press theShutterButtontotake a picture.The number on the LCD screen will
decrease,andabeepwillconfirmapicturehasbeentaken.
Whenthecameraisreadytotakeaphoto,justpresstheShutterbuttonandone
distinctbeepcanbeheardwhenaphotoistaken.
Ifyouheartwobeeps,thenapicturecouldnotbetakenbecauseitistoodark,or
becausethecamera’smemoryisfull.
2.4UsingvariousMODESofthecamera
TheLCDscreendisplaysthefollowingsymbolswhentheMODEbuttonispressed

4
consecutively;theinterpretationsareasfollows:
H i r e s o l u t i o n
p ic t u r e s T im e r m o d e A V I m o d e
R e a d y to c lo s e o r
s h u t d o w n m o d e
D e l e t e a l l D e l e t e l a s t C h a n g e t o l o w
re s o lu t io n
C h a n g e to 5 0 H z
C h a n g e t o n o r m a l
m o d e
C h a n g e to
c o m p r e s s e d m o d e
C h a n g e to 6 0 H z C o m p r e s s i o n h ig h
r e s o lu t i o n p i c tu r e s
L o w r e s o lu tio n
p i c t u r e s
C o m p r e s s io n l o w
r e s o lu ti o n p i c tu r e s
C h a n g e t o h i g h
r e s o lu t i o n
Continuousmode

5
PS: Only 2 digits, the compression low resolution mode will display two times,
2&08means208,1&10means110.
2.4.1 “St”Selftimermode
PresstheMODEbuttonuntiltheLCDscreendisplays“St”,thenpresstheShutter
Button.
Camerawill“beep”tentimesandautomaticallytakeapictureaftertenseconds.
2.4.2 “d8”AVImode
PresstheMODEbuttonandselect“d8,”thenpresstheShutterButton.
Camera will continuously capture the scene, as long as you keep the Shutter
Buttondown,oruntilcamera’smemorybecomesfull(approx6sec).
2.4.3 “CS”continuousmode
PresstheMODEbuttonandselect“CS,”thenpresstheShutterButton.
Thecamerawillcontinuouslycapture 3 photos.
2.4.4“CA”Clearall/Deletealltakenpictures

6
PresstheMODEbuttontoselect"CA".
PresstheShutterButtontoconfirmyourselection.ThedigitsontheLCDscreen
willstarttoblink.
PresstheShutterButtonagaintodeleteallimagesfromthecamera.
2.4.5“CL”Clearlast/Deletelasttakenpicture
PresstheMODEbuttontoselect"CL".
Press the Shutter Button, and the camera will beep and delete the last picture
taken.TheLCDscreenwillshowahighernumber.
If the last photo taken was taken using the Continuous mode, then the entire
recordedclipwillbedeleted.
2.4.6“LO”/“HI”resolution
PresstheMODEbuttontoselectdesiredresolutionmode;
LO=lowresolutionyoucansavemorepictures,orHI=highresolutionbetter
quality,butyoucanstorelesspicturesinyourcamera.
WhentheLCDscreendisplaysdesiredmode,presstheShutterButtontoconfirm
selection.
TheLCDscreenwillshowthenumberofavailablepicturesthatcanbetakenatthe
selectedresolutionmode.

7
Youcanchangetheresolutionatanytimeasneeded.
2.4.7“50/60”frequency
Variouscountriesusedifferentfrequencies ofthe electricalpower; 50Hzor60Hz.
Select “50 / 60” mode to avoid flickering images. This setting depends on your
currentlocation.
PresstheMODEtoselect“50/60"mode,thenpresstheShutterButtontoconfirm
yourselection.
2.4.8“Hd/Ld”Compressionrate
YoucanselectHd(highdensity),orLd(lowdensity)compressionratemodes.
NotethatattheHd(highdensity)youcancompress/storemorepictures,andless
pictureswhenyouselecttheLd(lowdensity)mode;howeverHdcompressionrate
willslightlylimitthequalityofyourimages.
PresstheMODEButtontoselectdesired“Hd”or“Ld”compressionmode.
PresstheShutterButtontoconfirmselection.
3.InstallationSoftware
Donotconnectthecameratocomputerbeforeyoursoftwareinstallation
isfullycompleted

8
Insert the CD in your computer’s CDROM drive, and follow the stepbystep
installationonyourcomputerscreen.
Aninterfacewillappear.Ontherightoftheinterfacetherearefourbuttons.
3.1DriverInstallation
InsertCDinyourCDROMdrive,Clickon<InstallCameraDriver>Continuewith
itsstepbystepinstructionstofinishtheinstallation.
Restartthecomputer.<DualModeCamera> will appear on thedesktop ofyour
computer.
3.2PhotoExpressinstallation

9
InsertCDintotheCDROMdriveandselect<Install ArcsoftPhotoimpress4.0>
Followtheonscreeninstructionsandcompletetheinstallation.
Restartyourcomputer.
3.2Transferringphotostoyourcomputer
âConnectyourcameratothecomputerwiththeUSBcable.
âDoubleclickthePhotoExpressiconandstarttheprogram
âClickon"GetPhoto"andselecttheDigitalCamera
âSelect"datasource":DualModeCamera
âClickon"Acquire"inthebottomleftcorner.
The photo transfer window will appear on the screen. Click the "Download"
button.
All photosfromthe camerawill appearinsidethe interface window.Usingthe
mouse,selectanypicture;rightclickifyouwouldliketozoominonapicture.
You may left click and "Select All Photos" in the interface, then click on the
"Transfer Photos" button. All images will be transferred into theArcsoft
Photoimpressapplicationsoftware.
Youcanselect/save pictures, or assigntitles to your pictures andselectthe
locationwhereyouarestoringimages(suchas:MyDocuments,Desktop,My

10
Picturesfolder,etc.)
Whenyouhavepicturestransferred/downloadedintothecomputer,thenyou
candeleteimagesfromcameraandtakemorepictures.
Photo Management: with the new Photo Impression interface it is very easy to
processyourphotos.
Editing: Photoimpressionhas awiderange of editing options,such ascorrecting
brightnessandcontrastthatarealleasilyaccessible.Pleasevisitwww.adobe.com
ifyouneedmoreinformationregardingPhotoExpressapplicationsoftware.
Help
ToaccesstheArcSoftPhotoimpression4ManualontheCDROM,youwillneed
AdobePDFReadersoftware.Thisisavailableasafreedownloadfrom
http://www.adobe.com
3.3Uploadingaphotowithincreasedresolution

11
After downloading photos, click on the "Edit Image" button in the upload
window and select "Increase Resolution", then click on the "OK" button to
confirm.Selectthe“Transfer”buttontotransferthosephotostoArcsoftPhoto
Impression 4.0 Software, then photos will be uploaded with400K pixels
resolution.
3.4Creating/savingvideoclips
Videoclipsaresavedwiththe"AVIcapture"mode.
Connect yourcamerato yourcomputer andselect“MyDSC.exe” located in
thefolder‘DualModeCamera’onyourdesktop.
Clickonthe"Download,”thenselect"Savephotos"ontheinterfacewindow.
A window will open, and you can choose the folder where you would like to
savethevideoandsaveitasan[.avi]file.
3.5Webcamera
ConnectyourcameratoacomputerandrunthePCCamprogramlocatedinthe
folder<DualModeCamera>onyourdesktop.
Select <PCCam> in the 'Devices' menu, then select <Preview> in <Options>
mode.
Computerwilldisplaystreamingvideofromthecamera.
Youcanselect‘VideoCapturePin’inthe‘Options’menu,tochangethesizeof
thescreen/image.

12
4.Problemsolving
Herearethemostcommonproblems:
Whenpressingthemodebutton,thecameradoesnotturnon:
Batterylevelislow.Youshouldchargethebatteryformorethan6hours.
Thecameracannotdownloadphotos,ordisplays“nophotos”:
Restart the computer and reconnect the camera. Check that the folder Dual
Mode Camera is in the Control Panel / System settings. If the device is not
present,thendisconnectthecameraandreinstallthedriveragain.
Ifthecameradriverwassuccessfullyinstalled,butstillyoucan’tseeimages,then
disconnectthecamera,uninstallthesoftwareandrestartyourcomputer.
Finally, reinstall the Driver and application software from the CD again. Then
reconnectthecameratothecomputer.
5 Technical Specifications
Resolution: 300KPixels((640X480)VGA
Lens: NonsphericalLensf=5.4mm
Aperture: 1:2.6

13
Focusingrange:0.5m–infinity
StorageCapacity: 2MB
Photos:
Highresolution(640X480pixels),26pictures
Compression,highresolutionpictures,52pictures
Lowresolution(320X240pixels),104pictures
Compression,lowresolution,208pictures
Powersupply: Lithiumbattery (builtin)orUSBcable
Charge:ByUSBcable
Interface:USBport
Systemcompatibility:
PentiumIIandabovePersonalComputers
Windows98SE/2000/ME/XP/Vista OperatingSystem
32MBoraboveMemory(64MBoraboveRecommended)
60MBHardDiskCapacity
CDROMDrive
ColorMonitor(NotLowerthan800*600,24Bit)
USBinterface
This manual suits for next models
1
Other Argus Digital Camera manuals

Argus
Argus cosina 704 User manual

Argus
Argus DC3550 User manual

Argus
Argus DC1512 User manual

Argus
Argus QuickClix QC-3185 User manual

Argus
Argus DC-6340 User manual

Argus
Argus Bean3 User manual

Argus
Argus Instant Load 284 User manual

Argus
Argus Argus DC-5190 User manual
Argus
Argus DC-6340 User manual

Argus
Argus QC-2185 User manual

Argus
Argus DC-5150 User manual

Argus
Argus DC1540 User manual

Argus
Argus Quick Clix QCM-099 User manual

Argus
Argus Argus DC-1512E User manual

Argus
Argus RW-1 User manual
Argus
Argus C-33 User manual

Argus
Argus DC3500 Mounting instructions

Argus
Argus DC-3190 User manual

Argus
Argus QC-5150 User manual

Argus
Argus 804 User manual