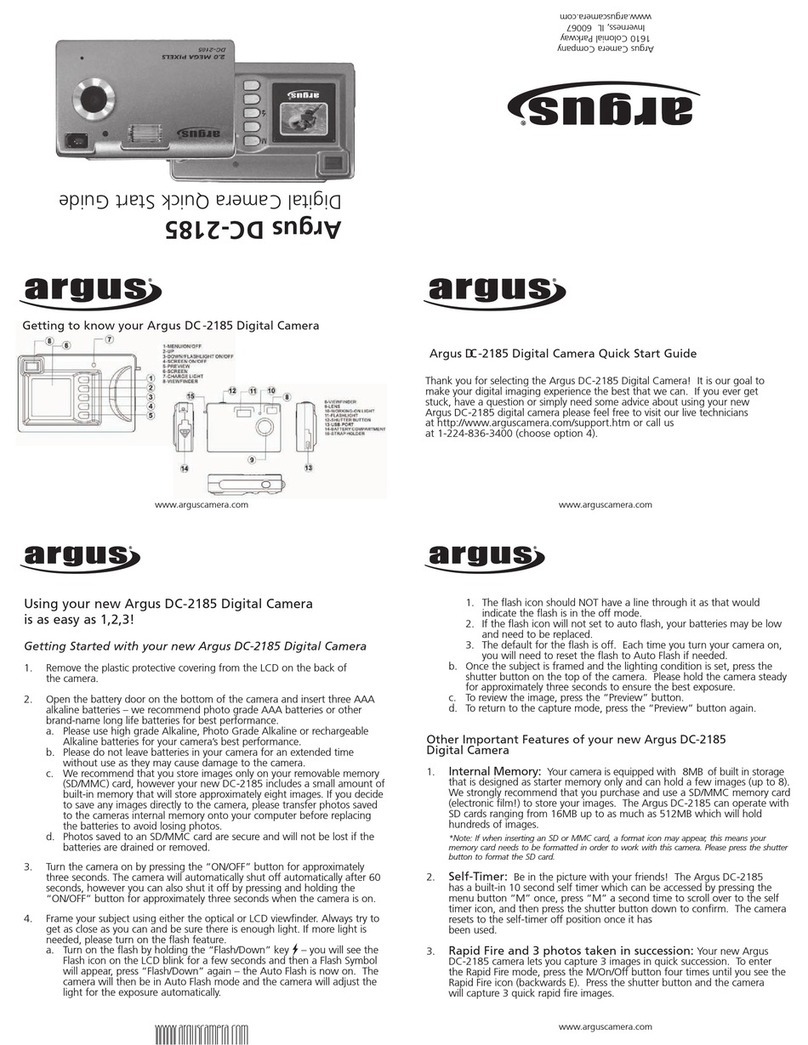
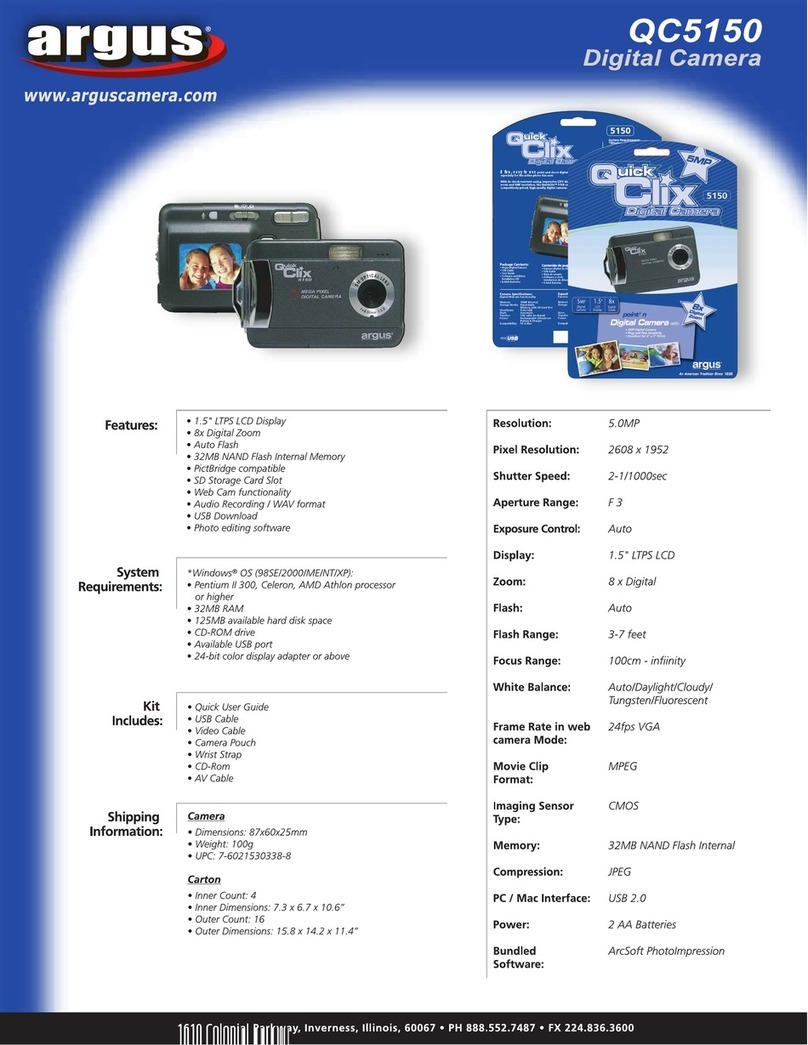
Argus SHOWMASTER 822 User manual

.
argus
-
SHOWMASTER
&
SUPER
EIGHT
MOVIE
CAMERA
/
with
instant
cartridge
iodides

CONTENTS
INTRODUCTION
Minor
changes
in
the
appearance
of
your
camera
may
not
be
included
in
these
illustrations.

——~
an
With
the
purchase
of
your
Argus
Showmaster
822
Super
Eight,
you
have
joined
an
entirely
new
generation
of
movie
makers
who
enjoy
a
completely
different
system
of
filming
and
showing
home
movies.
Everything
in
the
system
...
your
camera,
your
projector,
the
film,
splicer,
editor,
even
the
improved
quality
and
larger
size
of
the
picture
on
the
screen...is
a
new
achieve-
ment
in
modern
photographic
technology,
never
possible
until
now.
You
can
forget
everything
you
ever
knew
or
heard
about
8mm
movies
before,
and
start
enjoying
a
brand-new
kind
of
fun!
The
heart
of
the
new
system
is
the
Super
8
instant-loading
film
cartridge.
It
is
designed
to
take
all
the
fuss
and
bother
(and
al!
the
chances
for
mistakes)
out
of
your
movie-making
hobby.
Each
cartridge
contains
enough
film
for
fifty
continuous
feet
of
filming,
threaded
in
its
own
transport
mechanism,
ready
to
shoot
the
instant
you
insert
it
in
your
automatic
camera.
There
are
no
spools
to
fumble
with, no
threading
procedures,
no
winding,
no
reloading
at
the
half-way
point,
no
film-speed
dials
to
adjust,
no
filters
to
install
or
remove,
no
exposure
fac-
tors
to
calculate—in
short,
no
bother
or
worries
at
all!
The

cartridge
and
the
new
automatic
systems
built
into
your
cam-
era
do
everything
for
you—nothing
is
left
for
you
to
do
except
have
fun
making
movies.
You
never
even
touch
the
film!
The
first
time
you
take
the
camera
out
of
its
box,
there
are
a
few
things
to
get
ready
before
you
start
filming:
4
'nstall
batteries
to
power
your
camera's
electric
drive.
@
Install
the
small
battery
that
powers
your
camera’s
auto-
matic
electric-eye
exposure
control.
&
Insert
an
instant-loading
film
cartridge.
.-.
and
you
are
ready
for
the
first
scene.
However,
we
suggest
you
read
through
all
of
these
instructions
before
you
load-up
and
start
shooting.
After
the
batteries
have
been
installed
and
the
film
cartridge
is
in
place,
setting
the
camera’s
Automatic-Manual
Control
to
AUTO
and
unlocking
the
Trigger
Release
are
all
you
ever
have
to
do
to
get
ready
for
filming!
When
you
have
exposed
all
of
the
film,
open
the
camera,
remove
the
cartridge
and
send
it
off
for
processing,
insert
another
cartridge
and
continue
shooting!
3
RETRACTED
POSITION
LOCK
BUTTON
EXTENDED
POSITION
TRIPOD
SOCKET

Now
let’s
look
closely
at
how
all
this
automatic
fun
is
built
into
your
new
camera...
PISTOL
GRIP
Your
Showmaster
822
features
a
retractable
PISTOL
GRIP
which
folds
back
against
the
base
of
the
camera
for
easy
stor-
age
when
not
in
use.
To
extend
the
grip,
grasp
the
bottom
of
the
camera
in
the
cup
of
your
right
hand,
depress
the
pistol
grip
LOCK
BUTTON
with
your
thumb
and
swing
the
grip
down
and
forward
until
it
locks.
Reversing
this
procedure,
(pressing
the
button
and
swinging
the
grip
back
and
upwards)
locks
it
against
the
bottom
of
the
camera
again.
With
this
grip
in
the
retracted
position,
the
camera
can
be
mounted
on
a
tripod,
using
the
TRIPOD
SOCKET
provided.
INSTALLING
DRIVE
BATTERIES
With
the
pistol
grip
extended,
open
the
DRIVE
BATTERY
COM-
PARTMENT
by
lifting
the
back
cover
of
the
pistol!
grip
at
the
tip
end.
Install
four
size
“AA”
penlight
batteries
according
to
the
positive-negative
diagram
inside
the
compartment
(see
illustration).
These
batteries
supply
power
to
run
the
camera’s
\
DRIVE
BATTERY
COMPARTMENT
A
4

drive
motor.
Press
the
TRIGGER
RELEASE
briefly
to
see
that
|
power
is
being
supplied
properly.
If
motor
does
not
run,
check
; ;
aie
-
battery
installation
for
correct
position
and
contact.
Your
Argus
dealer
can
supply
you
with
several
types
of
bat-
teries.
Some
are
high-energy
types
which
provide
much
longer
life.
Any
of
the
following
kinds
are
suitable
and
will
provide
approximately
the
life
shown,
depending
on
their
age,
tempera-
ture
conditions
and
other
variables
which
effect
battery
life.
up
to
5
cartridges
up
to
8
cartridges
MANGANESE-ALKALINE
up
to
25
cartridges
MERCURY
up
to
36
cartridges
|
TRIGGER
Weak
batteries
will
slow
the
camera’s
filming
speed
and
cause
1
RELEASE
action
to
be
greatly
exaggerated
on
the
screen.
It
is
a
good
idea
to
frequently
check
the
energy
remaining
in
your
batteries
and
|
replace
them
with
a
fresh
set
at
the
first
sign
of
weakness.

BATTERY
TEST
When
the
batteries
are
first
installed
and
every
time
you
use
the
camera,
depress
the
BATTERY
TEST
button
on
the
left
side
of
the
camera
and
note
the
position
of
the
ENERGY
LEVEL
INDICATOR.
If
it
appears
anywhere
in
the
white
zone,
the
bat-
teries
are
still
good.
If
the
indicator
appears
in
the
red
zone,
your
batteries
are
too
weak
to
operate
the
camera
properly
and
should
be
replaced.
ELECTRIC-EYE
BATTERY
Your
camera
is
equipped
with
a
cadmium-sulfide
(CdS)
electric
eye
and
a
battery-powered
automatic
exposure
control
system.
Since
it
has
its
own
power
source,
the
system
does
not
depend
on
converted
light-energy
to
power
the
lens-setting
mechanism.
This
enables
you
to
keep
on
filming
with
automatic
exposure
control
in
low-light
situations
where
ordinary
automatic
cam-
eras
cannot
function.
It
also
greatly
extends
the
range
of
pos-
sible
film
speeds
(from
ASA
25
to
ASA
250)
which
the
automatic
exposure
system
will
accommodate.
TEST
BUTTON
ENERGY
LEVEL
INDICATOR

The
system
is
powered
by
a
1.35-volt
mercury
battery.
(One
is
supplied
with
your
camera
in
a
slot
in
the
plastic
packing.)
To
install
the
battery,
first
press
the
FILM
COMPARTMENT
COVER
RELEASE
to
the
rear
to
open
the
cover.
The
electric-eye
BAT-
{
TERY
COMPARTMENT
is
located
on
the
inner
wall
of
the
cam-
.
era
body.
Press
the
BATTERY
COVER
slightly
inward
and
turn
it
to
the
OPEN
position,
indicated
by
the
dot,
and
lift
it
up
and
out.
Insert
the
battery
in
the
compartment
positive
(+)
side
facing
up.
Replace
the
cover
by
reversing
the
removal
proce-
BATTERY
COVER
dure,
placing
the
dot
on
the
cover
opposite
OPEN
and
pressing
BATTERY
COMPARTMENT
in
slightly
while
turning
to
CLOSE.
LENS
OPENING
INDICATOR
Instead
of
weakening
slowly,
this
kind
of
battery
generally
fails
WARNING
ZONE
almost
immediately
when
it
becomes
exhausted.
To
check
your
battery’s
condition,
look
through
the
DataScope
viewfinder
while
the
camera
is
pointed
toward
any
brightly
lighted
scene.
r
(Be
sure
the
camera
is
set
on
AUTO.)
If
the
battery
is
still
good,
the
electric-eye
mechanism
will
respond
rapidly,
showing
a
movement
of
the
LENS-OPENING
INDICATOR
away
from
the
red
WARNING
ZONE,
when
you
depress
the
trigger
release
slightly
downward
(not
far
enough
to
run
the
camera’s
motor).
ee

eee
a
ee
If
the
battery
is
exhausted,
the
indicator
will
not
move
off
of
,
the
red
zone,
and
a
fresh
battery
should
be
installed.
Your
Argus
dealer
can
supply
you
with
the
proper
replacement
type
(MALLORY
PX-13,
EVEREADY
EPX-13
BURGESS
HPX-13,
or
equivalent).
The
electric-eye
exposure
control
takes
power
from
the
battery
only
when
the
trigger
release
is
depressed,
other-
;
AUTOMATIC
wise
the
circuit
is
automatically
off
to
conserve
power.
-MARIUAL
CONTROL
_...
located
on
the
left
side
of
the
camera,
must
be
set
to
AUTO
whenever
you
want
to
use
the
automatic
exposure
control
system.
When
set
on
AUTO,
the
camera’s
lens
opening
will
automatically
increase
and
decrease,
while
you
are
filming,
continually
adjusting
for
correct
exposure
in
al!
suitable
light
conditions.
“Suitable”
conditions
exist
whenever
the
lens-
opening
indicator
swings
out
of
the
red
warning
zone
into
the
Clear
area
marked
with
lens-opening
numbers
in
the
DataScope
viewfinder.
If
the
indicator
stays
in
the
red
zone,
there
is
insuf-
ficient
light
for
correct
exposure
and
you
should
stop
filming.
The
lens
opening
being
set
by
the
electric-eye
(f/1.8
to
£/22)
is
always
visible
in
the
DataScope
viewfinder
when
the
trigger
8

AUTO-MANUAL
CONTROL
TURN
UP
TO
AUTO...
TURN
DOWN
FOR
MANUAL
SETTINGS
AND
CLAMP.
release
is
depressed.
You
can
use
this
feature
as
a
light
meter
to
determine
the
proper
lens
setting
for
unusual
conditions
where
the
electric-eye
may
provide
an
undesirable
exposure.
For
instance,
if
your
principal
subject
is
an
extremely
dark
one
and
in
an
extremely
light
background,
or
if
your
subject
is
strongly
backlighted,
you
may
elect
to
use
a
manual
setting.
With
the
automatic-manual
control
set
on
AUTO,
hold
the
cam-
era
aimed
at
your
subject
at
close
range
(so
as
to
exclude
the
contrasting
background
from
view)
and
note
the
lens-opening
setting
in
the
viewfinder
as
you
press
slightly
downward
on
the
trigger
release
(not
far
enough
to
run
the
motor).
Then
return
to
your
shooting
position
and
move
the
control
toward
MANUAL
until
the
desired
setting
is
“fixed”
in
the
viewfinder.
Now
shoot
the
scene
at
this
MANUAL
setting.
Be
sure
to
return
the
control
to
AUTO
when
you
want
to
resume
automatic
exposure.
Moving
the
dial
off
AUTO,
through
MAN-
UAL,
until
the
word
CLAMP
appears
(as
far
as
it
will
turn)
locks
the
delicate
electric-eye
mechanism
against
damage
by

sudden
jolts
or
vibration.
The
control
should
be
set
on
CLAMP
whenever
the
camera
is
stored
or
shipped
for
any
reason.
Remember,
whenever
you
want
automatically
exposed
movies,
you
must
keep
this
control
set
on
AUTO.
Check
frequently
to
see
that
it
has
not
been
unintentionally
moved
between
scenes,
and
be
alert
for
free
movement
of
the
lens-opening
indicator
in
the
clear
zone
of
the
viewfinder
while
filming.
SHOOTING
Your
Showmaster
822
is
equipped
with
three
methods
of
run-
ning
the
camera
to
make
movies.
The
TRIGGER
RELEASE
is
used
for
most
pictures
while
the
camera
is
hand-held,
using
the
built-in
pistol
grip.
A
slight
downward
pull
with
your
index
finger
will
turn
on
the
electric-eye
exposure
control:
continuing
to
depress
the
trigger
release
starts
the
drive
motor
running.
A
slight
upward
movment
of
the
trigger
release,
while
it
is
fully
depressed,
locks
it
in
the
RUN
position.
With
the
camera
mounted
on
a
tripod
and
the
release
locked
on
RUN,
you
can
get
in
the
picture
yourself!
To
stop
the
camera,
just
press
the
release
slightly
downward
again
and
let
it
return
forward.
TRIGGER
RELEASE
PRESS
IN
AND
UP
TO.
LOCK
ON
CONTINUOUS
RUN

A
SAFETY
LOCK
is
provided
to
prevent
running
the
camera
accidentally.
On
the
underside
of
the
trigger
release,
you'll
find
a
small
lever
which
locks
the
release
when
moved
to
the
side,
unlocks
it
when
moved
to
the
center
again.
Keep
the
release
locked
whenever
the
camera
is
unattended.
A
remote
control
cord
is
supplied
with
your
camera
and
at-
taches
in
the
REMOTE
CONTROL
SOCKET
near
the
rear
of
the
panel
on
the
left
side
of
the
camera.
After
the
remote
control
is
installed,
depress
the
trigger
release
all
the
way
and
Iock
it
in
the
depressed
or
RUN
position
by
pushing
it
slightly
upward.
Locking
the
trigger
in
this
way
will
not
run
the
camera.
Filming
is
then
started
by
sliding
the
remote
contro!
switch
to
ON.
A
cable
release
(available
from
your
Argus
dealer)
can
be
at-
tached
in
the
CABLE
RELEASE
SOCKET
provided
on
the
right
side
of
the
camera.
Any
ASA
American-thread
release
will
fit.
The
cable
release,
when
depressed,
starts
the
camera’s
drive
motor
and
permits
a
single
frame
at
a
time
to
be
exposed
for
making
titles,
animated
sequences,
or
time-lapse
movies.
11
REMOTE
CONTROL
SOCKET

CABLE
RELEASE
SOCKET
FOR
SINGLE
FRAMES
ONLY
NOTE:
The
camera
motor
will
continue
to
run
as
long
as
the
cable
release
is
depressed,
but
the
shutter
is
activated
to
ex-
pose
only
one
frame
each
time
you
depress
and
release
the
cable
plunger.
(Do
not
confuse
the
motor’s
running
by
holding
in
the
cable
release
plunger
with
the
actual
continuous
run
ac-
complished
with
the
remote
control
cord.)
Both
remote
control
and
single-frame
filming
should
be
done
on
a
tripod.
INSERTING
THE
FILM
CARTRIDGE
The
remarkable
Super
8
cartridge
is
the
key
to
all
of
the
effort-
less,
trouble-free,
no-worry
features
which
Argus
has
built
into
your
camera.
It
contains
a
continuous
50-foot
run
of
film.
The
film
is
already
threaded
in
its
own
transport
system,
with
posi-
tion
guides,
pressure
pad,
and
take-up
sprocket
built
into
the
cartridge.
A
tiny
portion
of
film
is
exposed
at
the
front
edge
of
the
cartridge,
ready
to
engage
automatically
with
your
camera’s
drive
and
shutter
mechanism.
All
of
the
usual
spools,
film
gates,
guide
spindles,
pressure
pads,
threading
diagrams,
loose
ends,
and
slack,
which
used
to
42

COVER
RELEASE
CARTRIDGE
LOCATING
PIN
complicate
home
movie
making
are
eliminated.
Instead,
you
simply
open
the
camera
by
pressing
the
COVER
RELEASE
toward
the
rear,
place
the
cartridge
in
position
at
the
LOCAT-
ING
PIN,
label-side
up,
press
it
down,
and
close
the
cover.
That’s
all!
You’re
ready
to
shoot
after
only
a
one-second
press
of
the
trigger
to
take
up
the
exposed
leader.
In
this
simple
insertion
procedure,
several
vital
settings
are
automatically
made
in
your
camera
without
your
touching
a
single
lever
or
dial.
The
camera’s
FOOTAGE
COUNTER
is
automatically
reset
to
30
and
will
indicate
the
number
of
feet
remaining
to
be
exposed
in
the
cartridge.
When
the
counter
reaches
0,
stop
taking
pic-
tures,
but
continue
to
run
the
camera
for
a
few
seconds.
to
wind
the
film
through
the
cartridge
to
the
end.
(The
motor
will
seem
to
speed-up
slightly
when
the
end
of
the
film
is
reached.)
The
FILM
SPEED
for
the
type
of
film
in
your
cartridge
is
automatically
set
in
your
camera’s
electric-eye
exposure
sys-
tem
as
soon
as
you
close
the
cover.
A
special
FILM
SPEED
SENSOR,
built
into
the
camera,
detects
the
length
of
a
notch
in

FOOTAGE
COUNTER
FILTER
SENSOR
FILM
SPEED
SENSOR
your
film
cartridge
which
varies
according
to
the
speed
of
the
film.
The
notch
length
(short
for
slow
films,
longer
for
faster
films)
determines
the
electric-eye
adjustment
for
automatically
controlled,
perfect
exposure.
You
not
only
don’t
have
to
worry
about
“setting”
the
camera,
you
needn’t
even
be
aware
of
it!
A
TYPE-A
FILTER
will
either
be
in
position
or
removed
from
position
inside
your
camera
automatically
as
soon
as
you
insert
the
cartridge.
A
special
FILTER
SENSOR,
built
into
your
cam-
era,
detects
the
presence
or
absence
of
another
notch
in
the
edge
of
the
film
cartridge
depending
on
whether
your
film
is
for
daylight
or
for
artificial
light.
Daylight
film
cartridges
will
have
no
notch,
and
the
sensor
will
be
depressed
as
the
cart-
ridge
is
inserted,
displacing
the
filter.
Type-A
film
cartridges
will
be
notched,
allowing
the
sensor
to
remain
extended,
keeping
the
filter
in
place—compensating
for
daylight
exposure
of
what
is
really
“indoor”
film.
However,
as
soon
as
you
attach
your
movie
light
to
the
socket
on
top
of
your
camera,
another
built-in
sensor
automatically
14

FILTER
SENSOR
IN
MOVIE
LIGHT
SOCKET
MANUAL
FILTER
CONTROL
FOCUSING
RING
UNIVERSAL
FOCUS
POSITION
displaces
the
filter,
no
longer
needed
for
Type-A
film
exposed
by
artificial
light.
In
this
way,
Type-A
film
can
be
used
indoors
with
movie
lights,
or
outdoors
in
daylight,
with
color
compen-
sation
automatically
provided.
NOTE:
A
MANUAL
FILTER
CONTROL,
located
on
the
top
edge
of
the
camera
near
the
front,
is
provided
for
displacing
the
filter
for
INDOOR
light
conditions
with
Type-A
film
when
using
a
bottom-mounting
movie
light,
or
when
filming
with
other
types
of
artificial
light
without
a
movie
light.
The
manual
filter
control
is
inoperative
when
using
daylight-type
color
film
or
when
a
top-mounting
movie
light
is
in
place.
Be
sure
to
keep
the
manual
filter
contro!
set
to
OUTDOOR
whenever
you
expose
Type-A
film
in
daylight.
A
portion
of
the
cartridge
label
showing
the
type
of
film
in
the
camera
is
visible
ee
the
window
in
the
film
compartment
cover.
FOCUSING
THE
LENS
Your
camera’s
Cintagon
lens
can
be
critically
focused
on
sub-
jects
as
close
as
four
feet,
or
at
any
distance
up
to
infinity.
If
you
prefer,
set
the
lens
at
the
UNIVERSAL
FOCUS
position

(triangle
on
the
focusing
ring
and
in
the
DataScope
viewfinder)
and
leave
it
there
for
all
but
extremely
close-up
shots.
The
range
of
sharpness
at
the
universal
setting
is
adequate
for
pic-
tures
of
most
scenes
you
are
likely
to
shoot.
But
remember
to
set
the
lens
carefully
for
close-ups.
Turn
the
FOCUSING
RING
until
your
subject
is
seen
clearly
in
the
viewfinder
before
you
begin
filming.
The
focus
setting
of
the
lens
is
always
visible
at
the
bottom
of
the
DataScope
viewfinder.
The
FOCUS
POINTER
moves
from
NEAR
through
the
complete
range
to
FAR
as
you
turn
the
focusing
ring.
The
pointer
is
particularly
useful
when
you
want
to
“follow-focus”
on
subjects
moving
toward
or
away
from
the
camera
as
you
shoot.
Rehearsal
of
follow-focus
shots
is
recommended.
The
viewfinder
can
be
adjusted
to
individual
eyesight.
First
focus
the
lens,
then
rotate
eyepiece
until
the
image
is
clear.
VIEWING
AND
ZOOMING
Your
camera’s
zoom
lens
is
a
single
lens
which
does
the
work
of
several.
Your
scenes
can
be
framed
as
though
you
had
VIEWFINDER
POINTER
AT
UNIVERSAL
FOCUS
POSITION
ADJUSTABLE
VIEWFINDER
EYEPIECE

backed
away
from
your
subject,
or
as
though
you
had
moved
MANUAL
ZOOM
CONTROL
in
for
a
close-up—all
without
your
taking
a
single
step.
The
zooming
effect
is
always
visible
in
the
viewfinder
(as
shown
in
the
illustrations
for
different
lens
positions).
To
preview
the
best
lens
position
for
your
scene
before
you
begin
filming,
move
the
MANUAL
ZOOM
CONTROL
from wide
angle
(WIDE)
to
telephoto
(TELE)
and
back,
until
you
see
the
desired
effect
in
the
viewfinder.
TELEPHOTO
NORMAL

Your
camera’s
electric
zoom
controls
operate
only
while
the
trigger
release
is
pressed
and
the
motor
is
running.
Hold
the
camera
with
your
left
hand
over
the
top
and
fingers
placed
on
each
of
the
electric
controls.
While
filming,
squeeze
the
WIDE
button
inward
to
shift
the
lens
to
wide
angle;
squeeze
the
TELE
button
to
shift
the
lens
to
telephoto.
Before
you
begin
a
“zoom
scene,”
be
sure
the
lens
is
pre-set
to
the
position
from
which
you
intend
to
begin
the
zoom
action.
SLOW
MOTION
The
center
button
(SLOW)
operates
only
while
the
trigger
re-
lease
is
depressed
and
the
camera
is
running,
and
changes
the
camera’s
filming
speed
to
provide
slow-motion
movies.
The
button
is
marked
with
ridges
to
enable
you
to
“feel”
it
with
your
finger
tip
and
avoid
pressing
it
accidentally
when
you
mean
to
use
one
of
the
zoom
controls.
When
you
wish
to
record
the
action
in
slow
motion,
simply
squeeze
in
the
SLOW
button
while
filming.
The
camera’s
speed
will
increase,
photographing
the
scene
on
twice
the
normal
length
of
film.
When
the
film
is
projected
at
normal
speed,
the
ELECTRIC
CONTROLS:
WIDE
ANGLE
ZOOM
SLOW
MOTION
TELEPHOTO
ZOOM
+8

TIPS
FOR
BETTER
MOVIES
action
will
then
appear
twice
as
long
on
the
screen
and
will
seem
to
be
slowed
down.
Always
hold
the
camera
as
steady
as
possible
when
taking
movies.
Any
slight
wavering
of
the
camera
will
be
very
obvious
when
your
movies
are
projected.
Use
a
tripod
when
possible.
Take
pictures
with
the
sun
behind
you
whenever
possible.
The
electric
eye
can
“read”
the
scene
and
set
the
lens
more
accurately
if
this
rule
is
followed.
“Panning”
is
the
term
used
when
the
camera
is
moved
hori-
zontally
or
vertically
when
making
movies.
This
should
be
done
slowly
and
carefully
to
avoid
unwanted
effects
such
as
jerking
movements
and
blurring
of
the
picture.
When
panning
scenic
pictures,
filming
in
slow
motion
will
greatly
improve
the
smoothness
of
the
projected
pictures.
Plan
your
movies
in
advance
to
add
a
feeling
of
continuity
to
them.
Try
filming
your
movies
in
a
story
sequence
instead
of
a
series
of
unrelated
scenes.
Table of contents
Other Argus Digital Camera manuals

Argus
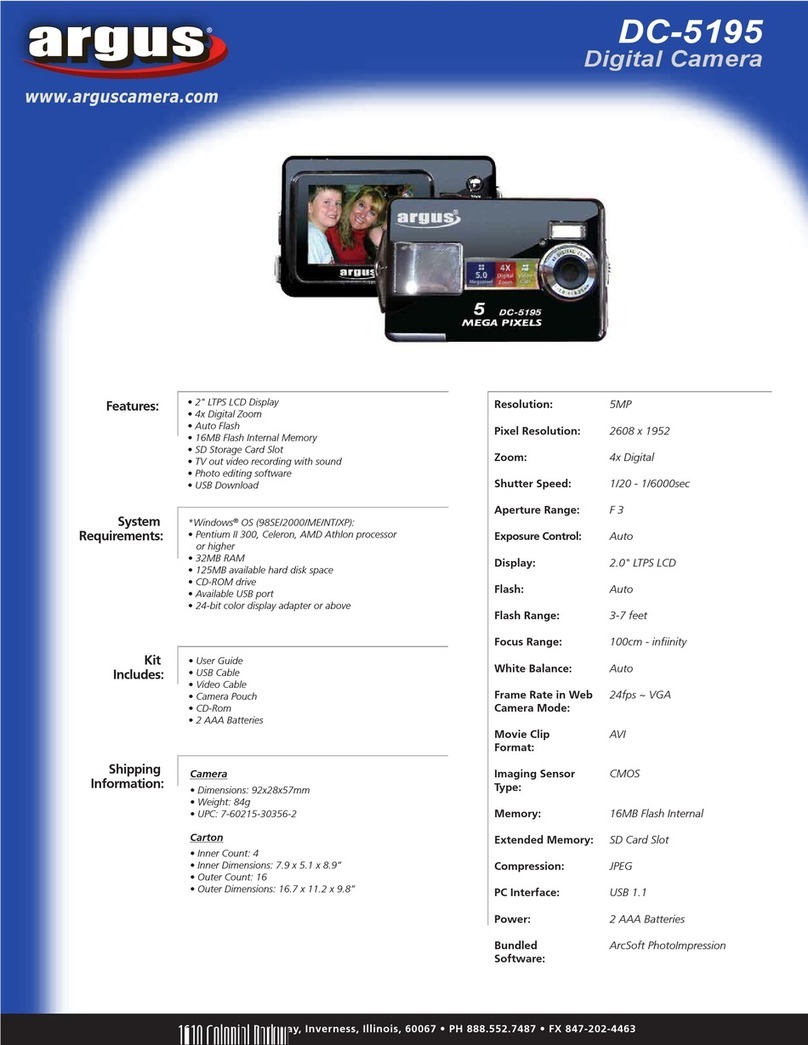
Argus DC-2185 User manual

Argus
Argus K Parts list manual

Argus
Argus Bean3 User manual

Argus
Argus DC3810 User manual

Argus
Argus Bean Bean - Carabiner User manual

Argus
Argus DC-3190 User manual

Argus
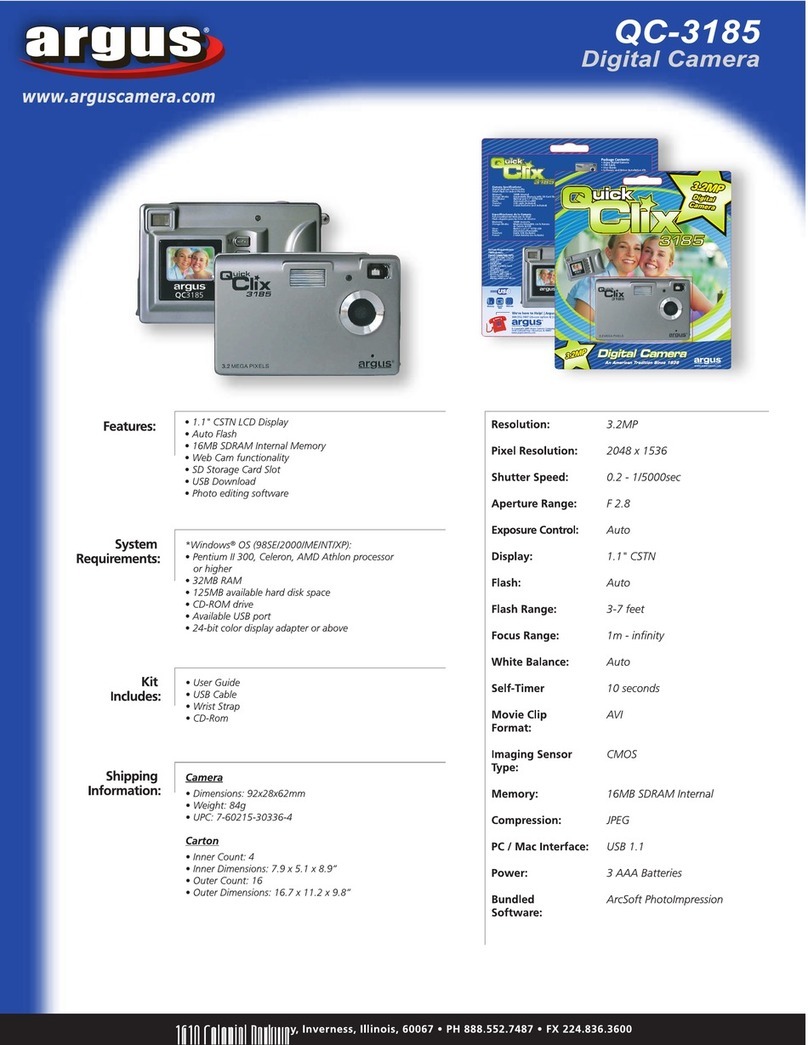
Argus QC-3185 User manual

Argus
Argus C3 User manual

Argus
Argus DC1512 User manual

Argus
Argus 803 User manual

Argus
Argus DCM-099 User manual

Argus
Argus DC2700 User manual

Argus
Argus DC1620 User manual

Argus
Argus DC2250 User manual
Argus
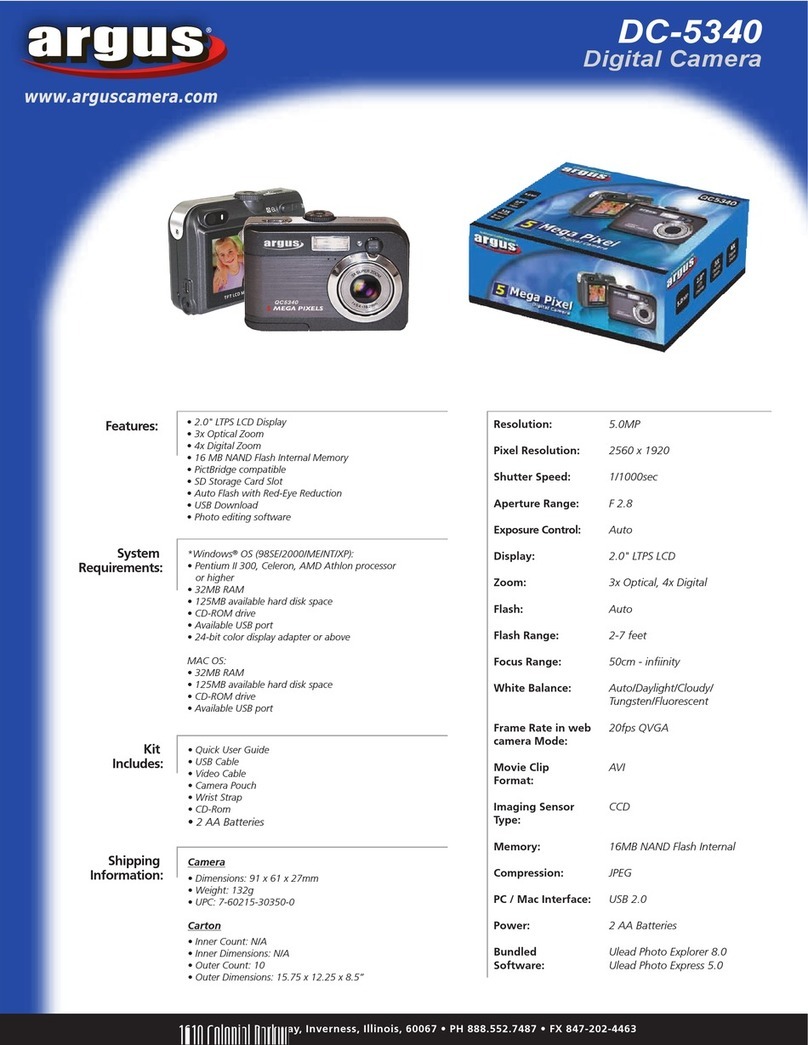
Argus DC-5340 User manual

Argus
Argus DC1500 User manual

Argus
Argus 127 Product information sheet

Argus
Argus DC-5150 User manual

Argus
Argus DC-3190 User manual

Argus
Argus DC2200 User manual