19.680 –Underwater Camera System - Manual
IMPORTANT:
Remove the USB adapter and insert a SubConn
dummy into the connector on the rear side of the
camera.
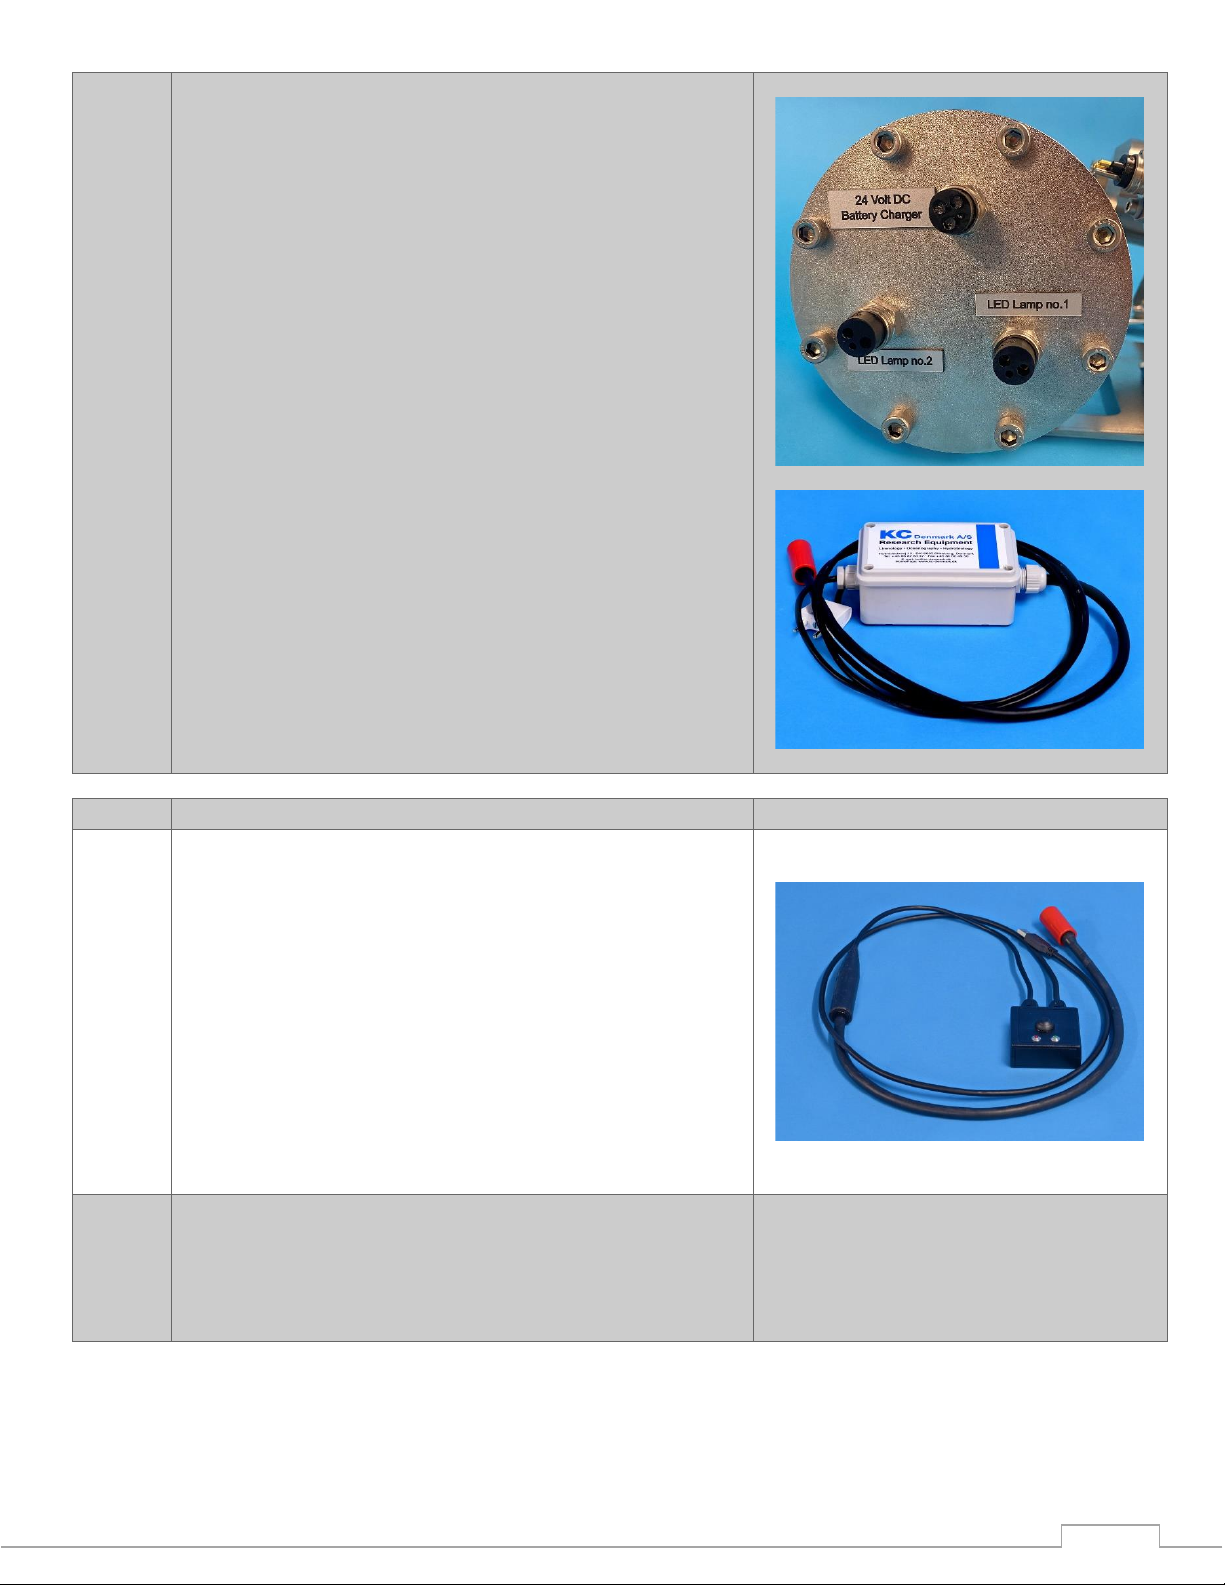
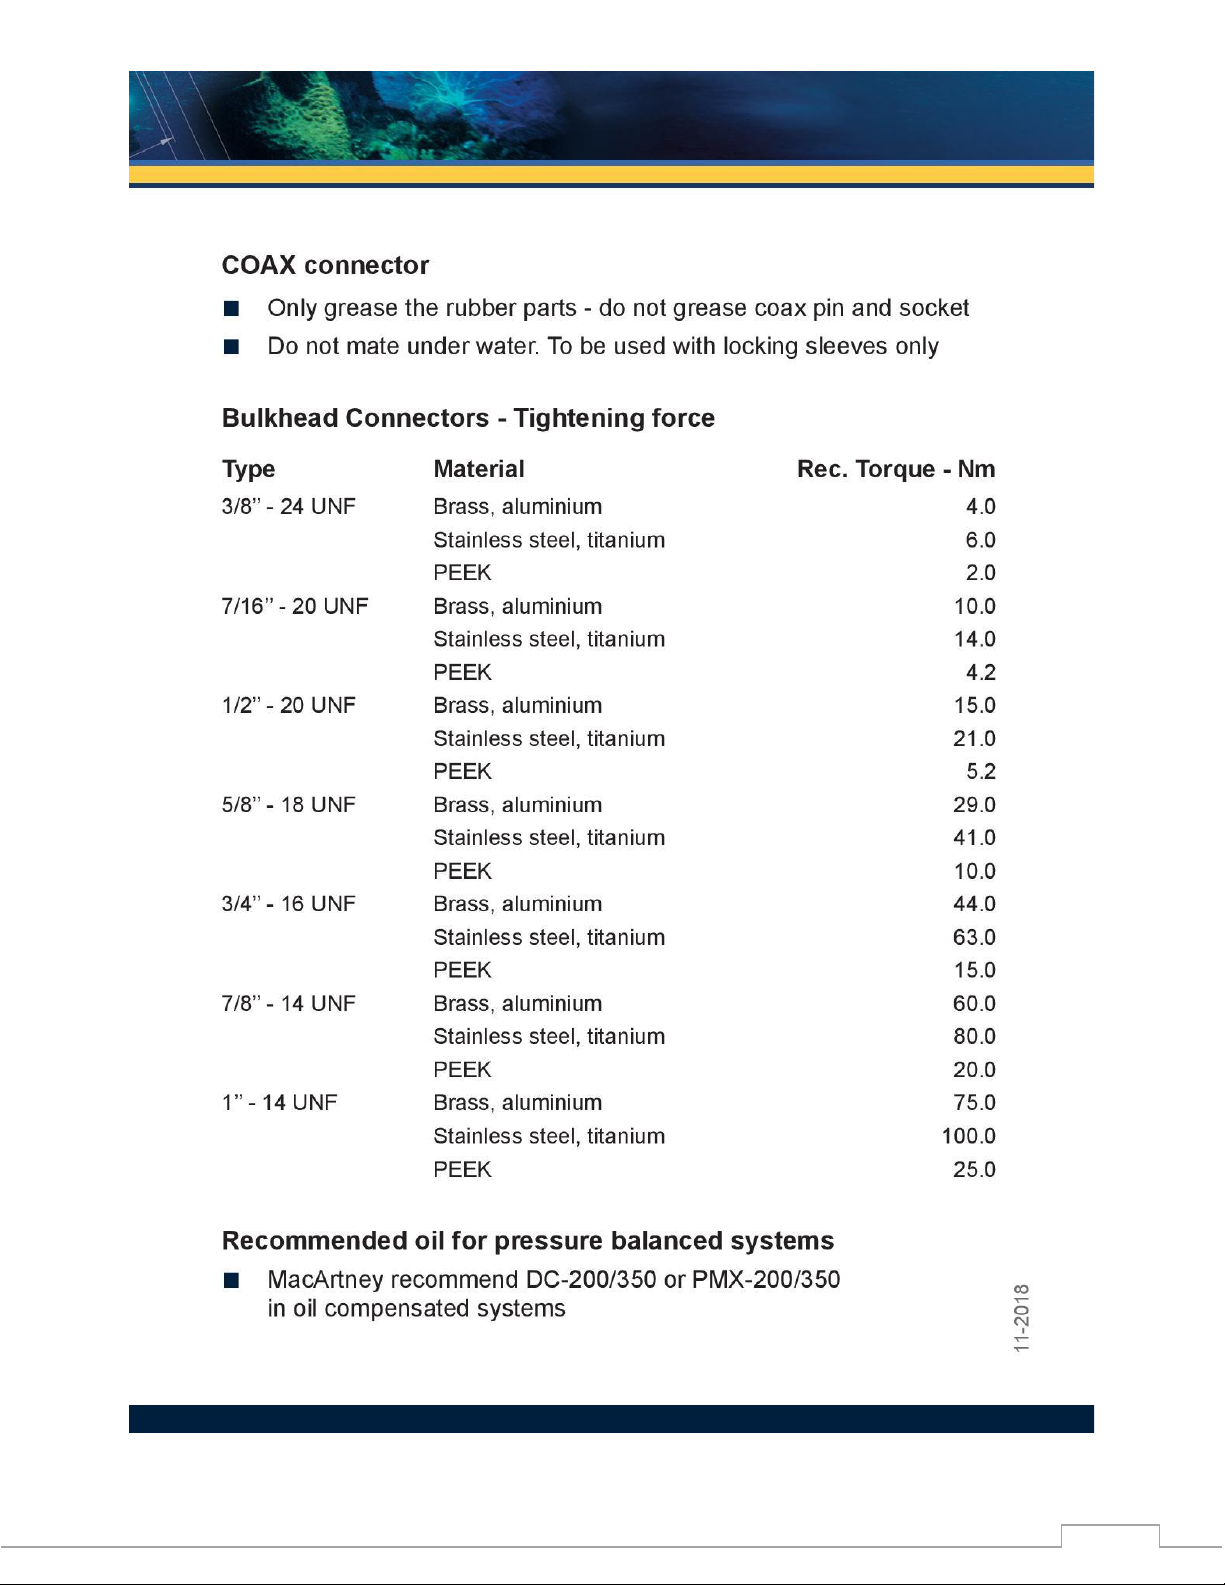
Connect two cables from the battery cylinder to the
lamps; they will light up immediately. You may check if
the enlightened area corresponds to the requested
recording area; otherwise, you must adjust the
lamps/camera accordingly.
Once the equipment returns to the deck, disconnect
the lamps and the SubConn dummy, and you are now
ready to check the recordings.
After turning on the camera, connect it to the
computer via the USB cable, then it will be recognized
as a removable disc.
IMPORTANT:
•Make sure the battery capacity exceeds 25%.
Please see item 1, “Low Battery Warning”
•Make sure the camera is turned on before
connecting to the computer
•If the camera is turned on after connected to the
computer, not all computers will recognize it as a
removable disk
Recorded files:
Each file recorded will contain 12 minutes of recording.
If you want a single file, containing all the recordings,
move the files to the computer and use another
software to splice the video clips together.
Recommended free software is the VLC media player
which offers a lot of features:
https://www.videolan.org/vlc/
It is recommended to move the files to the computer
after each recording and play the files from the
computer. (Please remove recording from the cam, to
make room for new recordings).
•Note:
Do not try and format the card
•Do not remove “CameraConfig.ini”, then the
camera will not work