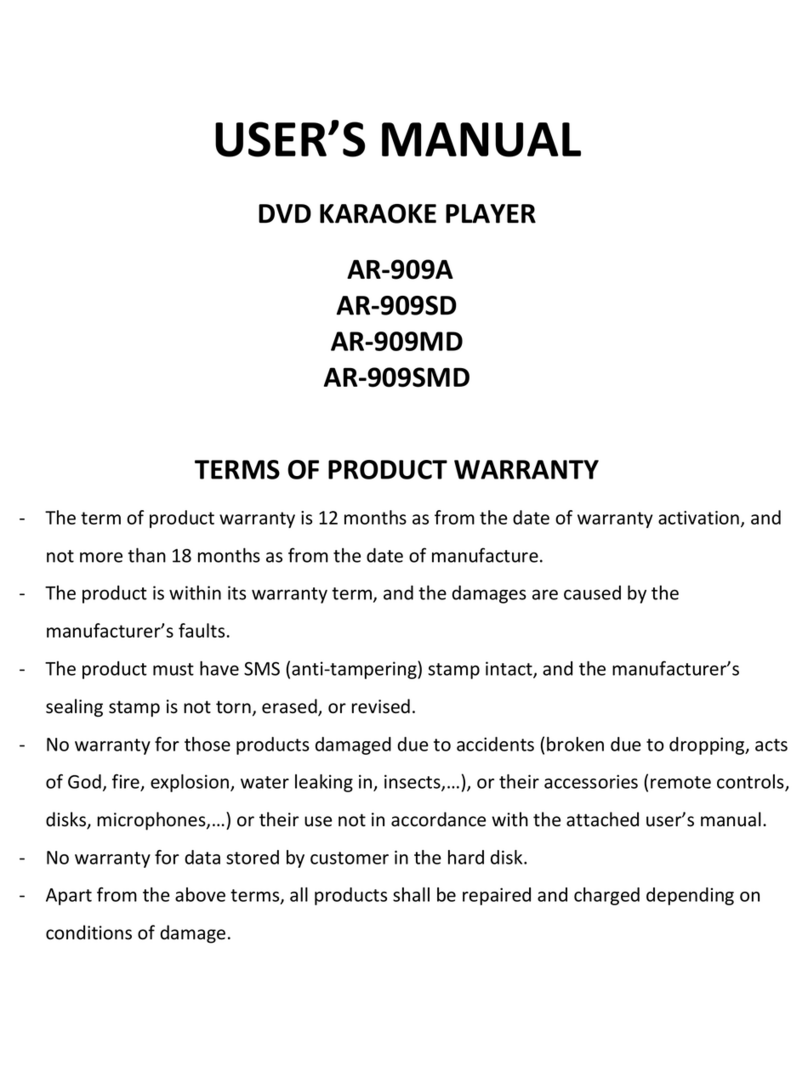
Arirang AR-909HD User guide

SAFETY MANUAL
For safety, please read this manual carefully.
ATTENTION: To reduce electric danger, do not open the device cover, and the user may not tamper with its inside.
Consult a professional about repair.
CAUTION
A lightning with arrow head in a triangle to warn the user that there is “a dangerous high-
voltage current” inside the product. The current is so strong enough to cause electric shock.
An exclamation mark in a triangle to warn the user that there are important instructions for use
or maintaining of the peripherals.
1. Please read this manual thoroughly before using.
2. Keep this manual for consulting, when necessary.
3. To reduce the risk of fire or electric shock, keep the device away from rain or humidity.
4. To avoid electric shock, do not use the jack with bare or open wires, unless otherwise they are
completely coated.
5. Do not plug the power-source cable in with a wet hand.
6. Keep away from water, humid and very hot places.
7. Care should be taken to prevent the power-source cable from being trodden or stepped on.
8. Carefully prevent water or foreign matters from dropping into the device.
9. Clean with soft towel without using any highly corrosive chemicals.
10. Turn off the power source when the device is not in use; unplug the device when it is not used
for a long time.
11. Use the power source under the instructions herein or found on the device.

1. Start
1.1 Accessories
Remote control Song Book User’s manual
2 AA batteries AV cable HDMI cable
Angel to receive signals from the remote control:

1.2 Overview
FRONT PANEL
1. Power
2. Micro 1,2 port
3. Adjust Micro volume
4. Infrared eye
5. Number keys
6. Load/eject disk tray
7. Fast rewind
8. Previous song
9. Next song
10. Fast forward
11. Memory card slot
12. USB port
13. Make the list of songs/Store a song
14. Choose TV color system NTSC/PAL
15. Interrupt sounds
16. Stop
17. Play/Pause
18. DVD drive
REAR PANEL

1. USB port to computer
2. Coaxial digital audio-port
3. Optical digital audio-port
4. HDMI port
5. USB port to peripherals
6. Composite video signal port
7. Component video signal port
8. Karaoke scoring port
9. Surround 5.1 audio-port
10. Internet port
11. Hard disk drive tray
REMOTE CONTROL
Set the device’s configuration
Load/eject disk tray On/off power
To main menu/On-off scoring New song/Trace by time
Search as per the song’s title Return to previous operation
Display the contents being played Return to previous operation
Select the first characters of song title Previous page
Arrow key to adjust direction
Next page
Confirm/Set a song
Interrupt sounds Stop
Play/Pause
Number keys Clear a character entered
Set a priority song/On-off PCB
Increase/decrease the melody Select male/female tone
Increase/decrease the volume
Increase/decrease the tempo Increase/decrease the key
Fast rewind/forward Previous/Next song
Select audio/voice-over Select TV color system
Select caption Select the repeat mode
Slowly play Zoom in/zoom out pictures
Select DVD view Select the source of USB/disk

CONNECTION DIAGRAM
* Connection with computer: use standard cable Mini-USB
Connect to cable, press power to start. Use the devices to connect computer
with hard disk drive of AR-909HD as the normal USB devices on computer.
2. Install and use
2.1 Install
External HDD
Karaoke audio-system
FR,FL port
Computer
Digital audio-decoder
5.1 audio-system
Not currently in use

Function
Illustration
Description
Explanation
Picture
Set pictures
Color system: Select TV
color system
Video signal output: Select
video signal output
YCbCr/HDMI Resolution:
Select TV resolution through
Component and HDMI port
Proportion: Screen
proportion
HDMI color setting: Select
color system through HDMI
port
Depth of HDMI color: Select
the depth of color through
HDMI port
Brightness: Adjust picture
brightness
Contrast: Adjust picture
contrast
Color: Adjust picture color
Saturation: Adjust picture
saturation

Language
Set
languages
Displayed language: Set the
displayed language
Disk voice-over: Select VO
language in DVD play
Disk caption: Select
secondary language in DVD
play
Disk menu: Select main
menu language in DVD play
Audio
Set audios
SPDIF: Select the audio
signal through
Optical/Coaxial port
HDMI: Select the audio
signal through HDMI port
Sampling frequency: Select
sampling frequency in audio
play
Surround: Select space
effect of surround sound
EQ: Select the sound effect
DRC: Turn on/off DRC
function (Dynamic Range
Compression) to improve
the sound quality
Karaoke: Adjust micro echo
and tone
MIC setting: Set the volume
level for Mic
Loudspeaker
Set
loudspeakers
Downmix: Select 2-
channel/surround audio
output
GM5: Mode of emulating
surround sound
Loud level: Select the loud
level of speakers
Distance: Select the
distance from each speaker
to listener
Level: Select the level of
balance sound for each
speaker
Audio test: Test the signal of
each speaker

Children
lock
Select the
function of
locking DVD
disk
Default code 9999
Code: Change the code
Level: Select the limited
level of DVD disk
System
Set system
functions
Replay: Turn on/off replay
function of stored song at
previous time
Screen fit: Select frame size
Background picture: Change
interface background
picture
DivX DRM: See copyright
information of Divx decoder
Initialize: Restore the
original setting
2.2 Karaoke
1. Main operation:
- Play: Input the code of the song by using number keys 0-9.
+ Press PLAY to play
+ Press ENTER to store
+ Press 1st RESV to store the priority
- Stop: When the device is playing, press “STOP” key to stop.

2. Adjust the song volume and tone:
- VOLUME +/- key: Increase/decrease the volume
- MELODY +/- key: Increase/decrease the song melody
3. Adjust key, tempo, male/female tone:
- KEY +/- key: Increase/decrease the song key
- TEMPO +/- key: Adjust fast/slow tempo for the song
- MALE/FEMALE key: Select male/female tone
4. New song: Press NEW SONG key to display the list of songs in new Vol
- Use Page UP and Page DN key to select previous/next page in the alphabet
- Select the song press PLAY to play, press ENTER to store, 1st RESV to store the
priority
5. Management of selected song: press OSD key to show the list of songs table.
- key to select the song
- key to select:
+ TOP priority song
+ DEL to delete song
6. Fast searching: helps searching as the first characters of the song title
- Press SEARCH key on the remote control, select searching as per language or new song
- Use the arrow keys to select the song in the left column and select as the first
characters of the song title
- Press Page UP and Page DN key to select previous/next page in the alphabet
Male/female
tone
Key
Melody
volume

For example, to search for the song “Khát vọng” select K character Press Page
DN key to select the next page, select the song in the left column
2.4 Play movie formats:
Support for formats MPEG1/2,AVI,DAT,VOB,WMV,MKV,MP4,M2TS,M2T,TS,FLV…

Press OSD key to turn on/off the control panel. key to select, to change
Title
Track order
Use and number key to input the
desired duration, press ENTER to confirm
Select sound channel
Select caption
Select the view angle (Disk must have
support)
2.5 Play audio formats:
Support for formats: MP3,WMA,WAV,AAC,FLAC…

2.6 Play picture formats:
Support for formats: BMP,JPG,PNG,GIF,TIF

2.7 Play text formats:
Helps see the contents of text file
Support for format: TXT
2.8 Game
Games are pre-installed in the device, use the remote control of the device to contro
MELODY - key
On/off showing picture
FEMALE key
On/off the transition effect
RETURN key
Return to previous page
MELODY + key
On/off background music
MALE key
Rotate picture

SPECIFICATIONS
Voltage AC 90-240V – 50/60Hz
Power Consumption 22W
Dimension 430(D) x 315(R) x 90(C) mm
Weight 2.9 Kg
Compatible with VCD/SVCD/DVD/Audio CD/MP3
Video MPEG1/2,AVI,DAT,VOB,WMV,MKV,MP4,M2TS,M2T,TS,FLV
Audio MP3,WMA,WAV,AAC,FLAC
Photo BMP,JPG,PNG,GIF,TIF
Video output HDMI 1.3,Composite,Component
Audio output 5.1Ch,Optical,Coaxial
Input Score in,USB 2.0 Host,Slave USB,SD card Reader
SATA 01 internal SATA interface
Subtitle format SRT,SUB,ASS
File system NTFS,FAT32
Table of contents
Other Arirang Karaoke System manuals