manuals.online logo
Brands
  1. Home
  2. •
  3. Brands
  4. •
  5. Arlight
  6. •
  7. Accessories
  8. •
  9. Arlight MW-RS09 User manual

Arlight MW-RS09 User manual

Датчик движения MW-RS09 (угол 360°, 2-10м)
Technical Parameters
Connection illumination
Power supply: 220-240VAC Power frequency: 50/60Hz
Installation sit: Indoors, ceiling mounting Transmission power: <10mW
HF system: 5.8GHz CW radar, ISM band Detection angle: 360°
Reach:1-8m, radii., adjustable Rated load: 1200W
Time setting 10sec to 30min Power consumption: approx.0.9W
Connect N, L with power;
Connect N, L’ with load.
The sensor is an active motion detector, it emits
high-frequency electro-magnetic wave (5.8GHz)
and receives their echo.
The sensor detects the change in echo from even
the slightest movement in its detection zone. A
microprocessor then triggers the “switch light
ON” command.
Detection is possible through doors, panes of
glass or thin walls.
NOTE: the high-frequency output of this sensor is <10Mw- that is just one 100th of the
transmission power of a mobile phone or the output of a microwave oven.
Microwave sensor instruction
Important: persons or objects moving towards the sensor are detected best !
LOAD
N
~AC
NLN
L'
Reach is the term used to describe the radius of the circular detection zone produced on the
ground. After mounting the sensor light at a height of 2.5m, turn the reach control completely in
anti-clockwise direction to select minimum reach (approx.1 m radius), and turn the reach con-
trol completely in a clockwise direction to select the maximum reach (approx.10m
radius).
The LED indicator will ash when the reach control is rotated. It ashes 1 to 10
times, representing 1m to 8m for the radius of the detection zone.
NOTE: The above detection distance is measured using a person who is
between 1.6m~1.7m tall with an average build, moving at a speed of
1.0~1.5m/sec. if any of these variables are changed, the detection distance will also
resultantly change.
Time setting
The light can be set to stay ON for any period of time between approx. 10sec (dial
turned fully anti-clockwise) and a maximum of 30min(dial turned fully clockwise).
Any movement detected during the “on” time will reset the timer. The LED indica-
tor will ash when adjusting the time setting dial.
The number of ashes means the following: ash = 10sec, 2 ashes= 1 min,
3 ashes= 2 min, 4 ashes= 5 min, 5 ashes=8 min, 6 ashes=10 min, 7 ashes=15 min,
8 ashes=20 min, 9 ashes=25 min, 10 ashes=30 min.
NOTE: After the light switches off, it takes approx. 1sec before it is able to start de-
tecting movement again. The light will only switch on in response to movement once
this period has elapsed.
Light-control setting
The chosen light response threshold can be innitely from approx. 2-2000lux. Turn
it fully anti-clockwise to select dusk- to-dawn operation at about 2 Lux. Turn it fully
clockwise to select daylight operation at about 2000lux. The knob must be turned
fully clockwise when adjusting the detection zone and performing the walk test in
daylight.
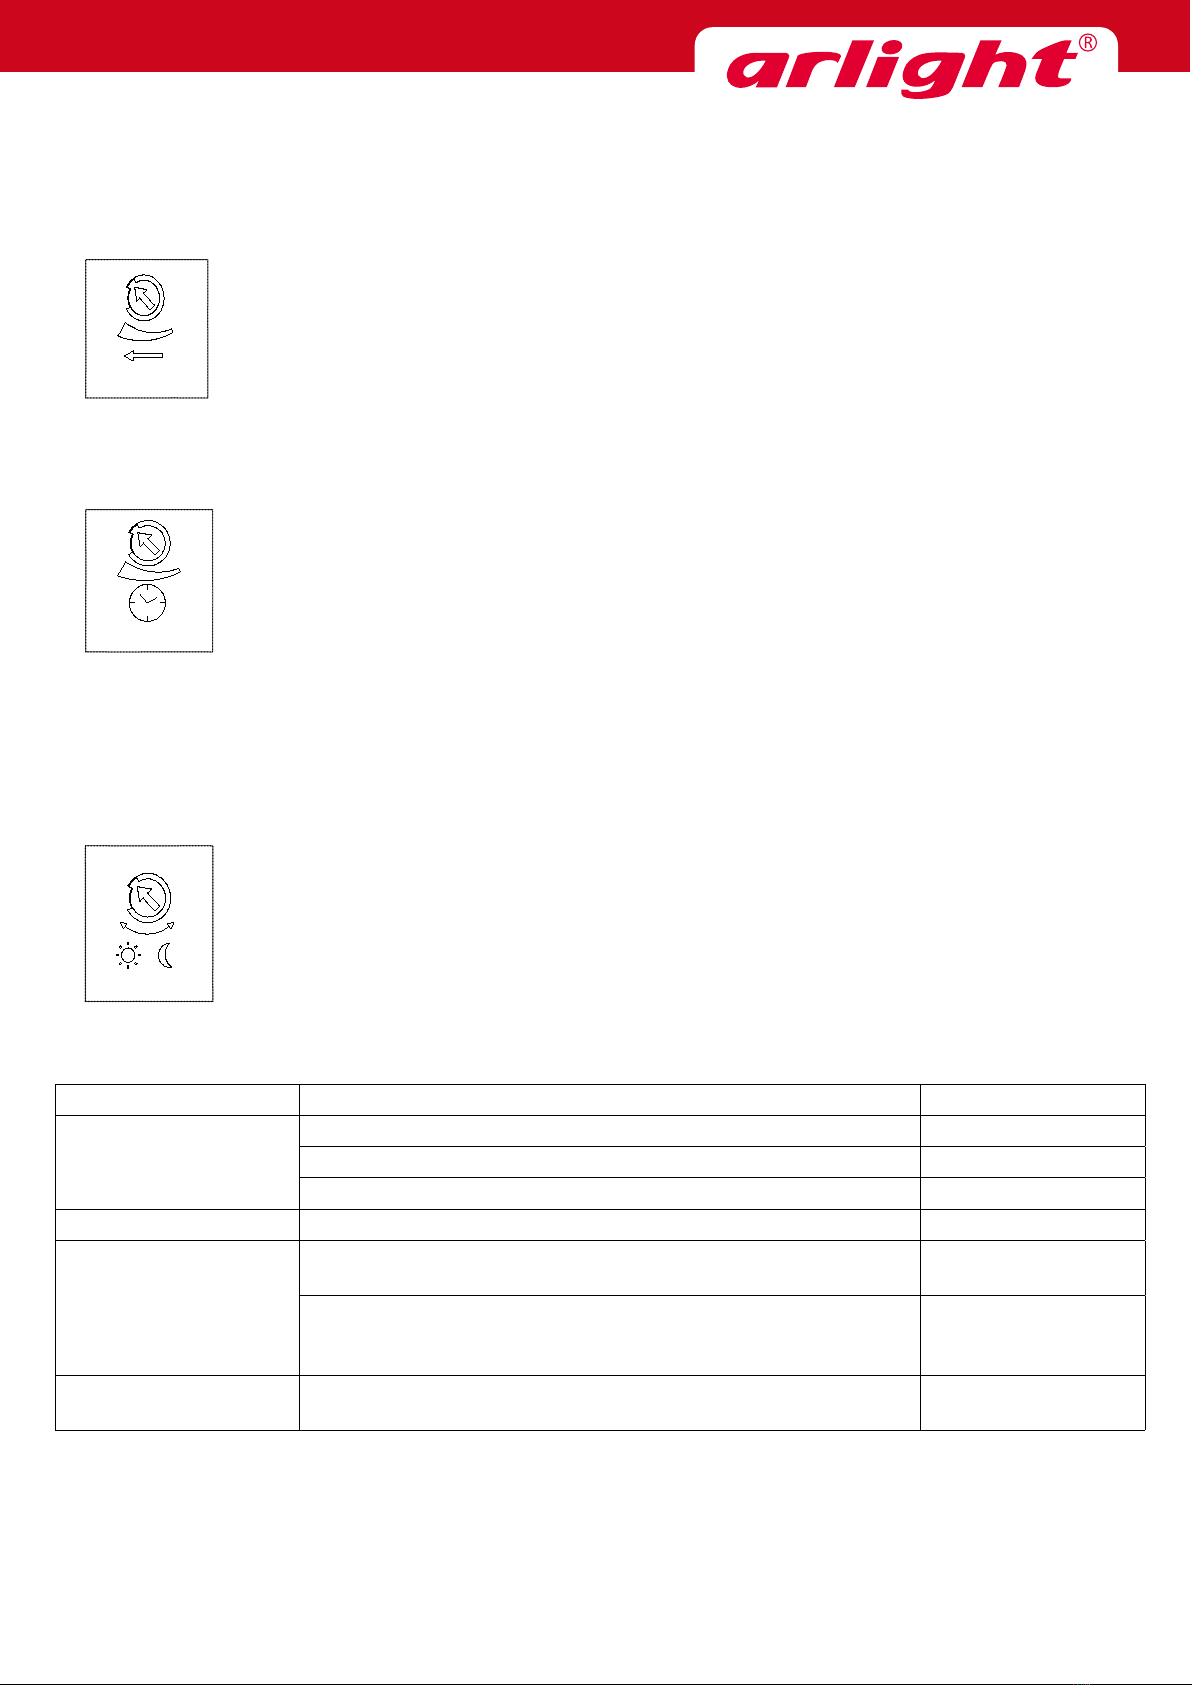
Reach setting (sensitivity)
Troubleshooting
Malfunction Cause Remedy
The load will not work
• Wrong light-control setting selected • Adjust setting
• Load faulty • Change load
• Mains switch OFF • Switch ON
The load work always • Continuous movement in the detection zone • Check zone setting
The load work without
any identiable move-
ment
• The sensor not mounted for detecting movement reliably • Securely mount
enclosure
• Movement occurred, but not identied by the sensor
(movement behind wall, movement of a small object in im-
mediate lamp vicinity etc.)
• Check zone setting
The load will not work
despite movement
• Rapid movements are being suppressed to minimize mal-
functioning or the detection zone you have set is too small • Check zone setting
1-8m radii
10sec~30min
2~2000LUX

Popular Accessories manuals by other brands

HME DX340 HD quick start guide

HME

HME DX340 HD quick start guide

HIKOKI UL 18DA Handling instructions

HIKOKI

HIKOKI UL 18DA Handling instructions

Dometic POWER AWNING PRO Installation & operating instructions

Dometic

Dometic POWER AWNING PRO Installation & operating instructions

Mahli MDB-114 Instruction guide

Mahli

Mahli MDB-114 Instruction guide

PCB Piezotronics 137A Installation and operating manual

PCB Piezotronics

PCB Piezotronics 137A Installation and operating manual

Iget SECURITY EP9 manual

Iget

Iget SECURITY EP9 manual

DataComm Recessed Pro-Power Installation Kit Instruction and installation manual

DataComm

DataComm Recessed Pro-Power Installation Kit Instruction and installation manual

Efento NB-IoT Sensor user manual

Efento

Efento NB-IoT Sensor user manual

LEGRAND Celiane 675 41 installation instructions

LEGRAND

LEGRAND Celiane 675 41 installation instructions

Prolitec AIRQ AQ 570 CM Original instructions

Prolitec

Prolitec AIRQ AQ 570 CM Original instructions

Byron DB306 Installation and operation instruction

Byron

Byron DB306 Installation and operation instruction

ROSE DISPLAYS SPIDER RING instruction sheet

ROSE DISPLAYS

ROSE DISPLAYS SPIDER RING instruction sheet

eta Flex operating instructions

eta

eta Flex operating instructions

XD COLLECTION P322.45 Series manual

XD COLLECTION

XD COLLECTION P322.45 Series manual

Manitowoc K00194 installation instructions

Manitowoc

Manitowoc K00194 installation instructions

S+S Regeltechnik AERASGARD RLQ-CO2 Operating Instructions, Mounting & Installation

S+S Regeltechnik

S+S Regeltechnik AERASGARD RLQ-CO2 Operating Instructions, Mounting & Installation

S+S Regeltechnik Photosgard RHKF Series Operating Instructions, Mounting & Installation

S+S Regeltechnik

S+S Regeltechnik Photosgard RHKF Series Operating Instructions, Mounting & Installation

Sita SINGLE LAMP Series manual

Sita

Sita SINGLE LAMP Series manual

manuals.online logo
manuals.online logoBrands
  • About & Mission
  • Contact us
  • Privacy Policy
  • Terms and Conditions

Copyright 2025 Manuals.Online. All Rights Reserved.