4
HOW TO USE
Before First Use:
1. Read all instructions and important safeguards.
2. Remove all packaging materials and make sure items are received in good condition.
3. Tear up and discard all plastic bags, as they can pose a risk to children.
4. Wash the roasting pan, lid and any accessories in warm soapy water, using a sponge
or dishcloth. Rinse and dry thoroughly.
5. Wipe body clean with a damp cloth.
• Do not use abrasive cleaners or scouring pads.
• Do not immerse the roaster oven body, cord or plug in water at any time.
Preheat:
Due to the manufacturing proce , moke and odor may be emitted during the fir t few
u e . Thi i normal and cau e no harm to you or the product. We recommend
preheating the roa ter oven to eliminate the moke and odor.
1. Ensure temperature control is set to the “OFF” position and plug into a 120VAC
outlet.
2. Preheat the oven for 30 minutes at 400oF or until smoke and/or odors no longer exist.
3. Turn the temperature control to the “OFF” position, remove the plug from wall outlet
and allow the unit to cool.
Helpful Tips:
• The roaster oven has been designed to utilize everyday recipes, although temperature
and time may vary. Check your meals two to three times during operation to ensure
ideal cooking results.
•Always preheat the oven unless the recipe specifies otherwise.
• Premade or frozen items can be heated in roaster oven. Follow directions on package
for temperature and time.
How To Use:
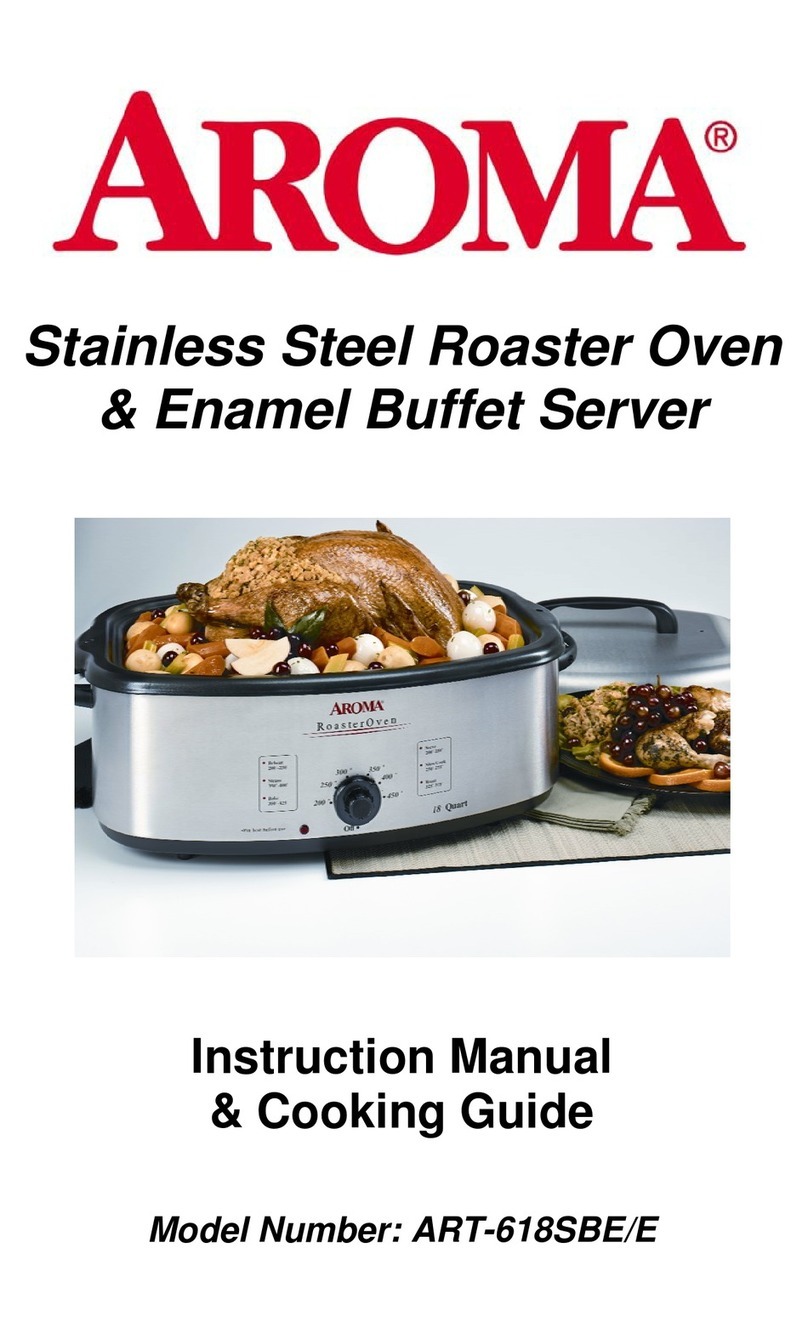
1. Place the cooking pan into the oven body. Place the lid on the cooking pan.
2. Set the temperature dial to the “OFF” position.
3. Plug in the power cord.
4. Preheat Roaster Oven to desired temperature.
The indicator light will hutoff when the oven ha reached the elected temperature.
During operation the light will blink continually while the proper temperature i being
maintained.
5. Place rack into the cooking pan, place food on the rack and replace lid.
6. When finished, turn the temperature dial to the “OFF” position and unplug.
CAUTION:
• Never place food or liquid directly into the oven body. Use provided roasting pan.
• Do not overfill the roasting pan.
• When in use, lift lid carefully so steam escapes away from you.
• Repeatedly removing the lid will result in heat loss and increased cooking time.
4
CÓ O USAR
Antes de utilizar por primera vez:
1. Lea las indicaciones y las instrucciones de seguridad.
2. Retire todos los materiales de empaque y asegúrese de que todos los
artículos hayan sido recibidos en buenas condiciones.
3. Desgarre y deseche todas las bolsas de plástico, pues representan un riesgo
para los niños.
4. Lave el recipiente asador, la tapa y todos los accesorios en agua jabonosa
caliente, utilice una esponja y un trapo para vajilla. Enjuague y seque
completamente.
5. Para limpiar el cuerpo del aparato,frótelo con un trapo húmedo.
•No utilice limpiadores abrasivos o esponjas ásperas.
•No sumerja jamás el cuerpo del horno asador, el cable o el enchufe en agua.
Precalentamiento:
Debido al proceso de fabricación, las primeras veces que se utiliza, la unidad
puede emitir humo y olores. Esto es normal y no representa ningún da o para
usted o para el producto. Recomendamos precalentar el horno asador para
eliminar el humo y los olores.
1. Asegúrese de que el control de temperatura esté en la posición de apagado
("OFF") y conéctelo a un enchufe de 120 VCA.
2. Precaliente el horno durante 30 minutos a 400 °F o hasta que deje de emitir
humo y olor.
3. Lleve el control de temperatura a la posición de apagado ("OFF"), desenchufe
del tomacorriente de pared y deje que la unidad se enfríe.
Consejos útiles:
• El hornoasador hasidodiseñadoparacocinarlasrecetasdetodoslosdías,aunque el
tiempoylatemperatura de cocciónpuedenserdiferentes. Para obtener los mejores
resultados,controle sus comidas dos o tresvecesdurante la cocción.
• Siempreprecaliente elhorno,amenosquela receta indiquelocontrario.
• Losalimentos precocidosocongeladostambién sepueden calentaren elhornoasador.
Siga las instruccionesde tiempoytemperaturade cocción incluidasen elenvase.
Cómo usar:
1. Coloque el recipientedecocción enel cuerpo delhorno.Coloquelatapasobreel
recipiente decocción.
2. Lleveeldialde temperaturaa laposiciónde apagado("OFF").
3. Conecte el cabledealimentación eléctrica.
4. Precalienteelhornoasadoralatemperatura deseada.
La luzindicadoraseapagará cuando el hornohaya alcanzadola temperaturaseleccionada.
Durantelaoperación,la luzdestellarácontinuamentemientrasla unidadmantienela
temperatura adecuada
5. Coloque la rejilla en elrecipientede cocción, pongalos alimentos sobreellayvuelvaa
colocarlatapa.
6. Cuandofinalicelacocción,lleveel dialde temperatura ala posiciónde apagado ("OFF") y
desenchufe elaparato.
PRECAUCIÓN:
• Nuncaponga alimentos o líquidosdirectamenteenelcuerpodelhorno. Utiliceel recipiente
de cocciónprovisto.
• No lleneexcesivamenteel recipientedecocción.
• Cuandoelaparatoestéenuso, levante la tapacuidadosamente paraqueelvapor escape
en dirección contrariaausted.
• Si la tapaseretirarepetidamente,se perderá caloryel tiempode cocciónseprolongará.


