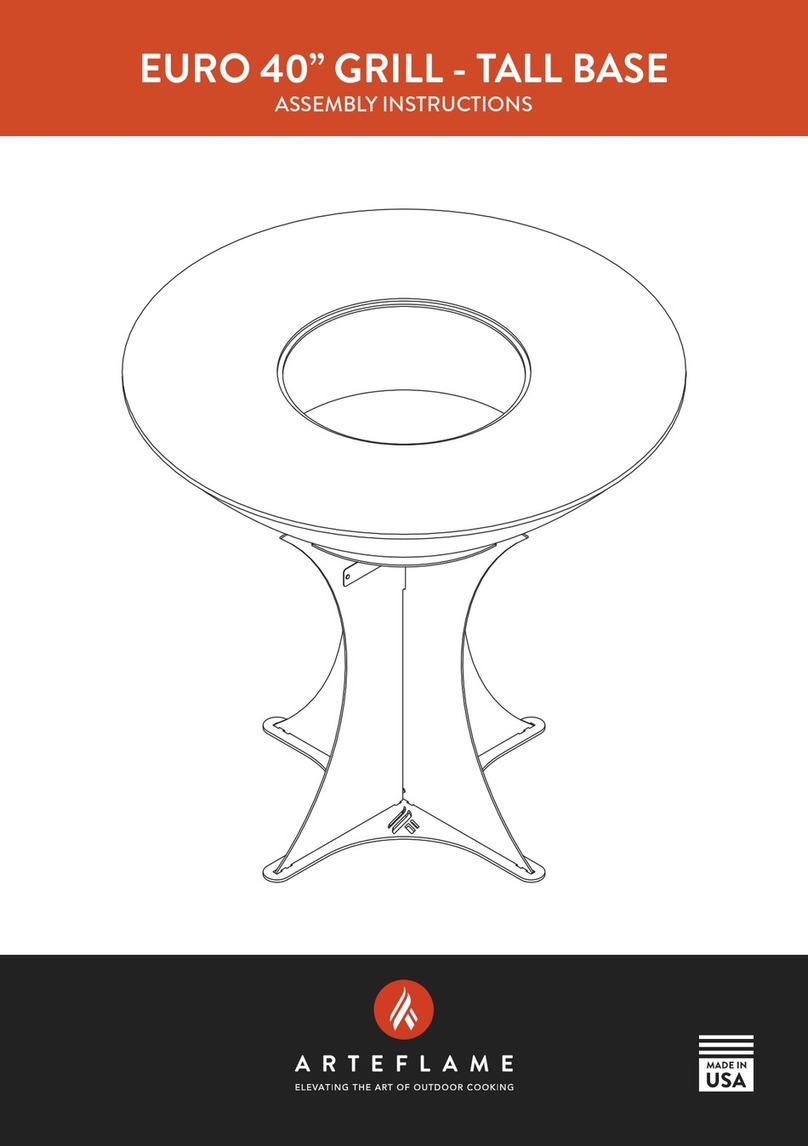
Arteflame Euro Base User manual

ASSEMBLY INSTRUCTIONS
EURO 40” GRILL - TALL BASE

2
EURO 40” GRILL - TALL BASE
ASSEMBLY INSTRUCTIONS
Thank you for your purchase!
You are minutes away from firing up your Arteflame and
beginning to experience outdoor entertainment, Arteflame style.
Assembly is simple and requires two people.
When you first unpack your grill, carefully unpack all the
components and move them to where you want to assemble your
grill. Handle all parts by the edges as to not disturb the natural
patina already present. If you are setting up the Euro grill in grass
or in sand, you may choose to just assemble the base without the
stainless steel base plate.
Attention
Assembly requires two people and we recommend holding all
parts by their edges while wearing gloves
2 persons Wear gloves

3
EURO 40” GRILL - TALL BASE
ASSEMBLY INSTRUCTIONS
Euro Base assembly
The Euro Base is made up of five pieces pictured below from left
to right:
■Two Corten steel legs
■One with Arteflame badge, notch facing down
■One without badge, notch facing up
■One Corten steel locking ring
■One Corten steel cross key
■One stainless steel, notched star footing base
All Corten steel parts have a carefully developed patina and
should be handled with care as to not scratch, damage or disturb
the patina on them.

4
EURO 40” GRILL - TALL BASE
ASSEMBLY INSTRUCTIONS
Place the stainless steel footer
where you would like your
Arteflame to be. Make sure this
footer is as level as possible.
Place the first leg without the
Arteflame badge, notch facing
up, onto the footer so that the
tabs on the legs fit into the slots
of the footer.
Step
Step
1
2

5
EURO 40” GRILL - TALL BASE
ASSEMBLY INSTRUCTIONS
Have the other person place the
second leg with the Arteflame
badge, notch facing down, over
the first leg and slide it straight
down so that the two notches
slide into each other.
Step 3
Make sure the intersection of
the two legs is flush and flat
where they cross at the top. If
the legs are still not flush and
flat then move any leg that is
not seated properly back and
forth a bit until all the notches
are seated and then the legs will
become flush and flat.
Step 4

6
EURO 40” GRILL - TALL BASE
ASSEMBLY INSTRUCTIONS
Place the Corten steel cross key
on top of the interlocking legs,
ensuring it sits flat and flush
with the top of the legs and can
be pushed into place.
Now that your Euro Base is
assembled you are ready to
place the heavy duty fire bowl
and cooktop on top of the base.
Step 5
Place the Corten steel locking
ring on top of the legs and cross
assembly, making sure it sits flat
and even.
Now that your Euro Base is
assembled you are ready to
place the heavy duty cooktop
on top of the base.
Step 6

7
EURO 40” GRILL - TALL BASE
ASSEMBLY INSTRUCTIONS
Cooktop assembly
The Arteflame Classic 40 Bowl is made up of three pieces:
■The laser cut carbon steel cooktop
approximately 150 pounds (68 kg)
■The Corten steel firebase
■The spun Arteflame Corten steel bowl
approximately 67 pounds (30 kg)
Moving the cooktop into place requires two people and a 6’ to
8’ piece of 2x4 lumber. This is a two person job using the 2x4
cooktop lifter provided.

8
EURO 40” GRILL - TALL BASE
ASSEMBLY INSTRUCTIONS
With two people, lift the
Arteflame fire bowl by the
inside ring so the patina doesn’t
get disturbed.
Carefully walk the fire bowl to
the grilling location where the
base is waiting. Carefully place
it on top of the base as level as
possible.
Step 1
The firebase is shipped inside
the bowl. If it is removed during
installation, it needs to be put
into the bowl before putting
the cooktop on top of the
bowl. Pickup the firebase and
carefully rest it inside the bowl
on the 3 metal brackets inside
the bowl.
Step 2

9
EURO 40” GRILL - TALL BASE
ASSEMBLY INSTRUCTIONS
With two people, carefully place
the cooktop on the bowl using
the lifting tool.
The cooktop slightly overhangs
the bowl evenly on all sides.
Always use the included lifting
tool. If the lifter can’t be used,
position the bowl by lifting it
through the center hole ONLY.
DO NOT lift it by the outer
edge as your fingers could get
pinched between the bowl and
the cooktop.
Step 4
Insert the cooktop lifter into
the center hole of the cooktop
and slide a 6-8 foot long piece
of 2x4 lumber through the top
as shown. With two people, lift
the cooktop and set it down
near where you are going to be
setting up your grill. NEVER
install the cooktop by hand
holding it on the outside rim as
fingers can get pinched.
Step 3

10
EURO 40” GRILL - TALL BASE
ASSEMBLY INSTRUCTIONS
Your fully assembled Arteflame grill is now complete! Make sure
your Arteflame is as level as possible so all excess grease will
always flow into the middle and into the fire.
You are now ready to build your fire and start the seasoning
process of the cooktop. Any cooking oil can be used but we
recommend using flaxseed oil for best results.
You can use a carpenter level or even your smartphone if it has a
level function. When leveling the cooktop, please note that the
cooktop is sloped downward towards the middle to allow oils to
slide into the grill center. To get your best readings on levelness,
place the leveling device around the outer edge of the cooktop to
give you the most accurate reading.

11
EURO 40” GRILL - TALL BASE
ASSEMBLY INSTRUCTIONS
If you ordered your Arteflame with a grill grate, there will be a
grate lifting tool included.
The lifting tool slides in between the center slots of the grill grate.
Don’t lift the grate with food on it as it could become unbalanced.
Always wear appropriate heat resistant gloves when handling hot
items.

12
EURO 40” GRILL - TALL BASE
ASSEMBLY INSTRUCTIONS
Grilling tips
The grill needs to be seasoned the first time BEFORE cooking/
eating. To get a fire started, we suggest using self lighting charcoal
like Match Light Instant Charcoal from Kingsford. Put down a
± 35 piece pile of this charcoal and stack your wood in a wigwam
over it. Then light the charcoal. Another way of doing it is by using
Lighter Cubes fire starters. These can be used by covering them
with regular charcoal and stacking the wood over it in a wigwam.
Lighter Cubes and charcoal can be found at stores like Home
Depot. Using these methods, you should have a fire hot enough
to cook on within 30 minutes.
The best wood to use for cooking on your Arteflame are seasoned
or dried hardwoods like oak, mesquite, cherry, apple, hickory,
maple, ash, pear, or plum. Seasoned wood burns better and
smokes less. Soft woods like spruce, redwood, sycamore, cedar,
cypress, elm, pine, fir or eucalyptus should not be used as they
can contain large amounts of sap. Never use wood from furniture,
pallets or any other materials that can contain chemicals, veneer
or paint.
When using your Arteflame for the first time, it is good practice
to build a fire that burns for at least an hour to season the
cooktop before your first cooking session. This ensures that the
cooktop reaches cooking temperature to impregnate the cooking
oil into the cooktop. Once it has reached cooking temperature,
rub the cooktop with oil to start the seasoning process. Each heat
cycle of the cooktop absorbed more cooking oil into the cooktop

13
EURO 40” GRILL - TALL BASE
ASSEMBLY INSTRUCTIONS
improving it and seasoning it. We recommend a coating of food
grade flaxseed oil after each use.
Only use oil specifically for human consumption such as flaxseed,
sunflower, canola, coconut, olive oil or any blend hereof. DO
NOT USE any oil unfit for human consumption. The oil will
facilitate ease of cooking and impregnate the steel. Over time,
this oil will turn the cooktop a deep, dark color and prevent
rust. Any rust that does form can easily be removed using steel
wool and re-oiling the cooktop.
The more your Arteflame is used, the better the cooktop will
be protected by the oil that you use on it. This oil will actually
impregnate the cooktop and help prevent rust.
The operating temperature of the cooktop depends on the
amount of charcoal or wood that you use. As a guideline, expect
the inner edge of the cook top to reach 425 F (220 °C) and
the outer edge 250 F (120 °C). 425 F (220 °C) is about the
ideal temperature to sear steaks while 250 F (120 °C) is perfect
for vegetables. The dierences in temperature are ideal for
cooking a wide variety of foods simultaneously. Also note that
the cooktop itself will vary in temperature as well. You can use
this temperature variance to cook all your food at their optimum
temperatures.

14
EURO 40” GRILL - TALL BASE
ASSEMBLY INSTRUCTIONS
Maintenance
After using your Arteflame, either extinguish the fire or supervise
it until it is burned out. Water can be used to extinguish the fire
but BEWARE of excessive smoke, ash and steam when using
water to extinguish the Arteflame. Quickly cooling really hot
metal can cause steel to move/warp. Perhaps a slow stream of
water in a controlled dousing will work if you need to quickly
put out the fire. The Arteflame will be very hot while the fire
is burning itself out and can remain hot for hours. An optional
stainless steel lid is available from our store as well.
Once the Arteflame has cooled down and the fire is out, it can
be cleaned. Make sure all ashes and unburned wood pieces are
completely cold. You can use a paper cut or other ash removal
tools (brushes and pans) to scoop out the ashes. You can leave any
unburned wood in the grill and use it as fuel for the next time.
Once your Arteflame is cleaned, it is a good practice to wipe the
cooktop down with some oil. We recommend flaxseed oil for use
on the cooktop when not in use. This will help prevent any rust
from forming on the cooktop between uses.

15
EURO 40” GRILL - TALL BASE
ASSEMBLY INSTRUCTIONS
Storage
It is not necessary to store your Arteflame indoors. Your
Arteflame can be left outside year round. When left outside,
make sure to clean out your Arteflame before using it. Debris
like leaves, twigs, dirt, or snow can accumulate in the grill or on
the cooktop. After each grill use, leave a thin layer of cooking
oil (preferably flaxseed oil) on the cooktop to help protect the
cooktop against rust between uses just like you would with a cast
iron skillet.
We recommend periodic checks for debris to ensure drain holes
remain open.
When your Arteflame is not being used for longer periods of
time, rust can form on the cooktop. This surface rust can easily
be wiped away with an oily rag or paper towel or steel wool or
it can be sanded away leaving the cooktop like new again. We
recommend the use of flaxseed oil for use on the cooktop when
not in use. With use, cooking oils will be absorbed into the
cooktop and help prevent rust from forming.
The best way to avoid rust on the cooktop is using your Arteflame
regularly.
Welcome to the Arteflame Family!

arteflame.com/products/arteflame-euro-40
For any questions, please contact us:
info@arteflame.com
+1 (929) 251 4111
Other manuals for Euro Base
1
Table of contents
Other Arteflame Grill manuals

Arteflame
Arteflame Classic 40 Euro Tall Base User manual

Arteflame
Arteflame One Series User manual

Arteflame
Arteflame CLASSIC 40 GRILL TALL BASE User manual
Arteflame
Arteflame One Series User manual
Arteflame
Arteflame Classic Cooktop User manual

Arteflame
Arteflame Classic Cooktop User manual

Arteflame
Arteflame Classic 40 User manual

Arteflame
Arteflame EURO 20 User manual

Arteflame
Arteflame Classic Euro 40 Low Base User manual

Arteflame
Arteflame EURO 30 User manual