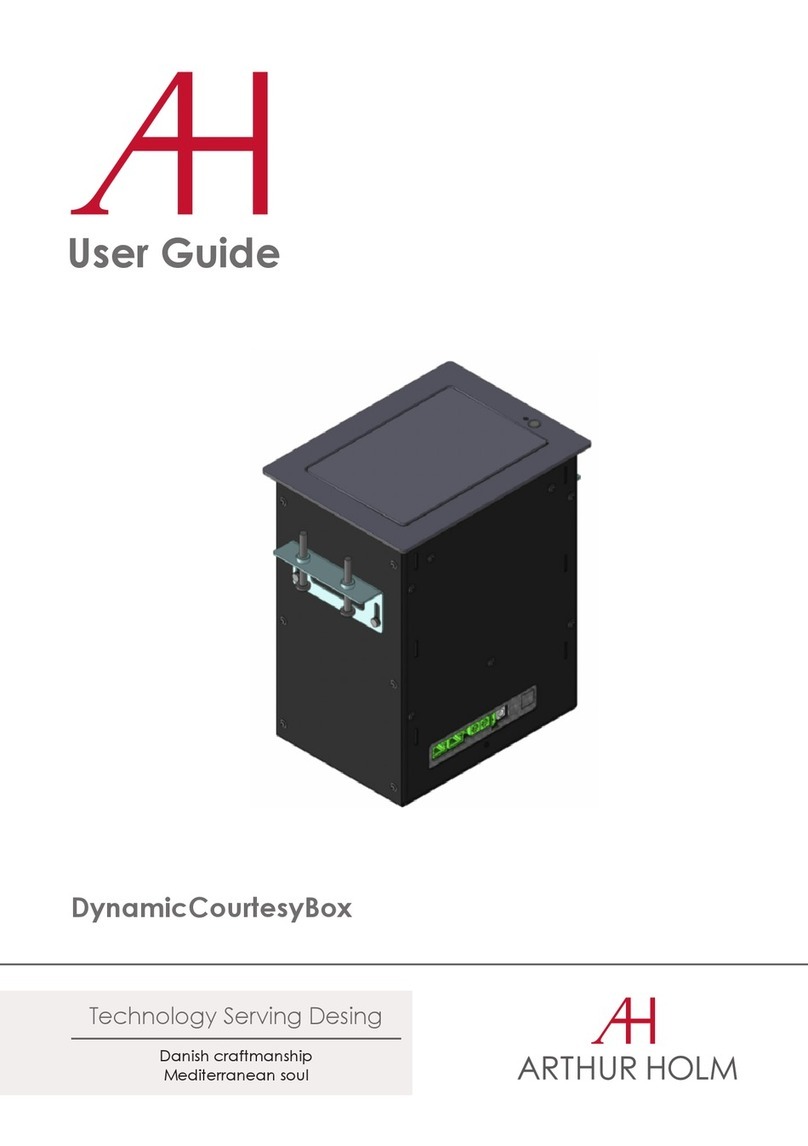
ARTHUR HOLM DB1Twin User manual

User Guide
Danish craftmanship
Mediterranean soul
Technology Serving Design
DB1Twin
HDCP compliant retractable double screen monitor for
furniture integration

TABLE OF CONTENTS
EC REGULATIONS AND SECURITY 5
SAFETY INSTRUCTIONS 5
SYSTEM DESCRIPTION 7
MOUNTING GUIDE 10
VENEER GUIDE 16
CONTROLS 23
OSD MENU 25
INPUT CONNECTORS 28
AHNET PROTOCOL 30
INPUT SIGNALS 34
AHLINK 35
INFORMATION ON DISPOSAL 38
WARRANTY TERMS AND CONDITIONS 39

WELCOME
Thank you for purchasing an ARTHUR HOLM product.
Our product range has been designed for a seamless integration and for
a maximum reliability.
Please, read this installation and operating instructions carefully and keep
them in a safe place for future reference.
We remain at your entire disposal if you have any suggestions that would
help us improve our products.
Henrik Holm
General Manager

ABOUT US
The Company
Arthur Holm has its origins in the Danish furniture designer Jorgen Alex
Jensen, who was active during the sixties and the seventies. His design
inspiration and his concept of ergonomics have been continued by his
family, who is the design force behind Arthur Holm product range. The
result of combining Scandinavian design tradition with Mediterranean
creativity, exibility and emotion is a wide product range built on more
than 25 years of craftsmanship.
Arthur Holm offers a professional product range where tomorrow’s
technology is shaped into valued materials with design exibility and
customisation, specially created to enhance communication in reception,
collaboration, conference and meeting areas.
The art of customisation
Arthur Holm offers a range of ingenious products whose designs are based
on quality materials and the latest technology. Products which endow
meeting and conference rooms with silent, ergonomic, innovative and
aesthetic solutions that integrate into the furniture, hang from the walls as
works of art or are used as interactive points of information.
The world of Arthur Holm
Arthur Holm offers a selection of unique, elegant, versatile, exible and
ergonomic products that are being used in meeting and conference
rooms, reception areas, huddle rooms, control rooms, auditoriums and
public zones of leading companies throughout the world.
The numbers speak for themselves! We currently own 33 product patents,
have presence in over 45 countries with products and solutions inmore
than 25,000 installations.
It will be our pleasure to work with you, designing your unique and
personalised environment. Our broadcast electronic engineers will
provide the latest technology while our design team will offer you the most
exclusive appearance.
Our team puts its heart, passion and pride in all our designs.

5
SAFETY INSTRUCTIONS
Plugs
• Do not dismantle any part of the monitor power connector.
• Disconnect the power plug from the AC outlet when the monitor is not
going to be used for an indenite period of time.
Power and extensions cords
• Use the appropriate power cord with the correct plug type.
• Do not overload wall outlets or power cords.
• Make sure the total ampere passed through an extension cord does not
exceed the maximum allowed by the cable used.
• Do not place anything on the power cord.
• Do not locate this product where a person may walk or trip over the
cord.
EC REGULATIONS AND SECURITY
ATTENTION: Do not disassemble or modify the device in any way.
This symbol warns of the presence of dangerous un-insulated
voltages inside some of the components, of sufcient magnitude
to expose people to risk of electronic shock.
This symbol draws attention to important use and maintenance
instructions in the manual that accompanies the unit.
This symbol indicates that the equipment conforms to the norms
established by the European Community.
This symbol indicates D.C. current.

6
Wiring connected to hazardous voltage requires installation by
qualied personnel or the use of ready-made exible cables.
For your security, your equipment must be connected to an
electrical outlet with grounding connection protection.
Since the plug is used to disconnect the device, the operating
electrical outlet must be in an easily accessible place.
Environment
• Install the equipment on an elevated, at surface.
• Install the equipment in a ventilated area.
• Avoid exposing the equipment to:
∙Rain or water
∙Excessive heat, cold or humidity
∙Area exposed to direct sunlight
∙Dirty areas
∙Equipment generating strong magnetic elds
• Avoid placing open containers of liquid, near the equipment.
• Keep a minimum distance of 30 mm in order to have good ventilation.
• Never place above the device any sources of ames such as lighted
candles, etc.
• If you are using the device in extreme weather conditions and/or
tropical climates, the equipment should be installed in a room which
ensures a reasonable level of temperature and humidity.
• To prevent damage the equipment must be rmly anchored to the
surface, as shown on the installation instructions.
SAFETY INSTRUCTIONS

7
SYSTEM DESCRIPTION
Applications
DB1Twin is a vertically retractable monitor with double screen. Two
monitors are placed back to back in a compact anodised aluminium
frame displaying different contents for a 2 way communication. It is
designed for reception desks, information counters or meeting and
conference room tables with limited space. The screens are only visible
when required, disappearing inside the table desk when not needed by
simply pressing a button or by remote control.
DB1Twin has an extremely fast lift system with a very low noise level.
Very easy to install, these monitors require no maintenance. To protect
the user, DB1Twin are equipped with a safety system which stops
the movements in case of resistance detection. They are remotely
controllable and diagnosable through the ERT interfaces in an very
easy and cost effective way.
Features
• Double sided display
• No cover plate
• Ready for veneering (V)
• Two capacitive sensors
• Interactive Setup Display
• Maintenance free
• Energy saving design
• Wireless connectivity for setup and control
• AHlink signal to diagnose the unit

8
SYSTEM DESCRIPTION
Available Models
MODEL DESCRIPTION
AH22DB1Twin
HDCP compliant vertically retractable double
Full HD 21,5" monitor to be integrated into
furniture. Solid aluminium monitor housing in
natural anodised nish. DVI-I and DVI-D inputs
per each monitor (2).
Interactive Setup Display allowing the control,
setup and diagnose of the monitors. Monitors
provide RS-422 I/O allowing the remote
control of movements, speeds, safety settings,
brightness, contrast and backlight.
The monitors are equipped with AH-AMMC:
an auto mechanical movement calibration
system.
AH22DB1TwinV
HDCP compliant vertically retractable double
Full HD 21,5" monitor to be integrated into
furniture. Solid aluminium monitor housing in
natural anodised nish. DVI-I and DVI-D inputs
per each monitor (2).
Interactive Setup Display allowing the control,
setup and diagnose of the monitors. Monitors
provide RS-422 I/O allowing the remote
control of movements, speeds, safety settings,
brightness, contrast and backlight.
The monitors are equipped with AH-AMMC:
an auto mechanical movement calibration
system. Prepared for veneering. Includes a
larger capacitive touch sensor on the top frame
with automatic sensitive adjustment according
to the veneer.

9
Box Contents
Before the installation of your retractable monitor, please check the
contents of the shipping box, it must contain the following items:
• Monitor
• Power cord
• Remote control (1 per 5 monitors)
• Power supply 100-2 40Vac, 50-60Hz. Output 12V
• User guide
Important note: This device can only work with the power supply
included in the shipping box. This power supply can not be replaced by
any other rather than the original one.
Connections
Before connecting the power:
1. Install the unit on a table or desk, in vertical position.
2. Remove the foam protecting piece before connecting the monitor.
Power connection:
1. Plug the power cable from the power supply into an AC socket of
100-240 Vac, 50-60Hz.
2. Plug the 12Vdc cable into the socket on the unit.
Caution! Never use this monitor in horizontal position.
SYSTEM DESCRIPTION

10
MOUNTING GUIDE
Introduction
This symbol draws attention to important use and maintenance instructions
in the manual that accompanies the unit.
Pattern Hole
Pattern hole dimensions for milling are specied in the corresponding
drawing. The milling of the furniture has to be done from bellow.
Attention
Manipulation of the product should be avoided, no stress should
be applied to the product except from the instructions given in
this document. Cutting, drilling, soldering, adding of electrical and
mechanical components can cause danger and should be avoided
by all mean. Not complying with these direction will result in a lost
of the Arthur Holm warranty. Albiral Display Solution S.L. shall not be
held liable for any loss or injury incurred as a result of modications
made to goods by anyone other than the supplier or the supplier's
authorised representative without the supplier's written permission. Such
modications shall be deemed to terminate any further guarantee
obligations. Compensation will not be paid for wages, loss of prot,
waste of time, packing and transport or any nancial liability resulting
from defects in the goods.
(Albiral Display Solutions shall not be liable for any loss or injury caused
by negligence.)

11
MOUNTING GUIDE
Mounting table brackets
Mount the table brackets below the table using the holes indicated on the
corresponding Pattern Hole drawing. The screws (x6) are not supplied; The
weight of the monitor is up to 25Kg.
PAY ATTENTION THAT THE BRACKETS ARE MOUNTED IN THEIR CORRESPONING
SIDE.

12
MOUNTING GUIDE
Mounting the monitor brackets
Mount the monitor brackets on their corresponding side using the supplied
screws.
Mount the vertical adjustment screws (2+2) on to the monitor bracket
so that the tip of the screw is ushed with the upper side of the monitor
bracket.

13
MOUNTING GUIDE
Checking assembly
View from below the table:
View from above the monitor:
Dimensions A and B in table brackets and in monitor brackets must be the
same (+-1mm).
If adjustment is necessary loosen 3+3 Table bracket screws, keeping always
symmetry regarding to the monitor hole in the table. Subsequently, tighten
the table bracket screws.

14
MOUNTING GUIDE
Hanging the monitor
Mount 2+2 nuts on to both table brackets as indicated on the drawing.
Hang the monitor above nuts.

15
MOUNTING GUIDE
Centring the monitor
Tighten each nut gradually until the monitor surface is levelled with the
table surface.
Air gap around the monitor have to be 2mm [0,08]. Otherwise the monitor
could come in contact with the table while opening and be damaged.

16
MOUNTING GUIDE
Fine centring of the monitor
In case ne centring of the monitor in necessary.
VENEER GUIDE
Introduction
The DB1Twin device is available in a special version that is prepared to
be mounted from below the table with a Veneer nishing on the top of
the monitor to match the table. The Veneer is not supplied.

17
VEENER GUIDE
Veener
The Veneer can be placed in three ways (Dimensions are specied in the
corresponding “Pattern Hole” document):
Option 1:
Veneer: In order to adjust the plastic touch button height, Venneer + Glue/
tape thickness must be previously communicated.
Option 2:
Veneer + Distance Plate: For Veneers Thickness of 1mm [0,04] or less. It will
be necessary a Distance Plate to hide the touch button copper cylinder.

18
VEENER GUIDE
Veener
The Veneer can be placed in three ways (Dimensions are specied in the
corresponding “Pattern Hole” document):
Option 3:
Veneer: The veneer thickness must be 5mm [0,16 – 0,19]. A mechanized
blind hole will be necessary to hide the touch button copper cylinder.

19
VEENER GUIDE
Veener Option 1:
- Veneer thickness must be accorded with factory
1. Check if the Veneer ts perfectly with the monitor. To join both parts
correctly it is important that the two surfaces are touching each other in
the whole length. (To make easier the adjustment the hight of the touch
button can be barely adjusted.)
2. Clean the top surface of the metal monitor housing and the bottom
surface of the Veneer.
3. Glue the Veneer. Double-side tape or glue can be used (depending on
the kind of materials are going to be jointed). The pressure applied must
not exceed 1 Kg evenly distributed on monitor surface.
Veener Option 1 Cut-Out:

20
VEENER GUIDE
Veener Option 2:
- Distance Plate material can’t be metallic. Wood or DM are advisable.
- Veneer material can’t be conductor.
1. Check if the Distance Plate ts perfectly with the monitor. The copper
cylinder can’t project outwards from the Distance Plate surface. If so, the
copper cylinder can be gently led down till aligns with the Distance Plate
surface.
2. Clean the top surface of the metal monitor housing and the bottom
surface of the Distance Plate.
3. Glue the Veneer. Double-side tape or glue can be used (depending on
the kind of materials are going to be jointed). Double- side tape or glue
used can’t be thicker than 0,2 0,25mm [0.008 0.01]
The pressure applied
must not exceed 1 Kg
evenly distributed on
monitor surface.
This manual suits for next models
2
Table of contents
Other ARTHUR HOLM Indoor Furnishing manuals
Popular Indoor Furnishing manuals by other brands

Eclipse
Eclipse UltraSatin shutters installation instructions

Bell'O
Bell'O TC56-7301 manual

URBAN OUTFITTERS
URBAN OUTFITTERS MASON CANE STORAGE CABINET Assembly instructions

Homak
Homak GW00550160 Owner's and operator's manual

Rauch
Rauch AG299.0CG7.01 Assembly instructions

Next
Next 231989 Assembly instructions