ARTIST EDK260 User manual

1
Artist EDK260 / EDK280
Electronic Drum
Kit
User
manual
V1.00

2
Contents
t
Introduction....................................................................................................................................................................................................... 3
Features .............................................................................................................................................................................................................4
Panel Control .....................................................................................................................................................................................................5
Front panel............................................................................................................................................................................................... 5
Rear panel ..................................................................................................................................................................................................7
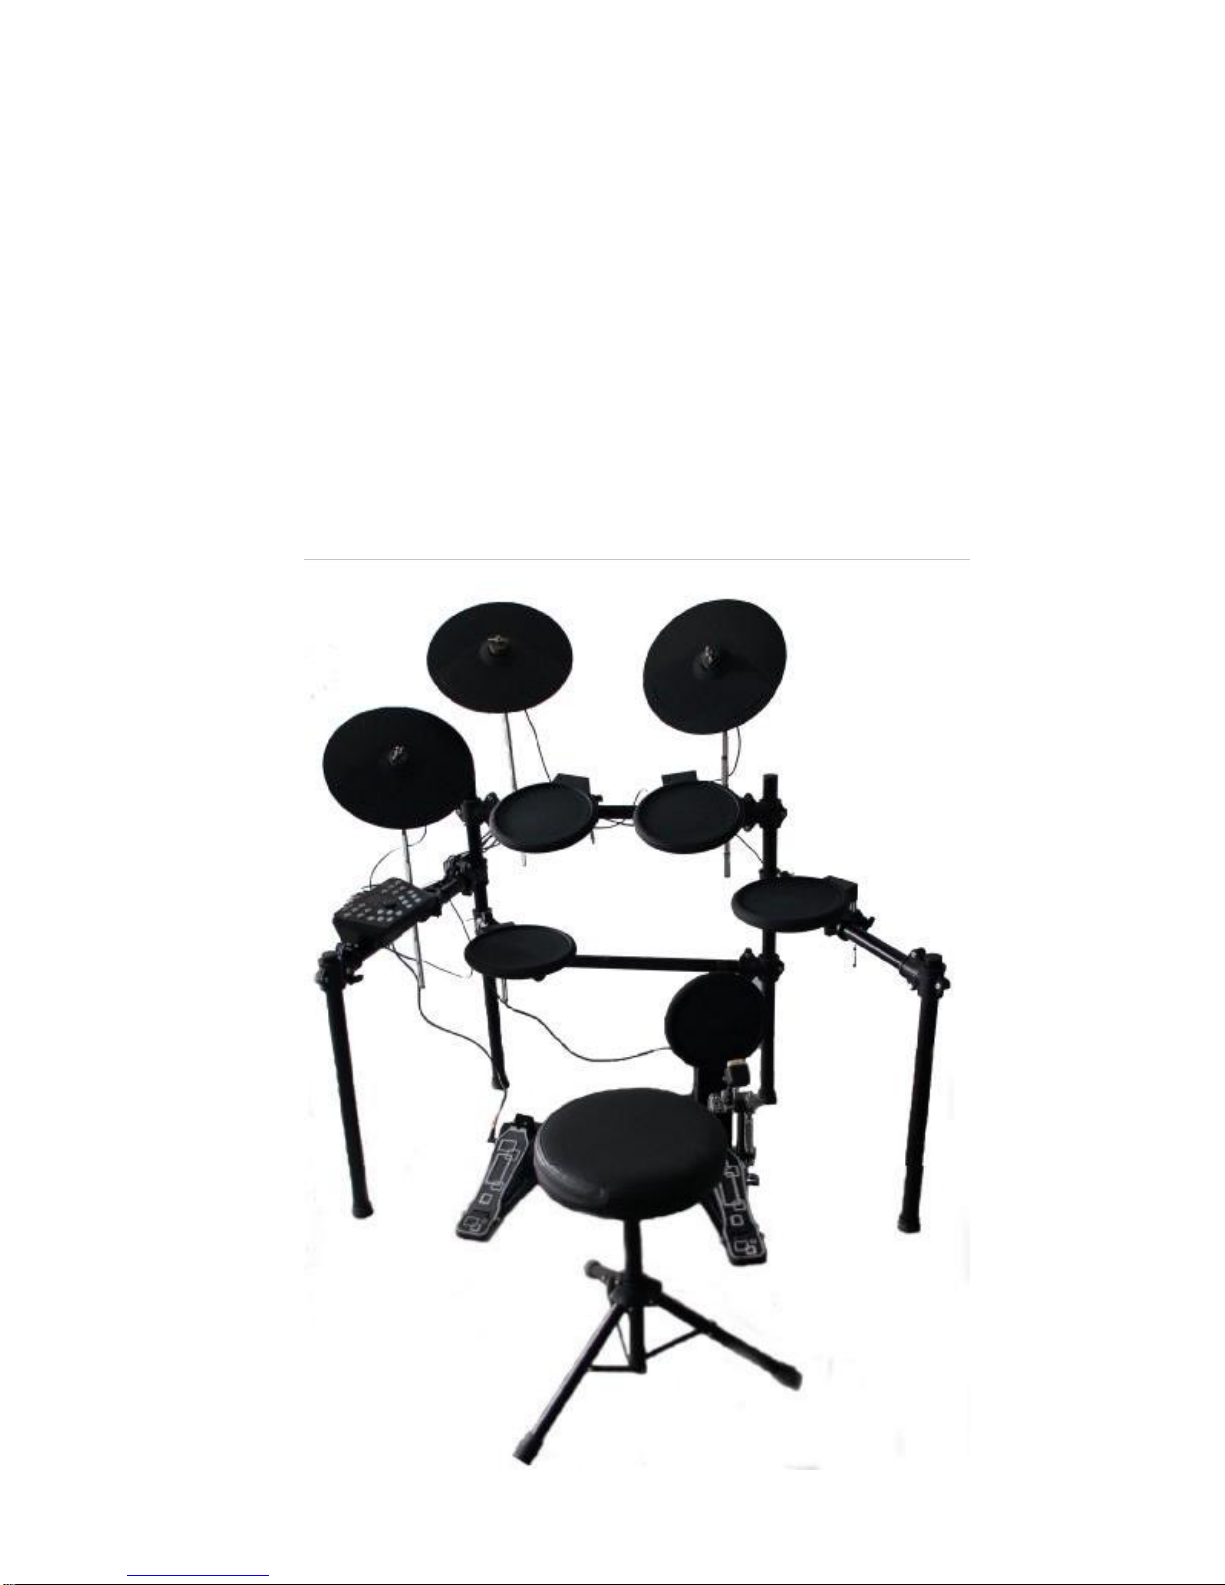
Setting up the whole system..............................................................................................................................................................................9
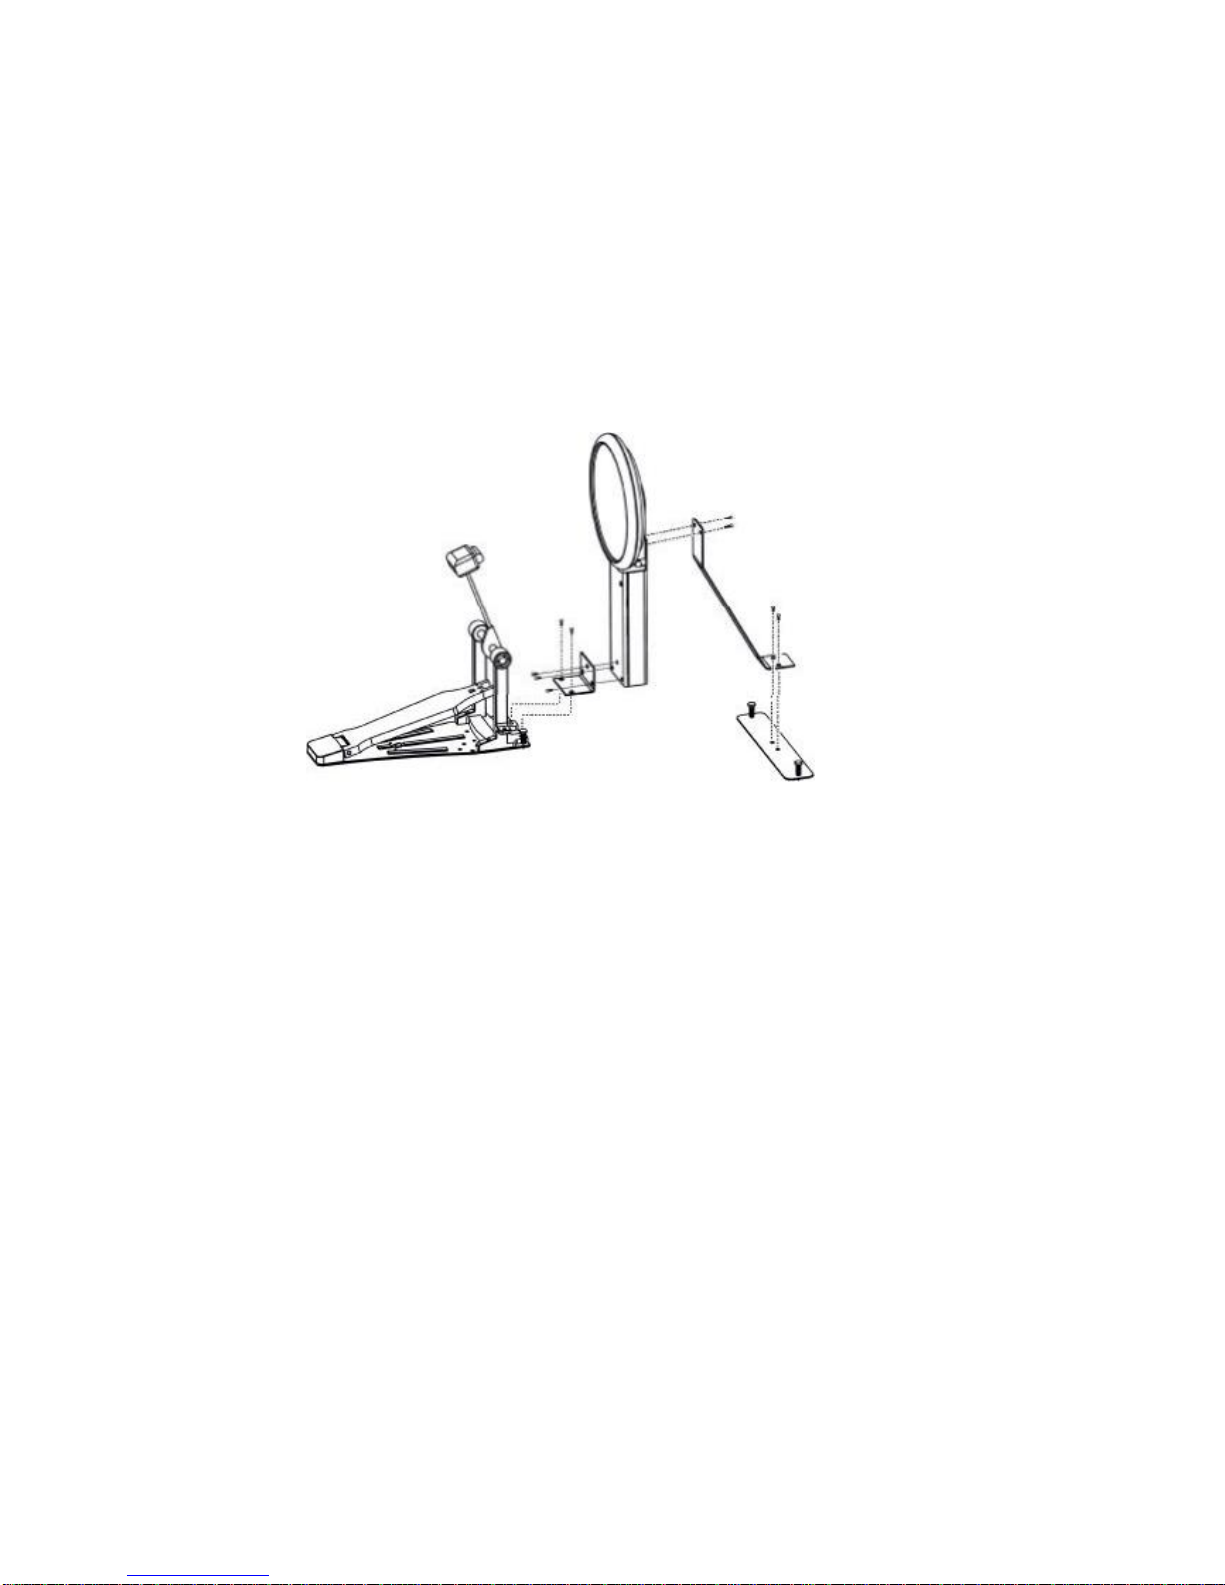
Setting up the Kick....................................................................................................................................................................................10
Connecting the pads, the cymbals, the hi-hat pedal, and the kick........................................................................................................…11
Connecting the adapter, the headphone, the Amps, and others ........................................................................................................... 12
Function............................................................................................................................................................................................................13
..
1.1 KIT ......................................................................................................................................................................................................13
1.2 DEMO..................................................................................................................................................................................................13
1.3 DRUM SOUND.......................................................................................................................................................................................14
1.4 SETUP .................................................................................................................................................................................................15
1.5 MEMORY..............................................................................................................................................................................................17
1.6 CLICK....................................................................................................................................................................................................17
1.7 TEMPO.................................................................................................................................................................................................18
1.8 DEMO MUTE........................................................................................................................................................................................18
1.9 DRUM KEY...........................................................................................................................................................................................18
1.10 PAD HEAD SHOTS AND RIM SHOTS..................................................................................................................................................19
1.11CYMBAL BOW SHOTS AND EDGE SHOTS..........................................................................................................................................20
1.12 CYMBAL CHOKE ................................................................................................................................................................................21
Factory Reset …………………..............................................................................................................................................................................22
MIDI Implementation Chart ............................................................................................................................................................................23
General MIDI Drums-Note assignments......................................................................................................................................................... 24

3
Introduction
Thank you for purchasing the Artist Electronic Drum Kit. To help you get the most out of your
new instrument, please read this manual carefully.

4
Features
●Pads: 1 snare with rim trigger, 3 tom pads, 3 cymbal pads (EDK280: crash &
Ride pad with rim trigger), 1 hi-hat control pedal, 1 kick trigger
●Voices: 260 voices (EDK260), 280 voices (EDK280)
●Drum kits: 20 preset kits, 10 user kits (EDK260), 20 user kits (EDK280)
●Demo: 20 demo for practise
●Controls: Power Switch, Start/Stop, Setup, Memory, Kit, Drum
Sound/ Level/Pan, Demo/volume, Click, Hi-Hat, Crash, Ride, Hi-Hat
Control, Snare, Tom1, Tom2, Tom3, Kick, Rim, Volume+/-, Tempo+/-
●Display: LED display
●
Connections: Midi
Out/Phones/Hi-Hat Control/Hi-
Hat/Crash/Ride/Snare/
Tom1/Tom2/Tom3/Kick/Output(R&L/Mono)/Line
In
●Power Supply: DC adaptor (9V)

5
Panel Control
Front panel:
⑤ ④ ③ ①
⑥ ⑦ ⑧
⑩ ⑨
②
○
13
○
12
○
11
○
1 Display the information about the current menu
○
2 Control the volume of the device
○
3 Enter the voice menu
○
4 Enter or quit the memory status
○
5 Start\Stop demo
○
6 Enter the kit menu

6
○
7 Enter the demo practice menu
○
8 Setup the parameters of the current pad
○
9 Adjust the parameters of current menu
○
10 Tempo increase/decrease
○
11 Those buttons match the drum pads
○
12 Turn the click on/off
○
13 Turn the demo practice on/off

7
Rear panel:
○
20
○
19
○
16
○
18
○
17
○
14
○
15
○
14 Power switch
Switch turns the power on/off
○
15 DC adapter jack
9V DC
○
16 Headphone jack
A pair of stereo headphones can be connected to this jack
○
17 MIDI OUT
It can be connected with the external MIDI sound generator

8
○
18 LINE IN
Connect this to the external sound source
○
19 OUTPUT Jacks (L, MONO, R)
Connect these to your amp or audio system.
○
20 TRIGGER INPUTS
These inputs are to connect the pads, cymbals, kick, hi-hat control

9
Setting up the whole system

10
Setting up the Kick:

11
Connecting the pads, the cymbals, the hi-hat pedal and the kick:

12
Connecting the adapter, headphone, amp and CD/MP3:

13
Function
1.1 KIT:
Press the KIT button to enter the kit menu. There are 20 preset kits and 10 user kits (EDK260) /
20 user kits (EDK280). Use the +/- button to choose the desired kit. The LED will display the current
kit number.
1.2 DEMO:
Press the DEMO PRACTISE button to enter the DEMO menu page. There are 20 preset demo songs
for you to practise. Use the +/- button to choose the desired DEMO. Press the PLAY/STOP button to
play or stop the demo practice.

14
Press the DEMO PRACTISE button again to enter the DEMO VOLUME page. You can use the +/-
button to change the DEMO volume.
The two pages is in turn by pressing the DEMO PRACTISE button.
1.3 DRUM SOUND:
Press the DRUM SOUND button to enter the DRUM SOUND menu page. There are 260 voices that
can be chosen and assigned to the current pad.
Press the DRUM SOUND again to enter the VOICE VOLUME page. The current pad volume can
be changed by using the +/- button.
Ppress the DRUM SOUND a third time to enter the VOICE PAN page. Using the +/- button to
change the pan value (left or right) for the current voice.

15
1.4 SETUP:
There are four menu pages in SETUP button,
The first is the PAD SENSITIVITY page, you can adjust the pad sensitivity value by using the +/-
button in this page.
The second is the PAD RIM SENSITIVITY page, if the current PAD has rim, the rim sensitivity can
be adjusted by using the +/- button.
The third is the CROSSTALK page. When striking a pad, it may trigger the sound of another pad.
To cut down this problem, use the +/- button to adjust the crosstalk value.

16
The fourth is the VELOCITY CURVE page, you can use the +/- button to choose the desired pad curve.
The lower the number the easier it is to produce a more powerful stroke. The higher the number a
harder stroke is required (the more sensitive the pad is to velocity).

17
1.5 MEMORY:
It has 20 memory slots to store user kit (10 for the EDK260) the +\- button be used to choose the
memory area.
To operate the Memory Function:
1. Load your preferred sounds for each pad
2. Press "MEMORY" (the dot will start flashing).
3. Choose the location from 21-40 (21-30 for EDK260) using the "+" & "-" keys
4. Press "MEMORY" again
1.6 CLICK:
Press the CLICK button to turn on or turn off the metronome.

18
1.7 TEMPO:
Press the TEMPO+ to increase tempo of the DEMO or metronome. Press the TEMPO -/+ to adjust
the tempo of the DEMO or metronome.
1.8 DEMO MUTE:
Press the ACCOMP button to activate or inactivate the demo mute function. When activating the
demo mute, you will not hear the demo but it will continue to play internally.
1.9 DRUM KEYS:
These buttons: snare / kick / tom1 / tom2 / tom3 / crash / ride / hihat / hihat ctrl / rim, can be used to
preview the sound of the corresponding pad when changing the voice.

19
1.10 PAD HEAD SHOTS AND RIM SHOTS:
Head shot for all pads:
Head shot
Rim shot only for snare:

20
Rim shot
1.11 CYMBAL BOW SHOTS AND EDGE SHOTS:
Bow shot for all cymbals
Bow shot
Edge shot only for crash & ride (EDK280 only)
This manual suits for next models
1
Table of contents