manuals.online logo
Brands
  1. Home
  2. •
  3. Brands
  4. •
  5. ASA Electronics
  6. •
  7. Monitor
  8. •
  9. ASA Electronics WAOM562 User manual

ASA Electronics WAOM562 User manual

Other manuals for WAOM562

1

Other ASA Electronics Monitor manuals

ASA Electronics Voyager VOM719WP User manual

ASA Electronics

ASA Electronics Voyager VOM719WP User manual

ASA Electronics Voyager AOM-7694 User manual

ASA Electronics

ASA Electronics Voyager AOM-7694 User manual

ASA Electronics JE1029BMK User manual

ASA Electronics

ASA Electronics JE1029BMK User manual

ASA Electronics AOM713WP User manual

ASA Electronics

ASA Electronics AOM713WP User manual

ASA Electronics VOYAGER VOM-783T User manual

ASA Electronics

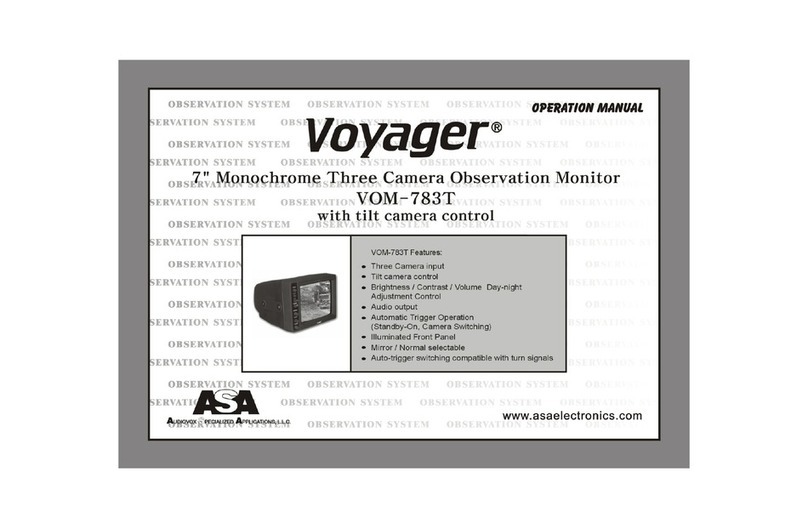
ASA Electronics VOYAGER VOM-783T User manual

ASA Electronics Voyager AOM681 User manual

ASA Electronics

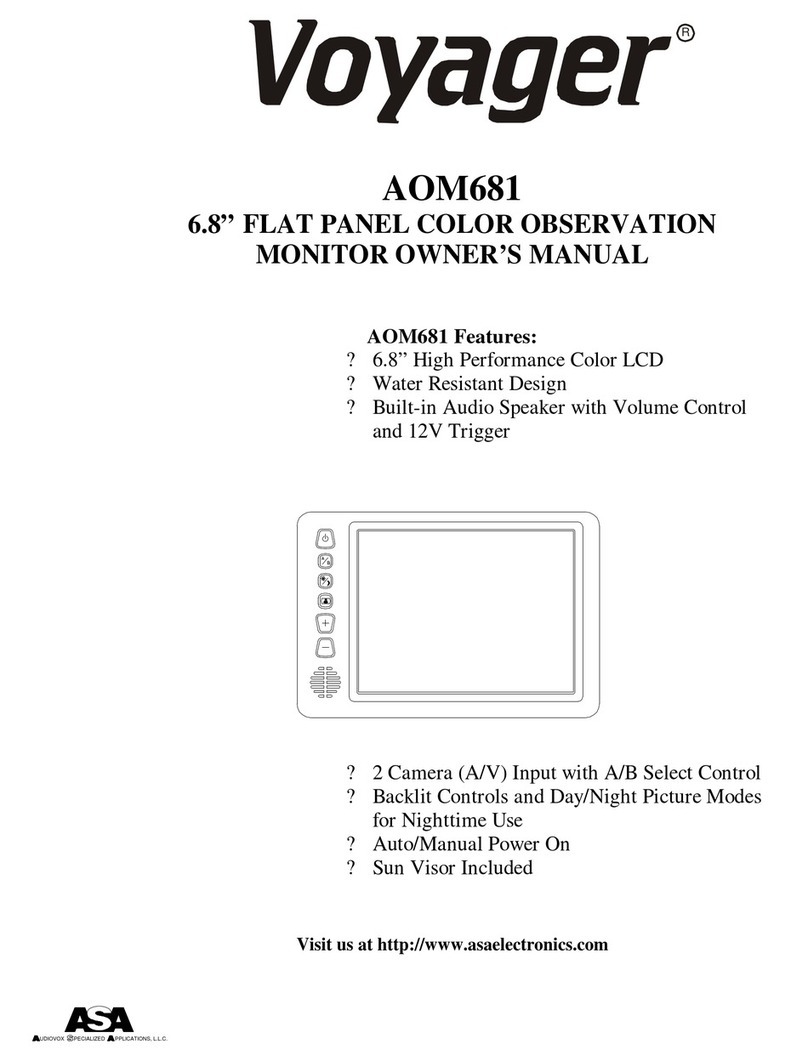
ASA Electronics Voyager AOM681 User manual

ASA Electronics Voyager AOM-7694 User manual

ASA Electronics

ASA Electronics Voyager AOM-7694 User manual

ASA Electronics WAOM562 User manual

ASA Electronics

ASA Electronics WAOM562 User manual
ASA Electronics AOM561 User manual

ASA Electronics

ASA Electronics AOM561 User manual

ASA Electronics Voyager AOM701 User manual

ASA Electronics

ASA Electronics Voyager AOM701 User manual

ASA Electronics FlexVision LCM1511WTV User manual

ASA Electronics

ASA Electronics FlexVision LCM1511WTV User manual

Popular Monitor manuals by other brands

Samsung ME32C user manual

Samsung

Samsung ME32C user manual

ViewSonic VA926-LED user guide

ViewSonic

ViewSonic VA926-LED user guide

Furuno Mu 120c Operator's manual

Furuno

Furuno Mu 120c Operator's manual

Asus VB171D - 17" LCD Monitor Service manual

Asus

Asus VB171D - 17" LCD Monitor Service manual

AOC 9GLR Technical specifications

AOC

AOC 9GLR Technical specifications

DMG RAFFAELLO manual

DMG

DMG RAFFAELLO manual

AOC LM720 - 17" Technical specifications

AOC

AOC LM720 - 17" Technical specifications

Sony Trinitron GDM-F500 Service manual

Sony

Sony Trinitron GDM-F500 Service manual

Memorex MT1701 user guide

Memorex

Memorex MT1701 user guide

ViewSonic VE510s-4 Service manual

ViewSonic

ViewSonic VE510s-4 Service manual

Farenheit T-1503CM instruction manual

Farenheit

Farenheit T-1503CM instruction manual

Ditel DINOS DN129/AT Quick installation guide

Ditel

Ditel DINOS DN129/AT Quick installation guide

Sony SDM-S51 Specifications

Sony

Sony SDM-S51 Specifications

Kenwood DMX1025BT quick start guide

Kenwood

Kenwood DMX1025BT quick start guide

Dell S2409WFP user guide

Dell

Dell S2409WFP user guide

EverFocus EN-7517E instruction manual

EverFocus

EverFocus EN-7517E instruction manual

Dell P3222QE user guide

Dell

Dell P3222QE user guide

Panasonic TH152UX1 - 152" PLASMA TV Service manual

Panasonic

Panasonic TH152UX1 - 152" PLASMA TV Service manual

manuals.online logo
manuals.online logoBrands
  • About & Mission
  • Contact us
  • Privacy Policy
  • Terms and Conditions

Copyright 2025 Manuals.Online. All Rights Reserved.

WAOM562
Pairing Process
If your monitor is not receiving a signal from the camera;
the two may not be paired correctly.
1. Camera and monitor must be connected to 12 Volt DC
power supply.
2. Remove “ pair” button cover from the side of the camera
(using a coin or fat head screwdriver).
3. Press and hold the “ pair” button on the back of
the monitor for 3 seconds and release.
(Monitor will display “ Please press TX pairing button” )
4. Press and hold the “ pair” button on the side of the
camera for 3 seconds and release (you have 60 seconds
to press this button.)
If done correctly, monitor will display “ Pairing successful” .
If pairing is not successful, the monitor will display “ Pairing
failed” . If you receive this message, repeat steps 2 - 4.
Installing The Monitor
1. Plug power cable into the back of the monitor. (fig. 1)
2. Attach the suction cup bracket to the rear of
the monitor with the supplied screws..
3. Locate flat section of glass on your windshield
1. POWER: Press to turn the WAOM562 on.
2. SELECT: Press to toggle the active display image
Between AV1 and AV
3. BRIGHTNESS - /+ :
Press BRIGHTNESS “–“ to darken the picture.
Press BRIGHTNESS “ +” to brighten the picture.
4. VOLUME ? /? :
Press VOLUME ? to decrease the volume.
Press VOLUME ? to increase the volume.
(that does not block your vision) and Apply
suction cup. Snap the lever into the locked
position.
4. Connect the power cord to a 12 Volt DC outlet.
5. Align the antenna to its upright position,
parallel to the monitor
Operation
1. Press the power button on the monitor and turn on
your vehicle’ s parking lights.
2. The monitor will display the Voyager logo for
8 seconds and then the camera image should
appear.
3. In the top right corner of the monitor, you will see
the signal strength meter.
4. Adjust the suction cup bracket to provide the best
viewing angle.
Notice :
The changes or modifications not expressly approved
by the party responsible for compliance could void the
user’ s authority to operate the equipment.
Important note:
To comply with the FCC RF exposure compliance
requirements, no change to the antenna or the device
is permitted. Any change to the antenna or the device
could result in the device exceeding the RF exposure
requirements and void user’ s authority to operate the
device.
   

    
 
 ! " # 
  $ "
 %"  
" #   &'  #
  "   $
("  ) 
*   
  + 
)     
"%  "+ 
)     
"% "   
"% ")  
  "
%
" 
ć
  


  "%+