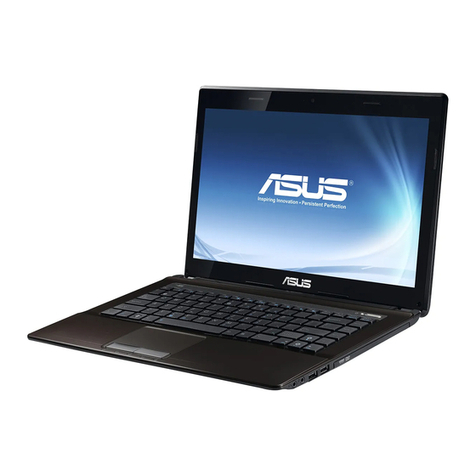
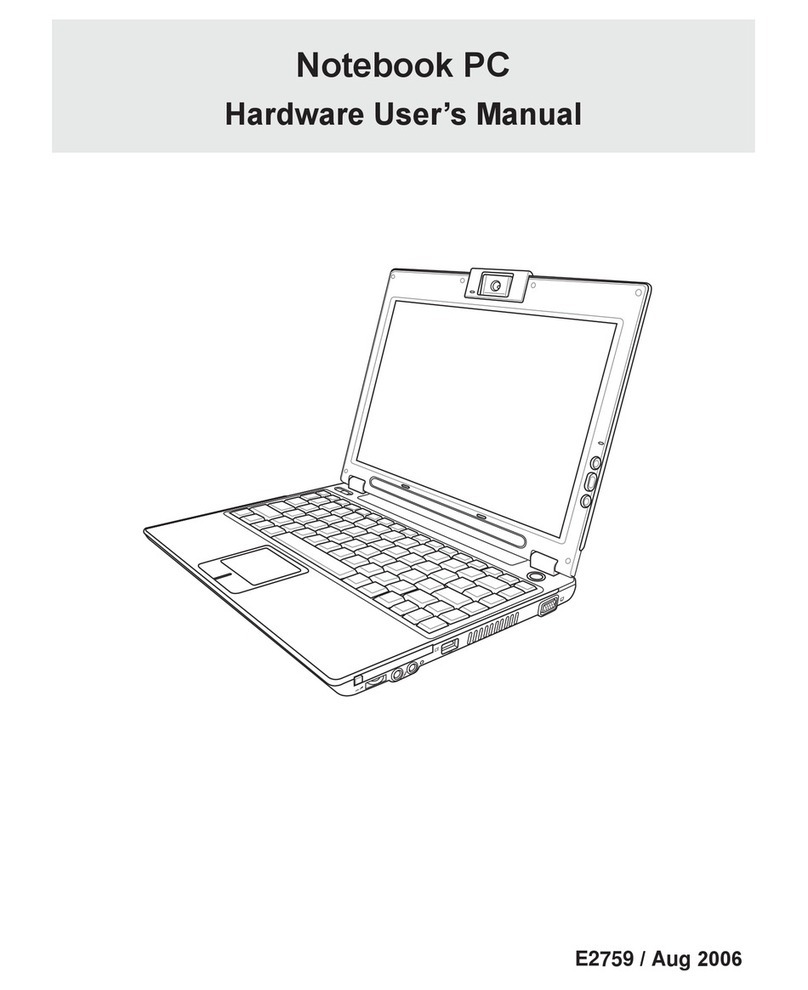
Asus W1V User manual

E2133 / Jul 2005

2
Notebook PC Audio Video Option
Copyright Information
No part of this manual, including the products and software described in it, may be reproduced,
transmitted, transcribed, stored in a retrieval system, or translated into any language in any form or by
any means, except documentation kept by the purchaser for backup purposes, without the express
written permission of ASUSTeK COMPUTER INC. (“ASUS”).
ASUS PROVIDES THIS MANUAL “AS IS” WITHOUT WARRANTY OF ANY KIND, EITHER
EXPRESS OR IMPLIED, INCLUDING BUT NOT LIMITED TO THE IMPLIED WARRANTIES
OR CONDITIONS OF MERCHANTABILITYOR FITNESS FORAPARTICULAR PURPOSE. IN
NO EVENT SHALL ASUS, ITS DIRECTORS, OFFICERS, EMPLOYEES OR AGENTS BE
LIABLE FOR ANY INDIRECT, SPECIAL, INCIDENTAL, OR CONSEQUENTIAL DAMAGES
(INCLUDING DAMAGES FOR LOSS OF PROFITS, LOSS OF BUSINESS, LOSS OF USE OR
DATA, INTERRUPTIONOFBUSINESSANDTHE LIKE), EVENIFASUSHAS BEENADVISED
OF THE POSSIBILITY OF SUCH DAMAGES ARISING FROM ANY DEFECT OR ERROR IN
THIS MANUAL OR PRODUCT.
Product warranty or service will not be extended if: (1) the product is repaired, modified or altered,
unlesssuch repair,modification ofalteration is authorized in writingbyASUS; or(2) the serialnumber
of the product is defaced or missing.
Products and corporate names appearing in this manual may or may not be registered trademarks or
copyrights of their respective companies, and are used only for identification or explanation and to the
owners’ benefit, without intent to infringe.
SPECIFICATIONS AND INFORMATION CONTAINED IN THIS MANUALARE FURNISHED
FOR INFORMATIONAL USE ONLY, AND ARE SUBJECT TO CHANGE AT ANY TIME
WITHOUT NOTICE, AND SHOULD NOT BE CONSTRUED AS A COMMITMENT BYASUS.
ASUS ASSUMES NO RESPONSIBILITY OR LIABILITY FOR ANY ERRORS OR
INACCURACIESTHATMAYAPPEARINTHISMANUAL, INCLUDINGTHE PRODUCTSAND
SOFTWARE DESCRIBED IN IT.
Copyright © 2005 ASUSTeK COMPUTER INC. All Rights Reserved.
Limitation of Liability
Circumstances may arise where because of a default onASUS’part or other liability, you are entitled
to recover damages from ASUS. In each such instance, regardless of the basis on which you are
entitled to claim damages from ASUS, ASUS is liable for no more than damages for bodily injury
(including death) and damage to real property and tangible personal property; or any other actual and
direct damages resulted from omission or failure of performing legal duties under this Warranty
Statement, up to the listed contract price of each product.
ASUS will only be responsible for or indemnify you for loss, damages or claims based in contract, tort
or infringement under this Warranty Statement.
This limit also applies to ASUS’ suppliers and its reseller. It is the maximum for which ASUS, its
suppliers, and your reseller are collectively responsible.
UNDERNO CIRCUMSTANCES ISASUS LIABLE FORANYOFTHE FOLLOWING:(1)THIRD-
PARTY CLAIMS AGAINST YOU FOR DAMAGES; (2) LOSS OF, OR DAMAGE TO, YOUR
RECORDS OR DATA; OR (3) SPECIAL, INCIDENTAL, OR INDIRECT DAMAGES OR FOR
ANYECONOMICCONSEQUENTIALDAMAGES(INCLUDING LOST PROFITS ORSAVINGS),
EVENIFASUS,ITSSUPPLIERSORYOUR RESELLERISINFORMED OFTHEIRPOSSIBILITY.

3
Notebook PC Audio Video Option
ASUSTeK COMPUTER INC.
Company address: 15 Li-Te Road, Beitou, Taipei 11259
General (tel): +886-2-2894-3447
Web site address: www.asus.com.tw
General (fax): +886-2-2894-7798
Technical support
General support (tel): +886-2-2894-3447
Online support: http://support.asus.com
ASUS COMPUTER INTERNATIONAL (America)
Company address: 44370 Nobel Drive, Fremont, CA 94538, USA
General (fax): +1-510-608-4555
Web site address: usa.asus.com
Technical support
General support (tel): +1-502-995-0883
Online support: http://support.asus.com
Notebook (tel): +1-510-739-3777 x5110
Support (fax): +1-502-933-8713
ASUS COMPUTER GmbH (Germany & Austria)
Company address: Harkort Str. 25, D-40880 Ratingen, Germany
General (tel): +49-2102-95990
Web site address: www.asuscom.de
General (fax): +49-2102-959911
Online contact: www.asuscom.de/sales
Technical support
Component support: +49-2102-95990
Online support: http://support.asus.com
Notebook support: +49-2102-959910
Support (fax): +49-2102-959911

4
Notebook PC Audio Video Option
4. Click Next to use the default
destination folder, or click Browse
to set a different location.
1. Click Next after reading the
Welcome page. 2.Select“Iaccept...”andclickNext
afterreading theLicenseAgreement.
3. Enter the “User Name” and
“Company Name” (if available).
Mobile Theater
MobileTheaterallowsyou to maximizethemultimedia features.Thefollowing
sections provide information on installing and using Mobile Theater.

5
Notebook PC Audio Video Option
5.Select aninstallationlanguage and
click Next.6. Click Install to install the files to
your system.
7. Click Finish to exit the setup
wizard when setup is complete.
To launch MobileTheater, either use
the desktop icon or click Start > All
Programs> ASUSMobileTheater
> ASUS Mobile Theater
Icons will be placed on your taskbar
forquickaccessto “Scheduling”and
“Remote Control Center”.

6
Notebook PC Audio Video Option
Introduction
Welcometo MobileTheater, the complete multimediaentertainmentsoftware
for your digital life-style. With its simple user interface, Mobile Theater lets
youenjoyviewing yourphotos,listeningtomusic,andwatchingmovieswithout
the hassle of switching between programs. Mobile Theater’s remote control
support makes digital entertainment more convenient and fun.

7
Notebook PC Audio Video Option
System requirements
• Microsoft
®
Windows
®
XP Service Pack 2
• Intel
®
Pentium
®
M or Pentium
®
4 (1.8 GHz or faster)
• 256 MB of RAM
• 200 MB of available hard drive space for program installation
Supported file formats
Input
Video AVI, DV, MPEG2, MPEG1, WMV, ASF, MPEG4 (optional), 3GP
(optional), 3GPP2 (optional), QuickTime®(optional), RM (optional),
FLC (optional), FLI (optional)
Audio MP3, WAV, MIDI, ASF, WMA, Dolby®Digital (optional)
Image JPG, BMP, TIF, TGA, PNG, GIF
Disc DVD-Video, DVD-VR, VCD, SVCD
Output
Disc DVD-Video, DVD+/-VR, VCD, SVCD
Media DVD-R/RW, DVD+R/RW, DVD-RAM, CD-R/RW

8
Notebook PC Audio Video Option
Getting Started
This section introduces you to the basics of Mobile Theater. Once you know
how to use the software’s features and functions, multimedia entertainment
will become that much more enjoyable.
Using the Remote Control
OneofMobileTheater’s main features is a remote control support.Thisallows
you to control your PC from a distance.
•Enter Activates an option or plays a video/audio file.
•Arrows Navigates through the user interface.
•Play/Pause Pauses or resumes video, audio, or slideshow playback.
•Stop Ends video, audio, or slideshow playback.
•Volume Controls Increases or decreases the volume level of a video, audio, or
slideshow.
•Channel Up/Down Browses for TV channels.

9
Notebook PC Audio Video Option
The User Interface
Mobile Theater’s simple user interface allows you to control the program with
ease. This makes viewing and listening to your media files more relaxing
because you do not have to worry about the technical aspects of the program.
The System Panel
When you are using a mouse instead of the remote control, the System Panel
appears. This panel contains buttons that you can use to minimize, maximize
or restore the program window, as well as close the program. You can also
click the house icon to go to the Menu page where you can select Mobile
Theater’s main functions.
In window mode (click Restore to switch between window and full screen),
you can adjust the size of the window.
Drag here to resize window
Restore
Minimize Close
Menu

10
Notebook PC Audio Video Option
The Navigation Panel
The Navigation Panel contains buttons that you can use to play back video. It
also includes volume control buttons that allow you to adjust the volume level
of the media you are currently playing. Just like the System Panel, the
Navigation Panel only appears when you are using a mouse instead of the
remote control.
The Navigation Panel contains the following buttons:
Play/Pause Pauses or resumes video, audio, or slideshow playback.
Stop Ends video, audio, or slideshow playback.
Home Goes to the start of a video or audio file.
End Goes to the end of a video or audio file.
Forward Goes forward through a video or audio file.
Rewind Goes back through a video or audio file.
Mute Temporarily removes the sound attributes of a video, audio file,
or slideshow during playback.
Volume Controls Increases or decreases the volume level of a video,
audio file, or slideshow.

11
Notebook PC Audio Video Option
The View Port
Mobile Theater has multi-tasking
capabilities that allow you to view a
slideshow, watch a movie, or listen to
music while browsing for files. This is
done through the View Port.
Whileviewing your slideshow or video
in full screen, click Back to minimize
thevideo totheViewPort.Youcanthen
switch to another function and browse
for media files while the current video
is still playing.
To display the selected video in full screen, hold <Alt> and
press <Enter> or click the border of the preview window.
The Selection Menu
The Selection Menu contains options and functions for each program section
or “page”. In the Menu Page, the Selection Menu allows you to go to the
pages where you can view images, play audio and video, as well as specify
settings.
Note:ThecontentsoftheSelectionMenuvarydependingonthepageyouarein.
Click here
View Port
Back

12
Notebook PC Audio Video Option
Settings
The Settings page is where you can view information about Mobile Theater.
You can also specify the settings for viewing images in the Photo page.

13
Notebook PC Audio Video Option
The Menu page
The Menu page is where you select a function to use in Mobile Theater. It also
displays the current date and time as well as your login name.
The Menu page’s Selection Menu contains the following functions:
•Photo - Goes to the Photo page where you can browse and view archived photos.
You can also display photos as a slideshow with background music and transition
effects.
•Music - Goes to the Music page where you can play audio files stored in your hard
drive or from an audio CD.
•Make Disc - Goes to the Burn page where you can create a data disc, DVD-Video,
VCD, SVCD, or DVD+/-VR.
•TV - Goes to the TV page where you can watch TV programs and record TV
footage.
•Game - Goes to the Game page where you can play flash games.
•Video - Goes to the Video page where you can play video files stored in your hard
drive.
•DVD/VCD-Goesto theDVDpage where youcanplay DVDs,VCDs, andSVCDs.
•DV- Goes to the DV page where you can capture footage from a digital camcorder.
•Radio - Goes to the Radio page where you can listen to FM stations.
•Settings - Goes to the Settings page where you can view additional information
about Mobile Theater and specify program preferences.

14
Notebook PC Audio Video Option
Photo
The Photo page allows you to easily browse and view your favorite photos and
other image files.To view an image, select a thumbnail from the image file list
and then press Enter.
Viewing images as a slideshow
A more entertaining way of viewing your image files is to watch them in a
slideshow. Select Play Slideshow in the Selection Menu and then press Enter.
Allimagefilesinthecurrentfolderandsub-foldersareincludedintheslideshow.

15
Notebook PC Audio Video Option
Using the Calendar View
In Calendar View, the Selection Menu lists the dates on which the images were
taken. To go to Calendar View, select Calendar View in the Selection Menu
and then press Enter. In Calendar View, dates when the images were taken are
listed in the Selection Menu. Select a specific year, month, or day to list all
images that were taken during that time period in the image list.
Rotating images
Select Rotate in the Selection Menu and then press Enter to go to the Rotate
page. This page allows you to rotate images for viewing.
To rotate an image:
1. Select Rotate from the image list and then press Enter.
2. Select the image you want to rotate in the image list.
3. Select Rotate +90 or Rotate -90 and then press Enter to rotate the image clockwise
or counterclockwise.
Tip: Select Next and Prev to browse through the images within the folder.
Specifying image and slideshow settings
Specify preferences for viewing your image or slideshow in the Photo Settings
page. This page allows you to add transition effects and background music
when viewing your images as a slideshow. You can also set your slideshow to
repeat after playing. When viewing image files, you can set MobileTheater to
display the file name and the date when the image was taken.

16
Notebook PC Audio Video Option
Photo Settings
The Photo Settings page contains the following options:
•Slide duration - Specify how long each image is displayed in the slideshow.
•Transition effects - Specify a transition effect to use in the slideshow.
•EnableAnimation - Specify whether or not to add motion attributes to each image
when viewing them as a slideshow.
•Show image in random order - Specify whether or not to display the images in
random sequence.
•Display file name - Specify whether or not to include the file name when the
image is displayed.
•Display taken date - Specify whether or not to display the creation date when
viewing an image.
•Play music - Specify whether or not to play an audio file while the slideshow is
playing.
•Music source - Specify an audio file as background music when viewing as
slideshow.
•Repeat playback - Specify whether or not to repeat the slideshow after playback.
•Reset - Allows you to restore Mobile Theater’s original settings.
•ChangeDefaultFolder-Allows youtochange MobileTheater’s folderforopening
or saving files.

17
Notebook PC Audio Video Option
Music
(Just a few of the many visualizations.)
Listen to your favorite audio files or audio CD in the Music page. This page
also provides the following options for playing your audio files:
• Randomly play back audio files in a
playlist.
• Loop a single audio file or an entire
playlist.
• Select a visual representation for the
active audio file.

18
Notebook PC Audio Video Option
Playing back audio files
To playback audio files, select an audio file from the audio file list and then
pressEnter.Youcanalsosortaudiofilesbasedontheiraudiotextsuchassong
name, playlist, artist, and album.
Playing back an audio CD
When you insert an audio CD into your disc drive, you automatically go the
Music page and the CD starts to play. The CD’s audio tracks are displayed in the
audio track list. Use the remote control’s playback buttons to pause, resume, or
navigate through an audio track. Unlike audio files, an audio CD’s track list
cannot be sorted by their audio text.
Listening to music on the Web
Aside from listening to audio files and audio CDs, you can also listen to music
on the Web. Select Web Radio in the Music page to connect to Web radio
channels.You can then select the Web radio channel that you want to listen to.

19
Notebook PC Audio Video Option
Video
Watch video files that are stored in your hard drive in the Video page. Select a
video file from the video file list and then press Enter. To display the selected
video in full screen, hold <Alt> and press <Enter> or click the border of the
preview window. When using a mouse, you can use the Navigation Panel as
well.
Using the Calendar View
The Video page’s Calendar View is the same as the Photo page’s. The video
files are sorted according to the dates they were taken (if this information if
available in the video source) or captured from the video camcorder.
Click here

20
Notebook PC Audio Video Option
Movie
Play your DVDs, VCDs, or SVCDs using Mobile Theater just as you would
play them on a normal DVD player. You can also use the remote control the
same way to control video playback. Button descriptions:
Main Menu - Goes to the main menu of a DVD.
Audio - Switches to another audio stream of a DVD.
Subtitle - Switches to another subtitle stream of a DVD.
Angle - Switches to another angle property of a DVD.
Playing back a DVD/VCD/SVCD
When you insert a DVD/VCD/SVCD into your disc drive, Mobile Theater
automatically plays the disc. Use the remote control to navigate through the
video disc. When you stop video playback, you automatically go to the DVD
page where you can resume playback, restart the video, go to the disc’s title
menu, eject the disc, or specify DVD language settings.
Other manuals for W1V
1
Table of contents
Other Asus Laptop manuals

Asus
Asus Eee Pad Transformer Prime TF201 User manual

Asus
Asus U6E Instructions for use

Asus
Asus F7400 User manual

Asus
Asus L8400 User manual

Asus
Asus EEEPC900-W072X - Eee PC 900 User manual

Asus
Asus P2 Guide

Asus
Asus N61JQ User manual

Asus
Asus UX334FLC Guide

Asus
Asus UX392 Guide

Asus
Asus Z62F Instructions for use

Asus
Asus N43JF User manual

Asus
Asus E9075 Guide

Asus
Asus N45VM User manual

Asus
Asus ROG STRIX G532LWS User manual

Asus
Asus S101 - Eee PC - Atom 1.6 GHz User manual

Asus
Asus T9A User manual

Asus
Asus S3N Instructions for use

Asus
Asus B1A Application guide

Asus
Asus G71Gx - Core 2 Quad GHz User manual

Asus
Asus N56VM User manual