ATD AIR ATD-2182A User manual

ATD-2182A
6” DUAL ACTION SANDER
OWNERS MANUAL
SPECIFICATIONS
Sanding Pad …………………………………………………………… 6” (152 mm)
Free Speed .……………………………………………………………. 10,000 rpm
Average Air Consump on……………………………………………3.3 CFM
Required Air Pressure ………………………………………. 90 PSI (6.3 BAR)
Air Inlet Size ……………………………………………………………………….. 1/4”
Air Hose ……………………………………………………………………………… 3/8”
Dimensions ………………………….. 9.84” x 5.63” (250 mm x 143 mm)
Net Weight …………………………………………………. 4.08 Lbs. (1.85 Kgs)
Visit us at www.atdtools.com ATD2182A_rev_1117

California ProƉŽƐŝƟŽŶ 65 Warning
WARNING: This product contains chemicals including lead, known to the State of California to
cause cancer, birth defects, or other reproducƟve harm. Wash hands ĂŌer handling.
WARNING: SomĞĚƵƐƚĐƌĞĂƚĞĚďLJƉŽǁĞƌƐĂŶĚŝŶŐƐĂǁŝŶŐŐƌŝŶĚŝŶŐĚƌŝůůŝŶŐĂŶĚŽƚŚĞƌĐŽŶƐƚƌƵĐƟŽŶĂĐƟǀŝƟĞƐ
General Safety Warnings
WARNING: The instrucƟons and warnings contained in this manual should be read and understood
before using or operaƟng this tool. Do not allow anyone to use or operate this tool unƟl they have read this
manual and have developed a thorough understanding of how this tool works. Failure to observe any of the
following instrucƟons could result in severe personal injury to tool userand bystanders, or cause damage to
to the tool and property. Keep thismanual for future reference.
Note: The warnings and cauƟons discussed in this instrucƟon manual cannot cover all possible
condiƟons and situaƟons that may occur. Itmust beunderstood by the operator that common senseand
cauƟon are factors whichcannot be built into this product, but must be supplied by the operator.
ĐŽŶƚĂŝŶƐĐŚĞŵŝĐĂůƐŬŶŽǁŶƚŽƚŚĞ^ƚĂƚĞŽĨĂůŝĨŽƌŶŝĂƚŽĐĂƵƐĞĐĂŶĐĞƌďŝƌƚŚĚĞĨĞĐƚƐŽƌŽƚŚĞƌƌĞƉƌŽĚƵĐƟǀĞŚĂƌŵ
Some examples of these chemicals are:
ͻ>ĞĂĚĨƌŽŵůĞĂĚͲďĂƐĞĚƉĂŝŶƚƐ
ͻƌLJƐƚĂůůŝŶĞƐŝůŝĐĂĨƌŽŵďƌŝĐŬƐĂŶĚĐĞŵĞŶƚĂŶĚŽƚŚĞƌŵĂƐŽŶƌLJƉƌŽĚƵĐƚƐ
ͻƌƐĞŶŝĐĂŶĚĐŚƌŽŵŝƵŵĨƌŽŵĐŚĞŵŝĐĂůůLJƚƌĞĂƚĞĚůƵŵďĞƌ
zŽƵƌƌŝƐŬĨƌŽŵĞdžƉŽƐƵƌĞƚŽƚŚĞƐĞĐŚĞŵŝĐĂůƐǀĂƌŝĞƐĚĞƉĞŶĚŝŶŐŽŶŚŽǁŽŌĞŶLJŽƵĚŽƚŚŝƐƚLJƉĞŽĨǁŽƌŬdŽƌĞĚƵĐĞLJŽƵƌ
ĞdžƉŽƐƵƌĞǁŽƌŬŝŶĂǁĞůůͲǀĞŶƟůĂƚĞĚĂƌĞĂĂŶĚǁŝƚŚĂƉƉƌŽǀĞĚƐĂĨĞƚLJĞƋƵŝƉŵĞŶƚƐƵĐŚĂƐĚƵƐƚŵĂƐŬƐƚŚĂƚĂƌĞƐƉĞĐŝĂůůLJ
ĚĞƐŝŐŶĞĚƚŽĮůƚĞƌŽƵƚŵŝĐƌŽƐĐŽƉŝĐƉĂƌƟĐůĞƐ&ŽƌŵŽƌĞŝŶĨŽƌŵĂƟŽŶŐŽƚŽǁǁǁWϲϱtĂƌŶŝŶŐƐĐĂŐŽǀ
RISK OF LOSS OF HEARING
RISK OF EYE OR HEAD INJURY
INHALATION HAZARD
RISK OF INJURY
RISK OF FIRE OR EXPLOSION
ZĞƉĞƟƟǀĞDŽƟŽŶsŝďƌĂƟŽŶ,ĂnjĂƌĚƐ
WARNING:Avoid prolonged exposure to vibraƟon. VibraƟon, repĞƟƟve moƟons, or uncomfortable
posiƟons over extended periods of Ɵme may be harmful to your hands and arms. Do not ignore symptoms
or persistent or recurring discomfort, pain, throbbing, achingƟŶŐůŝŶŐŶƵŵďŶĞƐƐďƵƌŶŝŶŐƐĞŶƐĂƟŽŶŽƌ
sƟīness. DisconƟnue use of the tool and seek medical advice before resuming use.
1

WARNING: Dress properly. Do not wear loose clothing or jewelery as they can be caught in
moving parts. Wear restriĐƟve hair covering to contain long hair.
WARNING: Do not reach over or across running machines. Keep proper fooƟng and balance at
allƟmes. NonͲskid footwear is recommended when working.
Air Tool Use aŶĚ Care
WARNING: Air under pressure can cause severe injury. Never point an air tool at anyone or
direct air at yourself or others. It could cause serious injury.
WARNING: Always turn oīthe air supply, drain the hose of air pressure anddetach the tool
from the air supply before installing, removing or adjusƟng any accessory onthis tool, or before
performing any maintenance on this tool. Failure to do so could result in injury.
WARNING: Always check for damaged, frayed or loose hosesand Įƫngs. Have any defecƟve or
damaged parts replaced immediately by quaůŝĮed personnel.
WARNING: Do not carry the tool by the hose. Protect the hose from sharp objects and heat.
WARNING: Always use air hose and couplings with a minimum working pressure raƟng of at
least 1Ͳ1/2 Ɵmes the maximum working pressure raƟng of the tool.
WARNING: Do not depress the tooltrigger/lever when connecƟng the air supply hose.
WARNING: Do not lock, tape, wire, orotherwise disable the “ON/OFF”valve in the “ON”
posiƟon. The trigger must alwaysbe free to return to the “OFF” posiƟon when released.
WARNING: When the tool is not in use, shut oīthe air supply and press the trigger/lever to
drain the air supply line. If the tool is not to be used for a period of Ɵme, Įrst lubricate, disconnect from
the air supply and store in a clean and dry locaƟon at average room temperature.
WARNING: Keep bystanders and childrenout of the work areawhile operaƟng this tool.
WARNING: Always keep your work area clean, uncluƩĞred, and well lit. CluƩered or dark areas
invite accidents and injuries. DO NOT work on Ňoor surfaces that are slippery.
WARNING: Do not operate this tool if you areƟred or under the inŇuence of alcohol, drugs, or
medicaƟons that could aīect your ability to use thetool properly.
2

Air Supply
Drain Daily
Regulator
Filter
Nipple
Lubricator
Quick Coupler
Whip Hose
Nipple
Leader Hose
Do Not Install
Quick Coupler
Here
Typical Air Supply InstalůĂƟon
Figure 1
Always use clean, dry air. Dust, corrosive fumesand/or water in the airline will cause damage to the tool.
Drain the air tank daily. Clean the air inlet Įlter screen on at least aweekly schedule. The recommended
hook up procedure can be viewed in ĮŐƵƌĞϭ above.
LuďricaƟon
ŶĂƵƚŽŵĂƟĐŝŶͲůŝŶĞĮůƚĞƌͲƌĞŐƵůĂƚŽƌͲůƵďƌŝĐĂƚŽƌŝƐƌĞĐŽŵŵĞŶĚĞĚ;ĮŐƵƌĞϭͿĂƐŝƚŝŶĐƌĞĂƐĞƐƚŽŽůůŝĨĞĂŶĚŬĞĞƉƐ
ƚŚĞƚŽŽůŝŶƐƵƐƚĂŝŶĞĚŽƉĞƌĂƟŽŶdŚĞŝŶͲůŝŶĞůƵďƌŝĐĂƚŽƌƐŚŽƵůĚďĞƌĞŐƵůĂƌůLJĐŚĞĐŬĞĚĂŶĚĮůůĞĚǁŝƚŚĂŝƌƚŽŽůŽŝů
WƌŽƉĞƌĂĚũƵƐƚŵĞŶƚŽĨƚŚĞŝŶͲůŝŶĞůƵďƌŝĐĂƚŽƌŝƐƉĞƌĨŽƌŵĞĚďLJƉůĂĐŝŶŐĂƐŚĞĞƚŽĨƉĂƉĞƌŶĞdžƚƚŽƚŚĞĞdžŚĂƵƐƚ
ƉŽƌƚƐĂŶĚŚŽůĚŝŶŐƚŚĞƚŚƌŽƩůĞŽƉĞŶĂƉƉƌŽdžŝŵĂƚĞůLJϯϬƐĞĐŽŶĚƐdŚĞůƵďƌŝĐĂƚŽƌŝƐƉƌŽƉĞƌůLJƐĞƚǁŚĞŶĂůŝŐŚƚ
stain of oil collects on the paper. Excessive amounts of oil should be avoided.
/ŶƚŚĞĞǀĞŶƚƚŚĂƚŝƚďĞĐŽŵĞƐŶĞĐĞƐƐĂƌLJƚŽƐƚŽƌĞƚŚĞƚŽŽůĨŽƌĂŶĞdžƚĞŶĚĞĚƉĞƌŝŽĚŽĨƟŵĞ;ŽǀĞƌŶŝŐŚƚǁĞĞŬͲ
ĞŶĚĞƚĐͿŝƚƐŚŽƵůĚƌĞĐĞŝǀĞĂŐĞŶĞƌŽƵƐĂŵŽƵŶƚŽĨůƵďƌŝĐĂƟŽŶĂƚƚŚĂƚƟŵĞdŚĞƚŽŽůƐŚŽƵůĚďĞƌƵŶĨŽƌ
approximately 30 seconds to ensure oil has been evenly distributed throughout the tool. The tool should be
stored in a clean and dry environment.
ͻ/ƚŝƐŵŽƐƚŝŵƉŽƌƚĂŶƚƚŚĂƚƚŚĞƚŽŽůďĞƉƌŽƉĞƌůLJůƵďƌŝĐĂƚĞĚďLJŬĞĞƉŝŶŐƚŚĞĂŝƌůŝŶĞůƵďƌŝĐĂƚŽƌĮůůĞĚĂŶĚ
ĐŽƌƌĞĐƚůLJĂĚũƵƐƚĞĚtŝƚŚŽƵƚƉƌŽƉĞƌůƵďƌŝĐĂƟŽŶƚŚĞƚŽŽůǁŝůůŶŽƚǁŽƌŬƉƌŽƉĞƌůLJĂŶĚƉĂƌƚƐǁŝůůǁĞĂƌƉƌĞŵĂͲ
turely.
ͻhƐĞƚŚĞƉƌŽƉĞƌůƵďƌŝĐĂŶƚŝŶƚŚĞĂŝƌůŝŶĞůƵďƌŝĐĂƚŽƌdŚĞůƵďƌŝĐĂƚŽƌƐŚŽƵůĚďĞŽĨůŽǁĂŝƌŇŽǁŽƌĐŚĂŶŐŝŶŐĂŝƌ
ŇŽǁƚLJƉĞĂŶĚƐŚŽƵůĚďĞŬĞƉƚĮůůĞĚƚŽƚŚĞĐŽƌƌĞĐƚůĞǀĞůhƐĞŽŶůLJƌĞĐŽŵŵĞŶĚĞĚůƵďƌŝĐĂŶƚƐƐƉĞĐŝĂůůLJŵĂĚĞ
ĨŽƌƉŶĞƵŵĂƟĐĂƉƉůŝĐĂƟŽŶƐ^ƵďƐƟƚƵƚĞƐŵĂLJŚĂƌŵƚŚĞƌƵďďĞƌĐŽŵƉŽƵŶĚƐŝŶƚŚĞƚŽŽůƐKͲƌŝŶŐƐĂŶĚŽƚŚĞƌ
rubber parts.
/DWKZdEd
>ƵďƌŝĐĂƚĞƚŚĞƚŽŽůƐĂŝƌŵŽƚŽƌĚĂŝůLJǁŝƚŚƋƵĂůŝƚLJĂŝƌƚŽŽůŽŝů/ĨĂĮůƚĞƌƌĞŐƵůĂƚŽƌůƵďƌŝĐĂƚŽƌŝƐŶŽƚŝŶƐƚĂůůĞĚŽŶ
ƚŚĞĂŝƌƐLJƐƚĞŵĂŝƌŽƉĞƌĂƚĞĚƚŽŽůƐƐŚŽƵůĚďĞůƵďƌŝĐĂƚĞĚĂƚůĞĂƐƚŽŶĐĞĂĚĂLJŽƌĂŌĞƌϮŚŽƵƌƐǁŽƌŬǁŝƚŚϮƚŽϲ
ĚƌŽƉƐŽĨŽŝůĚĞƉĞŶĚŝŶŐŽŶƚŚĞǁŽƌŬĞŶǀŝƌŽŶŵĞŶƚĚŝƌĞĐƚůLJƚŚƌŽƵŐŚƚŚĞŵĂůĞĮƫŶŐŝŶƚŚĞƚŽŽůŚŽƵƐŝŶŐ
KǀĞƌĮůůŝŶŐǁŝůůĐĂƵƐĞƌĞĚƵĐƟŽŶŝŶƚŚĞƉŽǁĞƌŽĨƚŚĞƚŽŽů
3

Figure 2 Figure 3
seat (#10) to lock the bearing seat
2. Mount the sanding pad onto the bearing seat (#10) by turning the
WARNING:Only use sanding padsthat have an
or greater than the tool itself.
3. Disengage the ribbed side of the lever (#5) from the bearing seat
(#10) so that the bearing can move freely.
4. Mount sand paper (not provided) to the sanding pad.
6. Connect the air tool to the air hose.
8. Press the trigger to operate the tool. (Figure 5)
of the handle. (Figure 6)
10. Ensure the air supply is clean and does not exceed 90 psi while
the product life due to excessive wear, and may be dangerous causing
damage or personal injury.
11. Ensure that children stay away from the tool and workplace during
DO NOT
DO NOT
will shorten its life.
NOTE: The tool speed can be adjusted by turning the air regulator
knob (#32) either clockwise or counterclockwise. (Figure 6)
Figure 4
Figure 6
Figure 5
Ensure you read, understand and apply safety instructions before use.
If more detail is needed, please refer to the parts breakdown on
4

Figure 7
Figure 8
ĂƌĞĂŶĚDĂŝŶƚĞŶĂŶĐĞ
The tool should be lubricated daily (or before each use) with air tool oil.
dŚĞƌĞŝƐĂƐŵĂůůϱŵůƐĂŵƉůĞĨŽƌĮƌƐƚƟŵĞƵƐĞŝŶĐůƵĚĞĚ
:NOTE Air tool oil is available at major hardware stores.
SAE #10 weight oil or any high grade turbine oil containing moisture
ĂďƐŽƌďĂŶƚƌƵƐƚŝŶŚŝďŝƚŽƌƐŵĞƚĂůǁĞƫŶŐĂŐĞŶƚƐĂŶĚĂŶW
;ĞdžƚƌĞŵĞƉƌĞƐƐƵƌĞͿĂĚĚŝƟǀĞŵĂLJďĞƵƐĞĚĂƐĂƐƵďƐƟƚƵƚĞ
DO NOT USE DETERGENT OIL.
ƵƌŝŶŐĐŽŶƟŶƵŽƵƐŽƉĞƌĂƟŽŶƚŚĞƚŽŽůƐŚŽƵůĚďĞŽŝůĞĚĞǀĞƌLJ
ϭƚŽϮŚŽƵƌƐdŚŝƐŵĂLJďĞĚŽŶĞƵƐŝŶŐĂŶŝŶͲůŝŶĞŽŝůĞƌŽƌŵĂŶƵĂůůLJ
If done manually, proceed as follows:
1. Disconnect the tool from the air supply. (Figure 7)
2. Place a few drops of air tool oil into the inlet. (Figure 8)
3. Connect the tool to the air supply. Run the tool without
load for a few seconds to distribute oil through the tool.
:NOTE Avoid the misuse of thicker oil which may lead to reduced
ƉĞƌĨŽƌŵĂŶĐĞŽƌŵĂůĨƵŶĐƟŽŶ
:NOTE Any excess oil may be propelled from the air exhaust area ƐŽŬĞĞƉƚŚĞƚŽŽůƉŽŝŶƚĞĚŝŶĂƐĂĨĞĚŝƌĞĐƟŽŶ
ϰŌĞƌŽƉĞƌĂƟŶŐƚŚĞƚŽŽůĂŶĚďĞĨŽƌĞƐƚŽƌŝŶŐƚŚĞƚŽŽůĚŝƐĐŽŶŶĞĐƚƚŚĞĂŝƌŚŽƐĞĂŶĚƉůĂĐĞϰŽƌϱĚƌŽƉƐŽĨ
air tool oil into the air inlet, then reconnect the air hose and run the tool for approximately 30 seconds to
evenly distribute the oil throughout the tool.
ϱǀŽŝĚƐƚŽƌŝŶŐƚŚĞƚŽŽůŝŶĂŚƵŵŝĚĞŶǀŝƌŽŶŵĞŶƚĂƐƚŚĂƚƉƌŽŵŽƚĞƐƌƵƐƟŶŐŽĨŝŶƚĞƌŶĂůŵĞĐŚĂŶŝƐŵƐ
Always oil the tool before storage.
6. When the tool is seriously damaged or beyond repair, please dispose of properly. Recycle if possible.
Never incinerate this tool.
5

dƌŽƵďůĞƐŚŽŽƟŶŐ
PROBLEM POSSIBLE CAUSE CORRECTIVE ACTION
Motor parts worn. Lubricating clutch housing.
Check for excess clutch oil. Clutch cases need only
be half full. Overfilling can cause drag on high speed
clutch parts. A typical oiled/lubricated wrench requires
1»2 ounce of oil.
GREASE LUBRICATED: NOTE: Heat usually indicates
insufficient grease in chamber. Severe operating
conditions may require more frequent lubrication.
Motor parts jammed with dirt particles Check air inlet filter for blockage.
Power regulator in closed position Pour air tool lubricating oil into air inlet as per
instructions.
Operate tool in short bursts quickly reversing rotation
back and forth where applicable.
Repeat above as needed.
Pour air tool lubricating tool into air inlet.
Operate tool in short bursts of forward and/or reverse
rotation where applicable.
Tap motor housing gently with plastic mallet.
Disconnect supply. Free motor by rotating drive shank
manually where applicable
Replace ‘O’ ring .
Note: Repairs should be carried out by a qualified person.
Camclutch worn or sticking due to lack of
lubricant.
Abnormal vibration or
excessive heat develops in
the tool
Improper lubrication Followproper lubrication procedures in this manual
Air flowblocked by dirt.
Tool runs at normal speed
but loses power under load
Tool runs slowly. Air flows
slightly from exhaust
Tools will not run. Air flows
freely from exhaust
One or more motor vanes stuck due to
material build up.
Tool will not shut off ‘O’ rings throttle valve dislodged fromseat
inlet valve.
6

ITEM# ORDERING PART# PART DESCRIPTION ITEM# ORDERING PART# PART DESCRIPTION
1 PRT2182A-01 BOLT 27 PRT2182A-27 GASKET
2 PRT2182A-02 FLATWASHER 28 PRT2182A-28 HOUSING
3 PRT2182A-03 SPRING WASHER 29 PRT2182A-29 HOUSING GRIP
4 PRT2182A-04 COPPER INLAY 30 PRT2182A-30 RETAINER RING 6
5 PRT2182A-05 NUT 31 PRT2182A-31 O-RING 4.5*1.8
6 PRT2182A-06 NUTM6 32 PRT2182A-32 CONTROL KNOB
7ATD2076 / ATD2078 6”SANDING PAD 33 PRT2182A-33 HANDLE COVER
8 PRT2182A-08 RETAINER RING 32 34 PRT2182A-34 O-RING 22.4*1.8
9 PRT2182A-09 WAVE WASHER 35 PRT2182A-35 AIR INLETPLUG
10 PRT2182A-10 DRIVE SPINDLE 36 PRT2182A-36 COMPRESSION SPRING
11 PRT2182A-11 BEARING 6201 37 PRT2182A-37 VALVE STEM
12 PRT2182A-12 BOLT 38 PRT2182A-38 O-RING 4*2*2PCS
13 PRT2182A-13 ORBITAL SHAFT 39 PRT2182A-39 O-RING 3.5*1.5
14 PRT2182A-14 BOLTM5*25 40 PRT2182A-40 O-RING 8*1.5
15 PRT2182A-15 WOODRUFF KEY 41 PRT2182A-41 O-RING 11.5*1.6
16 PRT2182A-16 CRANK SHAFT 42 PRT2182A-42 VALVE SEAT
17 PRT2182A-17 BEARING 6200 *2PCS 43 PRT2182A-43 BRACKET
18 PRT2182A-18 CYLINDER CAP*2PCS 44 PRT2182A-44 WASHER
19 PRT2182A-19 ROTOR 45 PRT2182A-45 SPRING WASHER 10
20 PRT2182A-20 ROTORBLADE*5PCS 46 PRT2182A-46 HEX NUT M10
21 PRT2182A-21 CYLINDER 47 PRT2182A-47 SCREW M4*35
22 PRT2182A-22 PIN 3*7 48 PRT2182A-48 HEX NUT M4
23 PRT2182A-23 O-RING 7.5*1.8 49 PRT2182A-49 TRIGGER
24 PRT2182A-24 BOLTM5*16*4PCS 50 PRT2182A-50 SPRING WASHER 6
25 PRT2182A-25 RETAINER RING 8 51 PRT2182A-51 OIL BOTTLE
26 PRT2182A-26 MOTOR HOUSING 52 PRT2182A-52 ADAPTER
1 2 3 45
6
7 8 9
10 11 12 13 14
15
16 17 18 19
20 21
22
24
25 26
27 28 29
30
3132
333435
36 37 38 39 40 41 42 43 44 45
46
47
48 49
50
23
17
18
31
52
51
ATD-2182A
7

WARRANTY
1 YEAR LIMITED WARRANTY
THIS WARRANTY AND CONFIRMED RECEIPT(S) SHOULD BE RETAINED BY THE CUSTOMER AT ALL TIMES
PURCHASED FROM: _______________________________________
DATE PURCHASED: ________________________________________
INVOICE/RECEIPT NUMBER: _________________________________________
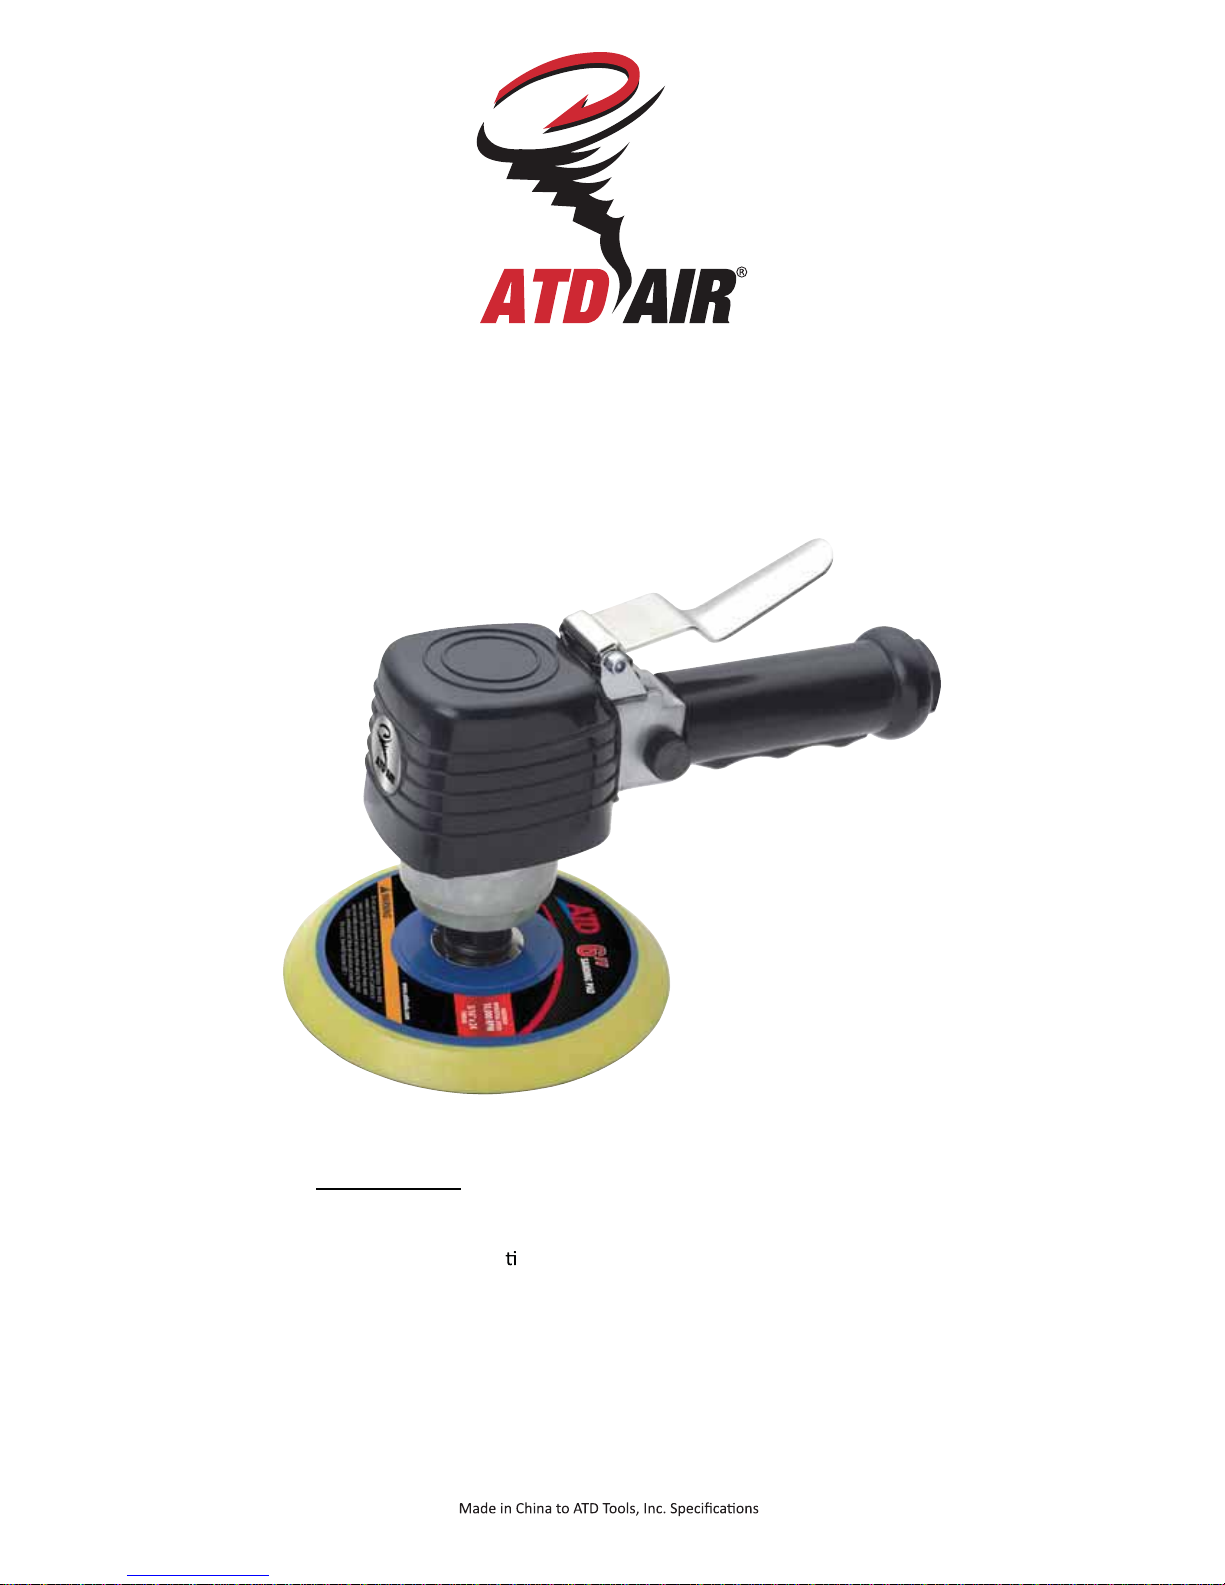
Your ATD-2182A is warranted for a period of 12 months from the original purchase date.
For a period of one (1) year from your purchase date, ATD Tools Inc. will repair or replace (at its option) without charge, your
ATD product if it was purchased new and the product has failed due to a defect in material or workmanship which you experienced
during normal use of the product. This limited warranty is your exclusive remedy.
To access the benefits of this warranty, contact your supplier, or point of sale directly. You may be advised to return the product
under warranty, freight prepaid, to your supplier for warranty determination.
If this ATD product is altered, abused, misused, modified, or undergoes service by an unauthorized technician, your warranty will
be void. We are not responsible for damage to ornamental designs you place on thisATD product and such ornamentation should
not cover any warnings or instructions or they may void the warranty. This warranty does not cover scratches, superficial dents, and
other abrasions to the paint finish that occur under normal use. It also does not cover normal wear items such as but not limited to
brushes, batteries, drill bits, drill chucks, pads or blades.
Subject to the law in your state:
(1) Your sole and exclusive remedy is repair or replacement of the defective product as described above.
(2) ATD is not liable for any incidental damages, including but not limited to, lost profits and unforeseeable consequences.
(3) The repair and replacement of this product under the express limited warranty described above is your exclusive remedy and is
provided in lieu of all other warranties, express or implied. All other warranties, including implied warranties and warranties of
merchantability or fitness for a particular purpose are disclaimed and, if disclaimer is prohibited, these warranties are limited to
one year from your date of purchase of this product.
Some states’ laws do not allow limited durations on certain implied warranties and some states’ laws do not allow limitations on
incidental or consequential damages. You should consult the law in your state to determine how your rights may vary.
[Affix receipt or invoice here for safe keeping]
8
Table of contents
Other ATD AIR Sander manuals
Popular Sander manuals by other brands

MasterForce
MasterForce 241-0807 Operator's manual

Wesco
Wesco WS4151 manual

MEISTER CRAFT
MEISTER CRAFT MDSC 72 LIO Operating instructions & safety hints

Power Fist
Power Fist 8336877 owner's manual

Lumberjack
Lumberjack BD370 Safety and operating manual

Far Tools
Far Tools PO 180C Original manual translation