ATEQ VT66MB
UM-VT66MB-EN ATEQ VT66MB User manual Page 4/81
•Clean the tool with a soft dry cloth, or if necessary, with a soft damp cloth with clean
water.
•Do not use any harsh chemical solvents such as acetone, thinner, brake cleaner,
alcohol, etc as this may damage the tool.
2.2.4 Water & Moisture
•Do not put the tool in contact with water or any other liquid.
•Never spill liquid of any kind onto the tool.
2.2.5 Storage
Do not use or store the tool in an area:
•exposed to direct sunlight,
•subject to excessive moisture.
2.2.6 Usage
•To reduce the risk of fire, do not operate the tool:
oin the vicinity of flammable liquids,
oin case of risk of exposure to explosive gases or vapors.
•Keep the tool away from heat sources.
•Do not operate the tool with the battery cover removed.
•Do not position the equipment so that it is difficult to operate the disconnecting device.
2.3 Standards and references
This device complies with:
•CE / EN standards
•Part 15 of the FCC Rules
•RoHS standards
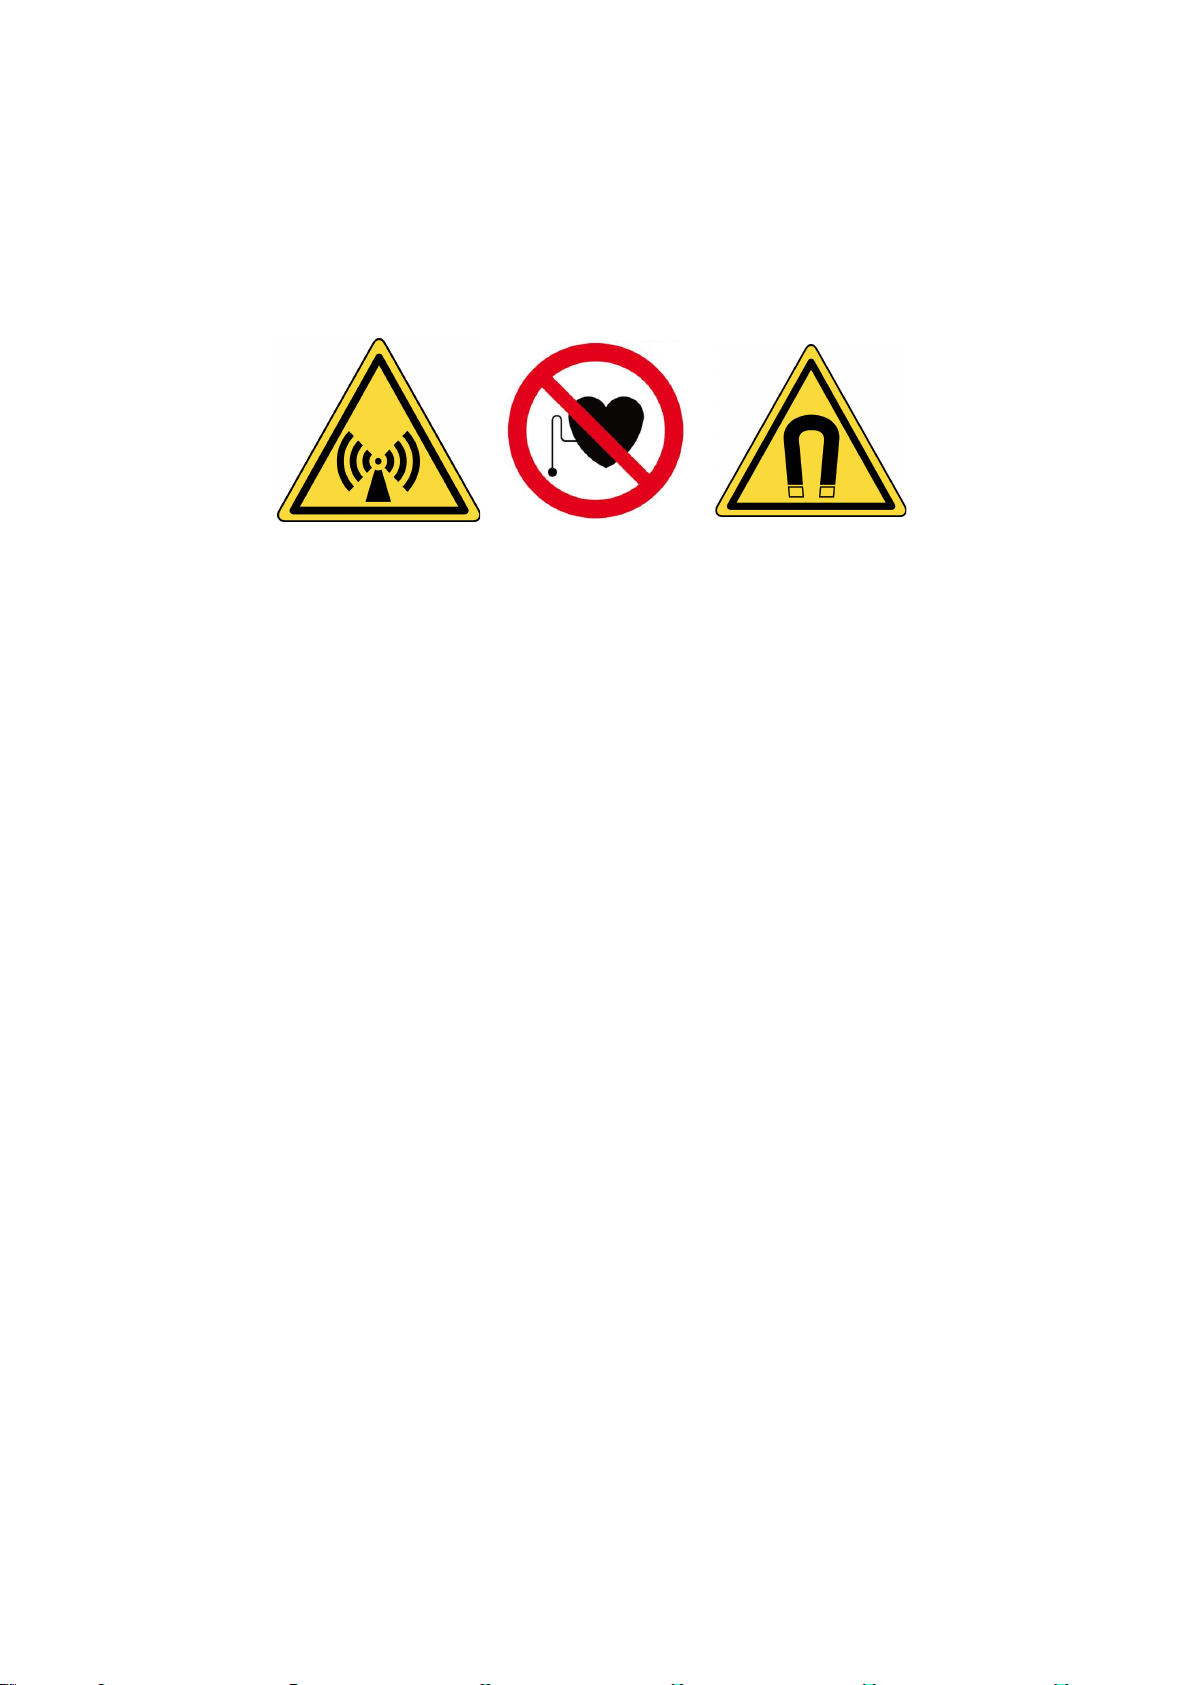
2.4 Warnings
•Read the instructions before use.
•Wear safety goggles (user and bystanders).
•Do not use on live electrical circuits.
•Risk of entanglement.
Read the information on the declarations of certification and on recycling the
VT66MB tool on the warranty page 69 of this user guide.