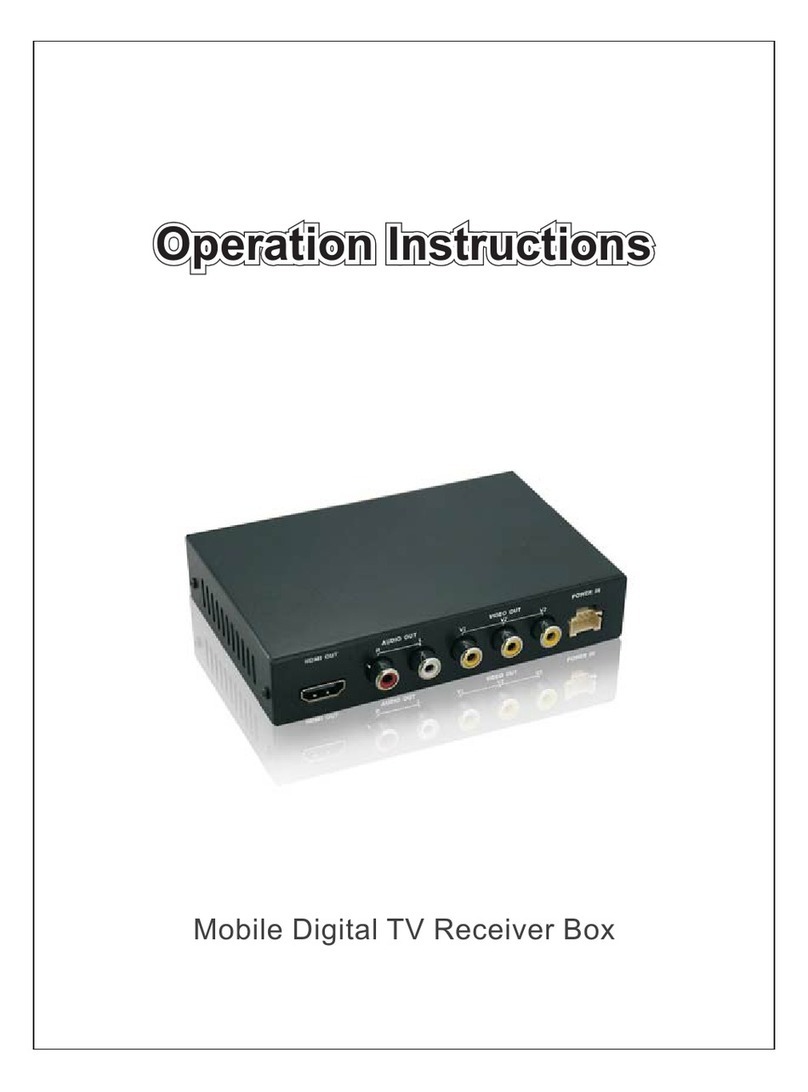
ATSC Digital TV Receiver Box User manual

1
ATSC Digital TV Receiver Box
Operation Manual
Please read the operation manual detailed before use this product

2
CONTENT
1、Products Function Instruction
2、Products Wiring Diagram
3、Remote Control Function Operation Instruction
4、Opening Operation Instruction
5、Auto search channels Operation Instruction
6、Channel and Title setup Instruction
7、EAS Setup Instruction
8、Parents Control Menu Operation Instruction
9、System Setup Instruction
10、Version Information
11、Channels Information
12、Fault Handling Information

3
1、Function Instruction
RF input:whole wave band 57 MHz ~ 803MHz
Input impedance:75Ω
Signal level:-78dBm ~ -25dBm
Connecting equipment form::F Terminal
Channel Band Width:6 meters
Standard:ATSC A/52 and QAM, ITU-T J.83 ANNEX B 64/256
Demodulator: ATSC-8VSB OR CABLE 64/256QAM
Standard:MPEG-2 MP@HL
Transport stream:ISO/IEC 13818-1 MPEG-2
Video Aspect Ratio:4:3 /16:9
Video System:NTSC
Video output:1±0.3Vpp
Video resolution:720*480p@30fps or 720*480i@30fps
Standard:ISO/IEC 11172-3
Audio decoder:MPEG-1 audio Layer II
Audio channel:ST
Audio language:English,Spanish,French
Audio output:Can adjustable volume to 1Vpp 47Kohm
A/V output:audio(R/L)output,video(CVBS)output
ANT Terminal: Female F Type

4
2、Products Wiring Diagram

5
3、Remote Control Function Operation Instruction
Item Function
ON/OFF On/off button
FAV Select the favorite channels
INFO Display information on viewed channel
MUTE Mute the audio output
AUDIO Switch the audio language if transmitting more then one
language
/ Change channels sequentially up or down in viewing
mode and move to the next higher or lower item in the
menu
OK/LIST Choose one item or confirm a choice
/ Alter the Audio output level up or down in viewing mode
or move to the left or right item in the menu
MENU Main menu entrance
EPG When display EPG information at the current channel,
into EPG list mode;if you try again,exit EPG list mode
EXIT To return to previous status or exit
VIDEO Change AV input interface
0~9 Direct put in the channel number
Return to channel view
SUBT Change title
4、Opening Operation Instruction
1. Press the POWER button on the receiving box, or press ON / OFF button of remote control to open; also by the
MENU key to enter the auto-search interface to search programs.
2. The CH+/CH- key also have a multiple function of UP/DOWN; and the VOL+/VOL- key have a multiple
function of RIGHT/LEFT
3. In the main menu, it has seven settings as follows ATSC-001
ATSC-001

6
5、Auto Search
1>. The receiving source of Type: choose the cable or antenna of receiving source of type, the default value: the
antenna. As follows ATSC-002
2>. Enter to the interface of auto-search setting, select the Start Search to enter the auto-search interface
automatically search. As follows ATSC-003
3>. Want to stop, press the EXIT button of the remote control to stop the searching process.
4>. When you select Reset, the system will be whether you would like to restore the dialog box of first default
5>. SNR is the signal ratio. As follows ATSC-004
Note: When the automatic search is completed or ceases to automatically search and then displays the following
information. Prompted the total number of television channels of searching.
ATSC-002
ATSC-003
ATSC-004

7
6、CH & CC Setup
CH Setup (Figure ATSC-005)
1>. Select the program in the channel
2>. Switch skip status between on or off
3>. Set favorite channel in the favorite list. Select item in the favorite list. Figure ATSC-006
4>. Quality & Strength is the strength of received signal.
ATSC-005
ATSC-006
CC Setup (Figure ATSC-007)
1. CC Display:
Choose the closed-caption display options: On / Off, default value: Off
2.608CC Type:
Select the CC type options:: C1, C2, C3, C4, T1, T2, T3, T4, the default value: C1
3.708CC Type:
Select the CC type options:: Service 1, Service 2, Service 3, Service 4, Service 5, Service 6, the default value:
Service 1
4. CC Mode:
Select the CC mode options: Broadcast, Customer default: Broadcast
Note: when CC Mode is Broadcast , CC Customer is grayed-out and cannot be edited .
5. CC Customer:
Enter the CC Customer sub-menu. Figure ATSC-008

8
A: CC Size:
CC size options: Small ,Standard and Large default: Standard
B. CC Font:
Select the CC font options: Font 0, Font 1, Font 2, Font 3, Font 4, Font 5, Font 6 and Font 7 default: Font 1
C: CC Opacity:
Select the CC opacity options: Solid, Flashing, Trnsl, Trnsp. Default: Solid
D: CC Color:
Select the CC color options: black, white, red, blue, yellow, magenta and cyan. Default value: white
E: Edge Color:
Select the Font Edge color options: black, gray, red, green, blue, yellow, dark blue, dark gray. Default value:
black
F: Edge Type:
Select the Font Edge type options: None, Raised, Depressed, Outline, L. shadow, R. shadow. Default value:
None
G: Bkgrd Color:
Select the Background color option list options: black, gray, dark gray, red, navy, green and yellow. Default
value: black
H: Bkgrd Opacity:
Select the Background color options: Solid, Trnsl. Default: Solid
ATSC-007
ATSC-008

9
7、EAS Setup
1. Always: EAS is always open.
2. Skip low priority: EAS Skip the low-level important information.
3. Skip low medium priority: EAS Skip low-level secondary information.
8、Parental Control
Before enter Parental Control menu, please enter the in order for the child not to change any settings on the Parental
Control. Figure ATSC-009
Options 0-9, the default value :----, default password: 0000
Note: When the user press the "EXIT" key to return to previous menu.
ATSC-009
If password is invalid, input numbers are cleared and you could input password again; when password is valid,
enter Parental
Control menu automatically. Figure ATSC-010
1. V-chip set
Enter the V-chip Setting menu.
2. RRT set menu
Enter to the RRT set menu
3. Block Enable:
Switch Master Enable between on and off. default: on
4. Unrated:
Switch Unrated between on and off. default: on
5. Change Password: enter the sub-menu to change password.
Change Password:
Options 0-9, default :----, according to their own preferences to set a new password.

10
ATSC-010
V-Chip & Movie Ratings Setting
V-Chip Setting (Figure ATSC-011)
1. Movie Ratings
Enter Movie Ratings sub-menu
2. USA TV Content Ratings
Enter USA TV Content Ratings
3. Canada English Ratings
Enter Canada English Ratings sub-menu
4. Canada French Ratings
Enter Canada French Ratings sub-menu
AT S C - 0 11
■Movie Ratings
1. G-Y:
Switch the check box between view or block. default: View Figure ATSC-012
Note: blocking a rating affects all the higher ratings, so that blocking "R" in the example above automatically
blocks
"NC-17" and "Y", whatever previous state of these ratings was. If a password is defined while a TV program
warning
is received for the current channel, sound is muted and the following menu is displayed on the center of screen;
what's
more, the rating information should be consistent with current active program rating.

11
This Channel is blocked by the Movie Rating of R
ATSC-012
■USA TV Content Ratings
1. Y-MA
Switch the check box between view or block. default: View
ATSC-013
Note: blocking a rating affects all the higher ratings, so that blocking
"TV-PG" in the example above automatically blocks "TV-14" and "TV-MA", whatever previous state of these
ratings was. If a password is defined while a TV program warning is received for the current channel, sound is
muted and the following menu
is displayed on the center of screen; what's more, the rating information should be consistent with current active
program rating.
This Channel is blocked by the USATV Content Rating of "TV-G"
Y7 view availability (Figure ATSC-014)
1. View Enable:
Switch the check box between view. default: View
2. FV:
Switch the check box between view. default: View

12
ATSC-014
View availability of PG (Figure ATSC-015)
1. View Enable:
Switch the check box between view. default: View
2. PG:
Switch the check box between view. default: View
ATSC-015
14 view availability (Figure ATSC-016)
1. View Enable:
Switch the check box between view. default: View
2.14:
Switch the check box between view. default: View
ATSC-016
MA view availability (Figure ATSC-017)
1. View Enable:

13
Switch the check box between view. default: View
2. MA:
MA: Switch the check box between view. default: View
ATSC-017
■Canada categories
Canada English Ratings
1. C-18-
Switch the check box between view and block. default: View
Figure ATSC-018
ATSC-018
Note: blocking a rating affects all the higher ratings, so that blocking
"PG" in the example above auto matically blocks "14-" and "18-", whatever previous state
of these ratings was. If a password is defined while a TV program warning is received for the current channel,
sound
is muted and the following menu is displayed on the center of screen; what's more, the rating information should be
consistent with current active program rating.
This Channel is blocked by the English Canada Rating of "C8-"
■Canada French Ratings
1.G-18ans-
Switch the check box between view and block. default: View. Figure ATSC-019

14
ATSC-019
Note: blocking a rating affects all the higher ratings, so that blocking "13 ans-" in the example above
automatically
blocks "16 ans-"and "18 ans-", whatever previous state of these ratings was. If a password is defined while a TV
program warning is received for the current channel, sound is muted and the following menu is displayed on the
center of screen; what's more, the rating information should be consistent with current active program rating.
This Channel is blocked by the French Canada Rating of "G"
9、System Settings (Figure ATSC-020)
1.OSD Language
Select OSD language options: English, Spanish and French. Default: English
2.Audio Language
Select audio language options: English, Spanish and French. Default: English
3.Screen
Choose to display the ratio of options: 4:3 and 16:9. When the choice of 4:3, you can set on the Format;
Select Format display at 16:9 gray, can not be set.
4.Format
Select the Format option list options: Normal, Crop, Squeeze and Letter Box. default: Normal
5.Time Setup:(Figure ATSC-021)
1).Clock:
Notes: the Clock displays the current time from programs
2)Time Zone:
Select the Time Zone options: Eastern, Samoa, Hawaii, Alaska, Pacific, Mountain, Central, Atlantic,
Newfoundland. default: Eastern
3)Daylight Saving:
Switch the Daylight Sav. between on and off. default: off
6.ANT Power Switch
Switch ANT power Supply between on and off. default: off
Note: select "on" to turn on the 5V power supply for active antenna. If ANT circuit is short, the ANT
power supply will turn off automatically. Select "off" for NON-active antenna.

15
ATSC-020
ATSC-021
10、Version Information
Version information (Figure ATSC-022)
1. Version: 1.7.0C-DTN312H01
2. Date: 2009.05.20
3. Animation: EON
ATSC-022
11、Current channel information
- When would like to view this information, by remote control INFO button to view.
- Figure ATSC-023
- 1.21-current channels; Note: When the channel search when no programs will show NO Program Information.
- 2. Caption-------title
- 3. Clock--------- display the current time.

16
- 4. Audio----------shows the current audio language.
- 5. Format--------display the current screen mode
- 6. Ratings--------display the current top.
- 7. Quality & Strength------show the current channel received signal strength.
ATSC-023
12.Fault Handling
Phenomenon Issue Reason Solutions
Does not boot Please check the power supply is connected properly, use the
normal voltage DC +12 V, 1.5A
No sound / image Please check whether the normal power and output cable is
connected to normal
Voiceless Please check whether the Department of static or sound off by
VOL +
No programs Not accept the TV signal, or protected
Not accept the TV
signal, or protected
Please check the remote batteries, or it did not flake out (the
first time should pay attention); please check the remote
control cable connection is correct
Table of contents
