manuals.online logo
Brands
  1. Home
  2. •
  3. Brands
  4. •
  5. Aube Technologies
  6. •
  7. Thermostat
  8. •
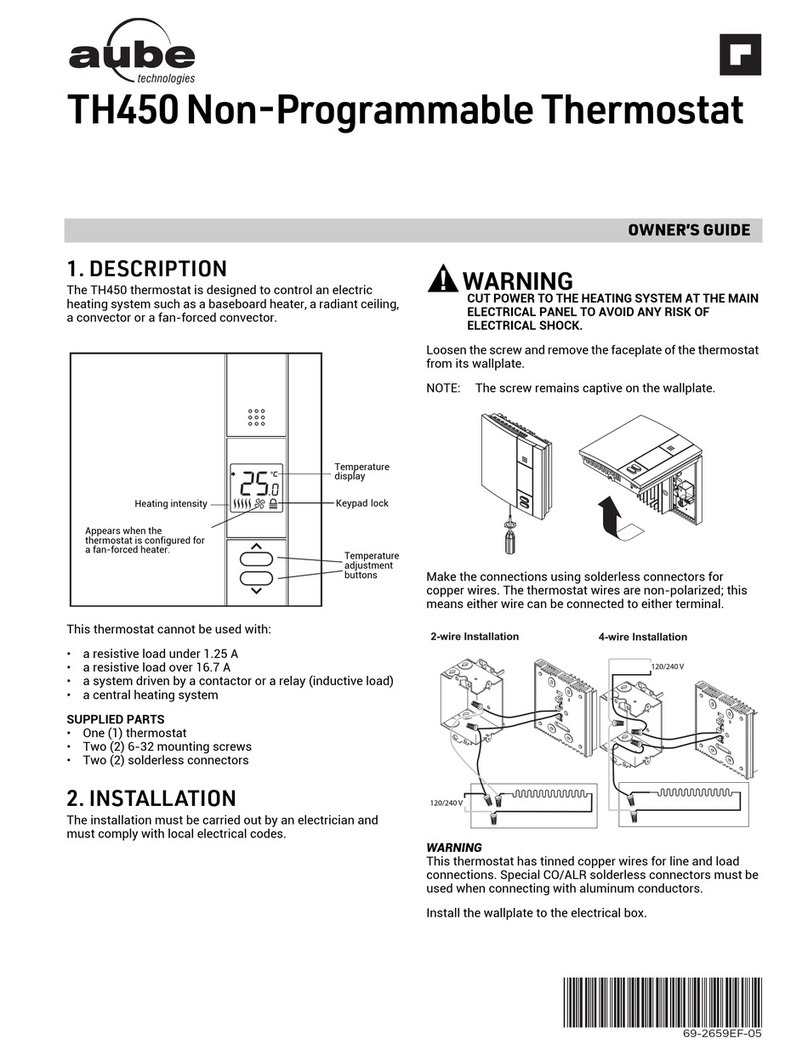
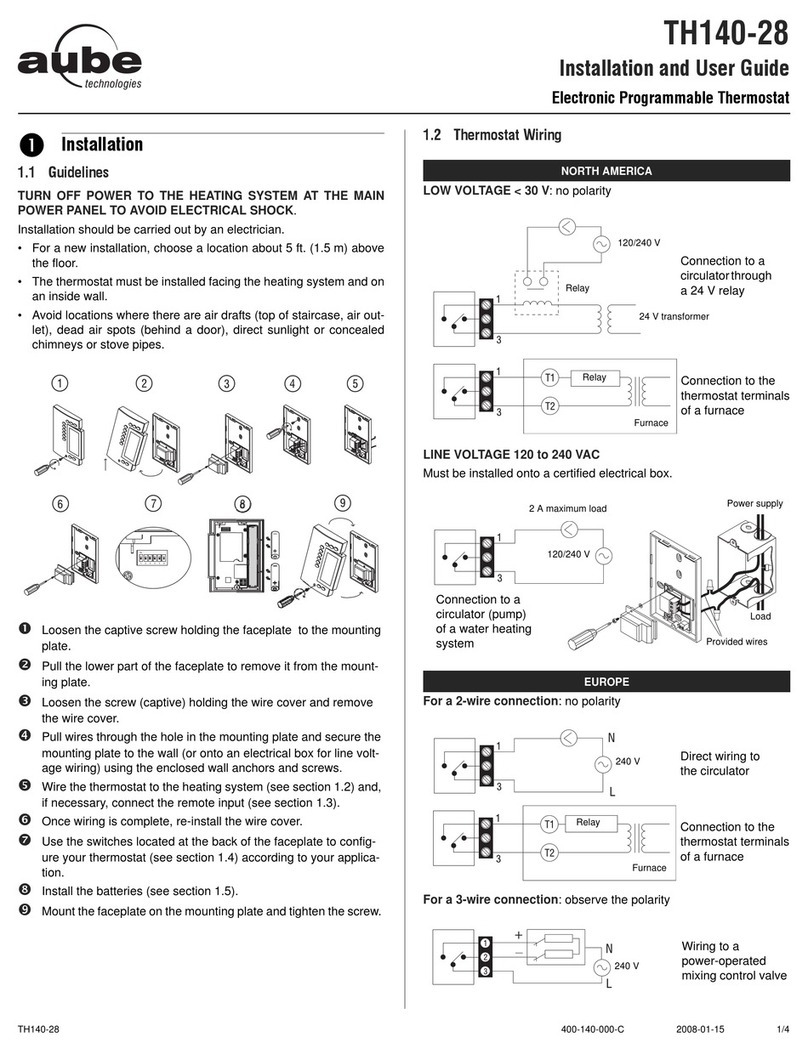
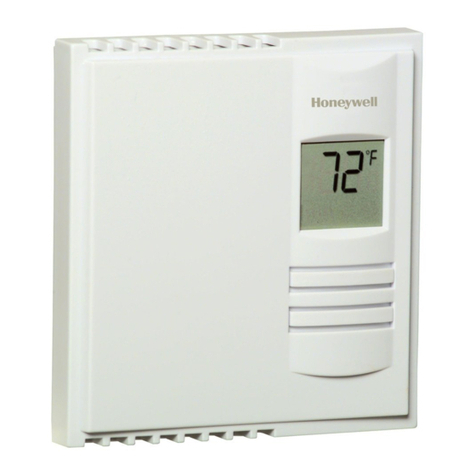
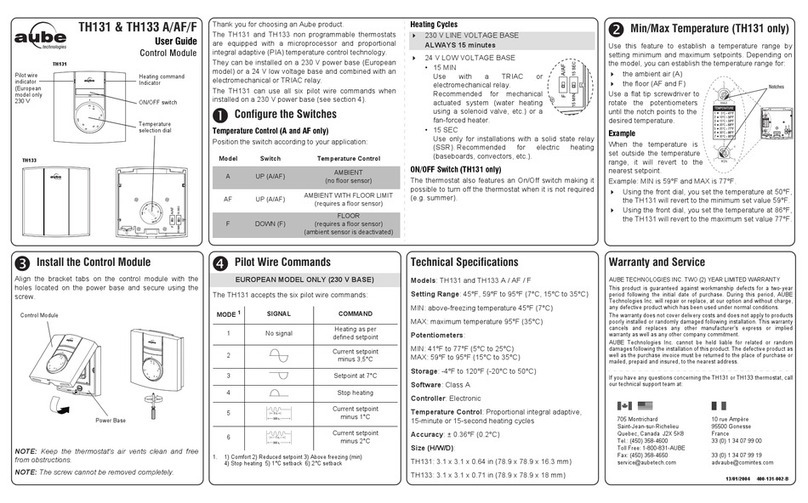
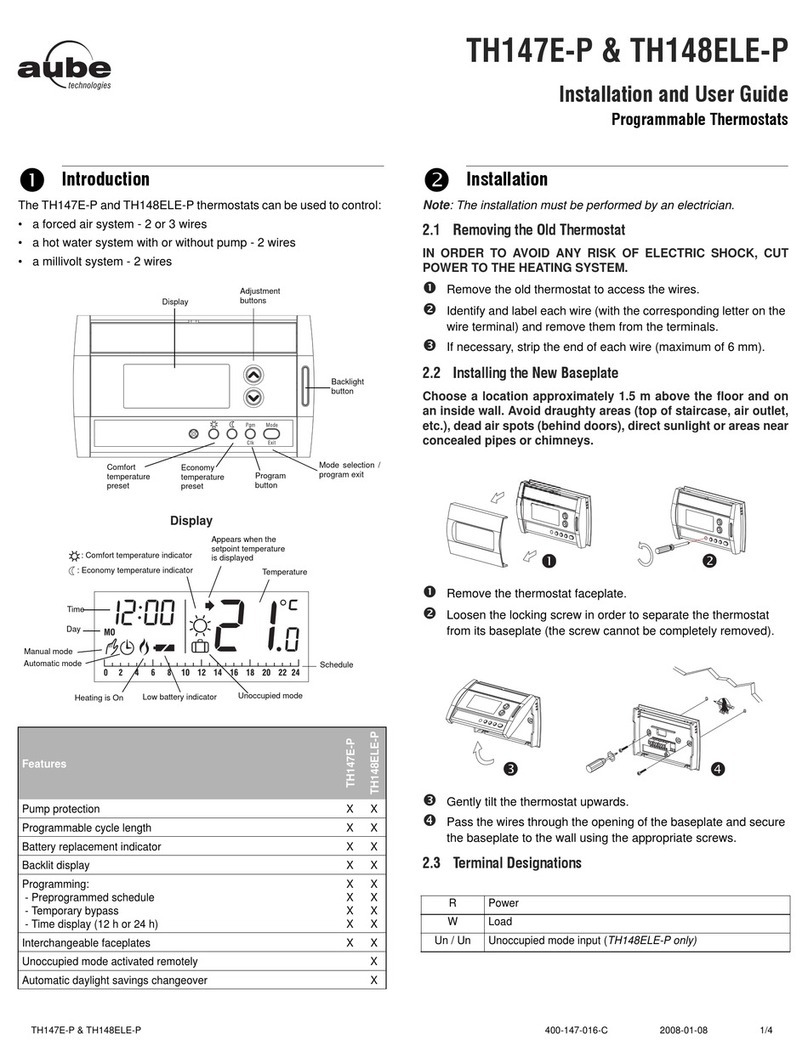
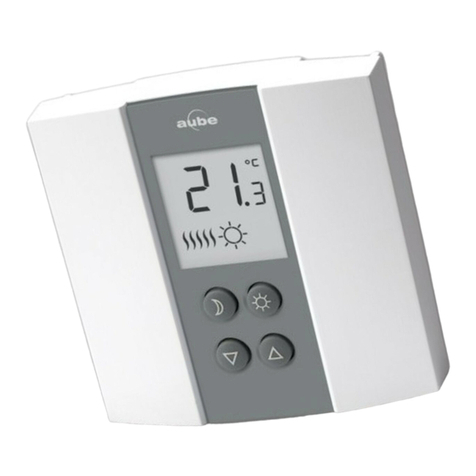
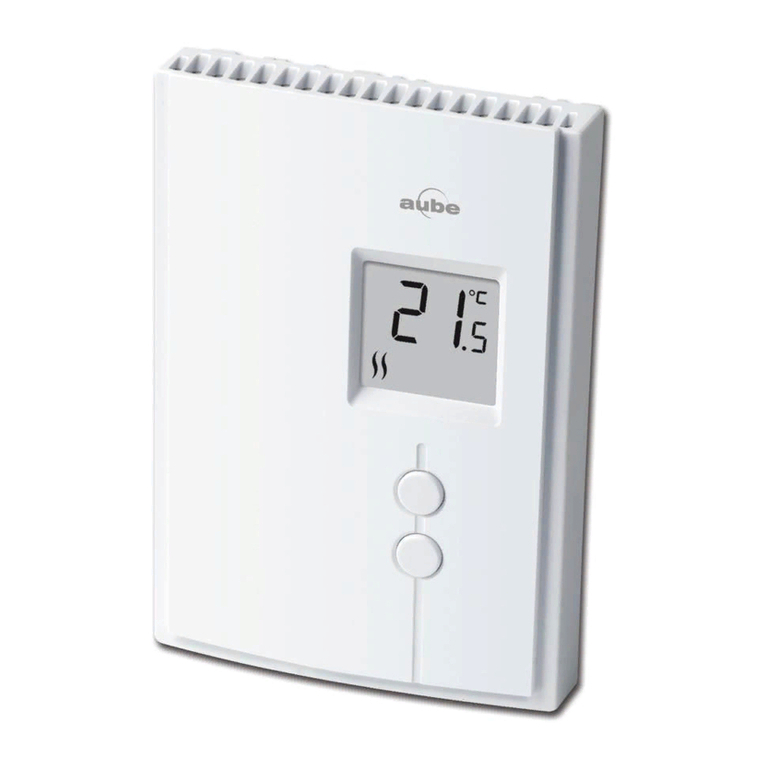
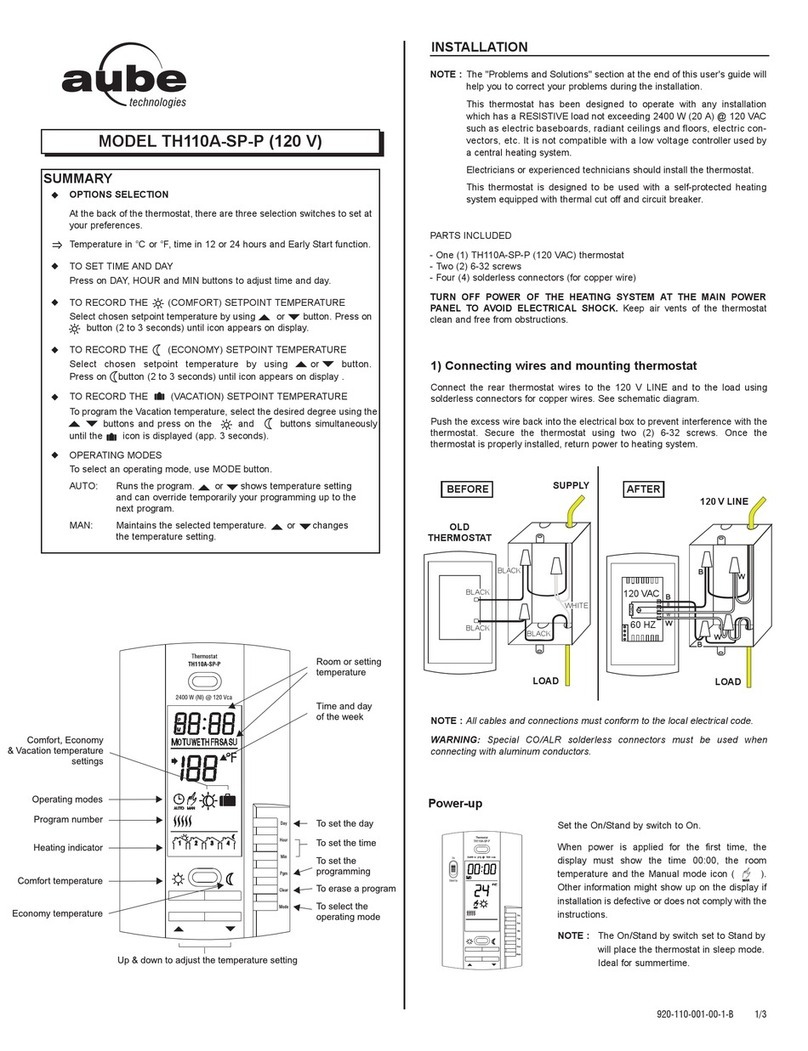
  9. Aube Technologies TH135-01 User manual

Aube Technologies TH135-01 User manual

TH135-01 1/3
1.1 Installing a New Thermostat
For a new installation, select a position about 5 feet (1.5 m) above
the floor, where there is good air circulation. The thermostat must be
installed on an inside wall.
Avoid places where there are:
• air draughts (the top of a staircase, an air outlet,...)
• dead air spots (e.g., behind a door)
• direct sunlight
• chimneys or hidden pipes
1.2 Thermostat Installation
Remove the mounting plate from the thermostat.
Loosen the screw holding the mounting plate to
the thermostat.
Lift the lower part of the plate to remove it from
the thermostat.
Loosen the screw holding the wire cover, and remove it.
Secure the mounting plate to the wall and make the appropriate
connection (refer to section 2).
1.3 Wiring
Refer to the diagram. Connect one wire to either therminal and
the other wire to the other terminal.
Connection to a circulator
of a hot water system or
to a baseboard heater
through a 24-V relay
Connection to the furnace of
a hot water system, or to the
boiler of a hot air system
Put the wire cover back on.
NOTE: If you have a CT240 telephone controller, refer to section 5.1
for hook-up.
Before installing the thermostat on the wall, it must be configured
using the dip switches at the back.
2.1 15- or 20-minute Cycles
The TH135 can operate on 15- or 20-minute
cycles. While 15-minute cycles provide
greater comfort, the heating system will be
running more often.
2.2 Temperature Control Modes
You can choose between two temperature
control modes:
Proportional Adaptive Mode
This mode analyses previous cycles in order to define the length of
the upcoming cycle. This mode guarantees optimal regulation of 3
cycles (switch #1 to 20 min.) or 4 cycles (switch #1 to 15 min.) per
hour, regardless of the season.
Ideal for:
• Central heating (gas, oil or electric)
• Radiant or convection electrical heating system
• Circulator control in a hot water system
Conventional Mode with Anticipation
This mode turns the system On or Off when the temperature reaches
preset levels. This mode is compatible with all heating systems. It is
recommended for a multi-zone system or when a thermostat directly
controls a furnace equipped with a combustion gas purge cycle of
more than 30 seconds. The temperature span (deadband) is 0.5°C
(0.9°F).
Installation
1.
Relay
240 V
Transformer
24 VAC
Relay
Furnace
Thermostat Configuration
2.
TH135-01
Installation and User Guide
Electronic Thermostat
TH135-01 2/3
2.3 Pump Protection
For hot water installations, it is recommended
to activate the pump at least one minute
every 24 hours in order to avoid seizure.
Place switch #3 down to activate this function.
For all other installations, leave switch #3 in
the Off position (otherwise your system will be
activated 1 minute every 24 hours).
2.4 Temperature in °C or °F
The TH135 is factory-set to °C. If you wish to
change the temperature display to °F, slide
switch #4 upward. Please note that if you
change from °C to °F or vice versa, you must
reset the Comfort ( ), Economy ( ) and
Vacation ( ) settings accordingly.
When you first install the batteries in the TH135, the unit runs a
sequence of tests for approximately 5 seconds. After the tests, the
screen should display the current temperature.
It is normal for the displayed temperature to be higher than the room
temperature if you are holding the TH135 in your hands. It will return
to normal about one hour after installation on the wall.
Mount the thermostat on the wall plate and screw it in place.
To set the Comfort temperature, select the desired degree using
the buttons and push the button until the icon is
displayed (about 3 seconds).
To set the Economy temperature, select the desired degree
using the buttons and push the button until the icon is
displayed about 3 seconds).
To set the Vacation temperature, select the desired degree using
the buttons and push simultaneously the and buttons
until the icon is displayed (about 3 seconds). This setting is
used by the telephone controller.
The TH135 incorporates a telephone controller interface which
allows you to switch from the or setting to the Vacation setting
( ), and vice versa using a touchtone telephone. You can, for
example, start the heating of your secondary residence from your
office on Friday, or your house from the airport or from your car on
your way back from vacation.
5.1 Connection to the CT240
The TH135 is designed to connect directly to the CT240 telephone
controller. This combination allows the activation and deactivation of
the Vacation setting from the CT240 or telephone.
Connect the CT240’s terminals A and C to the TH135's terminals X
and C respectively. You must respect the polarity.
For details on operating the telephone controller, refer to the CT240’s
instruction manual.
5.2 Operating the Telephone Interface
You can activate the Vacation setting using the Vacation button of the
telephone controller ( ) or using a telephone from outside of the
house.
To activate the Vacation setting, press the Vacation button of the
CT240 ( ). The Vacation setting will be displayed for 5 seconds
and the ( ) icon will flash on the screen. You no longer have
access to the TH135 keypad if this function is activated by the
telephone controller.
To deactivate the function and return to the previous setting,
press the Vacation button of the telephone controller again or
use a phone. The red light will go off and the ( ) icon will
disappear within 5 seconds.
The Vacation setting can also be activated from a home automation
system.
The TH135 will display an icon indicating that the
batteries must be replaced. This icon will flash for 60
days. After this period, the thermostat will shut down
your heating unit.
After the battery replacement, you have to
reprogram the , and settings (refer to section
4).
Even if the thermostat indicates the batteries are
good, it is recommended to replace them once a
year at the beginning of the heating season.
Battery Installation
3.
Temperature Settings
4.
Preset Temperature Default Setting
Comfort temperature 20 °C (68 °F)
Economy temperature 18 °C (64 °F)
Vacation temperature 10 °C (50 °F)
Heating indicator
Appears when the
setpoint is displayed Temperature display
Preset temperature icon
Telephone Controller
5.
Connection to a Home Automation System
6.
Battery Replacement
7.
TH135-01 Printed in USA 33-00052-01 2014-06-01 3/3
Power supply: 2 AA alkaline batteries
Max. resistive load: 5A @ 24 VAC & 24 VDC
Max. inductive load: 2A @ 24 VAC & 24 VDC
Auxiliary input (telephone interface): 12 VDC, +/- 10 %, 2.5 mA
Control device: Electronic
Automatic action: Type 1 B
Storage temperature: -20 °C to 50 °C (-4 °F to 122 °F)
Operating temperature: 0 °C to 50 °C (32 °F to 122 °F) (
95 % relative humidity without condensation)
Temperature setting range in heating: 5° C to 30 °C (40 °F to 85 °F)
Temperature display scale: 0.1 degree
Temperature reading accuracy: +/- 0.5 °C (+/- 0.9 °F)
Software: Class A
Insulation: class II
Protection degree: IP 20
Environmental Compliance: RoHS-Directive 2011/65/EU
Honeywell warrants this product, excluding battery (if applicable), to
be free from defects in the workmanship or materials, under normal
use and service, for a period of three (3) years from the date of pur-
chase by the consumer. If at any time during the warranty period the
product is determined to be defective or malfunctions, Honeywell
shall repair or replace it (at Honeywell's option).
If the product is defective,
(i) return it, with a bill of sale or other dated proof of purchase, to
the place from which you purchased it, or
(ii) contact Honeywell. Honeywell will make the determination
whether the product should be returned, or whether a replace-
ment product can be sent to you.
This warranty does not cover removal or reinstallation costs. This
warranty shall not apply if it is shown by Honeywell that the defect or
malfunction was caused by damage which occurred while the prod-
uct was in the possession of a consumer.
Honeywell's sole responsibility shall be to repair or replace the prod-
uct within the terms stated above. HONEYWELL SHALL NOT BE
LIABLE FOR ANY LOSS OR DAMAGE OF ANY KIND, INCLUDING
ANY INCIDENTAL OR CONSEQUENTIAL DAMAGES RESULTING,
DIRECTLY OR INDIRECTLY, FROM ANY BREACH OF ANY WAR-
RANTY, EXPRESS OR IMPLIED, OR ANY OTHER FAILURE OF
THIS PRODUCT. Some provinces, states and regions do not allow
the exclusion or limitation of incidental or consequential damages, so
this limitation may not apply to you.
THIS WARRANTY IS THE ONLY EXPRESS WARRANTY HONEY-
WELL MAKES ON THIS PRODUCT. THE DURATION OF ANY
IMPLIED WARRANTIES, INCLUDING THE WARRANTIES OF
MERCHANTABILITY AND FITNESS FOR A PARTICULAR PUR-
POSE, IS HEREBY LIMITED TO THE THREE-YEAR DURATION OF
THIS WARRANTY. Some provinces, states and regions do not allow
limitations on how long an implied warranty lasts, so the above limita-
tion may not apply to you.
This warranty gives you specific legal rights, and you may have other
rights which vary from one province, state or region to another.
If you have any questions on the product installation or operation,
contact us at:
1-800-831-2823
[email protected]
Technical Specifications
8. Warranty
9.
Customer Assistance
10.

Other Aube Technologies Thermostat manuals

Aube Technologies TH209 User manual

Aube Technologies

Aube Technologies TH209 User manual

Aube Technologies TH131AF User manual

Aube Technologies

Aube Technologies TH131AF User manual

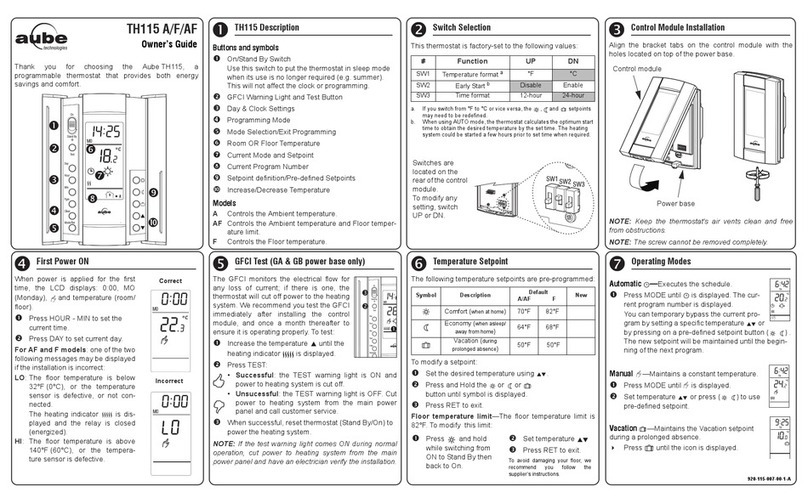
Aube Technologies TH115 A/F/AF User manual

Aube Technologies

Aube Technologies TH115 A/F/AF User manual

Aube Technologies TH150 Series User manual

Aube Technologies

Aube Technologies TH150 Series User manual

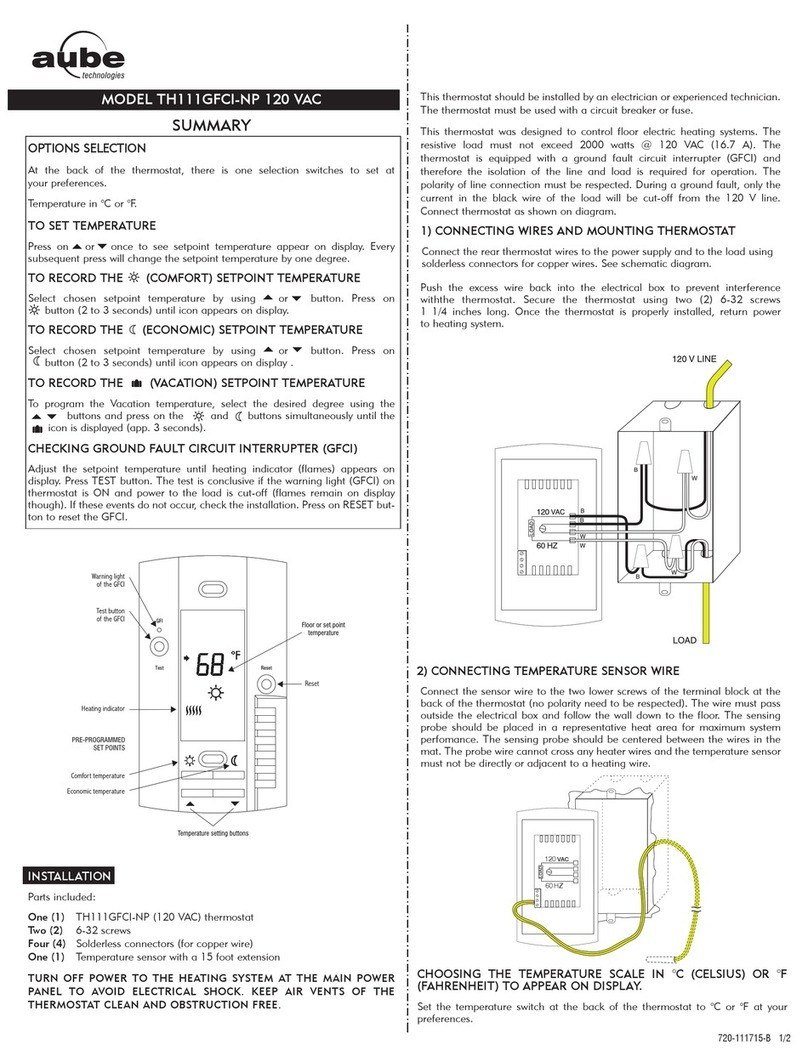
Aube Technologies TH111GFCI-NP User manual

Aube Technologies

Aube Technologies TH111GFCI-NP User manual

Aube Technologies TH135-01 User manual

Aube Technologies

Aube Technologies TH135-01 User manual

Aube Technologies EConnect Wireless Thermostat Kit TA7210 User manual

Aube Technologies

Aube Technologies EConnect Wireless Thermostat Kit TA7210 User manual

Aube Technologies TH111GFCI-P User manual

Aube Technologies

Aube Technologies TH111GFCI-P User manual

Aube Technologies TH115 A/F/AF User manual

Aube Technologies

Aube Technologies TH115 A/F/AF User manual

Aube Technologies TH135-02 User manual

Aube Technologies

Aube Technologies TH135-02 User manual

Aube Technologies TH135-01 User manual

Aube Technologies

Aube Technologies TH135-01 User manual

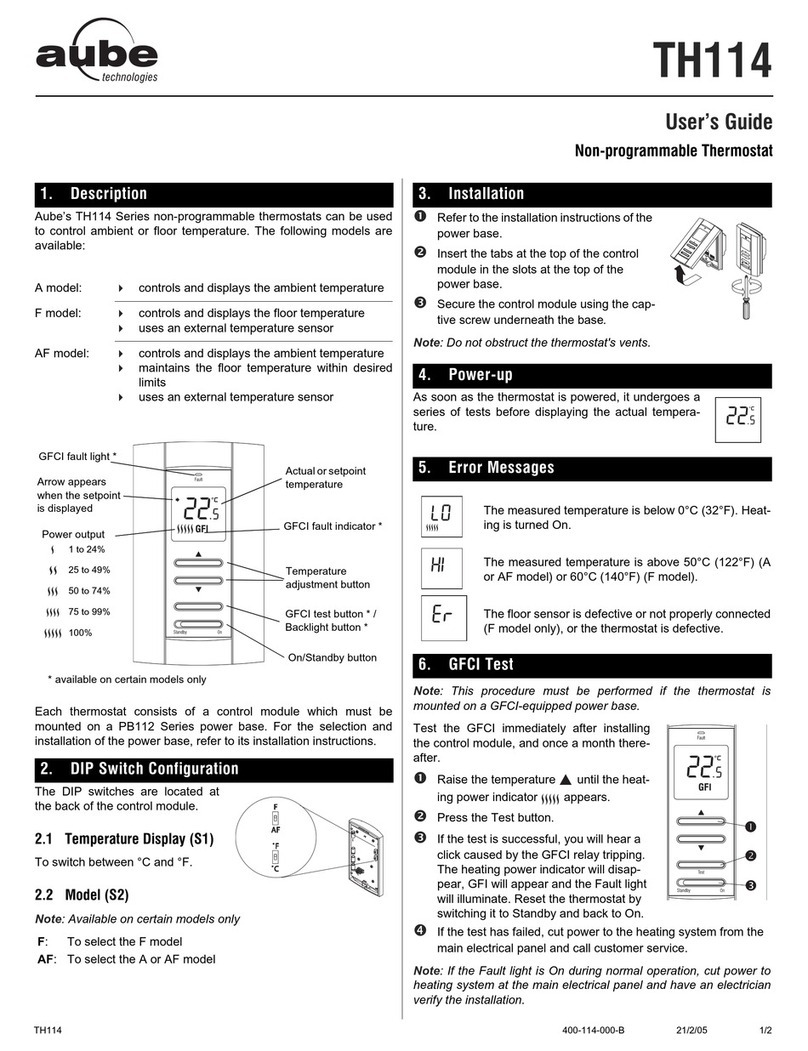
Aube Technologies TH114 User manual

Aube Technologies

Aube Technologies TH114 User manual

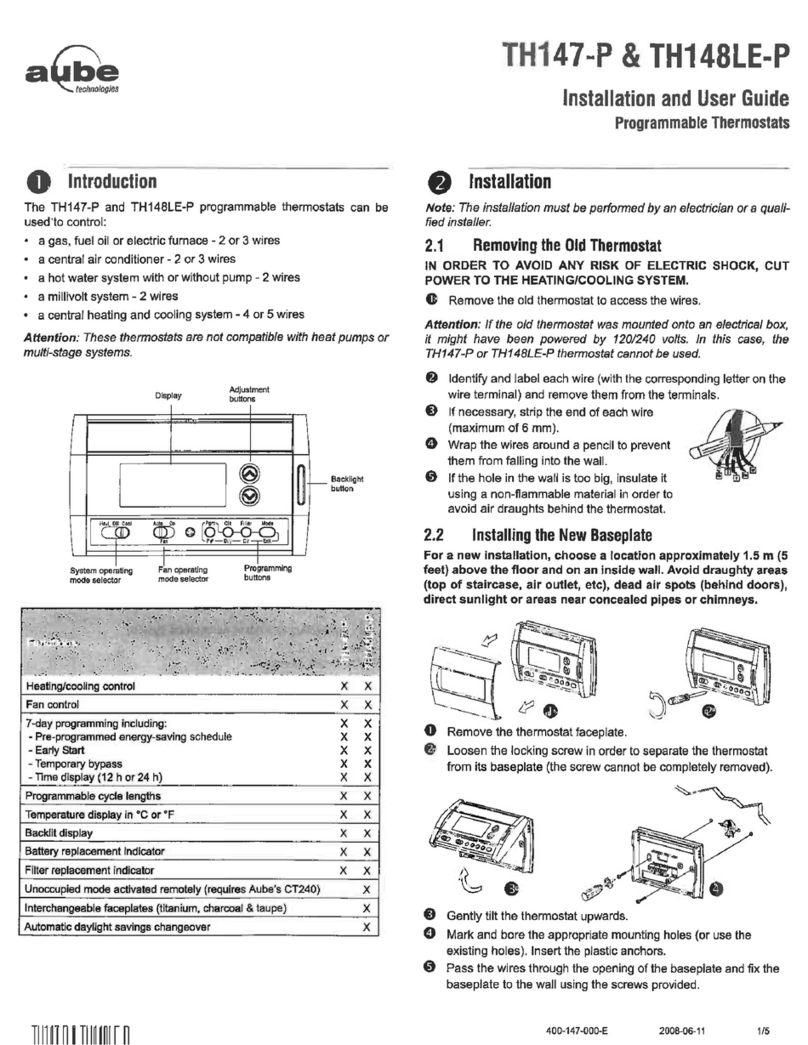
Aube Technologies TH144 User manual

Aube Technologies

Aube Technologies TH144 User manual

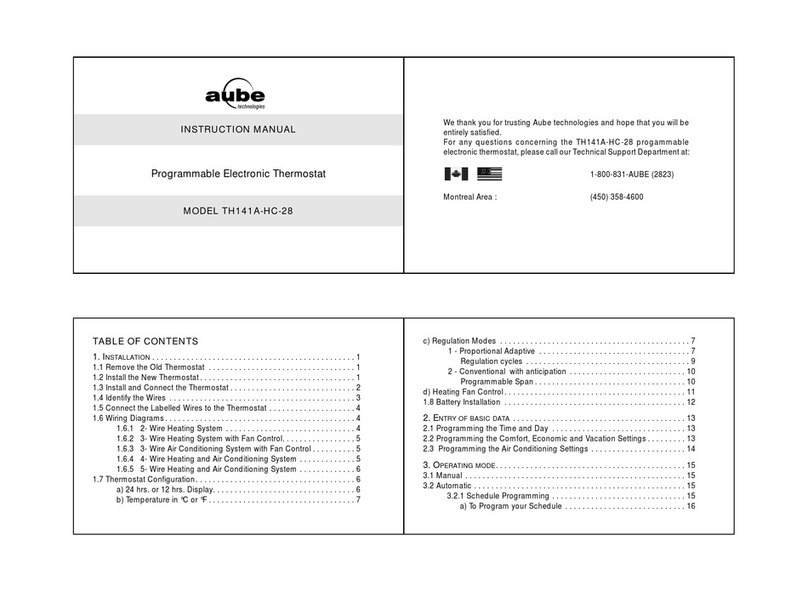
Aube Technologies TH141A-HC-28 User manual

Aube Technologies

Aube Technologies TH141A-HC-28 User manual

Aube Technologies TH144 Mounting instructions

Aube Technologies

Aube Technologies TH144 Mounting instructions

Aube Technologies TH115-AF-GA User manual

Aube Technologies

Aube Technologies TH115-AF-GA User manual

Aube Technologies TH404 User manual

Aube Technologies

Aube Technologies TH404 User manual

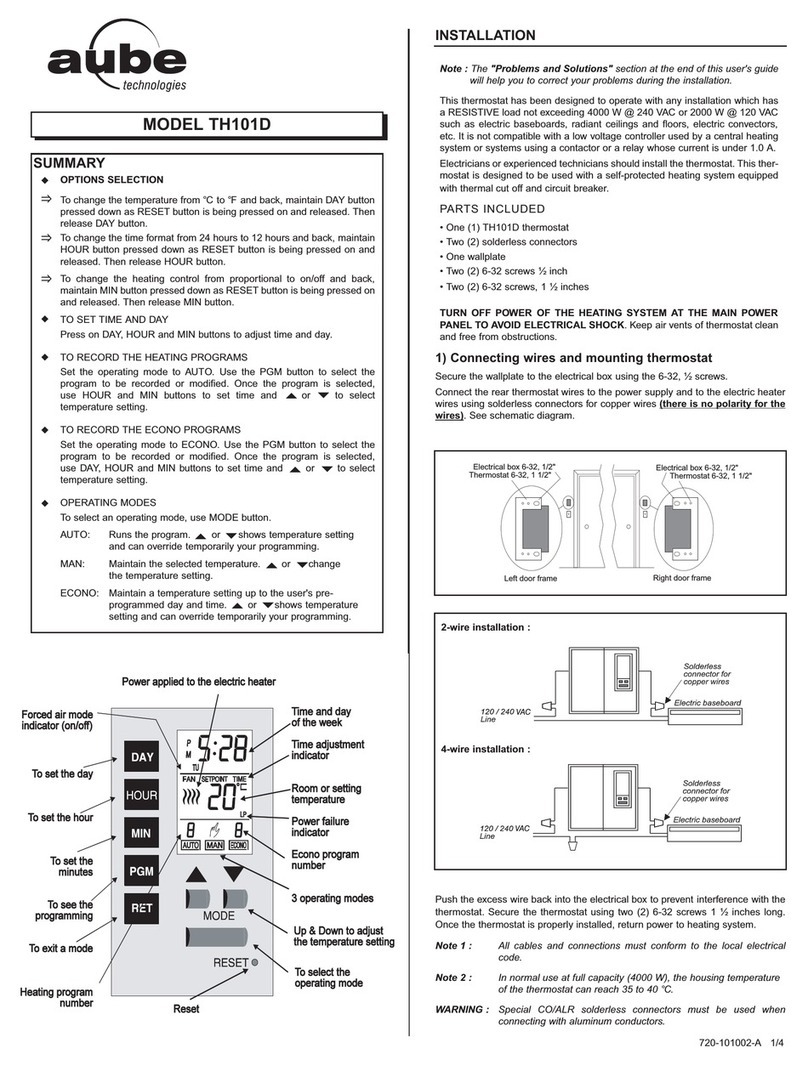
Aube Technologies TH101D User manual

Aube Technologies

Aube Technologies TH101D User manual

Aube Technologies TH401 User manual

Aube Technologies

Aube Technologies TH401 User manual

Aube Technologies TH104PLUS User manual

Aube Technologies

Aube Technologies TH104PLUS User manual

Aube Technologies TH106-A-347S4 User manual

Aube Technologies

Aube Technologies TH106-A-347S4 User manual

Aube Technologies TH132 A/F/AF User manual

Aube Technologies

Aube Technologies TH132 A/F/AF User manual

Aube Technologies TH114 User manual

Aube Technologies

Aube Technologies TH114 User manual

Aube Technologies TH115 A/F/AF User manual

Aube Technologies

Aube Technologies TH115 A/F/AF User manual

Popular Thermostat manuals by other brands

Immergas CRONO 7 Instruction and warning book

Immergas

Immergas CRONO 7 Instruction and warning book

POLA HP76 Handbook

POLA

POLA HP76 Handbook

Siemens RDF302 operating instructions

Siemens

Siemens RDF302 operating instructions

Rickard MLM 24 quick start guide

Rickard

Rickard MLM 24 quick start guide

Network Thermostat GE22-NX operating instructions

Network Thermostat

Network Thermostat GE22-NX operating instructions

terneo rk user manual

terneo

terneo rk user manual

Pentair DigiTrace AMC-2B-2 installation instructions

Pentair

Pentair DigiTrace AMC-2B-2 installation instructions

McQuay MT 155 Installation and maintenance manual

McQuay

McQuay MT 155 Installation and maintenance manual

Peco TB167 Application guide

Peco

Peco TB167 Application guide

Immergas SMARTECH PLUS EXPANSION KIT manual

Immergas

Immergas SMARTECH PLUS EXPANSION KIT manual

jablotron TP-82N quick start guide

jablotron

jablotron TP-82N quick start guide

Bryant TSTATBBP071-01 User's information manual

Bryant

Bryant TSTATBBP071-01 User's information manual

Carrier TP-WEM01 installation instructions

Carrier

Carrier TP-WEM01 installation instructions

Starck Netatmo NTH01 manual

Starck

Starck Netatmo NTH01 manual

Lennox icomfort quick start guide

Lennox

Lennox icomfort quick start guide

Madel Zoning System Crono-TM user manual

Madel

Madel Zoning System Crono-TM user manual

White Rodgers 1F80-361 Installation and operation instructions

White Rodgers

White Rodgers 1F80-361 Installation and operation instructions

White Rodgers M30 installation instructions

White Rodgers

White Rodgers M30 installation instructions

manuals.online logo
manuals.online logoBrands
  • About & Mission
  • Contact us
  • Privacy Policy
  • Terms and Conditions

Copyright 2025 Manuals.Online. All Rights Reserved.