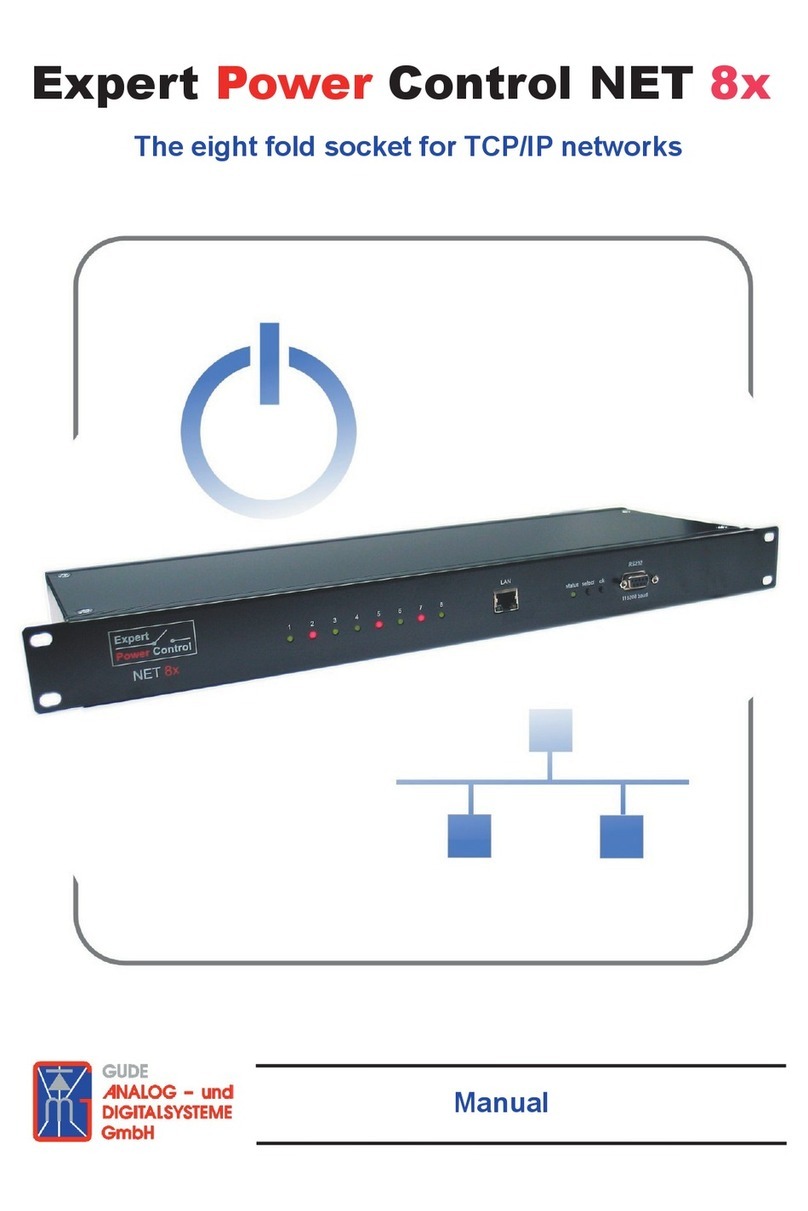
Audibax Control 8 User manual

3
Control 8
Please read the manual before using the product
Por favor, lea el manual antes de usar el producto
USER´S
MANUAL
MANUAL
DE USUARIO
Control 8
PROGRAMMING / PROGRAMACIÓN
Power on the unit, it will be in MANUAL mode. Press PROGRAM 2 seconds. The corresponding
LED will flash. SCENE and CHASE will be ready to be programmed. / Encienda la unidad,
estará en modo MANUAL. Pulse PROGRAM 2 segundos. Parpadeará el led correspondiente.
SCENE y CHASE estarán listas para ser programadas.
To return to play mode, press PROGRAM once more. The led will then turn off. Para volver al
modo de reproducción, pulse PROGRAM una vez más. El led se apagará entonces.
AUTO/DEL
A. In playback mode (RUN) press Auto/Del, the led will turn on, indicating that the AUTO/RUN
mode is activated. / En modo reproducción (RUN) pulse Auto/Del, se encenderá el led,
indicando que el modo AUTO/RUN está activado.
B. Press this key to program SCENEs or CHASEs when in PROGRAM mode. / Pulse esta tecla
para programar SCENEs o CHASEs cuando esté en modo PROGRAM.
TAP SYNC /DISPLAY
A. In AUTO RUN mode, playback speed will be recorded by the last two button presses. / En
modo AUTO RUN, la velocidad de reproducción quedará registrada mediante las dos
últimas pulsaciones del botón.
B. In program mode, select on the screen between STEP and BANK. / En el modo programa,
selecciona en la pantalla entre STEP y BANK.
BLACKOUT
Press this button to disable all data output (no other functions) - Press it again to exit this
mode and send DMX data again. / Pulse este botón para desactivar todas las salidas de
datos (no otras funciones)- Vuelva a pulsarla para salir de este modo y enviar datos DMX de
nuevo.
DMX OUT
DMX512 data output / Salida de datos DMX512
DC INPUT
DC9V〜12V ,300 Ma ,MIN.
PROGRAMMING SCENES / PROGRAMANDO ESCENAS
Press PROGRAM 3 seconds. The corresponding led will flash, indicating that the unit is in
PROGRAM mode. / Pulse PROGRAM 3 segundos. Parpadeará el led correspondiente que
indica que la unidad está en modo PROGRAM
Press the SCANNER button (or buttons, if you want to program several devices at the same
time). Adjust the faders to your liking. / Pulse el botón SCANNER (o botones, si quiere
programar varios aparatos a la vez). Ajuste los faders a su gusto.
Press MIDI /ADD / Pulse MIDI /ADD.

1 2
Control 8USER´S
MANUAL
MANUAL
DE USUARIO
Main Features/ Características Principales
1. 192 DMX Channels. / 192 Canales DMX.
2. 30 Banks, each with 8 programmable scenes. / 30 Bancos, cada uno con 8 escenas
programables.
3. 8 Faders for real-time adjustment. / 8 Faders para ajuste en tiempo real.
4. AUTO mode controlled by TAP SYNC and SPEED. / Modo AUTO controlado por TAP SYNC y
SPEED.
5. LED display with 4 digits. The first digit shows CHASE, the second SCENE. The third and
fourth digit shows the banks. The second, third and fourth digits show steps from 0 to 255 or
time. / Display LED con 4 dígitos. El primer dígito muestra CHASE, el segundo SCENE. El tercer
y cuarto dígito muestra los bancos. El segundo, tercer y cuarto dígitos muestran pasos de 0
a 255 o tiempo.
6. Manual Blackout. / Blackout (Apagón) manual.
7. Fade Time Control (FADE TIME) / Control de tiempo de desvanecimiento (FADE TIME).
Technical specifications / Especificaciones Técnicas
1. Power / Energía: DC+9-12V
2. Output / Salida: AC230V〜50Hz (AC120V〜60Hz)300Ma ,DC9V300Ma.
3. Measurements / Medidas: 482×132×73mm
4. Weight / Peso: 2.5Kg
INSTRUCTIONS FOR USE / INSTRUCCIONES DE USO
General description / Descripción general:
1. There are 192 DMX channels available for each scene. / Hay 192 canales DMX disponibles
para cada escena.
2. 8 scenes can be programmed per bank. When a scene is activated, it will play along with
the others in that bank in a loop. / Se pueden programar 8 escenas por banco. Cuando se
activa una escena, se ejecutará junto a las demás de ese banco en bucle.
3. Select the bank by pressing the UP and DOWN buttons. There are 30 banks available, only
one being selectable at a time. / 3. Seleccione el banco pulsando los botones UP y DOWN.
Hay 30 bancos disponibles, sólo siendo seleccionable uno cada vez.
4. Scenes can run automatically, and their duration depends on the tempo tapped by TAP
SYNC. ,scenes are executed under music or NOTE triggering ,also press a scene buttons by
hand to run scenes. / 4. Las escenas pueden ejecutarse automáticamente, y su duración
depende del tempo marcado por TAP SYNC. ,scenes are executed under music or NOTE
triggering ,also press a scene buttons by hand to run scenes.
5. 6 selectable chases are available, each with 240 scenes. / Hay disponibles 6 chases
seleccionables, cada uno con 240 escenas.
SCENES / ESCENAS
While Control 8 is in PROGRAM mode, press PROGRAM for 2 seconds and it will enter
MANUAL mode. If there are no scenes programmed in a bank, they cannot be played. Only
those that have been previously programmed will be executed. / Estando la Control 8 en
modo PROGRAM, pulse PROGRAM 2 segundos y entrará en modo MANUAL. Si no hay
escenas programadas en un banco, no podrán reproducirse. Solo se ejecutarán las que
hayan sido programadas previamente.
MANUAL OPERATION / FUNCIONAMIENTO MANUAL
Select a bank, press SCENE to play a scene. If you press a SCANNER button, it will be
registered to record in another SCANNER. / Seleccione un banco, pulse SCENE para
reproducir una escena. Si pulsa un botón SCANNER, quedará registrado para grabar en otro
SCANNER.
AUTO RUN
Press AUTO/DEL, the corresponding led will light up. Press TAP SYNC/DISPLAY, and after
waiting for a moment, press it again. This interval is assigned to the speed of the Auto Run
mode, with a limit of 10 minutes. If there are more than two clicks, only the last two will be
taken as reference. / Seleccione un banco, pulse SCENE para reproducir una escena. Si
pulsa un botón SCANNER, quedará registrado para grabar en otro SCANNER.
Scene buttons / Botones de Escena
Press a scene button to activate or store it, the second digit of the display will show the
scene between 1 and 8. / Pulse un botón de escena para activarla o almacenarla, el
segundo dígito de la pantalla mostrará la escena entre 1 y 8.
Page Selection / Selección de Página
Press the PAGE SELECTOR button to select between channels 1-8 and 9-16 of each SCANNER
/ Pulse el botón PAGE SELECTOR para seleccionar entre los canales 1-8 y 9-16 de cada
SCANNER.
Fader SPEED
Move the fader to adjust the speed of the CHASE. / Mueva el fader para ajustar la
velocidad del CHASE.
Fader TIME SLIDER
Move this fader to adjust the fade time. / Mueva este fader para ajustar el tiempo de
fundido.
BANK ( UP or DOWN ) buttons / Botones BANK ( UP o DOWN )
Press UP or DOWN to increase or decrease the bank number, which is shown in the third and
fourth characters of the display (01 to 30). / Pulse UP o DOWN para incrementar o reducir el
número de banco, que se muestra en el tercer y cuarto carácter de la pantalla (de 01 a
30).
Popular Controllers manuals by other brands

HomeSeer
HomeSeer HomeTroller Zee quick start guide
Objective Imaging
Objective Imaging OASIS-4i installation guide
Raymarine
Raymarine SmartPilot ST6002 operating guide
Woodward
Woodward easYgen-400 Operation manual
YASKAWA
YASKAWA MP Series Driver manual
Johnson Controls
Johnson Controls FX-PCV18 Series installation instructions
