whichever input has been selected. Caution: do
not turn up volume beyond normal listening levels
when “Mute” is engaged to avoid unexpected or
possibly damaging sound levels. It is a good idea to
reduce volume whenever changing program
sources, even when muted. Function available on
remote control buttons and front panel rotary
control on left.
Processor (PROC): May be selected by button on
front panel or on remote control. Selects external A-
V (home theater) processor as input source and
controller of volume level for R and L channels
when processor is connected through the
SE3/PROC input only.DSPre provides Unity Gain
when this input is selected.
When engaged, ‘PROC’ and ‘UNITY GAIN’ will
appear in the display, and the volume control is not
adjustable because gain is fixed. The preamp will
also mute the input after ‘PROC’ is engaged. To
disengage processor unity gain operation, press the
SE3 button on the remote. The SE3 input returns to
normal volume control operation and is muted at
zero volume level.
Warning
Before unmuting the ‘PROC’ input, be
sure to turn the volume down on the
home theater processor. Never
connect a source with a fixed level output (DVD
player, tuner, CD, etc.) to the PROC input or the
amplifier(s) and speaker system could be damaged
when the DSPre is unmuted.
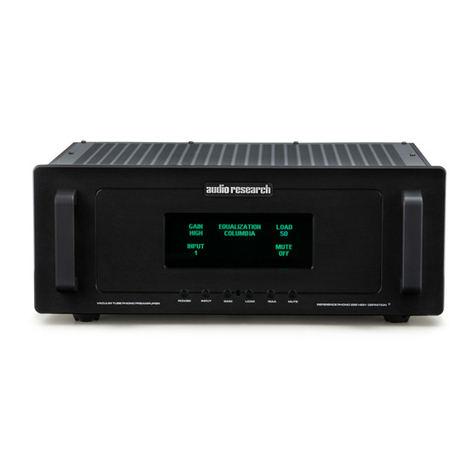
Display: Selects one of seven display illumination
levels, including off. When off, the display can be
reactivated for 10 seconds at a low level by
pressing any button (except Power) on remote or
control on front panel.
Bal L/Bal R: Adjusts balance left or right. Adjustment
appears in display window as movable marker on
bar graph. Useful for compensating for uneven
speaker placement or imbalanced output from a
phono cartridge.
Filter: Choose between sharp and soft digital roll-off
filters for the S/PDIF inputs only.
Navigation Pad: The up/down/left right arrow
buttons allow navigation of the setup menu for the
DSPre. The remote control also features USB
interface controls. When the DSPre is connected to
a USB source component (Apple or PC, for
example) which is configured with appropriate
software or programs (iTunes®, Windows Media
Player, etc.) the remote control should be able to
control the USB source component to PLAY/PAUSE,
TRACK ADVANCE and TRACK BACK.
Because of the wide variety of operating systems
and software programs, Audio Research cannot
guarantee that the USB interface will control your
particular USB source product.
Programming Input Names
1.Push the MENU button once to enter input
naming function.
2.Press the button on the remote which
corresponds to the input to be named; or from
the front panel, use the input select knob to select
the input you want to name.
3.Use the volume arrows on the remote or the
volume control on the front panel to scroll
through the name options.
4.Push the ENTER button to select one of the name
options for that input.
5.Use the input select knob or remote control to
select another DSPre input to be named.
6.If you wish to create your own name, scroll to A-Z
and 0-9 and use the up-down arrows on the
remote to choose each letter/number in the
name. The naming option automatically
advances to the next letter/number until you
press enter twice to end the selection for that
name (six characters max).
7.Repeat steps 3-6 until you have completed
selecting input names.
8.Press MENU again to end the input naming
option.
Connections
Input Connectors: The DSPre provides five L/R sets
of analog input connectors: BAL1, BAL2, SE1, SE2,
and SE3/PROC, and five sets of digital input source
connectors: USB 2.0HS, RCA, BNC, AES/EBU and
Toslink.
Output Connectors: One pair of balanced and one
pair of single ended main outputs are provided.
REC Output: The BAL/SE REC outputs should be
connected to your recorder's “Record” or “Line”
inputs. These outputs provide a fixed-level two
channel signal (R, L) to your recorder from
whichever input is selected. The non-variable
output level will be the same as the output of the
selected source.
It is possible to dub or copy from one recorder to
another by connecting the output of the source
recorder to an unused set of stereo inputs (BAL1,
BAL2, etc.). The signal will then be routed to the
Record Out connectors when that input source is
selected.
12V In/Out Remote Power Jacks: The +12V DC
input/output jacks provide the ability to remotely
turn on and off other linked components such as
power amplifiers having similar capabilities.
RS-232 Connection: The RS-232 connection allows
for control via systems such as Creston or other
automation systems.


