AudioSonic ASEET001K User manual

1
Congratulations
Congratulations on the purchase of your 7” TFT Slim
eReader. This product has been manufactured to the highest
standards of performance and safety. We hope you will enjoy
using your 7” TFT Slim eReader for many years to come.

2
Contents
General Information Page2
Safety Instructions Page 3
Package Contents Page 4
Getting Started Page 4
Keys and Parts Page 5
Instructions Page 7
FAQ Page19
Warranty Page22
General Information
Product Specifications
•7” LCD TFT Screen
•800 x 480 Screen Resolution
•4GB Internal memory
•Licensed Adobe Reader software
•Supports up to 6 hours of reading
•Support up to 4 hours of video playing
•Rechargeable Li-Polymer battery (2000mA)
•Built-in Micro SD card reader (up to 32GB)
•TTS (Text to Speech) function: Chinese and English
•Video function: MPG, RMVB, FLV, WMV, MP4, 3GP,
3
RM, AVI, DAT, MKV
•Supports image formats: JPEG, BMP, GIF, PNG
•Supports music formats: MP3, WMA,FLAC,AAC ,OGG,
WAV, (MP3 : 8Kbps ~ 320 Kbps, WMA : 5Kbps ~192Kbps)
•Supports TXT: PDF, EPUB, FB2,TXT,MOBI, HTML, PDB, RTF,
LRC
•Charge via Micro USB port
•3.5mm earphone jack
•64MB RAM
SafetyInstructions
•Before using your 7” TFT Slim eReader please read this
instruction manual carefully
•Store your eReader in a dry, cool area.
•Do not attempt to open or fix this device or expose it to water
•Do not use chemicals on this product
•Do not insert foreign objects into the device
•Avoid dropping your eReader, as harsh impacts could damage
the product

4
Package Contents
1. 7” TFT Slim eReader 1 piece
2. Micro USB cable 1 Piece
3. Earphone 1 Piece
4. User manual 1 piece
Getting Started
Before you use your eReader, you will need to charge the
unit’s internal battery. To do this, use the USB cable provided
in this package, plug the Micro-USB end into your eReader’s
micro USB port (Figure 1-11). Plug the other end to a
computer’s available USB port,
your device should appear as a
“Removable Disk”. To check your
device is charging go to “Safely
Remove Hardware”, found on the
bottom right of your screen and
“Eject Removable Disk”. (Please do not
unplug the USB cable). Once your
device is fully charged, this image will
appear.
5
To transfer files or eBooks etc.to your device, Use the USB
cable provided in this package.
Plug the device to your computer’s
available USB port, your device
should appear as a “Removable Disk” on the computer
screen. You can access your device memory to copy or
transfer or delete files to and from your device.
Keys and Parts
(Refer to Figure 1)
1. Zoom – Enlarge your photo or page
2. Rotate – To rotate your Photo or TXT books
3. Enter – To Select, Play or Pause
4. Navigation Pad – To move Up, Down, Left and Right
5. Sub-Menu – For custom selection or adjustment
6. Return – To Exit or return to previous page
7. Previous – Go back a page/image/audio file/video file
8. Next – Go to next page/image/audio file/video file
9. Power Button – On/off
10. Reset – Reset your device
11. Micro USB Port – To connect your device and to Charge
12. Audio Port – 3.5mm for earphone or speaker
13. SD Card Port – Micro SD Card input only

6
Figure 1
7
Instructions
To turn on your eReader, press and hold the power button (located
on the bottom of the eReader) for 5 seconds until the screen comes
on. The options on the menu are then displayed:
Main Menu
To enter any of the menu’s you must first highlight the desired menu,
using the up/down buttons on the eReader, press the “enter” button
(please refer to figure 1, button number 3) on the eReader.
Browser History – displays the most recent read ebooks/articles.
eBook
Please note:
Some eBooks may not open due to the size/encryption See FAQ
•ByFilename–Sortallfilesandfoldersbyfilename
•ByTitle–sortallfilesbytitle
•ByAuthor–sortallfilesbyauthor
•ByThumbnail–displayallbooksincoverpictures
•MediaUpdate–refreshthecontentsofthememory
Navigating inside your eBook – Below are the general guide for you to
navigate around all your eBook formats. (Please refer to Figure 1 for button)

8
Select/Open – Button 3
Flip page – Button 7 and 8, or 4
Rotate – Button 2 (some format does not support this)
Zoom – Button 1 (some format does not support this)
Return/Exit – Button 6
Sub-menu – Button 5
eBook – Sub-menu Functions
Note, sub-menu functions can vary depending on the eBook and its’ format
1. Page Jump – allows you to jump to a particular page within the eBook.
2. Save Bookmark – places a bookmark (can hold up to 5 pages)
3. Load Bookmark – loads a previously saved bookmark.
4. Delete Bookmark – deletes previously saved bookmarks.
5. Browser Mode – allows you to select auto or manual page turning.
6. Flip Time – allows you to select the time to turn each page.
7. Brightness Level – allows you to adjust screen brightness
8. Remove Enter Set – This function remove the “enter/return” space on
your eBook
9. Set Colour – Allows you to change the “Text” colour
10. Information – information of the book, author, title, etc.
11. Index – Goes to the content page on some of your eBook and allows
you to select chapters etc.
12. Font set – Allows you to change the Fonts
9
13. TTS Option – this allows you to change the speed of the reading or
languages, as well as some effects.
To activate TTS function, press Enter once you are inside a TXT eBook
(only applies to TXT files). To adjust the volume, you need to go to Music
function.
Music – Displays all your music collection
•Resumeplay–playlasttrack/showcurrentplayingtrack
•Allmusic–showsallmusic
•Artist–sortmusicbyartist
•Album‐sortmusicbyalbum
•Genre‐sortmusicbygenre
•Myfavourite‐sortmusicbyfavouritelist
•Browsefiles–selectmusicbydirectory
•Mediaupdate‐refreshthecontentsofthememory
Navigating inside the Music page – (Please refer to Figure 1 for button)
Play – Button 3
Select – Button 7 and 8, or 4
Mute – Button 1
Return/Exit – Button 6
Sub-menu – Button 5
Music – Sub-menu Functions
1. Repeat Mode – options to repeat your audio files play mode
2. Play Mode – options to Play your audio file “In Order” or “Random”

10
3. EQ Sel. – choice of pre-select EQ
4. User EQ Setup – allow custom EQ setting
5. Display – Display lyrics where it is available (does not support all
formats)
6. Brightness Level – allows you to adjust screen brightness
Video – Display all your video files and formats
Navigating inside the Video screen – (Please refer to Figure 1 for button)
Play/pause – Button 3
Volume – Button 7 and 8, or 4 (up/down)
Video Select – Button 4
Return/Exit – Button 6
Sub-menu – Button 5
Video – Sub-menu Functions
1. Select Time Play – allows you to skip to the play time in the video (Use
button 3 to navigate)
2. Full/normal/original screen – screen option (select with button 3)
3. Brightness Level – Brightness adjustment
Photo – Displays the photos on the unit
Navigating inside Photo screen – (Please refer to Figure 1 for button)
Play – Button 3
Select Photo – Button 7 and 8, or 4 (Left/Right)
Rotate – Button 2
11
Zoom – Button 1
Return/Exit – Button 6
Sub-menu – Button 5
Photo – Sub-menu Functions
1. Rotate LEFT or Right – rotate photo
2. Zoom In or Out – zoom photo
3. Slideshow – allow you to select photo flip time
4. Scale to Page – return the photo to original size or fit to page
5. Set Wallpaper – set photo as wall paper
6. Recover Desktop – to set default wall paper
7. Brightness – set brightness
Explorer – explores data on your internal memory or Micro SD card
Settings – allows you to make changes to the general interface on
your eReader.
•Display settings
•Screensaver time– to set time to turn off the screen
•Brightness settings.- to set screen brightness
•System settings
•Restorable – Restore to factory settings
•Erase Activation Record – Un-authorised your eReader (you will
not be able to read DRM eBooks)

12
•Key lock Time – to locks all keys after the set time (to unlock press
power button once)
•Language – these are the languages supported by the interface, not
for the eBooks
•System information – manufacturer, model# and software details
•Automatic shutdown – to set time for automatic shutdown time.
•Time – to set date and time display on your eReader.
Search – Allow you to search for all files stored in your eReader or
your Micro SD card.
Navigating inside Search screen – (Please refer to Figure 1 for button)
Enter Letter – Button 3
Scroll Key – Button 7 and 8, or 4
Show Keyboard – Button 2 (if the keyboard disappeared, press to
show)
Select search from Flash or Micro SD card – Button 1 (hold for 2-3sec)
Return/Exit – Button 6
Formats Supported by this Device
Image
SupportDecodingFormatResolution
JPEGJPEG 8000x8000(pels)
BMPBMPNA
GIFGIF1000x1000(pels)
13
PNGPNG960x720(pels)
Audio
SupportDecodingFormatBitRate
Mp3MPEG1/2/2.5
AudioLayer1/2/3
8kbps‐320kbps
CBRandVBR
WMA WMAVer.7,8,98kbps‐320kbps
WAV
MS‐ADPCM
IMA‐ADPCM
PCM
NA
APEAPEVer.3.95,3.97,3.98,3.99NA
OGGQ1‐Q10NA
FLACFLA‐0‐8NA
ACC
ADIF
ATDSHeaderAAL‐LC
AAC‐HE(V1)
NA
AC‐3AC‐3NA
DTSDTSNA
Video
DecoderContainSupportMaxPerformance

14
Decoding
Format
MPEG‐1
MPEG,
MPG,
DATMPEG‐1
720x576@25FPS
10Mbps
MPEG‐2
MPEG,
MPG,
VOB
MPEG‐2,
HP@ML
720x576@25FPS
10Mbps
MPEG‐4
AVI,
MKV,
MP4,
MOV
Xvid,Divx
3/4/5,
MPEG‐4
ASP
800x480@25FPS
4Mbps
RealMedia
RM,
RMVB
RealVideo
8/9
1280x720@25FPS
2Mbps
H.264/AVC
MKV,
AVI,MP4,
MOV,
FLV
H.264/AVC
HighProfile
800x480@25FPS
2Mbps
WMV
WMV,
ASF,AVIWMVv9
800x480@25FPS
4Mbps
Sorenson
H.263FLV
Sorenson
H.263
800x480@25FPS
2Mbps
H.263
3GP,
MOV,H.263
800x480@25FPS
2Mbps
15
MP4
Using Memory Storage Devices
This eReader accepts Micro SD card up to 16GB or 32GB
(Please note: You must turn off your eReader before inserting
or removing your Micro SD card)
To read or view articles from your Micro SD card, insert your card
into the eReader. Please note the orientation, you must insert the
card correctly, do not force it. Go to Explorer on the “Main Menu”,
enter and select TF Card, you should be able to browse through and
select item you wish to view.
Loading eBooks/Images/Musics/Video onto your
eReader/Micro SD card
You can load eBooks/images/Musics to your eReader or the
removable Micro SD card on your eReader.
Loading into the eBook’s Micro SD card
1. Insert the Micro SD card into your eReader.
2. Connect the mini USB cable plug to your eReader, and the
other end to the USB port on your computer.
3. Once your ereader is connected correctly the following window
should automatically pop up on your screen.
Note: One Window will be for the eReader itself (eg. Removable Disk

16
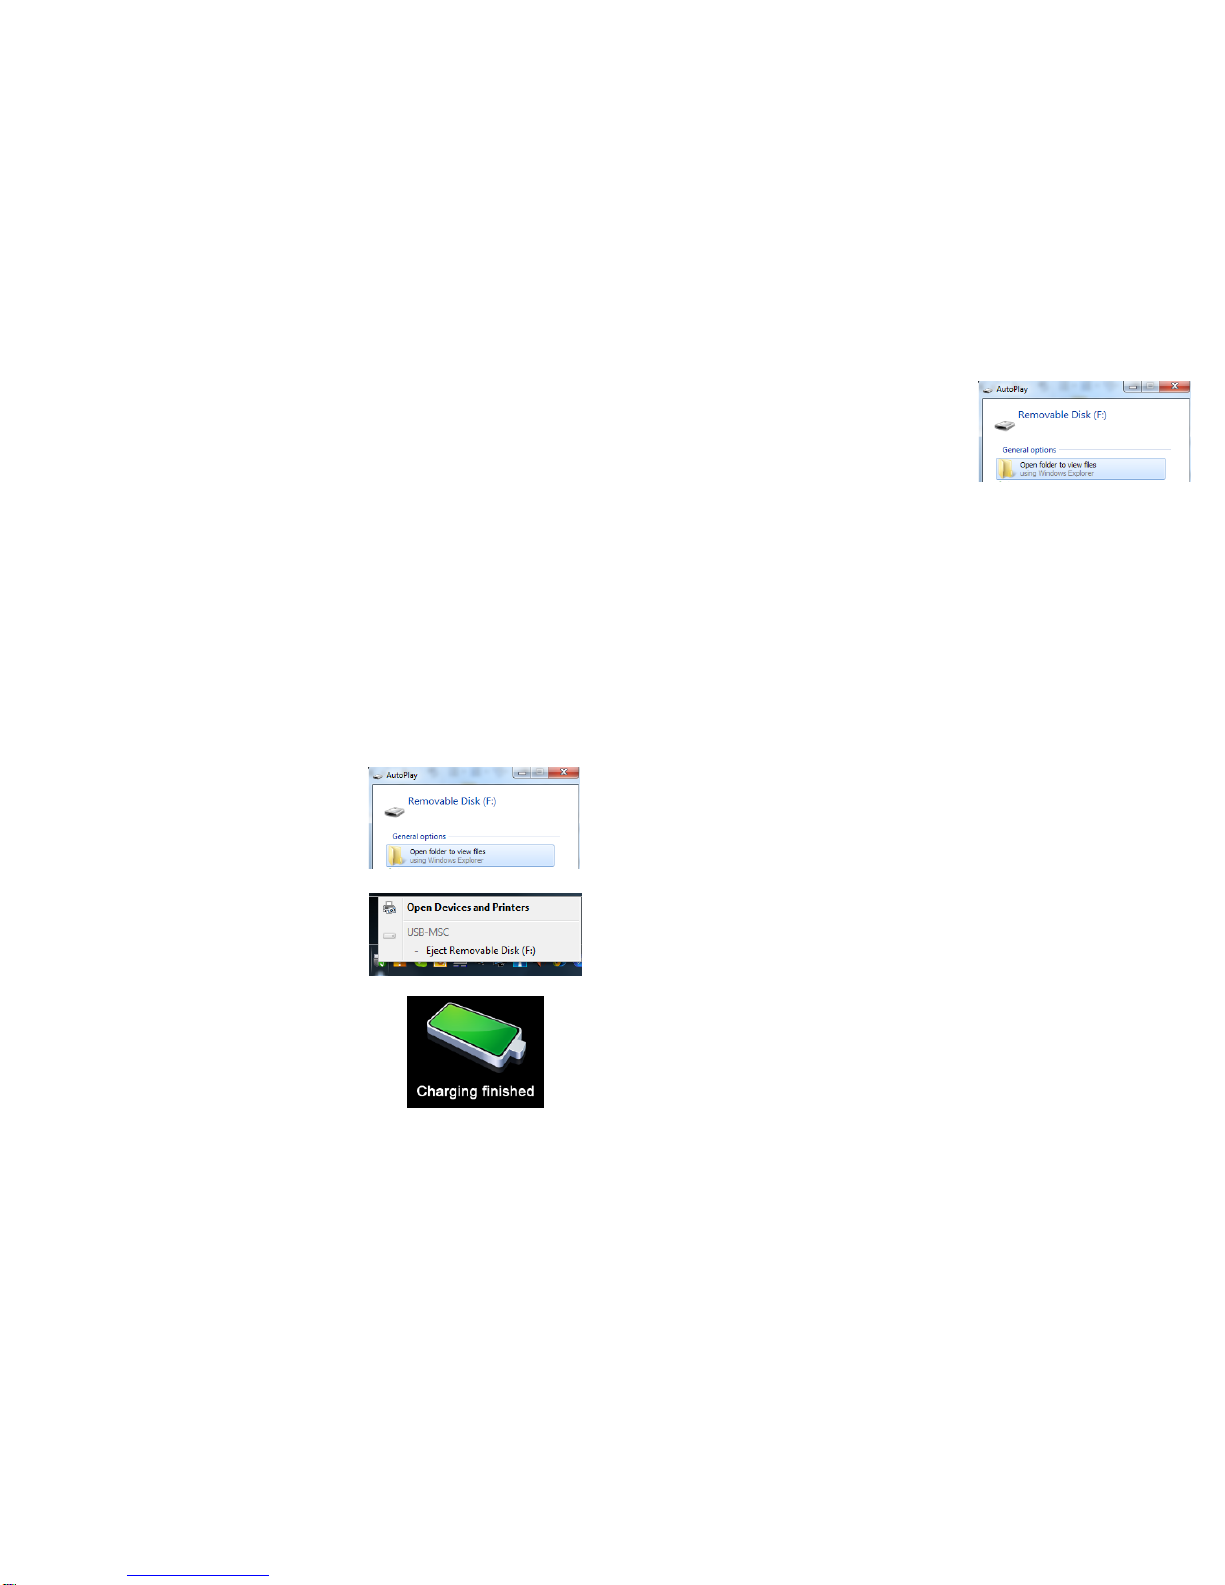
(F:), the other will be for the Micro SD card (eg. Removable Disk (G:)
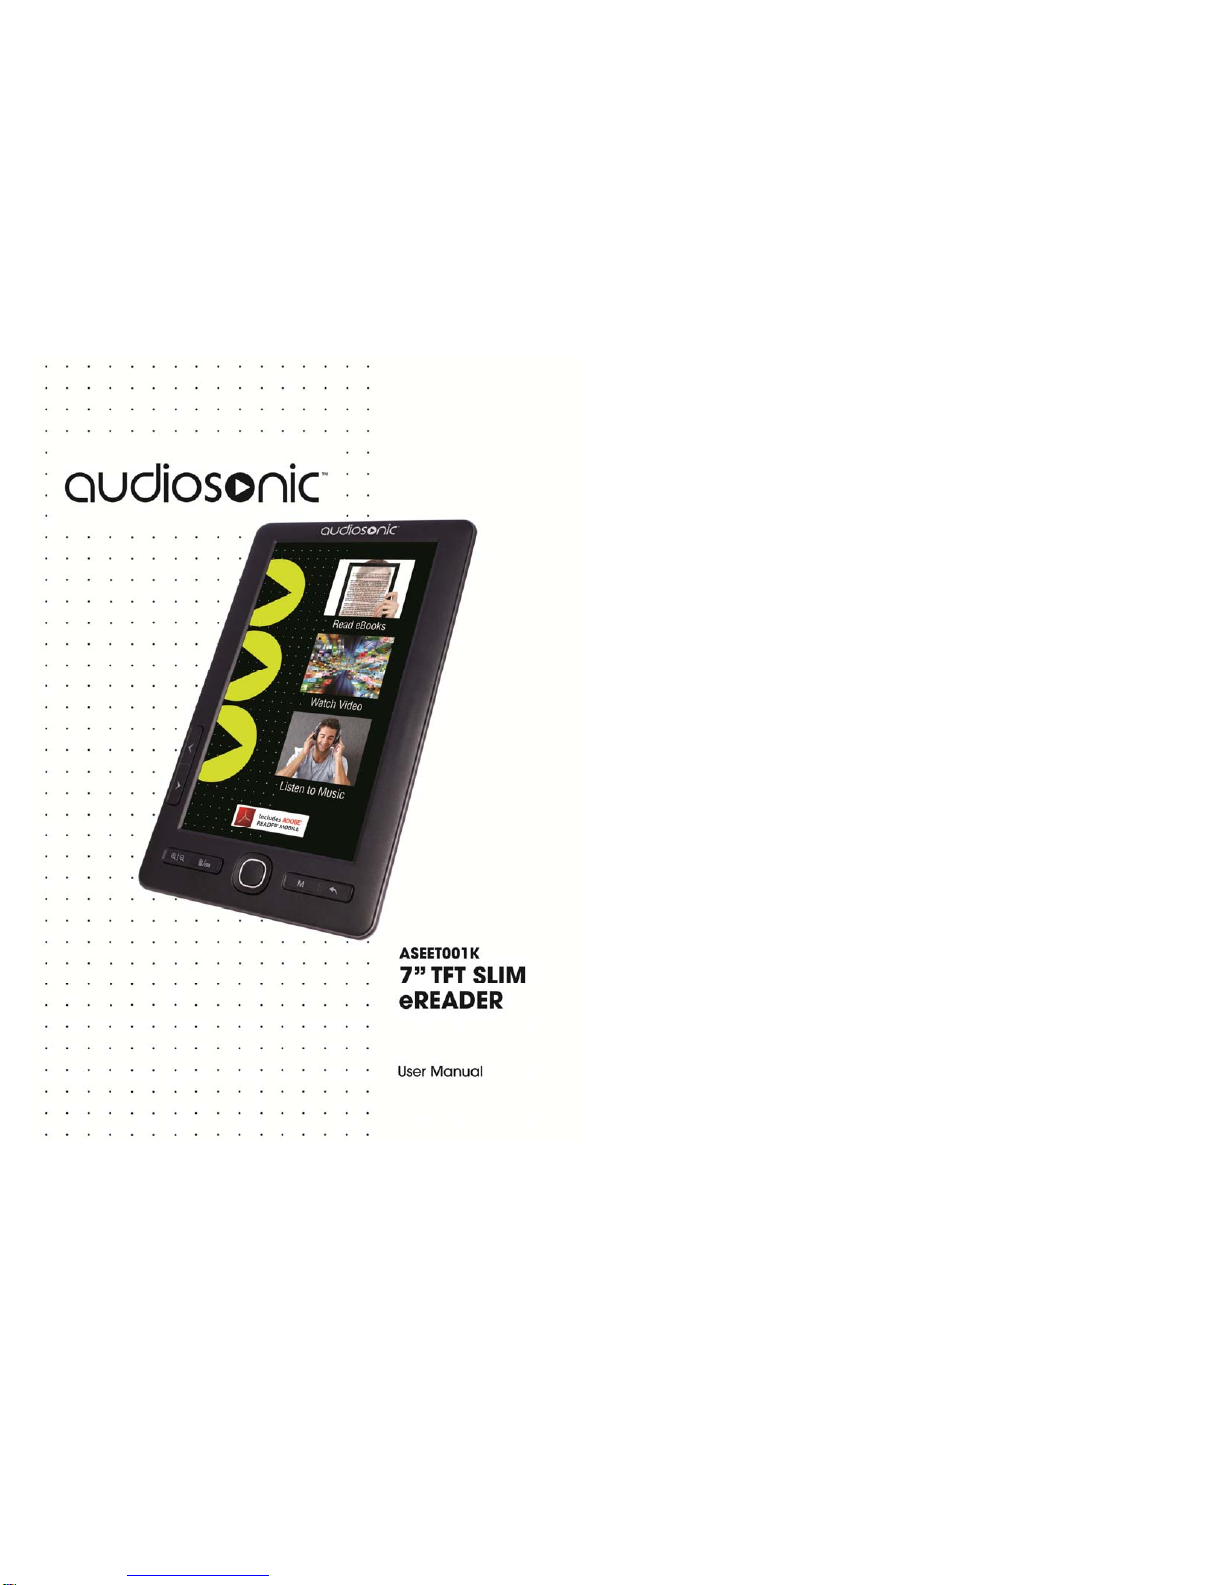
If no windows appear, go to “Start”, “Computer”, check “Removable
Disk”.
4. Your should see a similar window appear with Removable disk
(G:).
5. This is your SD card drive.
To transfer/copy the file to your
eReader’s Micro SD card, simply locate
the file on your PC that you wish to load onto your eReader’s Micro
SD card and drag the file across into the Removable Disk (G:)
window, or “Copy and paste” into this window. Your file should now
be stored on the Micro SD card. (Double check that you can see the
desired file within that window.)
Loading into the eReader’s internal memory.
If you wish to store your eBooks, Music, or Photos directly onto your
eReader, You will need to follow step 2 through to step 6, However
instead of Opening up the Removable disk ( G:) window you will
need to open up the Removable disk (F:) window. You can follow
the same steps to copy and paste or click and drag the selected file
into the window. In addition, you can create and name your own
folders or sub-folders in the “Removable drive” to store your
favourite collections.
17
Adobe eBook Digital Editions
If you have purchased an eBook from the online bookstore with
Adobe encryption, please refer to the following step by step process
to upload the purchased eBook to your eBook Reader.
INSTALL AND REGISTER FOR ADOBE® DIGITAL EDITIONS
SOFTWARE
Step 1: Log onto Adobe Digital Edition
via following web site,
http://www.adobe.com/
products/digitaleditions/
Step 2: Download and install
Adobe® Digital Editions Installer from
the web page
Step 3: Follow the prompt to allow
installation process to begin. When
the following screen appears, click
“Next” to continue
Step 4: When you see the following
screen, click “Install” to start installing
Adobe Digital Edition
Step 5: Once completed installation
process, click “Close”
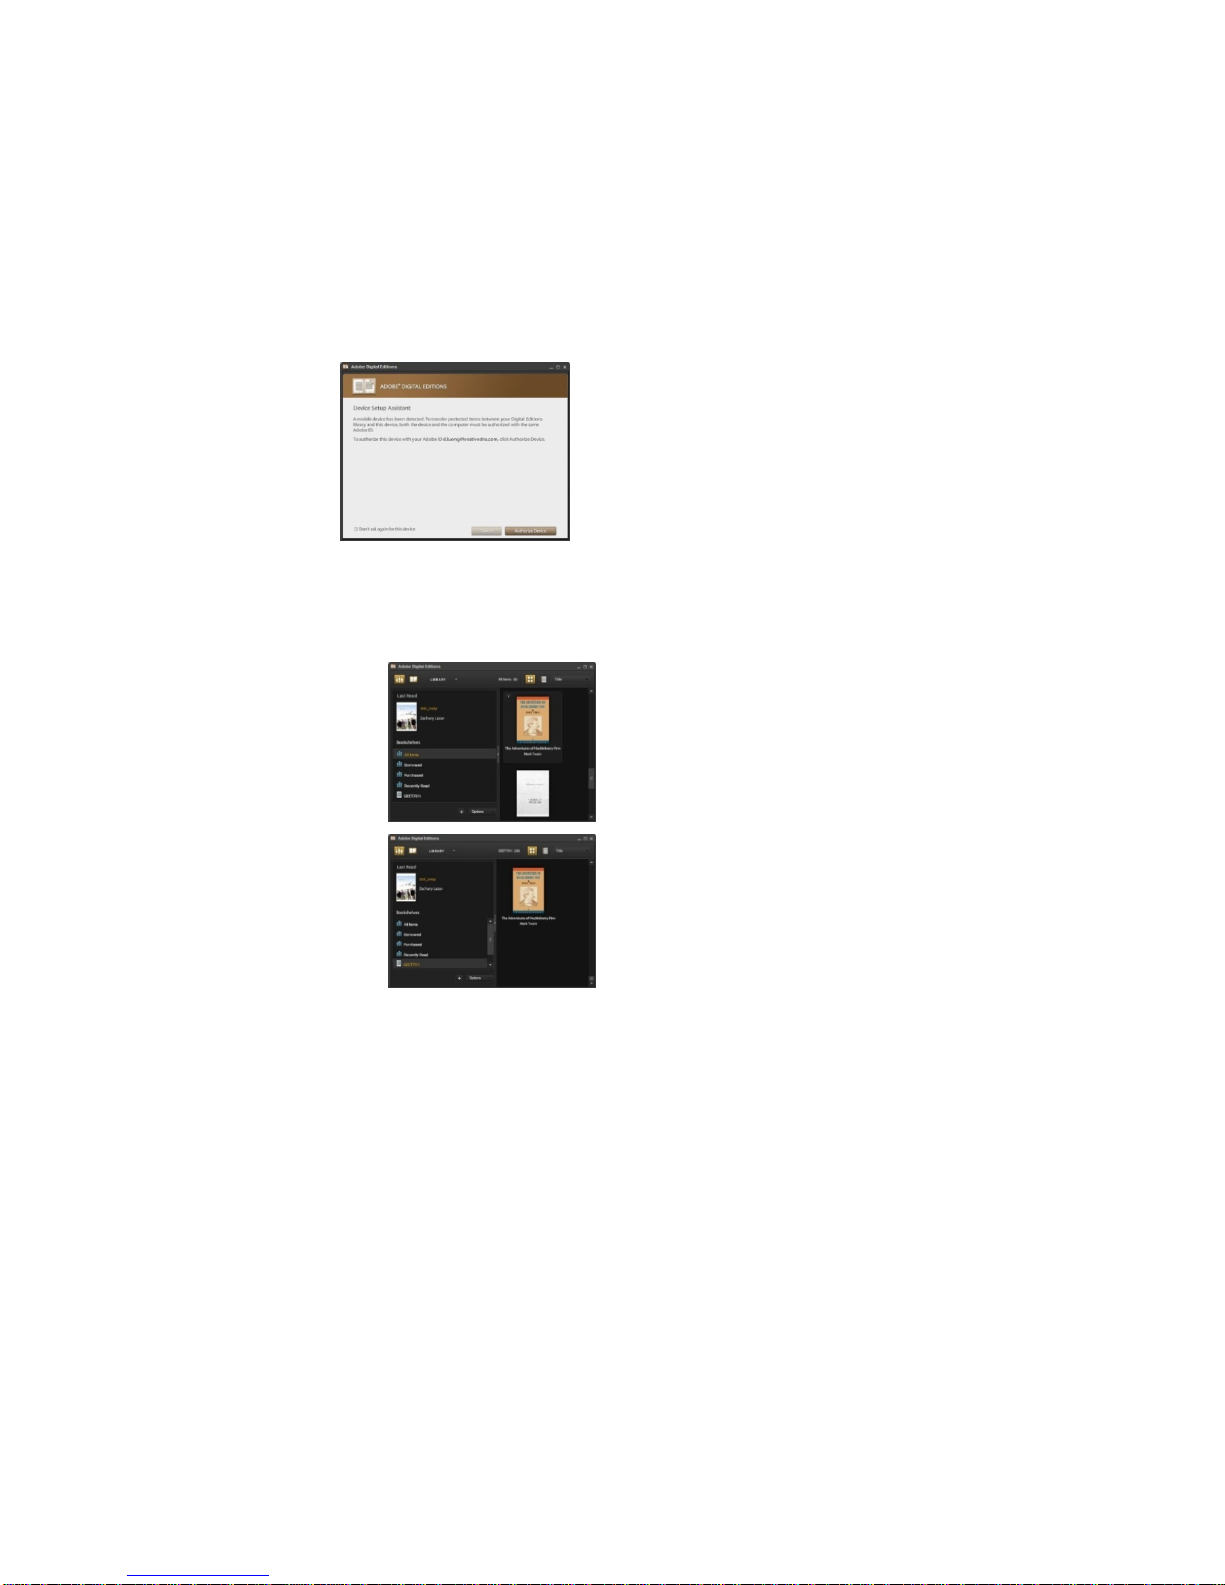
Step 6: Once the Adobe Digital

18
Edition software is installed; you will
be prompted to register your ID.
After you have entered and logged
on to the software, you are ready to
upload your eBooks.
(Note: Please ensure you use the
same email address for adobe as you would to purchase eBooks or
authorize the eBook reader)
UPLOAD YOUR EBOOKS TO READER
Step 1: Start Adobe Digital Edition
software
Step 2: Connect your eReader to PC via
USB cable provided
Step 3: The following screen will appear,
click on “Authorize Device” icon. Follow
the prompt to complete authorization
process
Step 4: Select the eBook you want to
upload to the eReader from your
library/collection
Step 5: Drag the selected eBook and drop over the model number
of your eReader on the lower left side of the application window. A
confirmation message will appear, click “OK” to complete the upload
19
process.
Step 6: Disconnect eReader from your PC. You will be able to
locate the eBook you have uploaded under folder “Ebook” Æ
“Digital Editions”
NOTE: Once you are familiar you can simply connect your eReader
to the PC, it will be connected as a removable disk. If you know your
location of your purchased eBook, you can simply copy the ePUB or
PDF eBook file and save under the following folder path;
Computer ÆRemovable drive ÆDigital Editions
Once the file is copied over to the eReader, you are now ready to
enjoy your eBook.
FAQ
Q - Is the TFT screen touch-enabled?
A - The TFT screen is not touch-enabled. Please use the buttons on the front
to operate the eReader.
Q - Will the TFT screen be damaged if I keep showing the same
book or photo for a long time?
A - No, the eReader can display the same book or photo
continuously for 1,000 hours without causing any damage to the
TFT screen.
Q - Why does the screen not show anything?
A - Check that the Unit is turned on; check the eReader has
enough power to turn on. Try connecting the USB to the

20
computer and see if the unit displays a computer icon continue
to charge the eReader.
Q - There is a memory card inserted in the digital eReader but
the device is unable to read the card. What can I do?
A - Firstly, make sure that you are using a memory card that is
inserted all the way and correctly inserted into the memory card
slot. Also check that the file(s) format are supported by this
eReader.
Q - Why do some eBook and pictures load faster than others?
A - Higher resolution pictures generally take more time to load.
Use pictures with lower resolution to speed up the loading
process.
Q - My screen is frozen; I cannot switch the device on and off.
A – Locate the reset point at the back of your eReader, gently
insert a pin, push the button to activate and reset the device.
Q - I can’t get my eReader to work on my PC?
A - Please ensure you are using the cable supplied with the
eReader and is plugged in correctly, try another USB port or
another computer.
Q - My eBook I purchased has missing pages or has
non-legible characters.
A - Sometimes downloading files can become corrupt, remove
and re-install the eBook file on the eReader. Sometimes the
eBook file could be corrupt, please consult the book store
21
where you purchased the eBook.
Q - Error message (No permission to copy document here)
A - Please ensure when authorizing the eReader with Adobe
Digital Editions, use the same email address, as the email
address for the eBook store you purchase the eBooks from.
Q – Error message (File Open Failed)
A – Make sure you open the file when downloading from the
internet book store and don’t save the file, Please remove the
eBook and re-download, making sure you open the file.
Q - Some eBook formats don’t work/open on my eReader
A – It is possible that some eBooks just won’t open for reasons
unknown, it is also possible that some eBooks will not open due
to the encryption or size of the eBook.
Q – Why does my PDF document spread over the page when I
enlarge it and not wrap around like the TXT documents?
A – PDF documents are fixed documents, when you enlarge the
text; you actually enlarge the entire page.
Q – My movie won’t play
A – Some movie formats will not play on the eReader, due to
size/encryption/format.
Q – How do I bookmark my audio eBook?
A – You cannot book mark an audio eBook as it plays like an
MP3 file.
Q – Why do some of my Photos not display

22
A – Some photos are too large to display on this eReader.
Q – Can I use the device while it is charging?
A – Press the Return Button to return to Main Menu, and you
can use the device while it is charging
12MonthWarranty
ThankyouforyourpurchasefromKmart.
KmartAustraliaLtdwarrantsyournewproducttobefreefromdefectsin
materialsandworkmanshipfortheperiodstatedabove,fromthedateof
purchase,providedthattheproductisusedinaccordancewithaccompanying
recommendationsorinstructionswhereprovided.Thiswarrantyisinadditionto
yourrightsundertheAustralianConsumerLaw.
Kmartwillprovideyouwithyourchoiceofarefund,repairorexchange(where
possible)forthisproductifitbecomesdefectivewithinthewarrantyperiod.
Kmartwillbearthereasonableexpenseofclaimingthewarranty.Thiswarranty
willnolongerapplywherethedefectisaresultofalteration,accident,misuse,
abuseorneglect.
PleaseretainyourreceiptasproofofpurchaseandcontactourCustomerService
Centreon1800124125(Australia)or0800945995(NewZealand)oralternatively,
product.Warrantyclaimsandclaimsforexpenseincurredinreturningthis
productcanbeaddressedtoourCustomerServiceCentreat690SpringvaleRd,
MulgraveVic3170.
23
OurgoodscomewithguaranteesthatcannotbeexcludedundertheAustralian
ConsumerLaw.Youareentitledtoareplacementorrefundforamajorfailureand
compensationforanyotherreasonablyforeseeablelossordamage.Youarealso
entitledtohavethegoodsrepairedorreplacedifthegoodsfailtobeof
acceptablequalityandthefailuredoesnotamounttoamajorfailure.
ForNewZealandcustomers,thiswarrantyisinadditiontostatutoryrights
observedunderNewZealandlegislation.
Table of contents
Popular Ebook Reader manuals by other brands

Amazon
Amazon Paperwhite user guide

Prestigio
Prestigio PER5162BEN quick start guide

Krüger & Matz
Krüger & Matz KM0280 owner's manual

Barnes & Noble
Barnes & Noble NOOK Tour user manual

Tyro
Tyro Go EFTPOS quick start guide

Williams Sound
Williams Sound Language Interpretation System WIR SYS 4 Specification sheet