manuals.online logo
Brands
  1. Home
  2. •
  3. Brands
  4. •
  5. AudioSource
  6. •
  7. Recording Equipment
  8. •
  9. AudioSource AE4SW User manual

AudioSource AE4SW User manual

Congratulations on your purchase of the AudioSource
AE4SW Speaker Selector. This product is designed
to distribute stereo music to four independent
listening zones via connection with your existing
audio system.
Please read this Installation Manual to ensure the
proper installation and performance of your AE4SW
Speaker Selector.
AE4SW
4 Zone Stereo Speaker Selector
Function of the AE4SW
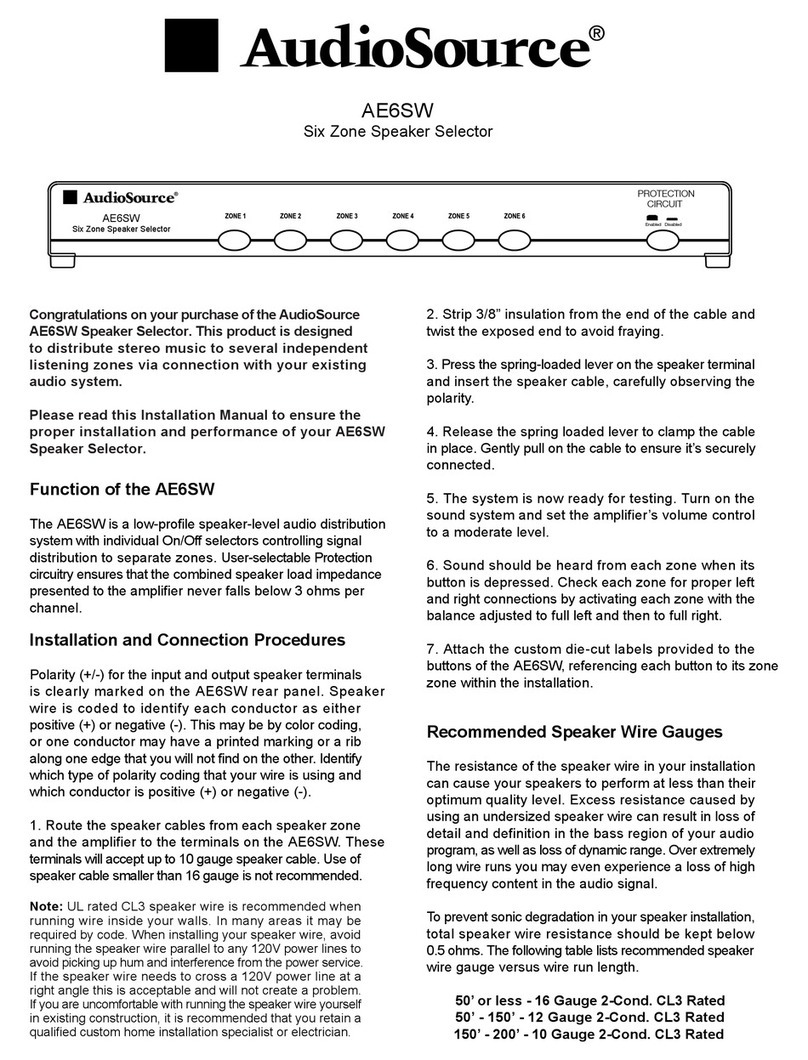
The AE4SW is a low-profile speaker-level audio distribution
system with individual On/Off selectors controlling signal
distribution to four listening zones. Pass-through amplifier
input terminals allow easy connection of additional AE-SW
selectors. User-selectable protection circuitry ensures that
the combined speaker load impedance presented to the
amplifier never falls below 6 ohms per channel.
The AE-SW selector is designed to be used independently
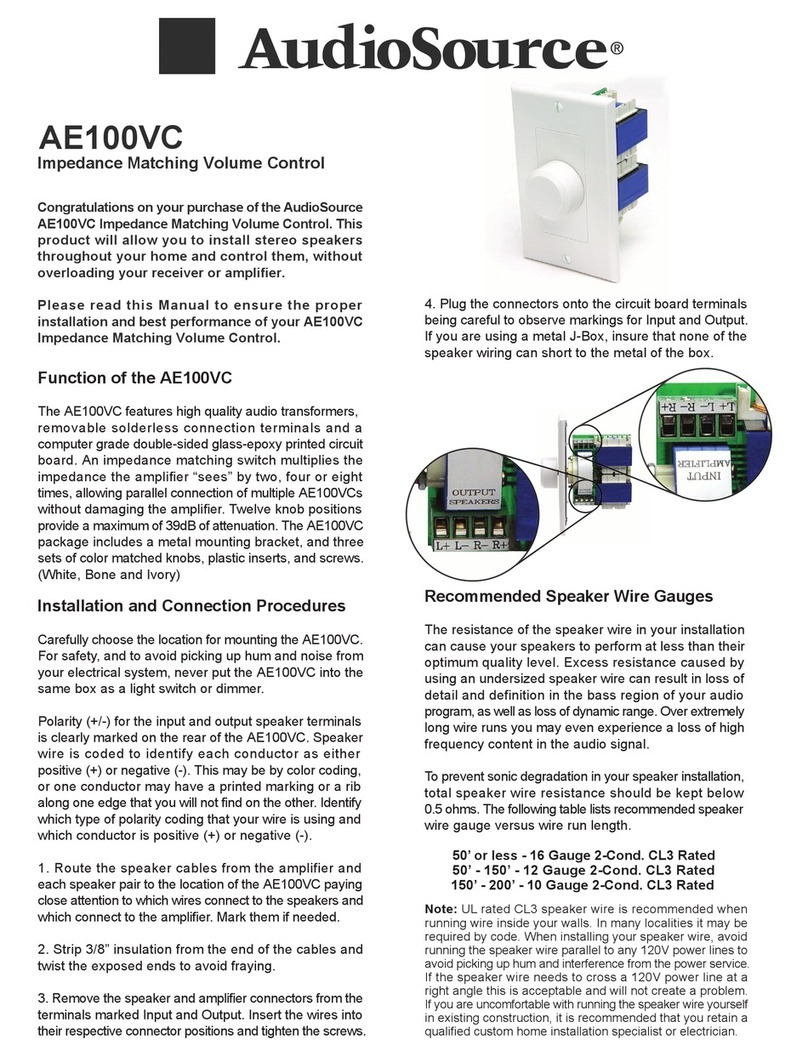
or in conjunction with AE100VC Impedance Matching
Volume Controls. These provide independent volume
control for each zone and provide impedance matching
in place of the AE-SW selector.
When using impedance matching volume controls, the
AE-SW protection circuit should be in the off position.
Follow instructions in the AE100VC manual for correct
impedance matching settings.
Installation and Connection Precautions
Polarity (+/-) for the input and output speaker terminals
is clearly marked on the AE4SW rear panel. Speaker
wire is coded to identify each conductor as either
positive (+) or negative (-). Maintain (+) to (+) and (-) to (-)
connections between all components in your installation.
1. Route the speaker cables from each speaker zone
and the amplifier to the terminals on the AE-SW. These
terminals will accept up to 10 gauge speaker cable.*
The amplifier cables connect to the terminals marked
“INPUT” on the back of the AE-SW unit. The speaker
cables connect to the numbered Zone output terminals
on the AE-SW selector.
Note: UL rated CL3 speaker wire is recommended when
running wire inside your walls. In many areas it may be
required by code. To avoid picking up hum and interference
do not install the speaker wire parallel to any 120V power lines.
If the speaker wire needs to cross a 120V power line at a
right angle this will not create a problem. If you are uncomfortable
with running the speaker wire yourself, it is recommended
that you retain a qualified custom home installation specialist
or electrician.
2. Strip 3/8” of insulation from the end of the cable and
twist the exposed end to avoid fraying.
3. Press the spring-loaded lever on the speaker terminal
and insert the speaker cable, carefully observing the
polarity.
4. Release the spring loaded lever to clamp the cable
in place. Gently pull on the cable to ensure it’s securely
connected.
5. The system is now ready for testing. Turn on the
sound system and set the amplifier’s volume control
to a moderate level.
6. Sound should be heard from each zone when its
button is depressed. Check each zone for proper left
and right connections by activating each zone with the
balance adjusted to full left and then to full right.
7. Attach the custom die-cut labels provided to the
buttons of the AE4SW, referencing each button to its
zone within the installation.
Recommended Speaker Wire Gauges
Excess resistance caused by using an undersized
speaker wire can result in loss of power, loss of bass
definition and loss of overall dynamic range. Over
extremely long wire runs you may even experience a
loss of high frequency content in the audio signal.
To prevent sonic degradation in your speaker installation,
total speaker wire resistance should be kept below
0.5 ohms. The following table lists recommended speaker
wire gauge versus wire run length.
50’ or less - 16 Gauge 2-Cond. CL3 Rated
50’ - 150’ - 12 Gauge 2-Cond. CL3 Rated
150’ - 200’ - 10 Gauge 2-Cond. CL3 Rated
Installation and Connection Procedures
* Use of speaker cable smaller than 16 gauge is not
recommended.
AE4SW
dimensions: 8-1/2” x 4-1/2“” x 1-3/4” (216 x 115 x 45mm)
Two Year Limited Warranty
AudioSource a division of Peak Audio Group, llc, warrants this product against defects in materials and workmanship for a limited period of time. For a period of two
(2) years from date of original purchase, we will repair or replace the product, at our option, without charge for parts. Customer must pay for all labor
charges associated with the removal and re-installation of this product for the limited period and all parts and labor charges after the limited warranty
period expires. The limited warranty period for factory refurbished products expires after ninety (90) days from date of original purchase. This limited
warranty applies only to purchases from authorized AudioSource Retailers or Distributors. This limited warranty is extended only to the original
purchaser and is valid only to consumers in the United States.
Consumers are required to provide a copy of the original sales invoice from an authorized AudioSource Retailer or Distributor when making a claim
against this limited warranty. This limited warranty only covers failures due to defects in materials or workmanship that occur during normal use. It
does not cover failures resulting from accident, fire, flood, misuse, abuse, neglect, mishandling, misapplication, alteration, faulty installation, modification,
service by anyone other than AudioSource, or damage that is attributable to Acts of God. It does not cover costs of transportation to AudioSource or
damage in transit. The customer should return their defective product, freight prepaid and insured, to AudioSource only after receiving a Return Authorization.
Repair or replacement under the terms of this warranty does not extend the term of this warranty. Should a product prove to be defective in workmanship
or material, the consumer's sole remedies will be repair or replacement as provided under the terms of this warranty. If the defective product is
discontinued AudioSource may replace the product with an equivalent or superior product at its option. Under no circumstances shall AudioSource
be liable for loss or damage, direct, consequential or incidental, arising out of the use of or inability to use the product. There are no express warranties
other than described above.
Installation Precautions (continued)
• Under no circumstances turn off the power protection
circuit unless your amplifier can handle the combined
impedance of all zones activated.
For example:
With the power protection circuit switch in the “OFF”
position, an AE4SW with four pairs of 8 ohm speakers
connected will present the amplifier with a 2 ohm
load per channel. This may damage your amplifier or
cause it to shut down.
With the power protection circuit switch “ON”, an AE4SW
with four pairs of 8 ohm speakers connected will present
the amplifier with a 6 ohm load per channel which
will not present a problem for most amplifiers.
Consult your authorized dealer and/or the owner’s
manual for your amplifier for complete details.
• Power handling without the protection circuit switch
engaged is 140 watts per channel.
• Power handling with the protection circuit switch
engaged is 70 watts per channel.
Total Zones
Connected
1-2
3-4
IF USING AE100VC IMPEDANCE MATCHING
VOLUME CONTROLS IN EACH ZONE
Protection
Switch
May Be Off
May Be Off
Power Capacity
Per Channel
140 Watts
140 Watts
3-4 Must Be On 70 Watts
Operational Details
1. Zone Select Switch
Use labeling kit for zone identification. Press in to send
music to the zone controlled by each switch.
2. Input Terminal
Connects speaker cable from amplifier to AE4SW unit.
3. Pass Through Terminal
Connects speaker signal to other AE-SW units. Do not
connect to speakers! Amplifier damage may occur.
4. Power Protection Circuit Switch
Read Installation Precautions section of this manual for
full instructions regarding the use of this switch.
5. Zone 3-4 Output
6. Zone 1-2 Output
Installation Precautions
• Never place the AE4SW where it would be exposed
to excessive moisture or heat.
• Allow for a minimum of 1 inch of clearance above
the top of the unit.
1 inch (25mm) Space Above
1
ZONE 1
ZONE 2
ZONE 3
ZONE 4
4
+ - - + + - - +
2
3
ZONE 1 ZONE 2 ZONE 3 ZONE 4
INPUT
OUTPUT
+ - - +
ON
OFF
PROTECTION
CIRCUIT
SWITCH
WARNING
READ INSTRUCTIONS BEFORE
DISABLING PROTECTION
56

Other AudioSource Recording Equipment manuals

AudioSource SS THREE User manual

AudioSource

AudioSource SS THREE User manual

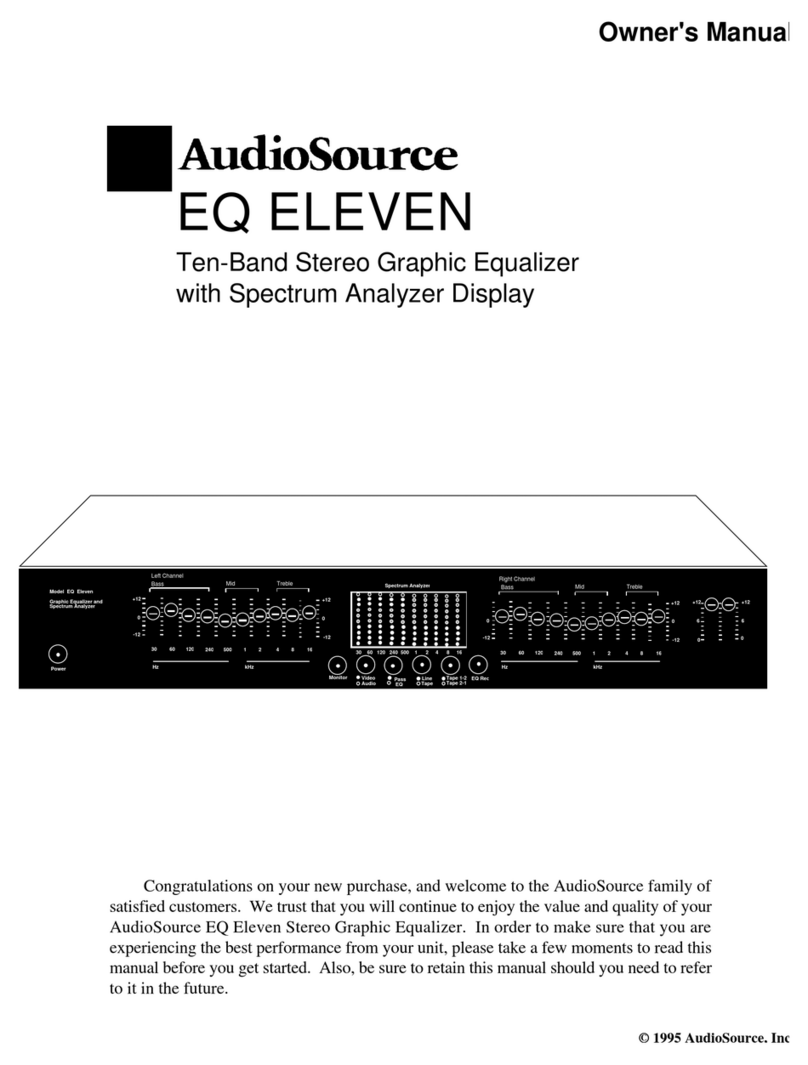
AudioSource EQ 11 User manual

AudioSource

AudioSource EQ 11 User manual

AudioSource EQ One User manual

AudioSource

AudioSource EQ One User manual

AudioSource EQ 14 User manual

AudioSource

AudioSource EQ 14 User manual

AudioSource AE6SW User manual

AudioSource

AudioSource AE6SW User manual

AudioSource EQ 9 User manual

AudioSource

AudioSource EQ 9 User manual

AudioSource AE100VC User manual

AudioSource

AudioSource AE100VC User manual

AudioSource EQ 8 Series II User manual

AudioSource

AudioSource EQ 8 Series II User manual

AudioSource EQ 8 User manual

AudioSource

AudioSource EQ 8 User manual

AudioSource AV-ONE User manual

AudioSource

AudioSource AV-ONE User manual

AudioSource EQ One Series II User manual

AudioSource

AudioSource EQ One Series II User manual

Popular Recording Equipment manuals by other brands

Two Notes TORPEDO Live user manual

Two Notes

Two Notes TORPEDO Live user manual

M2SYNTH VC ADSR 121 Assembly instructions

M2SYNTH

M2SYNTH VC ADSR 121 Assembly instructions

Audient iD4 manual

Audient

Audient iD4 manual

Yamaha POCKETRAK CX Service manual

Yamaha

Yamaha POCKETRAK CX Service manual

P3 International P5080 Specifications

P3 International

P3 International P5080 Specifications

Fostex D-90 owner's manual

Fostex

Fostex D-90 owner's manual

Stanton smx 201 user guide

Stanton

Stanton smx 201 user guide

National Instruments PXIe-8370 user manual

National Instruments

National Instruments PXIe-8370 user manual

M-Audio ProFire Lightbridge user guide

M-Audio

M-Audio ProFire Lightbridge user guide

CTC Parker Automation PowerStation PA Series user guide

CTC Parker Automation

CTC Parker Automation PowerStation PA Series user guide

Cochlear Baha 5 Power user manual

Cochlear

Cochlear Baha 5 Power user manual

ZLG USBCANFD Series Product user manual

ZLG

ZLG USBCANFD Series Product user manual

Viking PB-100 Technical practice

Viking

Viking PB-100 Technical practice

Pro-tools MTRX II Guide

Pro-tools

Pro-tools MTRX II Guide

MOTU MicroBook user guide

MOTU

MOTU MicroBook user guide

Akai S950 Service manual

Akai

Akai S950 Service manual

Edirol R-4 PRO - ANNEXE 109 Brochure & specs

Edirol

Edirol R-4 PRO - ANNEXE 109 Brochure & specs

ADC PWR-AVIS user manual

ADC

ADC PWR-AVIS user manual

manuals.online logo
manuals.online logoBrands
  • About & Mission
  • Contact us
  • Privacy Policy
  • Terms and Conditions

Copyright 2025 Manuals.Online. All Rights Reserved.