manuals.online logo
Brands
  1. Home
  2. •
  3. Brands
  4. •
  5. Audiosystem
  6. •
  7. Speakers
  8. •
  9. Audiosystem X 165/3 EVO 2 User manual

Audiosystem X 165/3 EVO 2 User manual

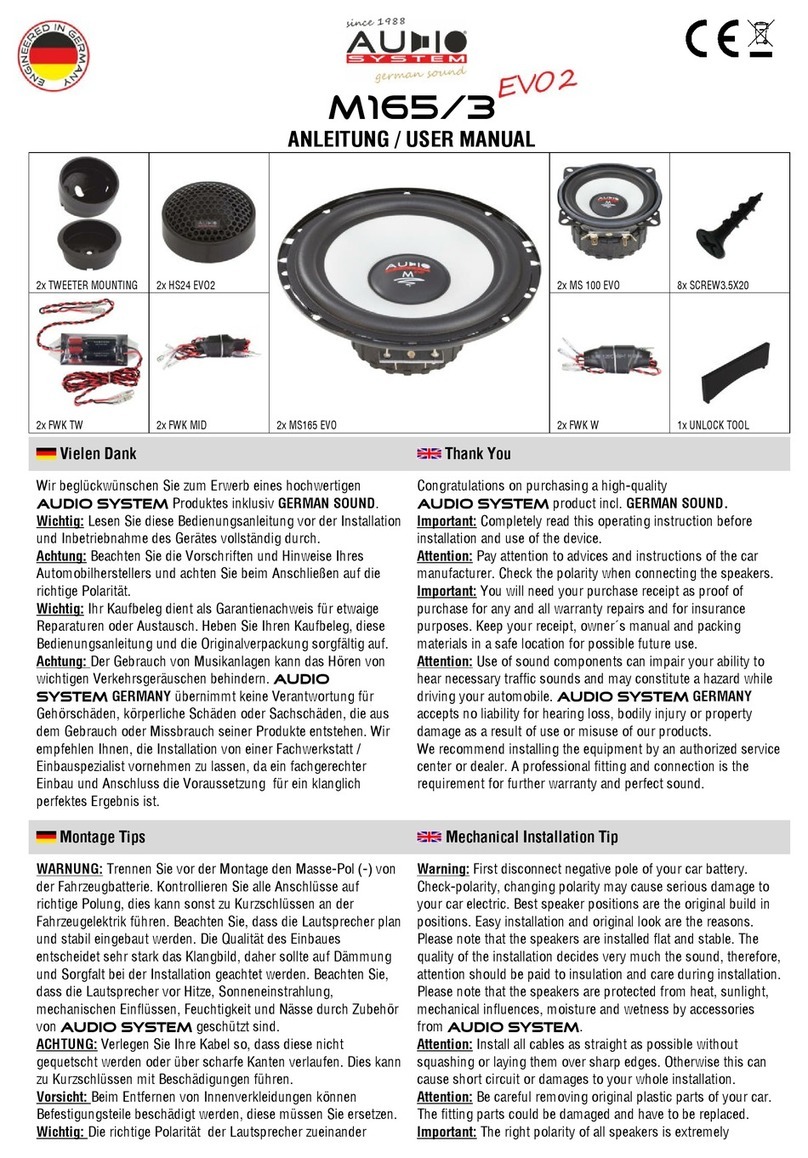
X 165/3
ANLEITUNG / USER MANUAL
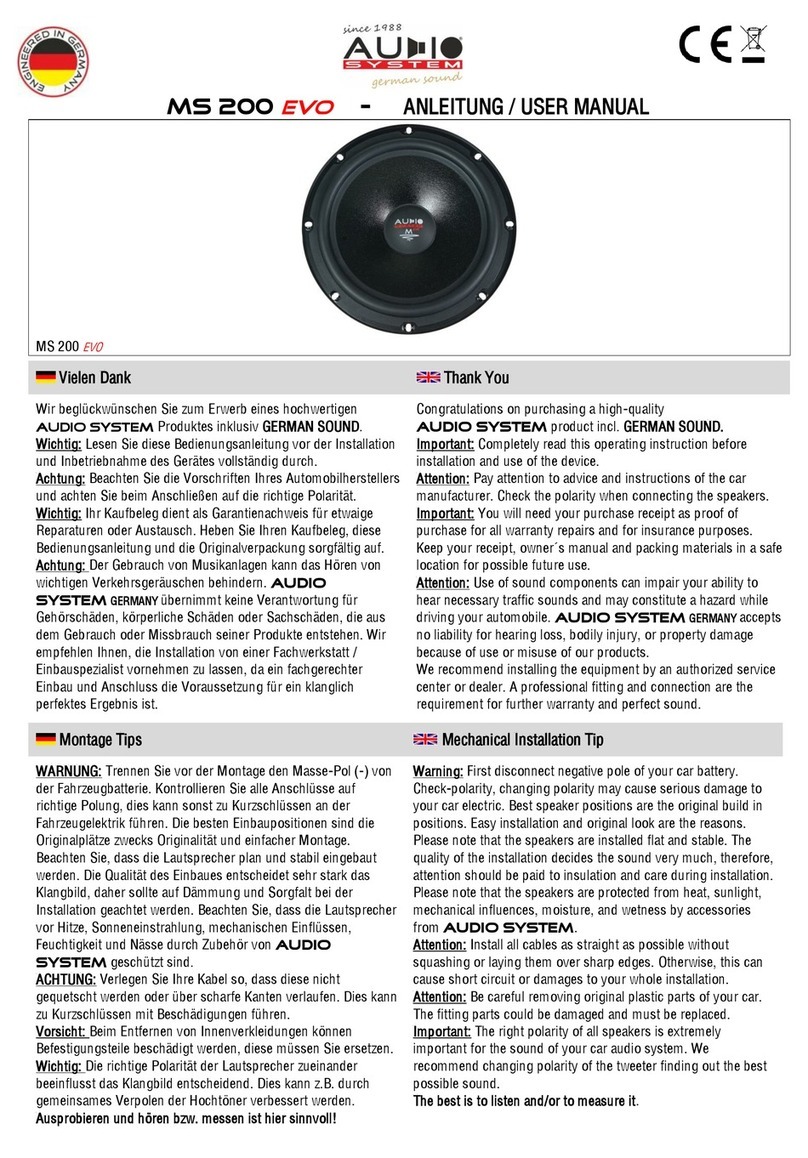
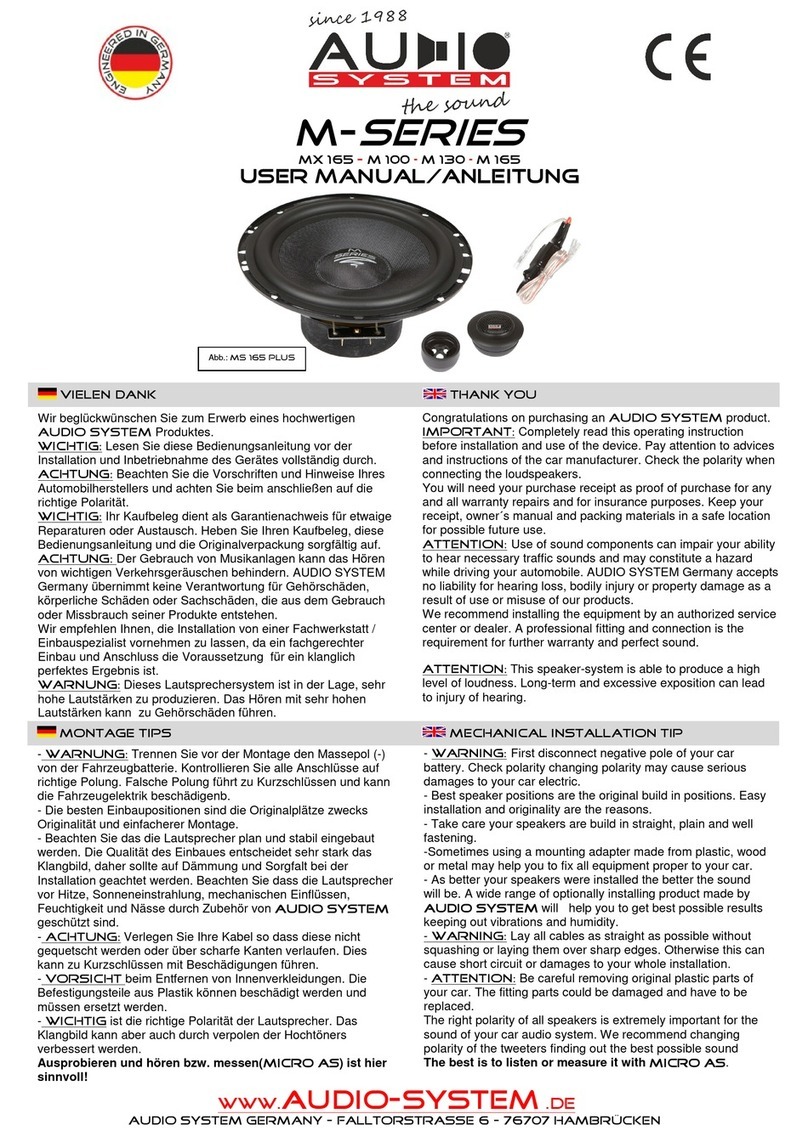
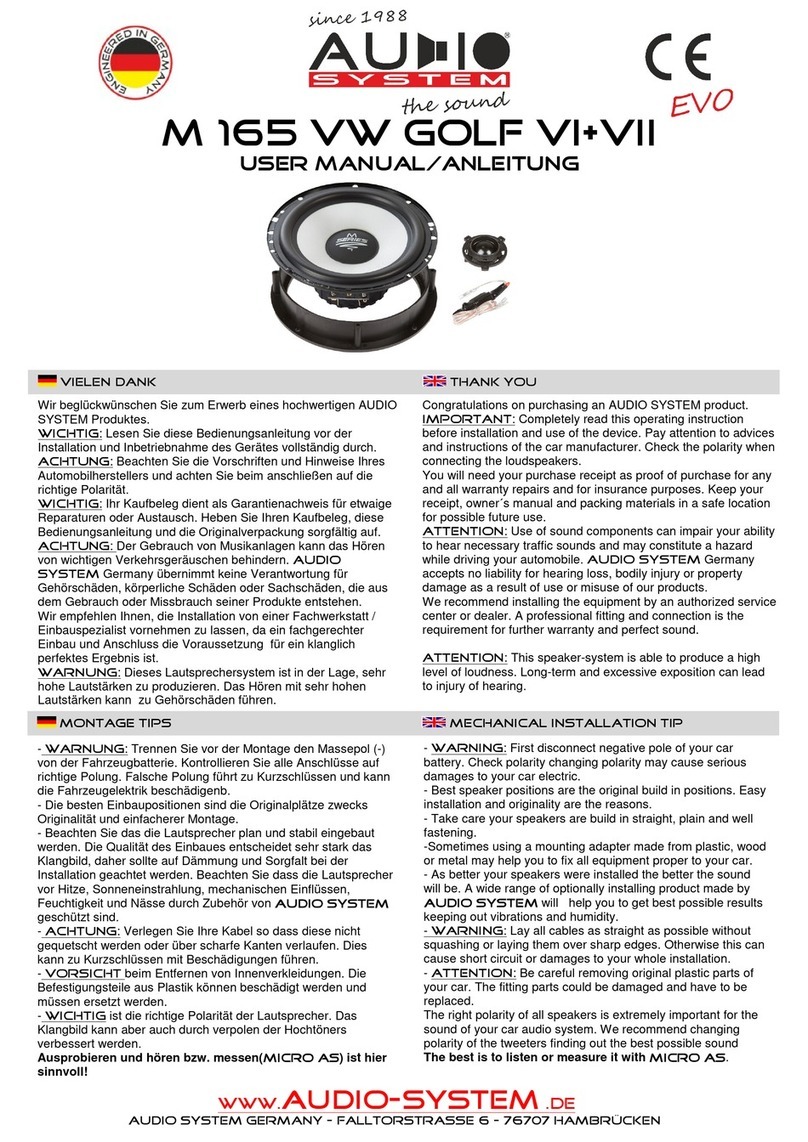
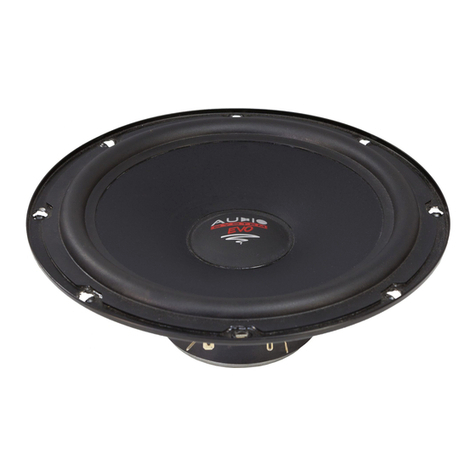
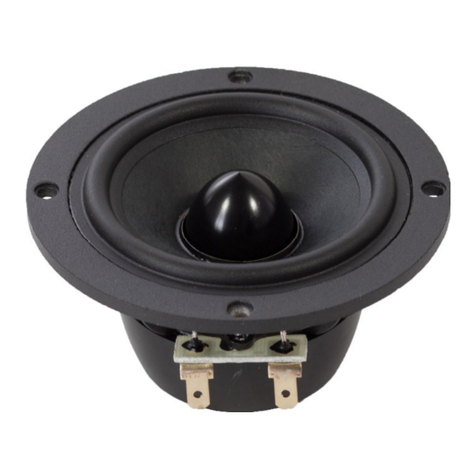
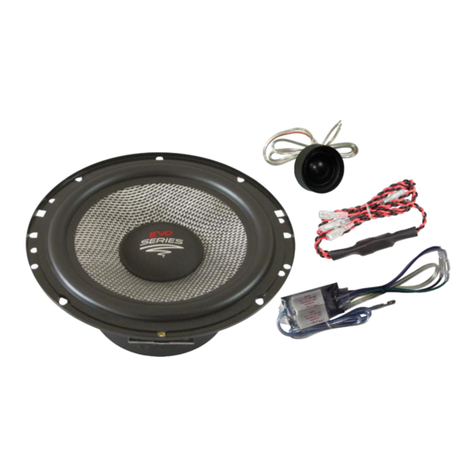
2x AS 165 EVO
2x MOUNTING BRACKET 2x HS25 EVO2 8x SCREW3.5X20
1x UNLOCK TOOL
2x INSTALL BRACKET 2x AS 100 EVO
2x FWX EVO2
V elen Dank Thank You
W r beglückwünschen S e zum Erwerb e nes hochwert gen
AUDIO SYSTEM Produktes nklus v GERMAN SOUND.
W cht g: Lesen S e d ese Bed enungsanle tung vor der Installat on
und Inbetr ebnahme des Gerätes vollständ g durch.
Achtung: Beachten S e d e Vorschr ften und H nwe se Ihres
Automob lherstellers und achten S e be m Anschl eßen auf d e
r cht ge Polar tät.
W cht g: Ihr Kaufbeleg d ent als Garant enachwe s für etwa ge
Reparaturen oder Austausch. Heben S e Ihren Kaufbeleg, d ese
Bed enungsanle tung und d e Or g nalverpackung sorgfält g auf.
Achtung: Der Gebrauch von Mus kanlagen kann das Hören von
w cht gen Verkehrsgeräuschen beh ndern. AUDIO
SYSTEM GERMANY übern mmt ke ne Verantwortung für
Gehörschäden, körperl che Schäden oder Sachschäden, d e aus
dem Gebrauch oder M ssbrauch se ner Produkte entstehen. W r
empfehlen Ihnen, d e Installat on von e ner Fachwerkstatt /
E nbauspez al st vornehmen zu lassen, da e n fachgerechter
E nbau und Anschluss d e Voraussetzung für e n klangl ch
perfektes Ergebn s st.
Congratulat ons on purchas ng a h gh-qual ty
AUDIO SYSTEM product ncl. GERMAN SOUND.
Important: Completely read th s operat ng nstruct on before
nstallat on and use of the dev ce.
Attent on: Pay attent on to adv ces and nstruct ons of the car
manufacturer. Check the polar ty when connect ng the speakers.
Important: You w ll need your purchase rece pt as proof of
purchase for any and all warranty repa rs and for nsurance
purposes. Keep your rece pt, owner´s manual and pack ng
mater als n a safe locat on for poss ble future use.
Attent on: Use of sound components can mpa r your ab l ty to
hear necessary traff c sounds and may const tute a hazard wh le
dr v ng your automob le. AUDIO SYSTEM GERMANY
accepts no l ab l ty for hear ng loss, bod ly njury or property
damage as a result of use or m suse of our products.
We recommend nstall ng the equ pment by an author zed serv ce
center or dealer. A profess onal f tt ng and connect on s the
requ rement for further warranty and perfect sound.
E nbauhalter des Hochtöner Install Tweeter
W cht g:
Der Hochtöner hat 2x spez elle Montagehalter d e S e für den
opt malen E nbau verwenden können.
Important:
The tweeter has 2x spec al mount ng brackets that you can use for
opt mal nstallat on.
Ausbauwerkzeug des Hochtöner Lock/Unlock Tool Tweeter
Das be l egende Ausbauwerk-
zeug gre ft m t den Nasen n d e
Löcher des Hochtönerg tters.
Durch drehen nach l nks w rd
der Hochtöner n der Halterung
verr egelt, durch drehen nach
rechts entr egelt.
The attached lock/unlock tool s
des gned to f t n the holes of the
tweeter-gr lle. Turn ng the tweeter to the
left w ll lock the tweeter nto the
hous ng, turn ng to the r ght w ll unlock
the tweeter.
X-Series
ANLEITUNG / USER MANUAL
Frequenzwe che FWX EVO2 Crossover FWX EVO2
W cht g: Das Lautsprechersystem lässt s ch an d e jewe l ge
Akust k des Fahrzeuges, Mus kr chtung und an den persönl chen
Geschmack über d e Frequenzwe che anpassen. Je nach Lage der
Lautsprecher kann d e We che so e ngestellt werden, dass der
Frequenzgang m t d esen geometr schen Gegebenhe ten opt m ert
w rd. Je nach Installat onsort des Hochtöners st es nöt g, den
Frequenzgang tonal sow e den Lautstärkepegel anzupassen, z.B.
be e ner Montage des Hochtöners n der A-Säule, m
Sp egeldre eck oder n der Türverkle dung.
Important: The speaker system can be adapted to the part cular
acoust cs of the veh cle, the genre of mus c and to the personal
taste v a the crossover. Depend ng on the pos t on of the
speakers, the sw tch can be adjusted so that the frequency
response s opt m zed w th these geometr c cond t ons. Depend ng
on the nstallat on locat on of the tweeter, t s necessary to adjust
the frequency response tonal and volume technology, e.g. when
mount ng the tweeter n the A-p llar, n the m rror tr angle or n the
door tr m.
Grunde nstellung Frequenzwe che FWX EVO2 Default Sett ng Crossover FWX EVO2
WICHTIG:
D e We che w rd n e ner Grunde nstellung ausgel efert.
Sollte e n Lautsprecher e nmal n cht funkt on eren, v el zu le se
sp elen oder s ch klangl ch verfärbt anhören, muss d e We che
w eder n d ese Grunde nstellung gestellt werden, um s cher zu
gehen, dass n cht d e We chene nstellung für d e Probleme
verantwortl ch st und Ihr Fachhändler n cht unnöt g nach e nem
Fehler an e nem Lautsprecher sucht.
IMPORTANT: The crossover s suppl ed w th a default sett ng. If
some speakers do not work or work too much softly as bad
sound ng, the crossover has to be adjusted aga n to the bas c
sett ngs n order to clar fy f m stakes on crossover sett ng s the
real defect reason or not. Thus you can avo d that you or the
dealer have to check the speaker unnecessar ly.
Anpassung des Hochtonpegels
(SECTION A)
HIGH FREQUENCY LEVEL
(SECTION A)
HOCHPASS HOCHTON HIGHPASS TWEETER 4900 Hz
1,5 2,2 Resultat  dB RESULT
Jumper Jumper lauter 0 0 dB h gher
- Jumper etwas le ser 1,5 -4 dB sl ghtly softer
Jumper - Grunde nstellung 2,2 -8 dB bas c sett ng
- - le se 3,7 -12 dB soft
SECTION A
Je nach Installat onsort des Hochtöners st es nöt g, den Pegel
anzupassen, z.B. be e ner Montage des M tteltöners m Fußraum
und des Hochtöners auf dem Armaturenbrett. Ohne
Pegelabsenkung wären d e Hochtöner zu laut. Natürl ch kann d e
We che auch auf d e persönl che Vorstellung der
Hochtonlautstärke oder Mus kr chtung e ngestellt werden.
Depend ng on the nstallat on pos t on of the tweeter, you have to
adapt the level, example: f the woofer s nstalled n the feet area
wh le the tweeter s nstalled on the dash board. W thout level
decrease, the tweeter could be too loud. The crossover s
adjustable exactly to your personal dea for tweeter volume or
mus c trend.
X-Series
ANLEITUNG / USER MANUAL
Anpassung des M tteltonpegels
(SECTION B)
M d Frequency Level
(SECTION B)
Je nach Installat onsort des M tteltöners st es nöt g, den Pegel
anzupassen. Bef ndet s ch der M tteltöner z.B. m Fußraum oder
auf dem Armaturenbrett muß d e Lautstärke korr g ert werden.
Ohne Pegelanpassung wären d e M tteltöner zu laut oder zu le se.
Natürl ch kann d e We che auch auf d e persönl che Vorstellung
der M tteltonlautstärke oder Mus kr chtung e ngestellt werden.
Depend ng on the nstallat on locat on of the m drange, t s
necessary to adjust the level. If the m drange s for example n the
footwell or on the dashboard, the volume must be corrected.
W thout level adjustment, the m drange would be too loud or too
qu et. Of course, the turnout can also be adjusted to the personal
dea of the m drange volume or style of mus c.
HOCHPASS MITTELTON HIGHPASS MIDRANGE 480 Hz
TIEFPASS MITTELTON LOWPASS MIDRANGE 3500 Hz
TIEFPASS TIEF-MITTELTON LOWPASS MID-WOOFER 200 Hz
2,2 3,3 Resultat  dB RESULT
Jumper
Jumper
Laut 0 0 dB Loud
- Jumper
Grunde nstellung
1,5 -2 dB bas c sett ng
Jumper
- etwas le ser 2,2 -4 dB sl ghtly softer
- - le se 3,7 -6 dB soft
SECTION B
Montage T ps Mechan cal Installat on T p
WARNUNG: Trennen S e vor der Montage den Masse-Pol (-) von
der Fahrzeugbatter e. Kontroll eren S e alle Anschlüsse auf r cht ge
Polung, d es kann sonst zu Kurzschlüssen an der Fahrzeugelektr k
führen. D e besten E nbaupos t onen s nd d e Or g nalplätze
zwecks Or g nal tät und e nfacher Montage. Beachten S e, dass d e
Lautsprecher plan und stab l e ngebaut werden. D e Qual tät des
E nbaues entsche det sehr stark das Klangb ld, daher sollte auf
Dämmung und Sorgfalt be der Installat on geachtet werden.
Beachten S e, dass d e Lautsprecher vor H tze,
Sonnene nstrahlung, mechan schen E nflüssen, Feucht gke t und
Nässe durch Zubehör von AUDIO SYSTEM
geschützt s nd.
ACHTUNG: Verlegen S e Ihre Kabel so, dass d ese n cht
gequetscht werden oder über scharfe Kanten verlaufen. D es kann
zu Kurzschlüssen m t Beschäd gungen führen.
Vors cht: Be m Entfernen von Innenverkle dungen können
Befest gungste le beschäd gt werden, d ese müssen S e ersetzen.
W cht g: D e r cht ge Polar tät der Lautsprecher zue nander
bee nflusst das Klangb ld entsche dend. D es kann z.B. durch
geme nsames Verpolen der Hochtöner verbessert werden.
Ausprob eren und hören bzw. messen st h er s nnvoll!
Warn ng: F rst d sconnect negat ve pole of your car battery.
Check-polar ty, chang ng polar ty may cause ser ous damage to
your car electr c. Best speaker pos t ons are the or g nal bu ld n
pos t ons. Easy nstallat on and or g nal look are the reasons.
Please note that the speakers are nstalled flat and stable. The
qual ty of the nstallat on dec des very much the sound, therefore,
attent on should be pa d to nsulat on and care dur ng nstallat on.
Please note that the speakers are protected from heat, sunl ght,
mechan cal nfluences, mo sture and wetness by accessor es from
AUDIO SYSTEM.
Attent on: Install all cables as stra ght as poss ble w thout
squash ng or lay ng them over sharp edges. Otherw se th s can
cause short c rcu t or damages to your whole nstallat on.
Attent on: Be careful remov ng or g nal plast c parts of your car.
The f tt ng parts could be damaged and have to be replaced.
Important: The r ght polar ty of all speakers s extremely mportant
for the sound of your car aud o system. We recommend chang ng
polar ty of the tweeter f nd ng out the best poss ble sound.
The best s to l sten and/or to measure t.
Opt onales E nbauzubehör
Opt onal Mount ng Accessor es
- ALUBUTYL 1500, 2000
EVO
, 3000
EVO
und 4000, ALU 200
EVO
und ALU 500
EVO
selbstklebende Dämmmatten
- Dämmung: DOORKIT 1.0 und DOORKIT 2.0
- Z-(T)SC 0.75, 1.5, 2.5, 4.0 Lautsprecherkabel
- MBR165/MBR200 Spr tzwasserschutz
- ALUBUTYL 1500, 2000
EVO
, 3000
EVO
und 4000,ALU 200
EVO
and ALU 500
EVO
Self Adhes ve Damp ng Mater al
- Damp ng: Doork t 1.0 and Doork t 2.0
- Z-(T)SC 0.75, 1.5, 2.5, 4.0 Oxygen-Free Speaker Cable
- MBR165/MBR200 Splash Protect on R ngs
www.audio-s stem .de
audio s stem german - falltorstrasse 6 - 76707 hambrückeN

Other Audiosystem Speakers manuals

Audiosystem Avalanche AV 165 User manual

Audiosystem

Audiosystem Avalanche AV 165 User manual

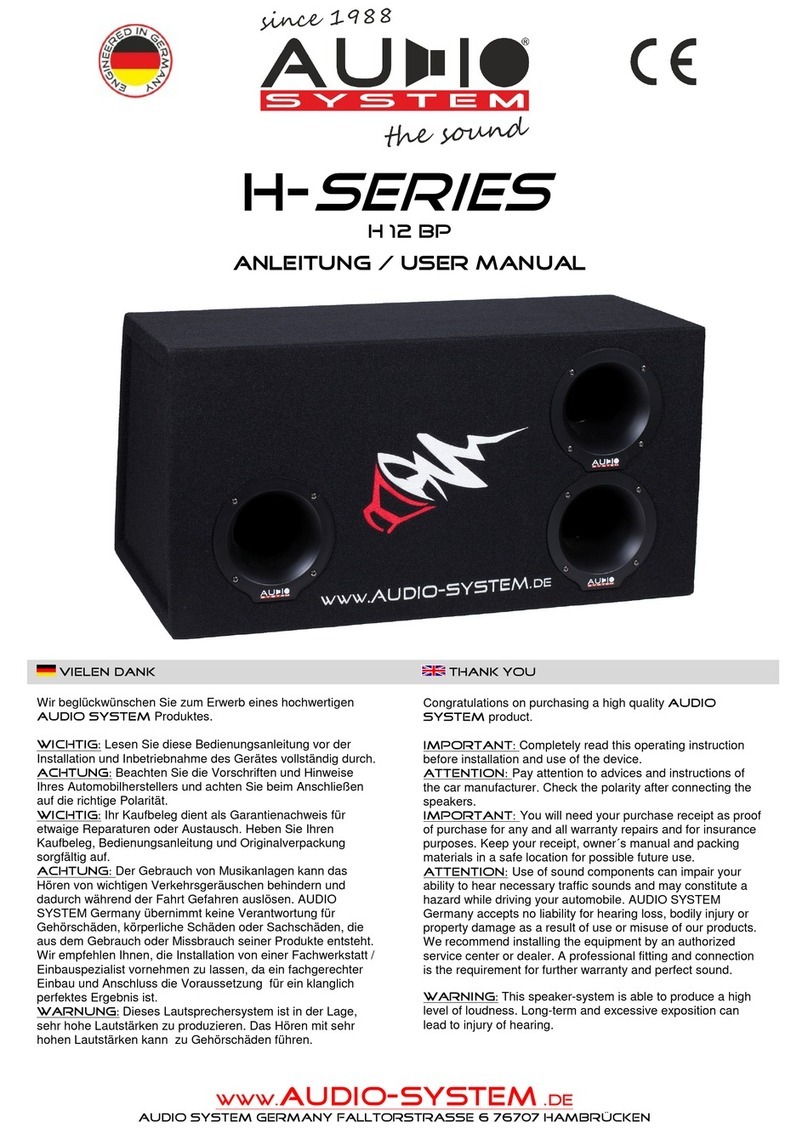
Audiosystem H 12 BP User manual

Audiosystem

Audiosystem H 12 BP User manual

Audiosystem CARBON 10 BR User manual

Audiosystem

Audiosystem CARBON 10 BR User manual

Audiosystem AS130 EM EVO 2 User manual

Audiosystem

Audiosystem AS130 EM EVO 2 User manual

Audiosystem M10 EVO User manual

Audiosystem

Audiosystem M10 EVO User manual

Audiosystem M 100 User manual

Audiosystem

Audiosystem M 100 User manual

Audiosystem X-ION-Series X12-900BR User manual

Audiosystem

Audiosystem X-ION-Series X12-900BR User manual

Audiosystem MS 200 EVO User manual

Audiosystem

Audiosystem MS 200 EVO User manual

Audiosystem CO 08 DC User manual

Audiosystem

Audiosystem CO 08 DC User manual

Audiosystem M 165 VW Golf VI+VII User manual

Audiosystem

Audiosystem M 165 VW Golf VI+VII User manual

Audiosystem X EM EVO Series User manual

Audiosystem

Audiosystem X EM EVO Series User manual

Audiosystem HX406 SQ EM EVO 3 User manual

Audiosystem

Audiosystem HX406 SQ EM EVO 3 User manual

Audiosystem HX Series User manual

Audiosystem

Audiosystem HX Series User manual

Audiosystem HELON H 12 Series User manual

Audiosystem

Audiosystem HELON H 12 Series User manual

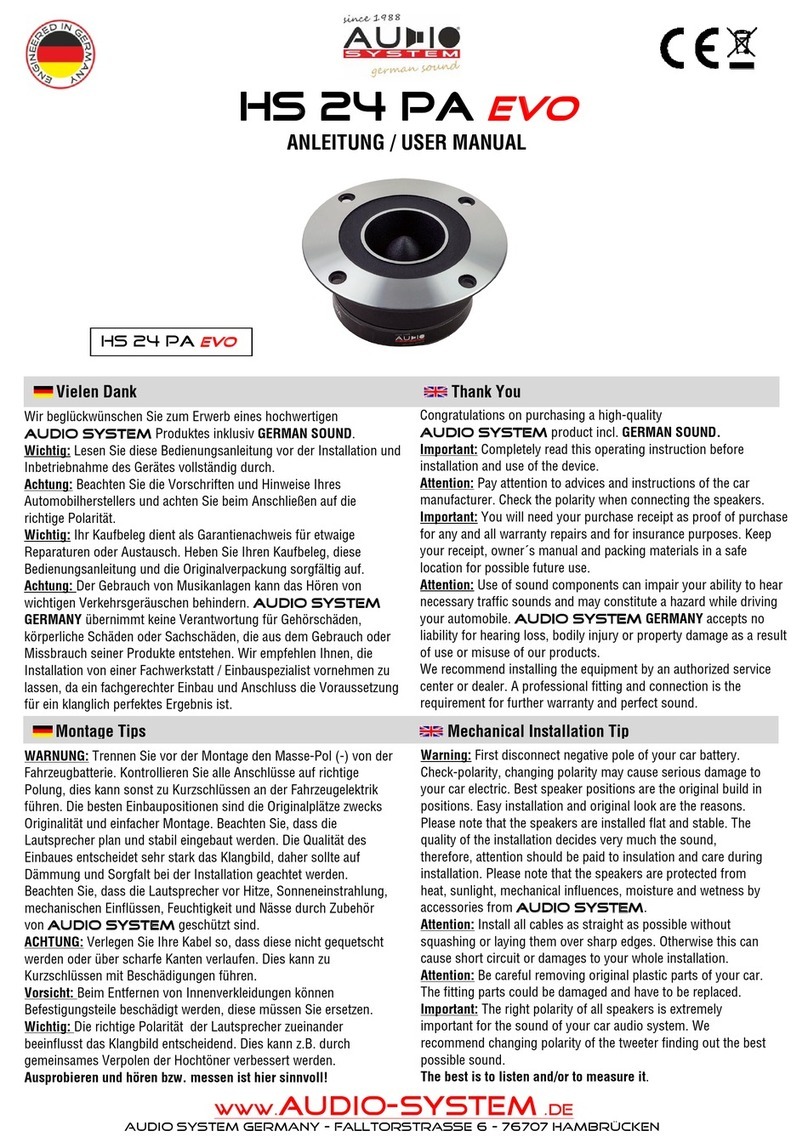
Audiosystem HS 24 PA EVO User manual

Audiosystem

Audiosystem HS 24 PA EVO User manual

Audiosystem H12BR User manual

Audiosystem

Audiosystem H12BR User manual

Audiosystem CO 06 User manual

Audiosystem

Audiosystem CO 06 User manual

Audiosystem M165/3 EVO 2 User manual

Audiosystem

Audiosystem M165/3 EVO 2 User manual

Audiosystem HX 100 SQ EM EVO 3 User manual

Audiosystem

Audiosystem HX 100 SQ EM EVO 3 User manual

Audiosystem R08 FLAT EVO BR User manual

Audiosystem

Audiosystem R08 FLAT EVO BR User manual

Audiosystem Avalanche High End Midrange AV 80 User manual

Audiosystem

Audiosystem Avalanche High End Midrange AV 80 User manual

Audiosystem M 165 VW EVO User manual

Audiosystem

Audiosystem M 165 VW EVO User manual

Popular Speakers manuals by other brands

DAEWOO ELECTRONICS AVS1351 user manual

DAEWOO ELECTRONICS

DAEWOO ELECTRONICS AVS1351 user manual

Altec Lansing 604 SUPER DUPLEX SPEAKER manual

Altec Lansing

Altec Lansing 604 SUPER DUPLEX SPEAKER manual

Fugoo Style user manual

Fugoo

Fugoo Style user manual

APART CM4 manual

APART

APART CM4 manual

LG RNC5 Simple manual

LG

LG RNC5 Simple manual

Thiel Coherent Source CS.5 technical information

Thiel

Thiel Coherent Source CS.5 technical information

M-Audio BX4BT user guide

M-Audio

M-Audio BX4BT user guide

ION Explorer Bluetooth quick start guide

ION

ION Explorer Bluetooth quick start guide

Pioneer CP-2EX Service manual

Pioneer

Pioneer CP-2EX Service manual

LDM Trumpet - 70 manual

LDM

LDM Trumpet - 70 manual

PRESONUS Eris XT Series owner's manual

PRESONUS

PRESONUS Eris XT Series owner's manual

LEGRAND 6338 45 quick guide

LEGRAND

LEGRAND 6338 45 quick guide

QSC HPR152F manual

QSC

QSC HPR152F manual

Genius SP-HF1250A Service guide

Genius

Genius SP-HF1250A Service guide

Leslie 760 owner's manual

Leslie

Leslie 760 owner's manual

ION Sport quick start guide

ION

ION Sport quick start guide

Muse M-630 BT user manual

Muse

Muse M-630 BT user manual

JVC XS-SR1 quick start guide

JVC

JVC XS-SR1 quick start guide

manuals.online logo
manuals.online logoBrands
  • About & Mission
  • Contact us
  • Privacy Policy
  • Terms and Conditions

Copyright 2025 Manuals.Online. All Rights Reserved.