7.
8.
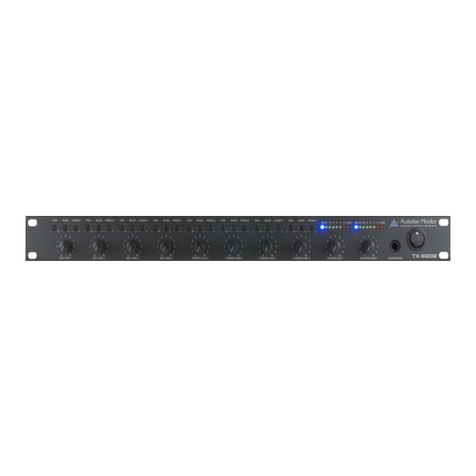
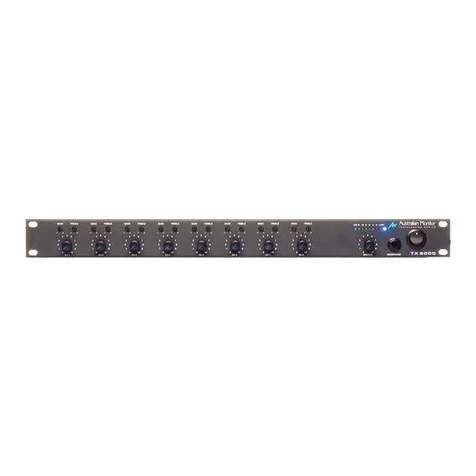
Headphone Output Socket: A l/-1" RTS stereo socket is providcd for thc connection of monitor headphones. The
output level to the headphones is a nominal 3.5 r,olts @ 600 ohms and is connected before the master output level controls so
adjusting the ouput level controls rvill not effect the headphone output ler.el.
Power Switch: The switch marked "Power" hrns AC mains power'On' and 'Off to the TX8000-2. Rocking the switch
in to the 'Up' position turns AC power on to the TX8000-2. When the switch is in the "On" position. a red neon will glow in the
body df the switch. If the TX8000-2 is connected to a 24 volt DC supply, this switch will not effect the operation of the TX8000-2
from the DC supply. If both AC and DC are connected then the TX8000-2 will continue to operate normally when this switch is
turned 'Off. The DC supply needs to be disconnected from the rear panel to completely 'turn off the TX8000-2.
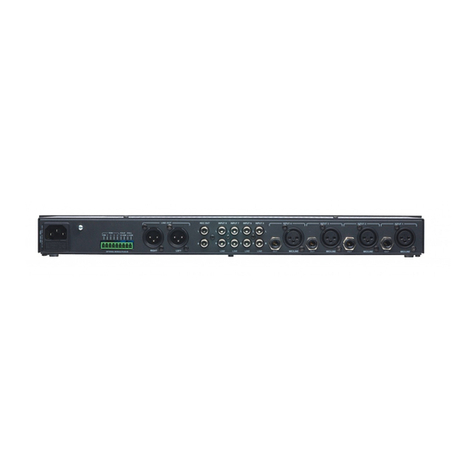
Rear Panel
L
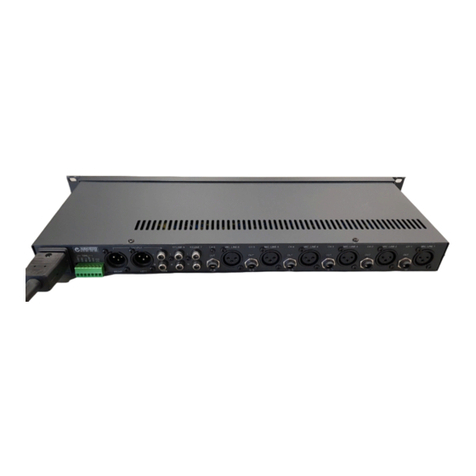
Features ofthe rear panel are as follows:
3 Pin IEC AC ilains Power lnlet: The operaring voltage is 240 VAC @ 50 tlzor ll0 VAC @ 60 tlz. The AC
power voltage level is not externally user adjustable but is factory pre-set. The inlet is equipped with an inbuilt AC fuse holder
fitted with a I Amp fuse plus a spare. Power consumption is 5 VA I ptease ensure that the mains power cord is disconnected
before attempting to check or replace this fuse.
Access Port: This port is to allow for external cable egress for accessories such as the ATC5488 the generator.
24 Volt DC Power Supply Connection: oc connection is via this 2.lmm socket with + (hieh) on the centre
pin and - (low) on the outer pin. When DC is connected to these terminals the TX8000-2 will continue to opemte regardless of the
position of the AC power switch on the front panel. To turn off DC power to the TX8000-2, remor€ the connecting cables from
these two posts. The maximum DC current drain is 350 mA
Master Output Connection: This is an active balanced )(LR connection with a nominal level of 1.5 volts @ 600
ohms. The pin connections:re, pin #l-eart[ pin #2-active (high, +); pin #3-active (low, -).
s. Dual RCA Sockets For Output To A Tape Recorderr Nominal T00mv @ loK ohms. The rape output is
summed to mono and is connected before the master output level control so the tape output level is not affected by adjustments to
the master output level control.
Active Balanced, XLR Sockets For The Microphone lnputs: withaninputsensitivityof 0.6mV@
200 ohms (see the 'Other lnternal Adjustrnents' section on the last page of this manual for details about the trim level control
available for each channel). Pin connections are: pin #l+arth; pin #2-active (higlL +); pin #3-active (low, -). phantom power of
+18 volts is available on all microphone inputs. An internal onoff link will switch the phantom power 'on' or 'off; tnl aeAUt
setting is 'on'. See the 'Other Internal Adjustments' section of this manuar for more details. Reading from left to right across the
rear pa.nel, the connection are for microphone inputs 8, 7,6, 5,4,3,2. & I respectively.
Dual RCA Sockets For The Auxiliary lnputs: Summed to a mono buss with an input sensitivity of 50mV-
500mV @ 47K ohms for input channels l{ only (see the 'Other Internal Adjustments' section on the last page of this manual for
details about the trim level control available for each channel). Reading from left to right across the rear panel, the connection are
for auxiliary inputs 6, 5,4,3,2, & I respectively.
')
3,
4.
6.
7
More information over the page 3
