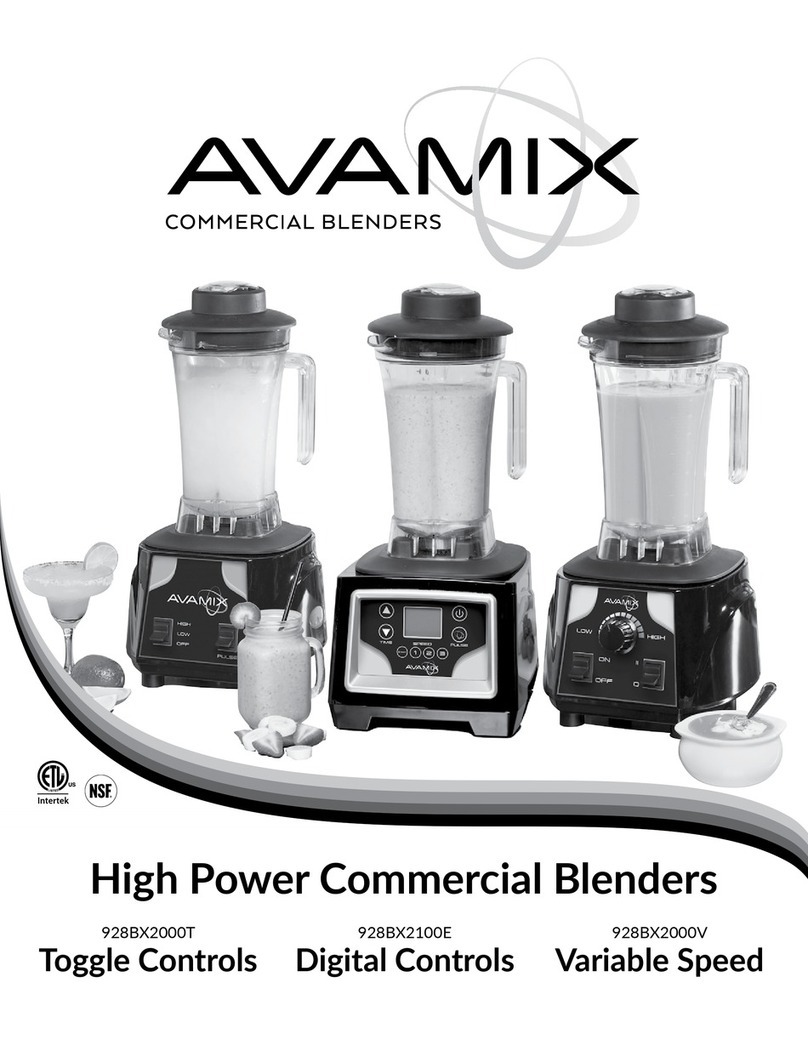
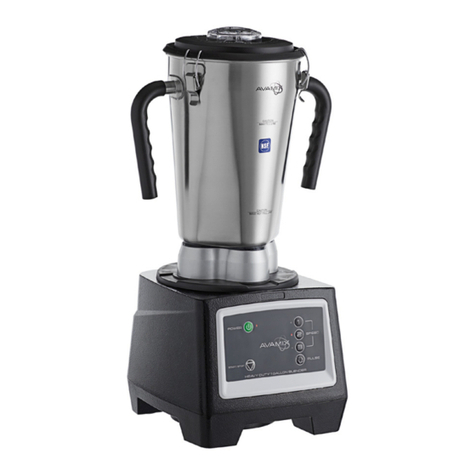
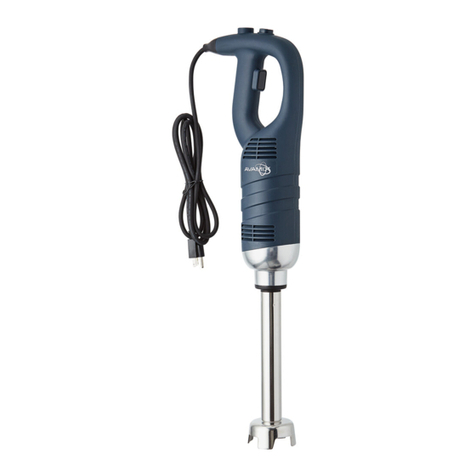
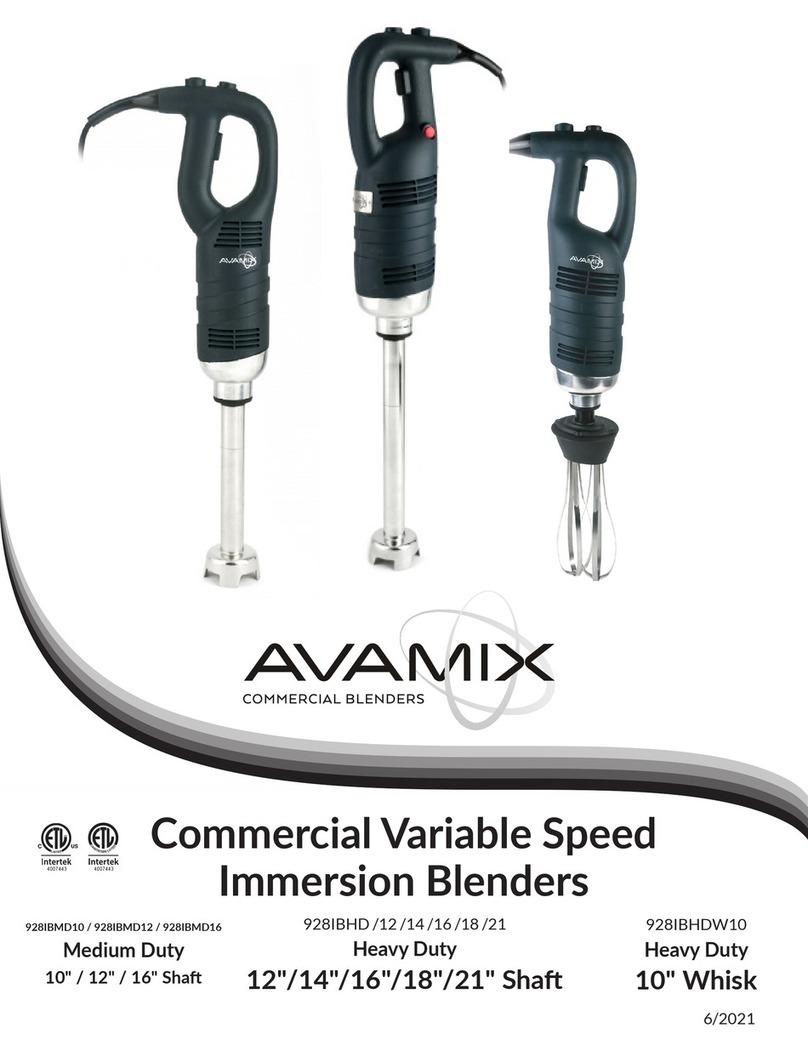
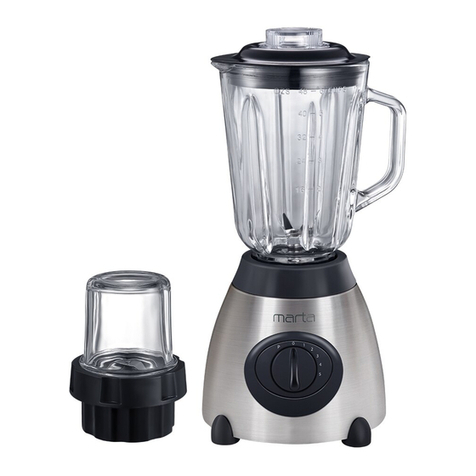
Avamix Apex 928HBX1000 User manual

928HBX1000
48 oz.
w/ Soundproof Enclosure
928HBX2000
64 oz.
w/ Soundproof Enclosure
08/2020
Programmable Commercial Blenders
with Touchpad

1. READ AND SAVE ALL INSTRUCTIONS.
2. Do not immerse the blender in water or other liquid.
Doing so can result in electrical shock.
3. Always unplug from outlet prior to handling or cleaning.
4. Avoidcontactwithmovingpartswhileoperangtheblender.
5. CAUTION: Blades are sharp. Handle carefully.
6. This blender is not intended for use by children or individuals with
impaired mental and/or motor skills. Individuals who lack experience
operangablenderneedsupervisionduringuse.
7. Never remove parts or clean the blender unless it is unplugged
from the electrical outlet.
8. Secure the lid before turning the blender on.
9. Do not use the blender if the cord or plug is damaged.
Contact the nearest authorized service agency for repair.
10. Do not use outdoors.
11. Keep the power cord on the counter in which the blender is being used.
Do not allow it to hang over the counter or come in contact with liquids
or hot surfaces.
11.Donotplacehandsorutensilsintheblenderjarwhileitisoperang.
Doing so can cause severe personal harm and/or damage to the blender.
12. When blending hot liquids (anything over 100°F), remove the center
pieceofthejarandstartonthelowestspeedseng.Donotstand
directly over the blender while in use.
13.Earproteconisrecommendedifblendingforlongperiodsofme.
14.Neverleaveblenderunaendedwhileoperang.
15. Ensure you are using this blender on a properly grounded outlet.
This blender comes with a 120V NEMA 5-15P plug.
Ifunsureofyourelectricalconguraon,contactaprofessional
electricianbeforeoperang.
WARNING: Three-prong adapters are not to be used in Canada.
NOTE:TheinstruconsappearinginthisUseandCareManualcannotcoverevery
possiblecondionthatmayoccur.Commonsenseandcauonmustbepracced
whenoperangandmaintaininganyappliance.
SAFETY
1.

GENERAL INSTRUCTIONS
2.
1. Ensuretheblenderisintheoposionandplacethecontainerontheblender
base. Make sure the blender is fully seated so that the drive coupling is in
contact with the container and the base. Plug the blender into a 120V outlet.
2. Put the ingredients into the container and place the lid on. Push the lid down
as far as it can go on to the container.
3. Thisblenderhastouchscreencontrolsthatfeatureanadjustablemer,8
speeds,pulse,and5programmableopons.
4. Youcanblendusingeitherthemerandaspeedselecon,orbyselecngany
oneofthe5programs.Ifblendingbyme,usethetouchscreenupanddown
arrowstosettheme,whichcanbeseenontheLCDdisplay.
Selectyourspeedfromthe8sengs
• Speed 1 7,000 RPM
• Speed 2 9,000 RPM
• Speed 3 12000 RPM
• Speed 4 16,000 RPM
• Speed 5 20,000 RPM
• Speed 6 22,000 RPM
• Speed 7 24,000 RPM
• Speed 8 26,000 RPM
This blender is also equipped with a pulse feature, which is engaged by
holding down the “ ”buon.Theblenderwillrunonhighspeedunlthe
buonisreleased.Itwillthenreturntothecurrentspeedseng.
This feature allows you to use the most recent blending
sengswithouthavingtore-programthem.Onceyou’vesecuredthe
containerbackontheblenderbase,simplypressthestartbuonandtheunit
willacvateusingthemostrecentmeandspeedsengs
Time can be set in increments of 1 second up to 1½ minutes.
9. Always allow the motor to stop completely before adding or removing the
container from the base. Not following this warning could cause damage to the
blender which may void the warranty if it is deemed misuse is the cause for the
malfuncons.
10. Do not operate the blender without a lid.
11. Always hold the blender container with one hand by the top of the lid to
ensure the container remains secure atop the base.
12. Washanddrythecontaineraereachuse.

3.
Thefollowingisthebasicsengsofthevepre-programmedoponsforyour
AvamixProgrammableCommercialBlenderwithTouchpad.Theseoponscanbe
reprogrammedbyfollowingtheinstruconsonpage6.
P1
Lowerspeedmixingblendsthingsthatyoumightnormallysrbyhand.
Full Run Time: 18 Seconds
• Runs on MED (63%) for 4 seconds
• Quickly ramps up to MED-HIGH (88%)
• Decreases to MED- LOW (38%)
•FinishesoMED(50%)for7seconds
Blends cooked foods thoroughly.
Full Run Time: 14 Seconds
• Runs on MED-LOW (38%)
• Decreases quickly to LOW (25%)
• Increases back up to MED-LOW (38%)
• Gradually increases up to MED-HIGH (88%)
Blends slushies and frozen drinks to a creamy consistency.
Full Run Time: 15 Seconds
• Gradually ramps up to MED (63%)
Blends drinks containing liquids and solids to a thick consistency.
Full Run Time: 25 Seconds
• Runs on MED-LOW (38%) for 10 seconds
• ramps up to MED (50%) for 2 seconds
• then gradually increases to MED-HIGH (88%) for 13 seconds
Blends at high-speed to combine oil and solids like salad dressing.
Full Run Time: 40 Seconds
• Runs on MED-LOW (38%) for 10 seconds
• Ramps up to MED (50%) for 4 seconds
• Gradually increases to MED-HIGH (88%) for 26 seconds

1. Liquidsandsofoodsshouldbeplacedinthecontainerrst,followedbysolid
itemsandice.Foreasymeasuringandfasterblendmes,cutorbreakfood
intosmallerpieces.Itisalsorecommendedtousethawedorparallythawed
fruitforabeerblendingexperience.
2. Set the ultra-durable polycarbonate container on the motor base by aligning
itoverthejarholderontheblenderbase.Beforeposioningcontainer,make
sure that the motor is completely stopped. Avoid using hard or dry materials,
and never run your machine with the container empty.
3. Securelyaachthelidbeforeblending.
4. Useasucientamountofliquidtoensurethatthemixtureisuidandfree-
runningatallmes.
5. Cut solid ingredients into pieces no larger than 1” cubes.
6. DO NOT blend maximum volume all at once. If making a large recipe, add the
ingredients to container in batches.
7. DONOToverllthecontainerwithproduct.Thismaypreventtheblender
from processing the product properly.
8. Process dense foods or thick mixtures in small batches, and remember that the
volume of the product normally increases during processing.
9. Usethellercaptoaddliquidstothecontainerwhiletheunitisrunning.
• Never bang the container against a surface to loosen the ingredients, as this could
cause damage to both the surface and the container. Use a non-metal spatula to
removethickmixturesfromtheboomofthejarwhentheblenderiso.
• Never start the motor before the container is in place.
• Waitunlthemachinehascometoacompletestopbeforeremovingcontainer.
4.

5.
Pressing ( ) once starts and runs the machine,
whilepressingthebuonagainstopsthemachineandtheblade.
Press the buontoincreasethespeedoftheblade.
Every press adds a speed, from 1 to 8. Press the buontodecrease
thespeedoftheblade,fromspeed8to1.Thesesengsareusedtosetthe
blending speed for custom programming, the PULSEbuon,andthe
STOPbuon.
Press the buontoincreasetheme.Everypressadds1
second. Press the buontodecreasethemeby1second.These
sengsareusedtosettheblendingmeforcustomprogramming,thePULSE
buon,andthebuon.Long-pressthe or
buontoautomacallyincreaseordecreasetheme.
Thesebuons,P1 through P5, are pre-programmed
toblendthemostcommonlymadedrinks.Pressingoneofthesebuonswill
automacallystartacyclethathasbeenprogrammedforacertainamountof
me,ataspeciedspeed.Themachinewillstoponcethecycleiscomplete,
andeachbuoncanbereprogrammedtoanyrecipethroughcustom
programing.Seepage6forinstruconsoncreangcustomprogramming.
The PULSEbuonprovidesaquickincreaseordecreaseinspeedof
the blade when blending a drink. Press to start pulsing, and use
buonstoincreaseanddecreasethemotorspeedbetween1-8.ThePULSE
buonwilloverridetherunningprogramaslongasitispushed.Oncereleased,
theoriginalprogramconnuesitscycle.

Eachprogrammedoponallowsfor6stageswithinanopon.Programeachbuon
to create specialty drinks of your choosing, and reset to Default mode by simply long
pressing both P1 and P2 together. This touch screen can be used with either wet or
dry hands, allowing quick work.
6.
Wheninprogrammingmode,thespeedsengsonyourblendereachcorrespond
to a percentage of the total RPM.
ATTENTION:Withoutanyaconwithin30seconds,themachinewillshutdown
automacally.
SETTING
S1 LOW 12%
S2 LOW 25%
S3 MED-LOW 38%
S4 MED 50%
Programs P1-P5 Running Speed 1-8 Running Time 1-90s
Stages S1-S6 SengSpeed SengTime1-90s
SETTING
S5 MED 63%
S6 MED-HIGH 75%
S7 MED-HIGH 88%
S8 HIGH 100%
1. Longpressthedesiredbuon() to set. Machine will beep when
programming mode is entered.
2. SetStage1speed(1-8)andme(1-90seconds)asdesiredwiththe
buons.
3. Touchtheoponbuonyouarecurrentlyworkingwith() to set Stage 2.
4. Setthespeedandmeforstages2-6byfollowingtheprevioussteps.
5. Tosave,touchtheoponbuonyouarecurrentlyworkingwith()
and it will beep.

7.
• Toremoveasecuredjarlid,lieachsideandpullupward
• Twist the center steam lid to secure or remove
• Place the jar set on the motor unit.
• Jar holder ensures the jar is securely fastened, and the no-turn
conguraonpreventsleakingandincreasedvibraon,comparedto
similar screw-on blender jars.
• Atmes,itmaybenecessarytogiveyourbladesaddionalcleaning.
An easy-to-use blade assembly removal wrench (Item #928PBLDTL) may be
purchased.Turnthecontainerupsidedownandgriprmly.Inserttoolin
both holes on the plate of the unit and rotate counterclockwise to loosen.

8.
• Tosecurelyaachthefrontpieceofthesoundproofcovertothe
back piece, gently pull on each side of the lid and place it over the
round hinges.
• To remove the soundproof cover, open the cover and gently pull each
sideofthebackpieceapartandpullo.
• To replace the soundproof cover, open the cover door so that it is in an
uprightposion.Pulleachsideofthebackpieceapart,andplaceonthe
motor unit. The sound enclosure will click into place.

9.
CLEANING
GENERAL CLEANING
Wash,rinse,sanizeanddrythecontainerpriortoinialuse.
BlendercontainersshouldbecleanedaerEVERYusetopreventresidue
build up around the blade assembly
1. Remove the container from the blender base and remove the jar cover.
2. AddcleaningsoluonsuchasNobleChemicalSunbright(147SUNBRIGHT)to
thecontainer.Scrubandushoutthecontainerinterior,cover,andllercapto
remove food residue and empty the container.
3. Fillcontainer1/4fullwithfreshcleaningsoluonandplaceitonthebase.
4. Replace the cover on the container and run the blender on speed 8, high speed,
for 2 minutes.
5. Repeat step 3 & 4 using clean rinse water (95°F).
6. Wipedownthecontainer,llercap,andcoverwithasoclothorsponge,
dampenedwithfreshcleaningsoluon.
7. Wipe the exterior of the base with a damp cloth or sponge.
WARNING: The base contains electrical components.
immerseinwaterorcleaningsoluon.
use a high-pressure washer or dishwasher to clean the base.
8. Allow all parts to air dry.
SANITIZING
1. Wash container as instructed above.
2. Fillcontainer1/4fullwithpreferredsanizingsoluonsuchasNobleChemical
Sani-512 (147SANI512) and place on base.
3. Replacecoverandllercapandrunonspeed1,lowspeed,for2minutes,then
empty the container.
4. Wipethecontainerexteriorwithasoclothorspongedampenedwith
sanizingsoluon.
5. Allow all parts to air dry.
rinsecontainer,cover,orllercapaersanizing.
6. When ready to use, rinse with clean water.
This manual suits for next models
1
Table of contents
Other Avamix Blender manuals
