AVE VCR 322 PLUS User manual

VCR 322 PLUS
MOBILE VIDEO CASSETTE
RECORDER
VHS
OPERATION MANUAL
(NTSC & PAL)


WARNING!
THIS EQUIPMENT GENERATES, USES, AND CAN RADIATE RADIO FREQUENCY AND IF
NOT INSTALLED AND USED IN ACCORDANCE WITH THE INSTRUCTIONS MANUAL, MAY
CAUSE INTERFERENCE TO RADIO COMMUNICATIONS. IT HAS BEEN TESTED AND FOUND
TO COMPLY WITH THE LIMITS FOR A CLASS A COMPUTING DEVICE PURSUANT TO
SUBPART J OF PART 15 FCC RULES, WHICH ARE DESIGNED TO PROVIDE REASONABLE
PROTECTION AGAINST SUCH INTERFERENCE WHEN OPERATED IN A COMMERCIAL
ENVIRONMENT.
OPERATION OF THIS EQUIPMENT IN A RESIDENTIAL AREA IS LIKELY TO CAUSE
INTERFERENCE IN WHICH CASE THE USER AT HIS OWN EXPENSE WILL BE REQUIRED
TO TAKE WHATEVER MEASURES MAY BE REQUIRED TO CORRECT THE INTERFERENCE.
WARNING: TO PREVENT FIRE OR ELECTRIC SHOCK, DO
NOT EXPOSE THIS APPLIANCE TO RAIN OR MOISTURE!
CAUTION!
RISK OF ELECTRICAL SHOCK!
DO NOT OPEN!
CAUTION! TO PREVENT ELECTRIC SHOCK, DO NOT
REMOVE COVER. NO USER SERVICEABLE PARTS
INSIDE. REFER SERVICING TO QUALIFIED PERSONNEL.
Copyright (c)1999
TransAmerican International, Inc.


5
CONTENTS
1. FEATURES...................................................................................................................... 6
2. SPECIFICATIONS ........................................................................................................... 7
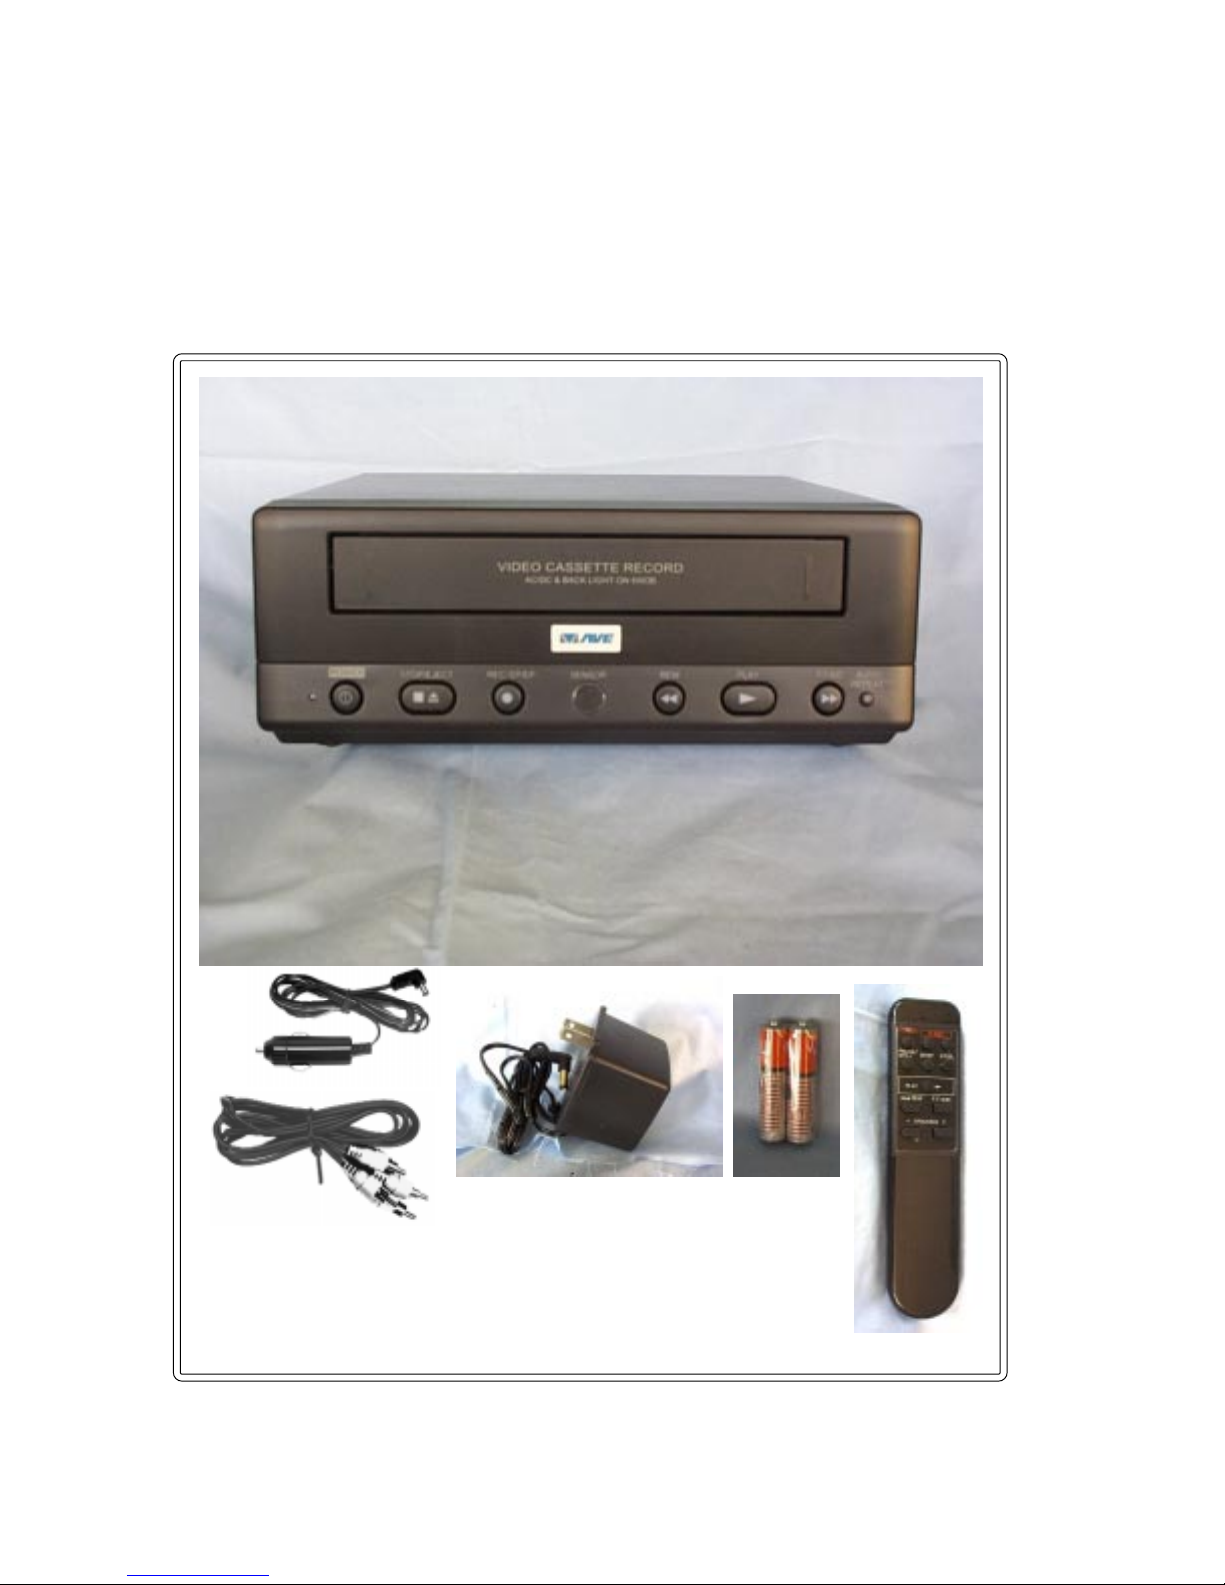
3. ACCESSORIES ............................................................................................................... 8
4. FRONT PANEL................................................................................................................ 9
5. REAR PANEL ................................................................................................................ 11
6. WIRED REMOTE CONTROL ........................................................................................ 12
7. IR REMOTE CONTROL................................................................................................. 15
8. BASIC OPERATION...................................................................................................... 17
9. PROGRAMMING ........................................................................................................... 18
9.1 ACCESSING MAIN MENU .......................................................................................... 18
9.2 TIME & DATE SETUP ................................................................................................. 19
9.3 TITLER......................................................................................................................... 21
9.4 MESSAGES................................................................................................................. 22
9.5 RECORD SETTINGS................................................................................................... 24
9.6 DISPLAY SETTINGS................................................................................................... 26
9.7 RADAR GUN INTERFACE.......................................................................................... 29
9.8 MASTER RESET ......................................................................................................... 31
10. TROUBLESHOOTING................................................................................................. 32
AVE’s LIMITED EQUIPMENT WARRANTY FOR VCR-322-PLUS. ................................ 33

6
1. FEATURES
•IR Remote On Screen Programming
•Universal Time/date Display, Programmable ON/OFF
•3 Text Programmable On Screen Message Inputs
•20-character programmable title.
•Tape speed selection (SP/EP)
•Recycle recording on/off - Power Up Record
•Programmable display window position and 10 gray scales.
•Master reset sub-menu
•Tape insert auto recording detection
•Alarm Dwell 0-3 Min.
•Radar Gun Interface
•Record Protection
•Low Power Mode
•On Screen Time Remaining
•End Of Tape (EOT) Power Output
•Switched 12 VDC Output
•Optional Wired Remote

7
Description Specification
Video Input 1 P-P 75 ohm Terminated
Video Output 1 V P-P into 75 ohm Terminated, 2 V P-P
Unterminted
Horizontal Resolution 220 lines B&W and Color
Video S/N 42 dB
Audio Output -5 dBm
Audio S/N 38 dB
Audio Response 150Hz-8Khz
Operation Temperature -5 Deg °C to 40 Deg °C
Power Draw 0.7 Amp
Voltage 12 to 14 VDC
Dimensions 250W X 94H X 260D mm
Accessories IR wireless remote, Car Cord, battries, 12VDC
adaptor
Alarm Input Hi-Z or High Impedance
Normally Open Mode - closure to ground trig
gers alarm mode. Normally Closed Mode must
be shorted and when opened triggers alarm.
EOT End of Tape Output Open Collector, Normally Open
Imax=20ma@ 12 VDC max
Rader Gun Input RS-232
2. SPECIFICATIONS

8
Included accessories: • IR Remote Control
• Cigarette Cord Adaptor
• A/V Cables
• 2 AAA Batteries
• 110VAC Adapter to 12VDC (NTSC Only)
3. ACCESSORIES

9
CASSETTE COMPARTMENT
Insert the VHS cassette into this compartment to load the tape.
POWER
DONOT USE THIS BUTTON. VCR power is controlled by the internal microprosser. The
VCR will automatically power up when 12VDC applied. Red light on the power button
indicate that VCR’s power is ON.
STOP/EJECT
To stop the tape or eject a stopped tape. Green light on this button indicate that cassette
is in the VCR.
REC/SPEED
This button can also be used to start recording manually. A Dim Red light indicates that
the VCR speed is on SP mode. Green light indicate that VCR is in LP/EP mode. Orange
light indicate that the VCR is recording in LP/EP mode and a dark red light indicate that
the VCR is recording in SP mode. See programming section to set the speed of VCR.
4. FRONT PANEL

10
SENSOR
This sensor receives the infrared signal from the remote control.
REWIND
Use this button to rewind the tape in the stop mode or to perform a reverse picture search
in the play mode. A green light indicate that the VCR is rewinding the tape.
PLAY
Use this button to start the play back mode. A green light on this button indicate that the
VCR is in the Play back mode.
FAST FORWARD
Use this button to fast forward the tape from stop mode or to perform a forward picture
search during play back. A green light on this button indicate that VCR is fast forwarding
the cassette.
AUTO REPEAT
When the tape ends and auto repeat is on then the VCR automatically starts rewinding the
tape and to starts replay. A red light on this button indicates that the AUTO REPEAT is
ON. The tape will auto rewind and play again indefinitely while in this mode.

11
Power:
VCR -322 Plus takes 12-14 V DC adaptor that connects to the rear of the VCR via the DB-
25 connector or the DC coax jack.
Audio Output:
Connect the Audio output of the VCR to the audio input of the monitor.
Video Output:
Connect the Video output of the to Video input of the monitor.
Audio Input:
Connect audio output from the audio source to the Audio input of the VCR.
Video Input:
Connect the video output of the camera or other video source to the video input of the
VCR.
Pinout for DB25 FEMALE
VCR-322+ Rear View
5. REAR PANEL
MESSAGE 1
12 VDC SW
PWR TRIG IN
MESSAGE 2
MESSAGE 3
PROG 3 IN
12 VDC IN
PROG 1 IN
RxD
PROG 2 IN
RESET IN
FAN OUT
GROUND
GROUND
GROUND
SPEEDOMETER IN
ALM REC IN
IR REMOTE IN
EOT OUT
12 VDC IN
LIGHT OUT
TxD
POWER OUT
HEATER OUT
REC OUT

12
6. WIRED REMOTE CONTROL
If the VCR-322 Plus is located in a place inaccessible by IR remote then you may have to
build and connect a wired remote to your VCR or can purchase Rm-322 wired remote. To do
this you will have to wire the 4 programming buttons shown below to the DB 25 connector on
the rear of the VCR. To access the VCR function remotely you must purchase an FR-9 PCB
from from AVE and wire buttons to the PCB and use the 2 wire IR in connection. You may
also build a wired remote with all VCR-322 features using the following equipments from a
local electronics distributor.
• Momentary push buttons
• Electronics enclosure
• 4- light emitting diodes
• 4 1K 1/4 watt resistors
• DB 25 connector
4 buttons are necessary to access the on-screen programming menu of the VCR-322,
and must be wired according to the following diagram.
Pin 18-Down
Pin 16-Up
Pin 20-Set
Pin 15-Reset Reset
Set
Up
Down
Ground-use Pins 10, 11, 12, or 13, whichever is available
These 3 buttons are optional
Alarm Record
Message 2
Message 1
Pin 9-Alarm Record
Pin 22-Message 2
Pin 25-Message 1
Ground-use Pins 10, 11, 12, or 13
The 4 Mode LED Indicators are optional
Pin 1-Record
Pin 7-End of Tape
Pin 5-Low Tape
Pin 3-Power
End of Tape
Low Tape
Power
Record
Anode side of LEDs to +12V Pin 23
Programming Buttons
momentary
pushbuttons
momentary
pushbuttons
1K
1K
1K
1K

13
Changing the Gray scale
Down Up Set Reset
1) Press and hold the Down button
2) Press and release the Reset button
3) Release the Down button
4) Press Down or Up to select the Gray scale
5) When choice is made, press and release the Reset button
A w ired remote can also use in place of IR remote to allow simple changing of display
setting as well as the on screen programing of the VCR. Follow the important programing
steps to change the display settings.
REC OUT
POWER OU
T
TxD
LOW TAP
E
END OF TAP
E
IR IN
ALARM RECO
R
GROUND
GROUND
GROUND
GROUND
+12V
GROUND
MESSAGE 1
MESSAGE 2
PROG 3 SET
PROG 1 DOWN
PROG 2 UP
RxD
RESET

14
Changing the Horizontal Position
Down Up Set Reset
1) Press and hold the Up button
2) Press and release the Reset button
3) Release the Up button
4) Press Down or Up to move the text block
5) When choice is made, press and release the Reset button
Changing the Vertical Position
Down Up Set Reset
1) Press and hold the Set button
2) Press and release the Reset button
3) Release the Set button
4) Press Down or Up to move the text block

15
POWER:
Don’t use this button. VCR power is controlled by the
internal microprocessor. The VCR will automatically
power up when 12VDC is applied to the VCR.
REC:
Use the combination of these two buttons pressed
simultaneously to manually start recording.
PAUSE/STILL
Press during the recording to pause recording. Press
during the playback to freeze the picture.
Caution: If this button is held for 6 seconds then it will
master reset the VCR and clear all the programming to
factory default.
SP/EP
Don’t use this button. Recording speed can only be
set in the onscreen programming mode.
7. IR REMOTE CONTROL

16
STOP
Press this button to stop a running tape. Alternatively press and hold that button for 3 to 5
seconds to access in the programming mode.
PLAY
Press this button to start the play back mode.
REW
To rewind the tape during the stop mode and to reverse picture search in play back mode.
FAST FORWARD
To fast forward the tape during the stop mode and forward picture search in the play back
mode. In programming mode use this button to access the menu selection.
TRACKING
Use (+) or (-) button to manually adjust the tracking of the picture. In the programming
mode use these buttons to move the cursor upward and downward.

17
8. BASIC OPERATION
Insert Cassette:
nPower up the VCR.
nInsert the tape in to the cassette compartment until VCR pulls cassette in.
WARNING : Do not force the tape in the mechanism or this will demage the VCR. If 12
VDC is not applied to the VCR it will not accept the tape.
Start Recording
nAlternatively, Press and release the REC/SPEED button on the front panel or on the
IR Remote control to start recording.
Stop Recording
nPress the Stop/ Eject button from the front panel or the Stop button of the IR Re-
mote control to stop recording.
Playback
nPress and release the Play button either from the front panel or from the IR Remote
control.
Ejecting the Tape
nPress the Stop/ Eject button once to stop the tape then press and Stop/Eject button
again to eject the tape.

18
uneMniaM
etaD/emiTteS
reltiT
segasseM
gnitteSdroceR
gnitteSyalpsiD
ecafetnInuGredaR
teseRretsaM
tixE
The VCR-322 Plus can be programmed via the IR wireless or wired remote control. You will need
a composite video source in and a monitor connected to be able to see the programming menu.
Following table shows the comparsion of accessing the programing menu using the IR remote and
wired remote control.
This user guide is written under the assumption that user is using IR remote control to ac-
cess the programming menu of the VCR-322 Plus, Press and hold the STOP button for
approximately 3 seconds. The following program menu will appear:
NOITCNUF ETOMERRI ETOMERDERIW
uneMnaiMces3rofnottub’POTS’dloH sserpdnanottub’NWOD’dna’PU’dloH
esaelernehtdnanottub’TSR’esaelerdna
.nottub’NWOD’dna’PU’
purosruCnottub’+’nottub’PU’
nwodrosruCnottub’-’nottub’NWD’
noitponagnitceleSnottub’LLITS/ESUAP’nottub’TES’
9. PROGRAMMING
9.1 ACCESSING MAIN MENU

19
etaD/emiT
NOyalpsiDD/T
ruoH21tamroFemiT
YY/DD/MMtamroFetaD
etaD/emiTteS
etaD/emiTteseR
tixE
9.2 TIME & DATE SETUP
An Internal clock generates time and date that is super imposed on the monitor
screen. After the clock is set, the date and time modes are displayed on the monitor
screen (live picture).
Display Time & Date on Screen
1 Under “Display Time & Date” menu place the cursor in front of T/D display and
press “ F.F” button of the remote control.
2 Press “+” or “-” button to select “ON” or “OFF”.
3 Press the “F.F” button again to select your selection.
4 To exit out of Display Time & Date, place cursor in front of “Exit” and press “F.F”
button.
5 Exit out of all the menus to activate above selection.
Note: Selecting “OFF” will turn off “Time & Date” display.
Selecting Time Format
1 Place the cursor in front of “Time Format” and press and release the “F.F” button.
2 Cursor will start blinking.
3 Now push “+” or “-” button to select “12” or “24” time display mode.
4 After selecting the desired selection press and release the “F.F” button.
5 Exit out from all menus to activate your selection.
Selecting Date Format
1 Under the “Time & Date” menu place the cursor in front of “Date Format” and press
remote controls “ F.F” button.
2 Cursor will start blinking.
3 Chose the format from the selection yy/mm/dd or mm/dd/yy or dd/mm/yy by pressing
either “+” or “-” button.

20
4 Exit out from all the menus to activate your selection.
Set Time & Date
1 Under the “Time & Date” menu, place the cursor in front of “Set Time/Date” and
press “F.F” button.
2 Time and Date window pop on the screen as shown in the figure below.
HT89/10/1P73:11:1
3 By pressing “+” or “-” button you can change the Time or Date.
4 Press “REW” and “F.F” button to move cursor either left or right side.
5 After setting the Time and/or Date press “STOP” button.
6 Exit out all the menus to activate the changes..
Reset Time & Date
1 Under the Time & Date menu select “Reset Time/Date”.
3 Press and release “F.F” button.
4 It will reset the time and date to factory default.
5 Exit out from all the menus to activate the above selection.
Table of contents
Other AVE VCR System manuals