Avonic AV-CM20-VCU User manual

www.avonic.eu
User Manual
Version 1.0
AV-CM20-VCU
Avonic 4K Video Conference Camera USB3.0

www.avonic.eu
Contents
Introduction ......................................................................................................................................................... 5
Congratulations . .. .. .. .. .. .. .. .. .. .. .. .. .. .. .. .. .. .. .. .. .. .. .. .. .. .. .. .. .. .. .. .. .. .. .. .. .. .. .. .. .. .. .. .. .. .. .. .. .. .. .. .. .. .. .. .. 5
Contact . .. .. .. .. .. .. .. .. .. .. .. .. .. .. .. .. .. .. .. .. .. .. .. .. .. .. .. .. .. .. .. .. .. .. .. .. .. .. .. .. .. .. .. .. .. .. .. .. .. .. .. .. .. .. .. .. .. .. .. .. .. .. .. 5
Join Avonic.. .. .. .. .. .. .. .. .. .. .. .. .. .. .. .. .. .. .. .. .. .. .. .. .. .. .. .. .. .. .. .. .. .. .. .. .. .. .. .. .. .. .. .. .. .. .. .. .. .. .. .. .. .. .. .. .. .. .. .. .. 5
Safety Notes.. .. .. .. .. .. .. .. .. .. .. .. .. .. .. .. .. .. .. .. .. .. .. .. .. .. .. .. .. .. .. .. .. .. .. .. .. .. .. .. .. .. .. .. .. .. .. .. .. .. .. .. .. .. .. .. .. .. .. .. 5
Package contents and Accessories ...................................................................................... 6
Contents . .. .. .. .. .. .. .. .. .. .. .. .. .. .. .. .. .. .. .. .. .. .. .. .. .. .. .. .. .. .. .. .. .. .. .. .. .. .. .. .. .. .. .. .. .. .. .. .. .. .. .. .. .. .. .. .. .. .. .. .. .. .. 6
Handling precautions.. .. .. .. .. .. .. .. .. .. .. .. .. .. .. .. .. .. .. .. .. .. .. .. .. .. .. .. .. .. .. .. .. .. .. .. .. .. .. .. .. .. .. .. .. .. .. .. .. .. .. .. 6
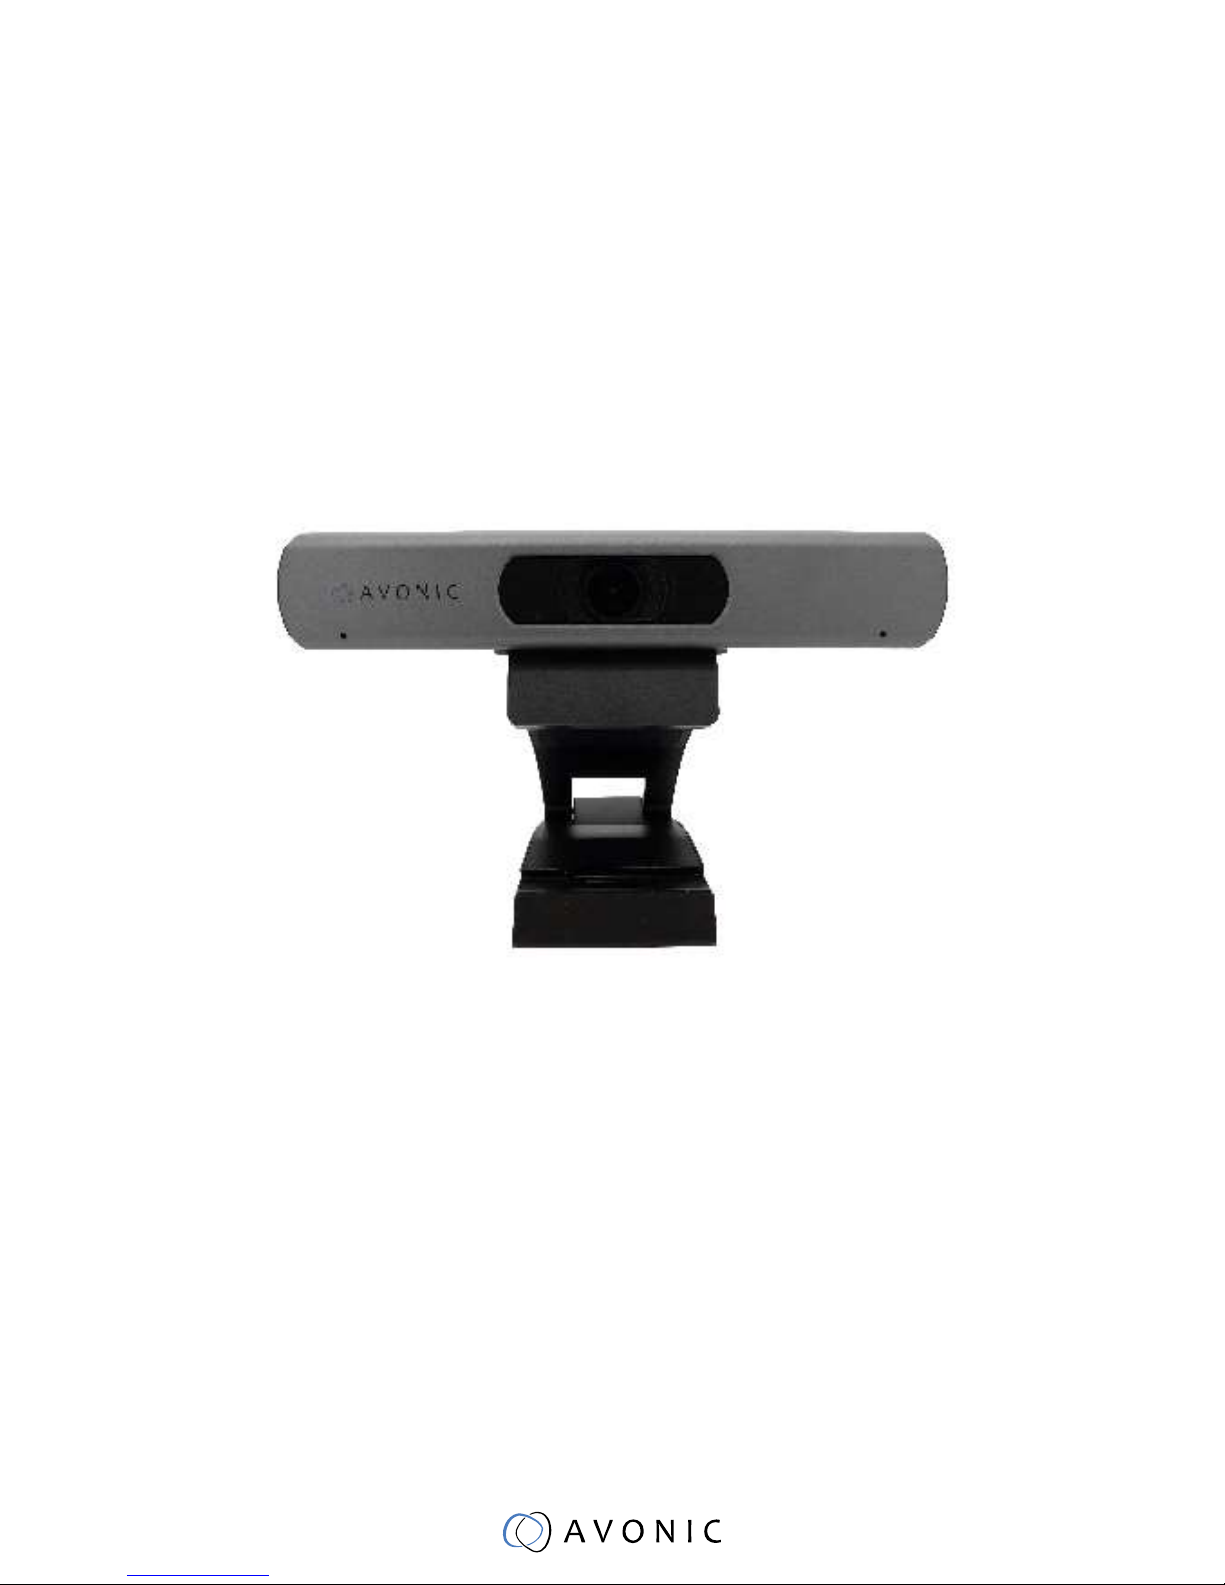
Product Overview ......................................................................................................................................... 7
Features .. .. .. .. .. .. .. .. .. .. .. .. .. .. .. .. .. .. .. .. .. .. .. .. .. .. .. .. .. .. .. .. .. .. .. .. .. .. .. .. .. .. .. .. .. .. .. .. .. .. .. .. .. .. .. .. .. .. .. .. .. .. .. 7
Installation ............................................................................................................................................................ 8
Connections . .. .. .. .. .. .. .. .. .. .. .. .. .. .. .. .. .. .. .. .. .. .. .. .. .. .. .. .. .. .. .. .. .. .. .. .. .. .. .. .. .. .. .. .. .. .. .. .. .. .. .. .. .. .. .. .. .. .. .. 8
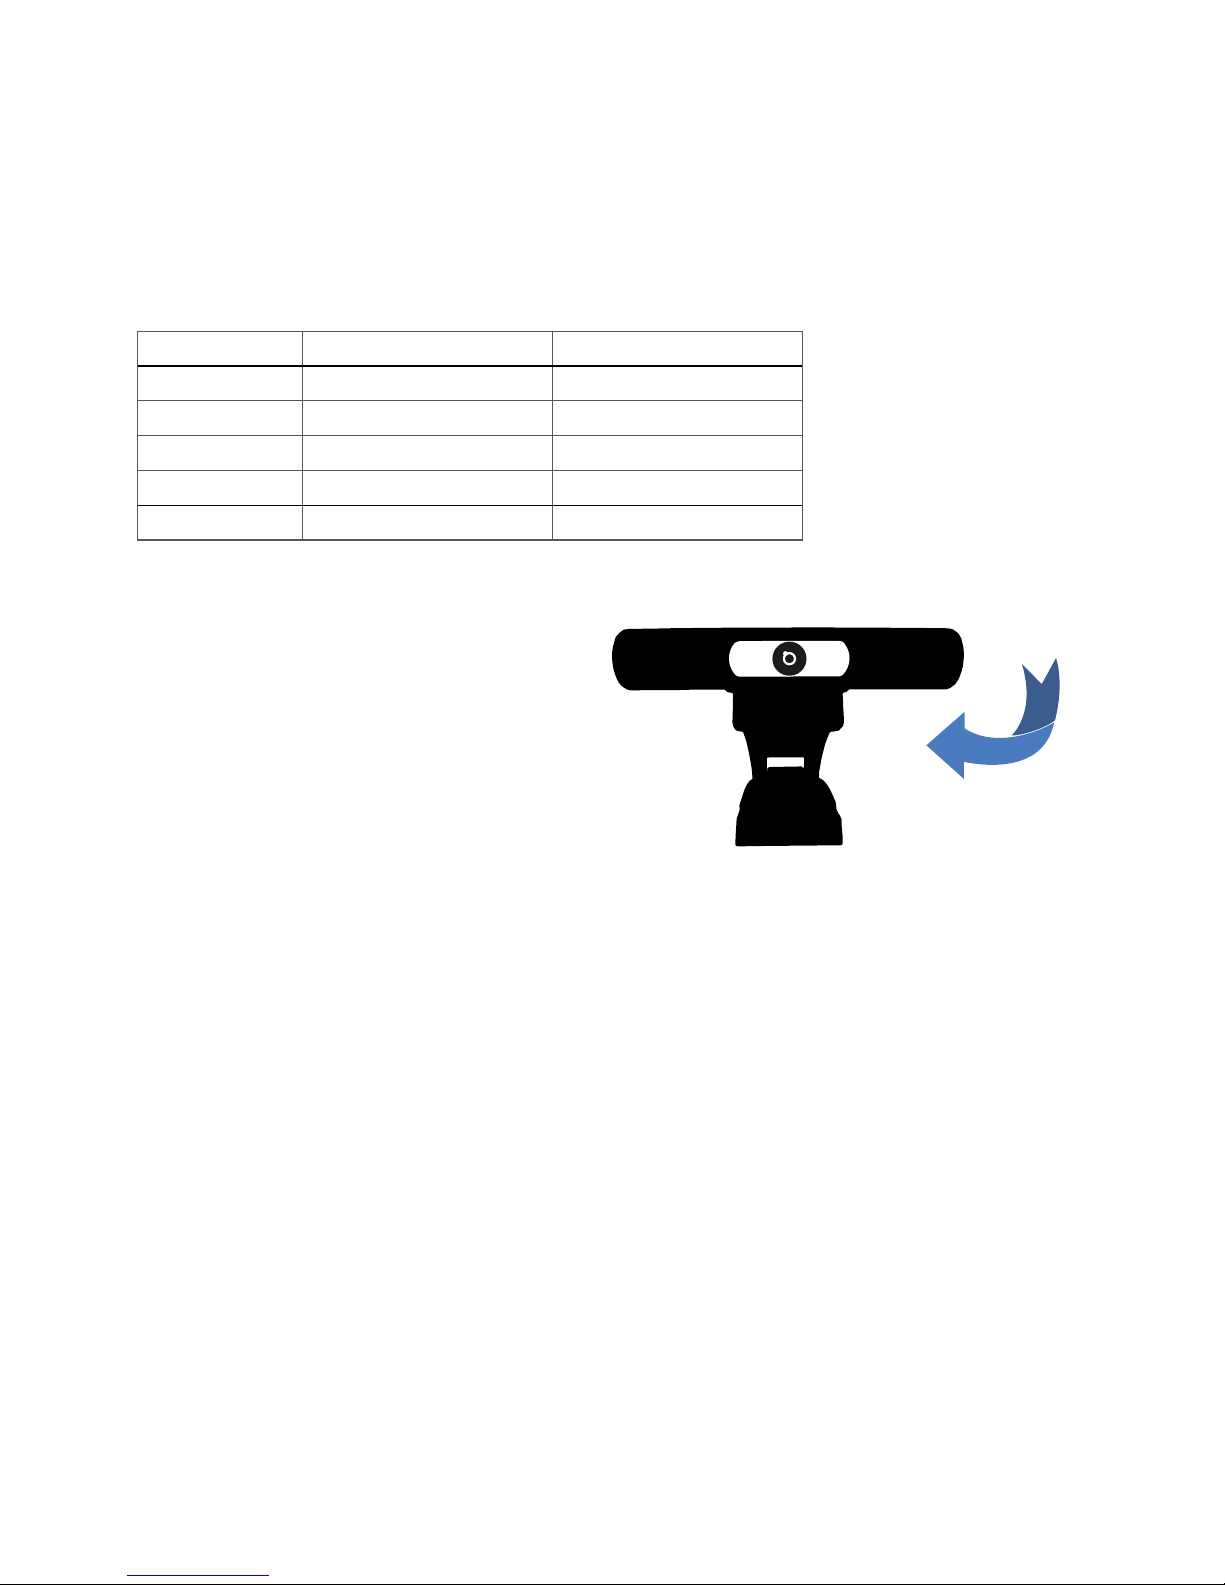
Camera placement .. .. .. .. .. .. .. .. .. .. .. .. .. .. .. .. .. .. .. .. .. .. .. .. .. .. .. .. .. .. .. .. .. .. .. .. .. .. .. .. .. .. .. .. .. .. .. .. .. .. .. .. .. 8
Operation ............................................................................................................................................................... 9
Remote controller .. .. .. .. .. .. .. .. .. .. .. .. .. .. .. .. .. .. .. .. .. .. .. .. .. .. .. .. .. .. .. .. .. .. .. .. .. .. .. .. .. .. .. .. .. .. .. .. .. .. .. .. .. .. .. 9
Other Key Combinations .. .. .. .. .. .. .. .. .. .. .. .. .. .. .. .. .. .. .. .. .. .. .. .. .. .. .. .. .. .. .. .. .. .. .. .. .. .. .. .. .. .. .. .. .. .. .. .. .. 11
OSD Menu.. .. .. .. .. .. .. .. .. .. .. .. .. .. .. .. .. .. .. .. .. .. .. .. .. .. .. .. .. .. .. .. .. .. .. .. .. .. .. .. .. .. .. .. .. .. .. .. .. .. .. .. .. .. .. .. .. .. .. .. .. .. 12
Maintenance ...................................................................................................................................................... 16
Camera Maintenance .. .. .. .. .. .. .. .. .. .. .. .. .. .. .. .. .. .. .. .. .. .. .. .. .. .. .. .. .. .. .. .. .. .. .. .. .. .. .. .. .. .. .. .. .. .. .. .. .. .. .. 16
Unqualifi ed Application . .. .. .. .. .. .. .. .. .. .. .. .. .. .. .. .. .. .. .. .. .. .. .. .. .. .. .. .. .. .. .. .. .. .. .. .. .. .. .. .. .. .. .. .. .. .. .. .. .. .. 16
Troubleshooting ............................................................................................................................................. 16
General advise . .. .. .. .. .. .. .. .. .. .. .. .. .. .. .. .. .. .. .. .. .. .. .. .. .. .. .. .. .. .. .. .. .. .. .. .. .. .. .. .. .. .. .. .. .. .. .. .. .. .. .. .. .. .. .. .. .. 16
Power Issues . .. .. .. .. .. .. .. .. .. .. .. .. .. .. .. .. .. .. .. .. .. .. .. .. .. .. .. .. .. .. .. .. .. .. .. .. .. .. .. .. .. .. .. .. .. .. .. .. .. .. .. .. .. .. .. .. .. .. .. 16
Image.. .. .. .. .. .. .. .. .. .. .. .. .. .. .. .. .. .. .. .. .. .. .. .. .. .. .. .. .. .. .. .. .. .. .. .. .. .. .. .. .. .. .. .. .. .. .. .. .. .. .. .. .. .. .. .. .. .. .. .. .. .. .. .. .. 17
Control .. .. .. .. .. .. .. .. .. .. .. .. .. .. .. .. .. .. .. .. .. .. .. .. .. .. .. .. .. .. .. .. .. .. .. .. .. .. .. .. .. .. .. .. .. .. .. .. .. .. .. .. .. .. .. .. .. .. .. .. .. .. .. .. 17
WebGUI.. .. .. .. .. .. .. .. .. .. .. .. .. .. .. .. .. .. .. .. .. .. .. .. .. .. .. .. .. .. .. .. .. .. .. .. .. .. .. .. .. .. .. .. .. .. .. .. .. .. .. .. .. .. .. .. .. .. .. .. .. .. .. .. 17
Appendix A Dimensions ........................................................................................................................ 18

Thank you for your Avonic purchase. Before beginning to operate this device, please read the
manual in order to make sure the best performance is obtained. Save this manual for future
reference.
For any questions or suggestions, contact your reseller or the local distributor of
Avonic. Find the local distributor on the website of Avonic. For the most recent version
of the manual or datasheet, look at the Avonic website: www.avonic.eu
facebook.com/
avonicPTZ linkedin.com/
company/avonic/ twitter.com/
avonic
• Installation and servicing should only be done by Qualifi ed Service Personnel
and conform to all local codes.
• This unit is designed for indoor use only and it must not be installed where
exposed to water or other liquids and moisture.
• Before powering on the device, check the input power voltage carefully.
• Avoid shock and vibration when transporting and installing the device.
• Electronic devices produce heat. Do not block the ventilation slots of the device
and make sure the installation environment is well ventilated to avoid
overheating.
• Before cleaning, unplug the power cable. Use a soft, damp cloth to clean the
device, do not use strong or abrasive detergent to clean that will damage the
device.
• If you wish to dispose this product, please contact Avonic to obtain info about
the disposal procedure.
3
Join Avonic
Safety Notes
Contact
Congratulations
Introduction

www.avonic.eu4
Be cautious to take the camera by its base
and do not touch the lens.
Quantity Description Avonic SKU
1 pc Device AV-CM20-VCU
1 pc Power Supply AV-CM20-PSU
1 pc Remote Control AV-CM20-RC
1 pc USB 3.0 cable AV-USB30-AB
Handling precautions
Contents
Package contents and Accessories

5
• Lens: Auto focus lens with 120° Horizontal FOV.
• Ultra HD 4K: 2160P ultraHD, 1/2.5 inch, progressive high quality CMOS sensor.
• Output: up to 2160p30 on both hdmi and USB3.0
• Control: Control the camera with UVC, IR remote control included
• Presets: Up to 10 presets with 0.1° accuracy.
The Avonic CM20-VCU is a high-quality 4K USB 3.0 video conferencing camera with integrated
dual microphones. The camera is equipped with a 4K sensor and has digital PTZ capabilities.
Features
Product Overview

www.avonic.eu6
1. Audio Line in (not in use)
2. HDMI output
3. USB 3.0 connector
Connections
Camera placement
Installation
1
2
6 7 9 10 11
3
The Avonic CM20-VCU is designed to be placed on top of a computer monitor.

10. Selection Key
11. #Key
12. IR Remote Control Key
13. Reset Key
14. PTZ control key
15. Menu Key
16. Backlight Key
17. PTZ reset key
1. Standby Key
2. Number Key
3. *Key
4. Preset Key
5. Home key
6. Return Key
7. Zoom Button
8. Left/Right
Setting Key
9. Focus Key
7
Remote controller
Operation
12. IR Channel Program Key

www.avonic.eu8
1. Standby Key
This button has no function with this camera.
2. Number Key
Call preset PTZ position.
3. *Key
Used with other keys.
4. Preset Key
Preset memory in combination with numeric keys (0-9)
5. Home Key
The PTZ camera/image will go back to the center position, or “enter” function in “On Screen Display
(OSD)” menu.
6. Return Key
Return back tot the previous level of the menu.
7. Zoom + -
Zoom the camera with these buttons. Slow zoom in and out/ fast zoom in and out.
8. Left/Right Setting Key
This button has no function with this camera.
9. Focus Key
This button has no function with this camera.
10. Selection Key
Select IR channel 1 to 4 to control multiple cameras individually.
11. # Key
Used with other keys.
12. IR Channel Program Key
[* + # + F1/F2/F3/F4]: program camera to IR channel 1 to 4
13. Reset Key
Delete the memory preset in combination with the numeric keys (0-9).
14. PTZ Control Key
When zoomed in, move the image with the up/down/left/right keys.
15. Menu Key
This Menu button opens of closes the the OSD menu. If the menu is not in English, please press
[*]+[#]+[1] to change the Menu language to English.
16. Backlight Key
This button has no function with this camera.
17. PTZ Reset Key
This button has no function with this camera.

9
Quick Codes list
[*]+[#]+[1] : OSD menu default English
[*]+[#]+[4] : 1080P@30fps default hdmi resolution
[*]+[#]+[6]: Factory default
[*]+[#]+[7]: 1080P@60fps default resolution

www.avonic.eu10
The OSD menu can be accessed by the Remote Control or an Avonic PTZ controller. In the following
pages, the navigating is described for using the IR Remote Control.
OSD Menu

11
1. MENU
Press [MENU] button to display the main menu on the screen. Use the arrow buttons to move the
cursor to the item to be set. Press the [HOME] button to enter the corresponding sub-menu.
MENU
Exposure
Color
Image
Focus
Noduction
Setting
Information
Restore Default
Select Item
Change Value
[Home] Enter
[Menu] Exit

www.avonic.eu12
2. EXPOSURE
3. COLOR
EXPOSURE
Mode Full Auto / Bright / Shutter Priority
ExpCompMode ON / OFF
Exposure Compensation -7 ~ 7
Gainlimit 0 ~ 15
Backlight ON / OFF
DRC Strength 0 ~ 8
Antifl icker 50hz / 60hz / OFF
Select Item
Change Value
[Menu] Back
COLOR
WB Mode auto / indoor / outdoor / One Push / manual / VAR
AWB Sense low / middle / high
Saturation 60 % ~ 200%
Focus
Noise Reduction
Select Item
Change Value
[Menu] Back
4. IMAGE
IMAGE
Luminace 0 ~ 14
Contrast 0 ~ 14
Sharpness 0 ~ 14
Flip-H ON / OFF
Flip-V ON / OFF
Gamma 0.45 / 0.50 / 0.56 / 0.63 / Default
Style Clarity / Bright / PC / Clarity (LED) / Normal
LDC -10 ~ 10
Select Item
Change Value
[Menu] Back

13
7. SETTING
SETTING
Language English / Chinese
EPTZ ON / OFF
Zoom Limit .5x / 2x / 3x / 4x / 8x
DVI Mode DVI /HDMI
HDMI Format 4K30 / 1080p30 / 1080i60
Tracking 0.45 / 0.50 / 0.56 / 0.63 / Default
Select Item
Change Value
[Menu] Back
5. FOCUS
6. NOISE REDUCTION
FOCUS
AF Sense Low / High / Medium
Focus Area Middle / Upper half / Lower half / All
Select Item
Change Value
[Menu] Back
NOISE REDUCTION
2D NR Close / Auto / 1 ~ 5
3D NR Close / 1 ~ 8
Select Item
Change Value
[Menu] Back
9. RESTORE DEFAULT
8. INFORMATION
Read out of model and fi rmware version
RESTORE DEFAULT
Restore default? NO / YES
Select Item
Change Value
[Menu] Back
[Home] OK

14
Maintenance
Unauthorized Use
Camera Maintenance
• No fi lming of extreme bright objects for a prolonged period of time, such as sunlight,
light sources, etc.
• No operating in unstable lighting conditions, otherwise the image could be
fl ickering.
• No operating close to powerful electromagnetic radiation, such as TV or radio
transmitters, etc.
• If the camera will not be used for a long time, please turn off the power switch,
disconnect AC power cord of AC adaptor to the outlet.
• Use soft cloth or tissue to clean the camera cover.
• Please use the soft dry cloth to clean the lens. If the camera is very dirty, clean it
with diluted neuter detergent. Do not use any type of solvents, which may damage
the surface.
• Turn the camera off and on again and check if the problem persists.
• No self-test (applies only to PTZ cameras) and no power LED
- Check the net power
- Check the power supply
General advise
Power Issues
Troubleshooting

www.avonic.eu15 www.avonic.eu15
• Cannot enter WebGUI
- Check network cable
- Check if PC is in the same subnet as camera
• Firmware update failed
- Check fi rmware fi le integrity, download it again.
• No self-test (PTZ cameras only) and no power LED
- Check the net power
- Check the power supply
• Remote Controller does not work
- Check power of the controller
- Check RS-232 or RS-485 cable quality, length, polarity and network architecture
- Check serial communication settings on both camera and controller
- Check VISCA / PELCO address settings on both camera and controller
• No image
- Check power of camera and monitor
- Check video cable quality and length
- Check if video specifi cations of monitor match the specs of the camera
• Abnormal image
- Check video cable quality and length
- Check cable connections
• Dithering or fl ickering image
- Check camera fi xation and nearby vibration sources
- Check anti-fl ickering setting in OSD
- Check Noise Reduction settings in OSD
• Color issues
- Check options in OSD, like exposure, color temp, Red and Blue tuning
WebGUI (if applicable)
Control
Image

www.avonic.eu16 www.avonic.eu16
Appendix A Dimensions
Table of contents
Other Avonic Digital Camera manuals
Popular Digital Camera manuals by other brands

Z-CAM
Z-CAM E2 manual

Olympus
Olympus VR-310 Manuel d'instructions

Dometic
Dometic PerfectView CAM301 Installation and operating manual

Panasonic
Panasonic LUMIX DMC-GM1 Operating instructions for advanced features

Vivitar
Vivitar MagnaCam 1025x1 Digital Camera/Binocular instruction manual

Samsung
Samsung S85 - Digital Camera - Compact quick start guide