Operation Instructions
SZU 21-00
24.07.12 © AXING AG • Reserving change in design and type - We cannot be held liable for printing errors
3
Content
1
Common .............................................................................................................................................4
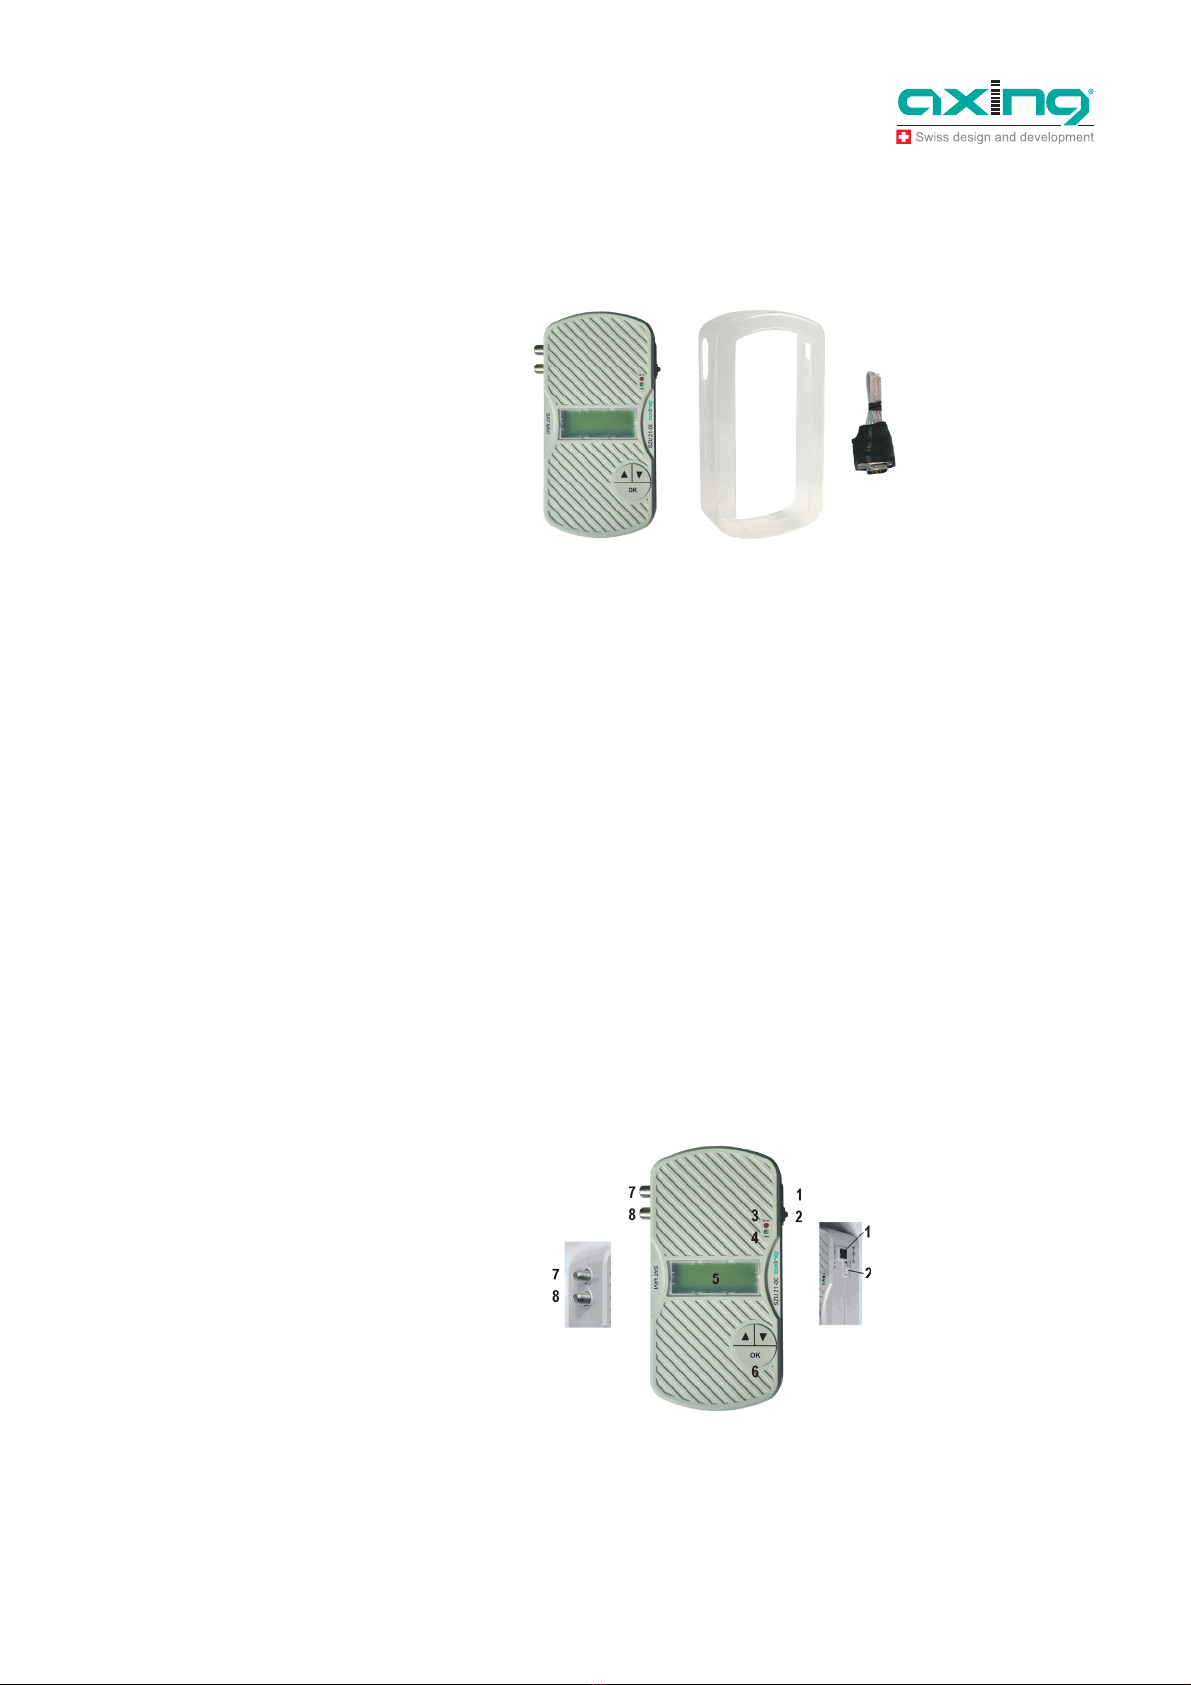
1.1
Delivery.................................................................................................................................4
1.2
Description............................................................................................................................4
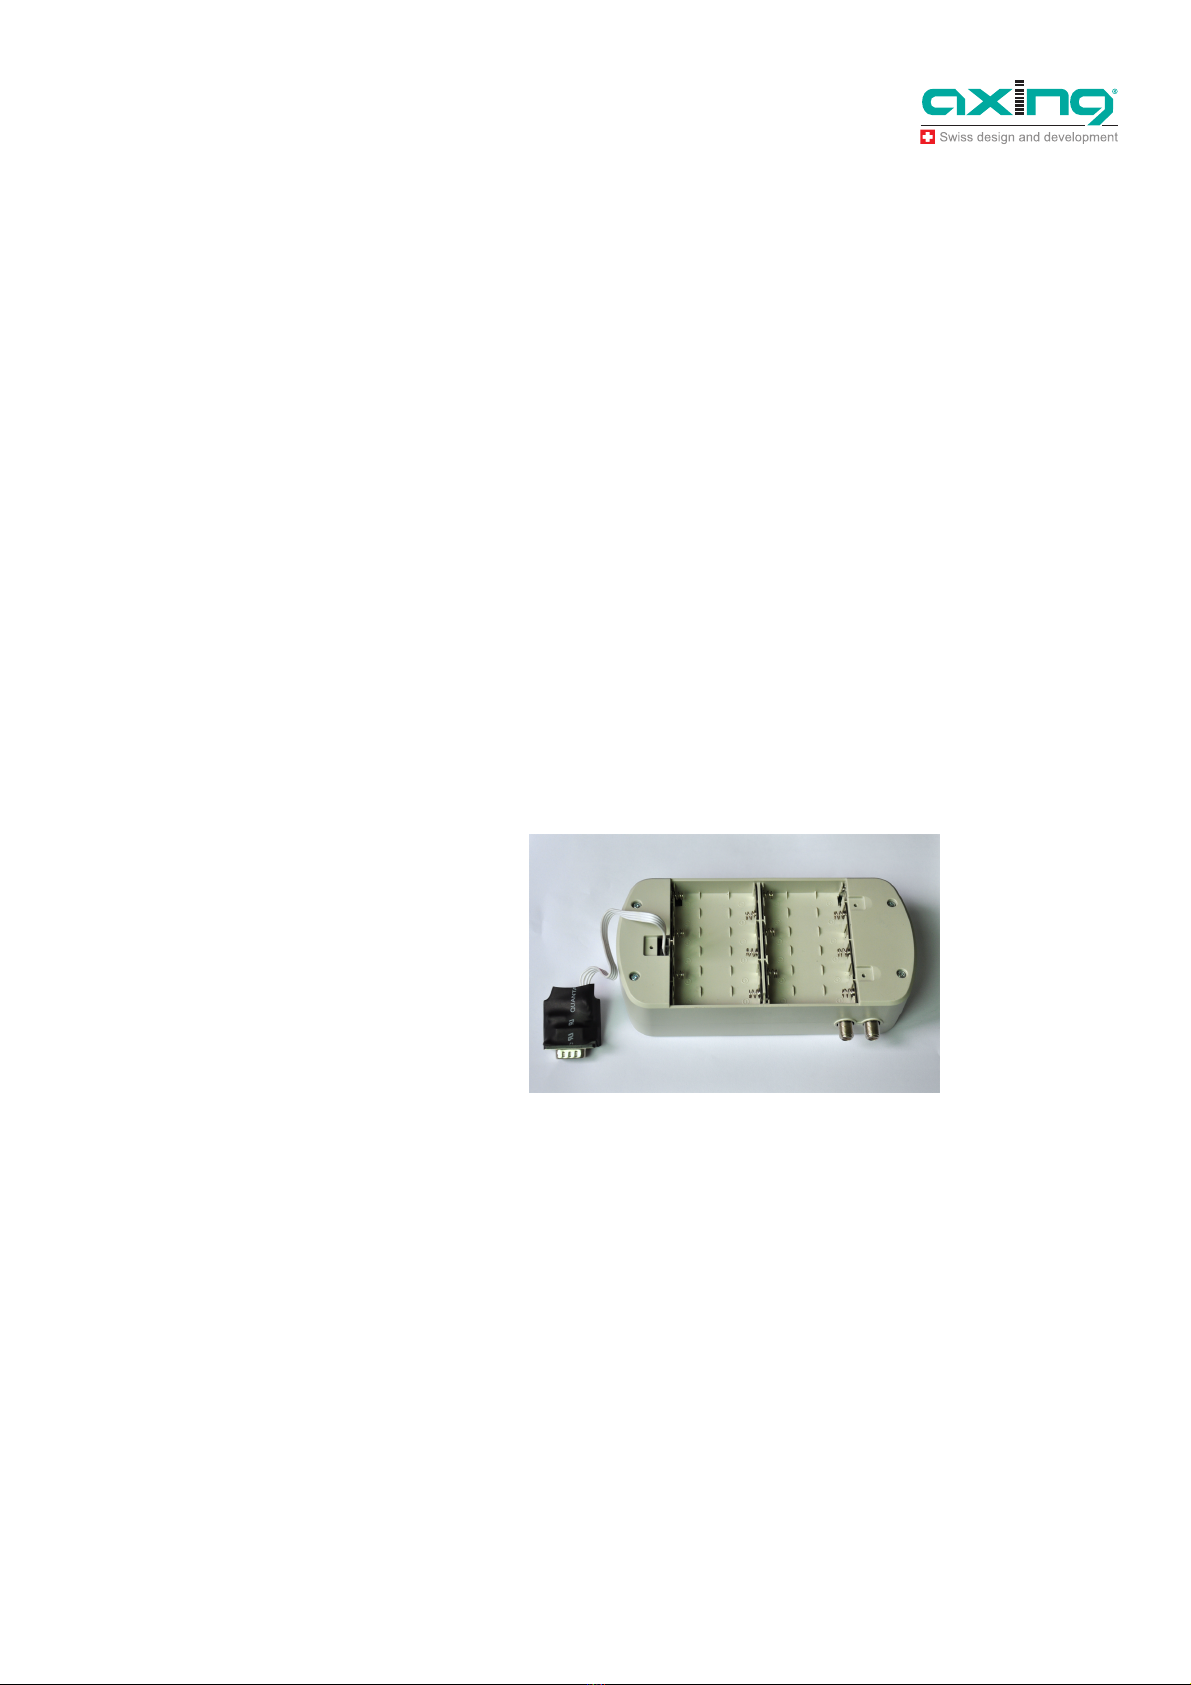
2
Power supply .....................................................................................................................................6
2.1.1
External power supply.......................................................................................6
2.1.2
Satellite receiver ...............................................................................................6
2.1.3
Internal batteries ...............................................................................................6
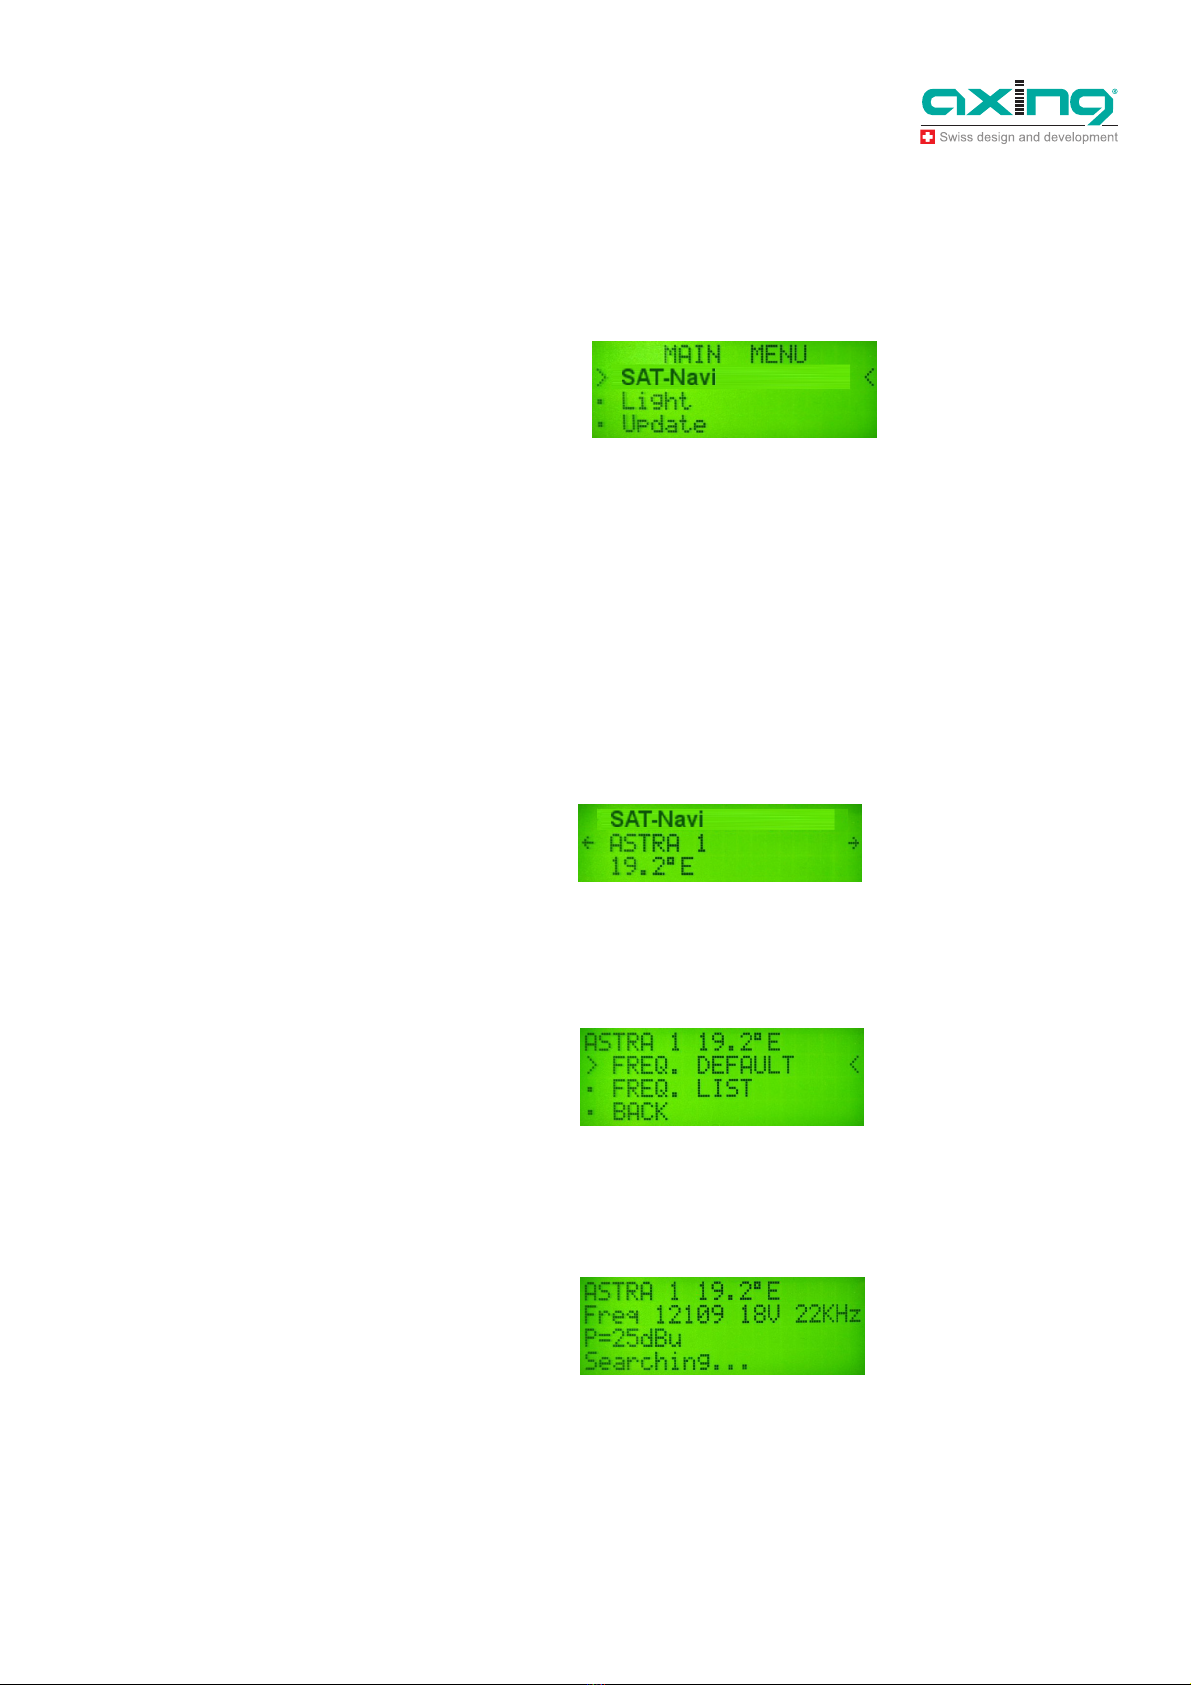
3
Operation............................................................................................................................................7
3.1
Main menu............................................................................................................................7
3.2
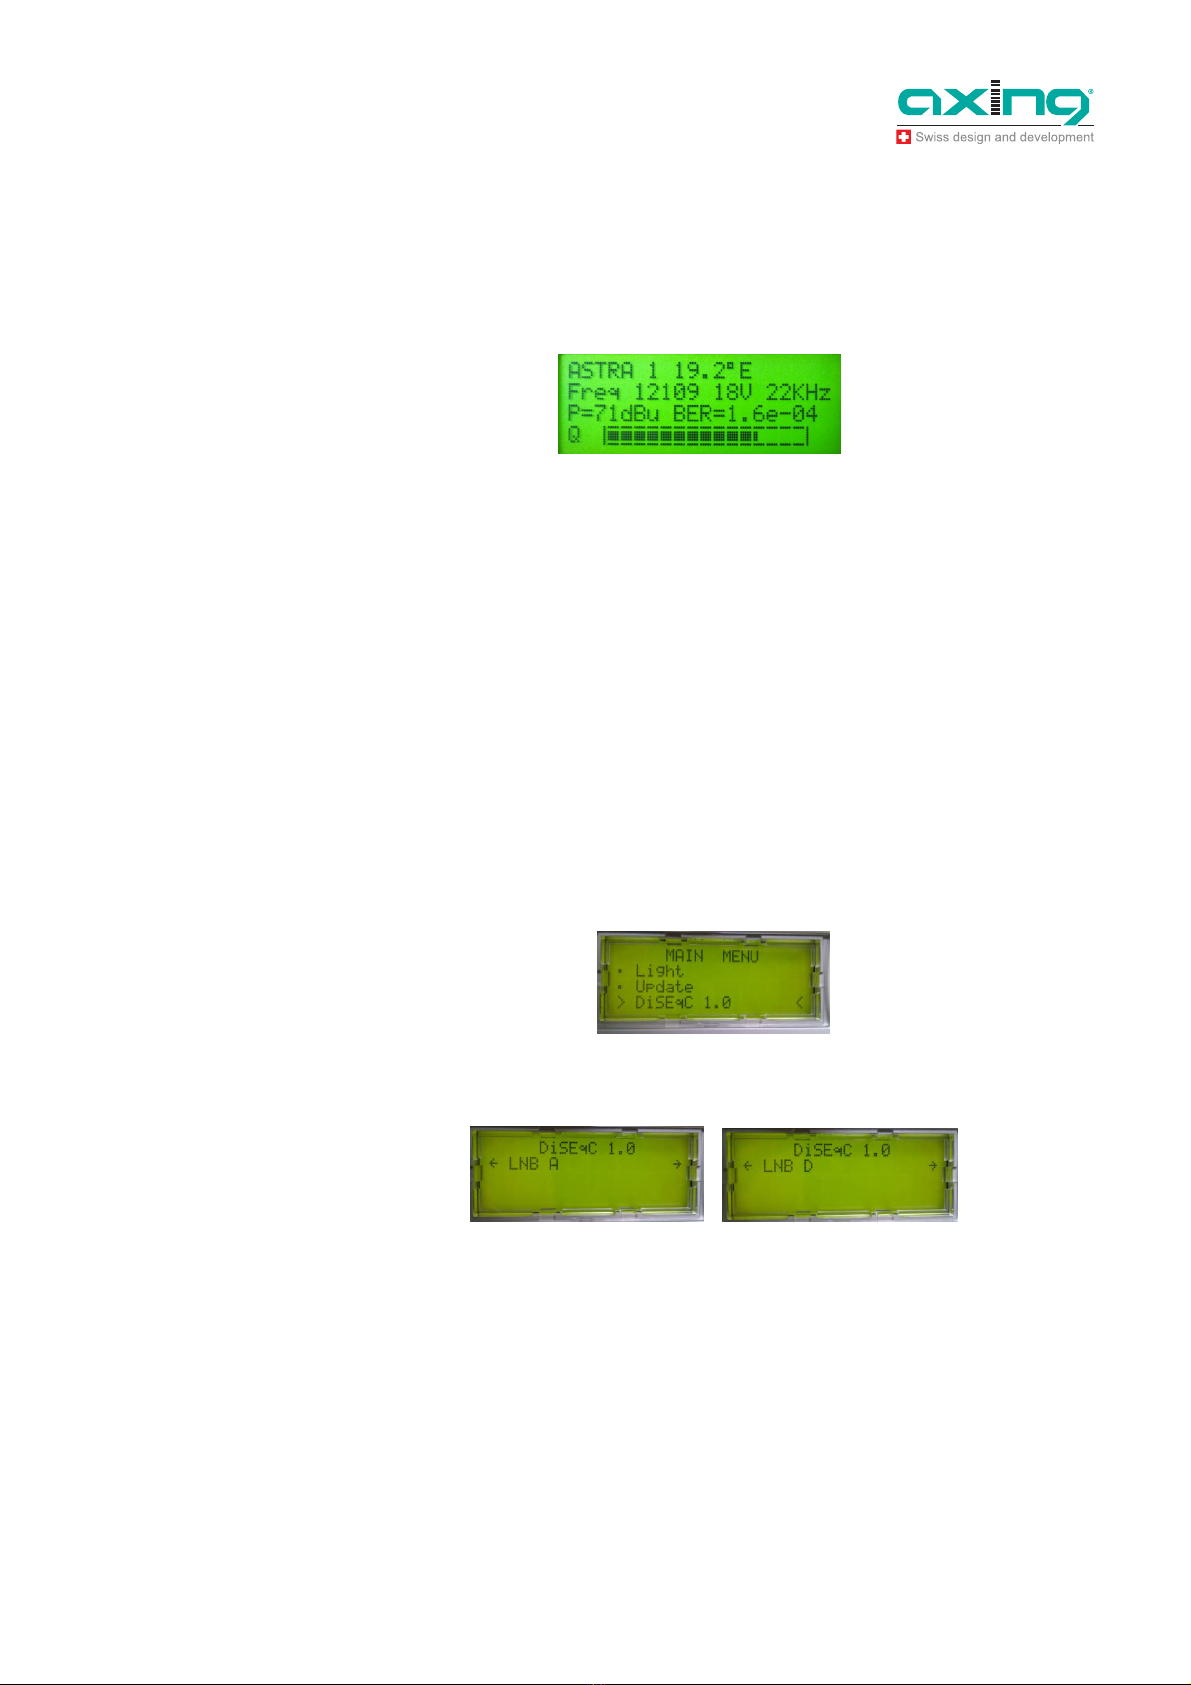
SAT-Navi menu ....................................................................................................................7
3.2.1
Short Circuit Protection.....................................................................................8
3.3
Activating the DiSEqC control...............................................................................................8
3.4
Light menu............................................................................................................................8
4
Update.................................................................................................................................................9
4.1
Connecting the SAT-Navi to the PC .....................................................................................9
4.2
Preparations .........................................................................................................................9
4.3
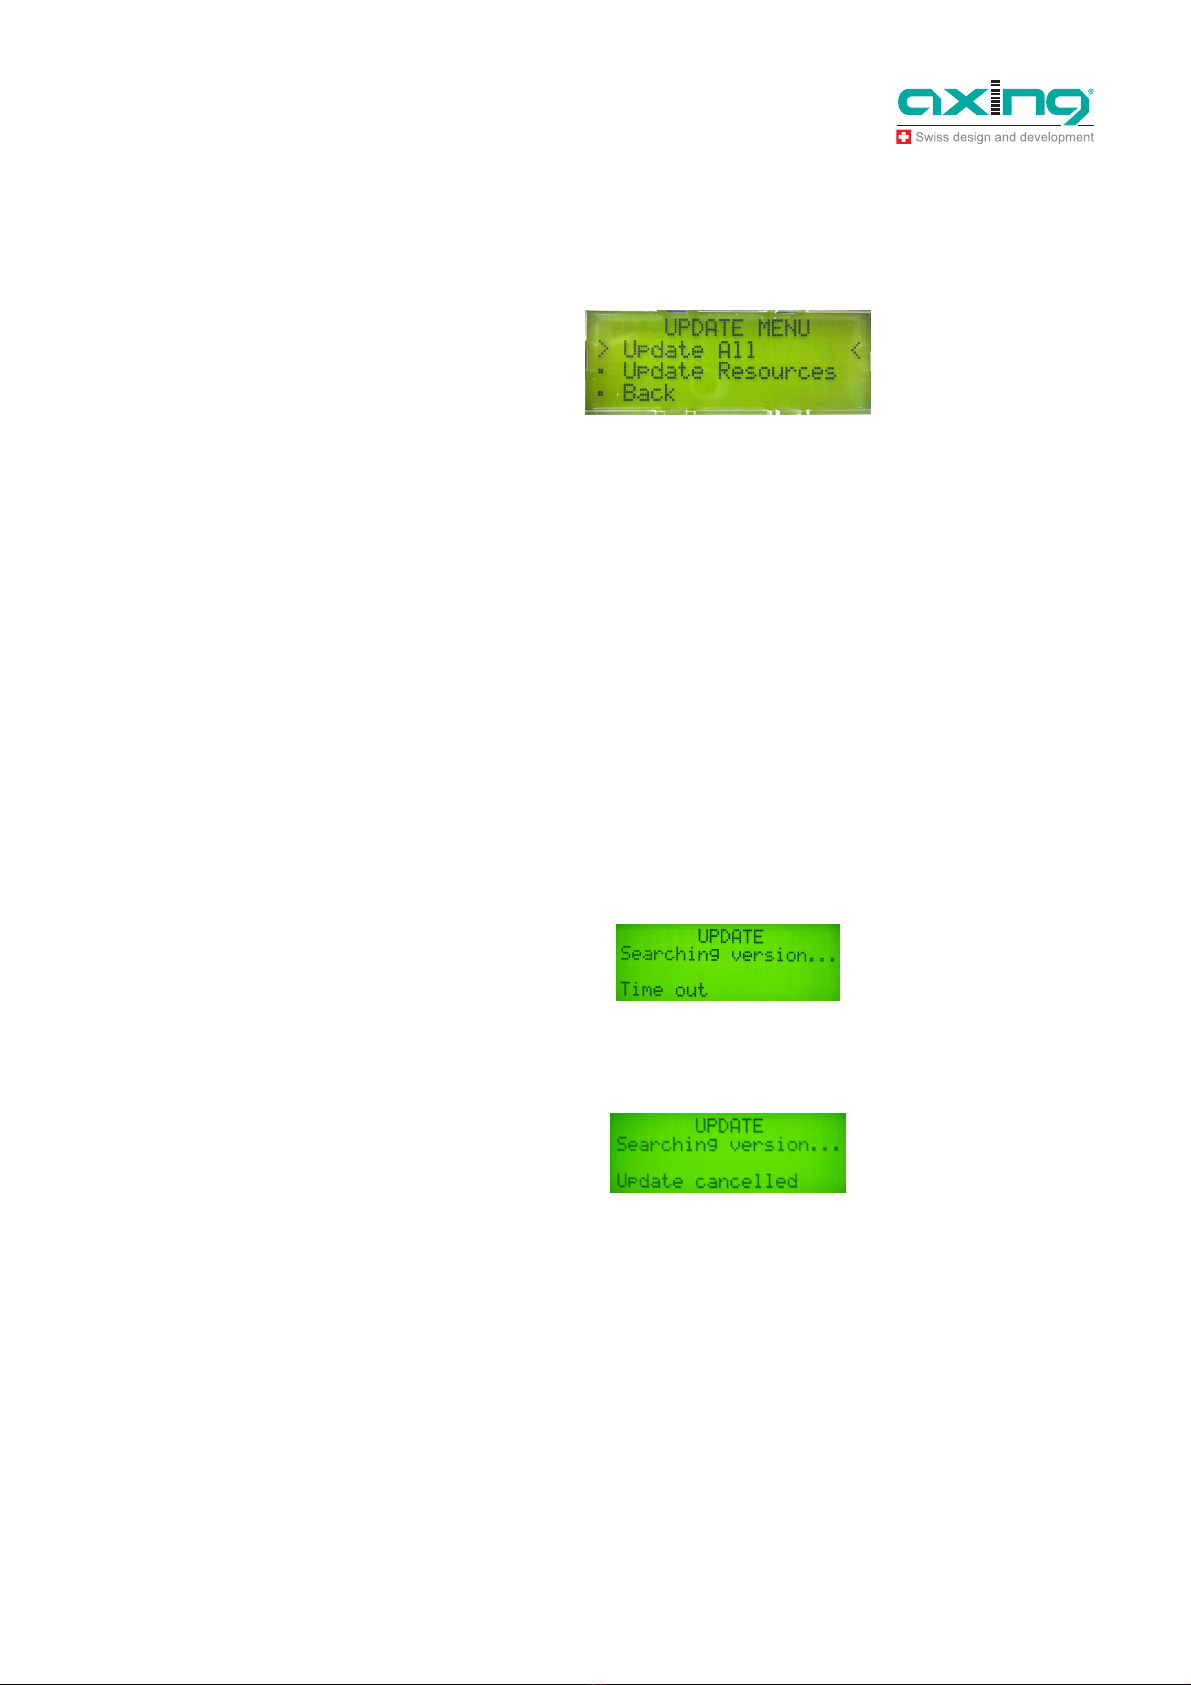
Firmware update.................................................................................................................10
4.4
Updating the satellite and transponder data .......................................................................11
4.5
Editing satellite and transponder lists .................................................................................12
4.5.1
Editing satellite positions:................................................................................12
4.5.2
Editing transponders:......................................................................................13
4.5.3
Closing and saving data .................................................................................15
5
Technical specifications .................................................................................................................15